Mission 18: Return
Project Wingman’s campaign has 21 missions in total, with each mission averaging around 10-15 minutes to complete. On a good run without restarts, accidents, or grinding, you may finish the entire campaign more or less around 5 hours. Of course, accidents will happen and you may encounter challenges but don’t worry! We’ll do our best to help you.
While we’ll offer pointers and tips, ultimately, the pilot behind the plane is still you so if you’re having problems completing a mission, try a different plane or approach, or even swallow your pride and attempt the mission on a lower difficulty. In this page, we’ll discuss how to complete Mission 18: Return, including the recommended aircraft, strategies, and more.
Mission Overview
| New Aircraft | VX-23 |
| Initial Objective(s) | Destroy all targets: Air-to-Ground, Air-to-Air |
| Updated Objective(s) | Defeat Crimson Team |
The VX-23 is an exceptional aircraft when it comes to stats but will have very limited SP weapon options. If you have purchased the Chimera, it’s still a great plane to use at this point. The mission will involve more air targets and a handful of ground targets that you can easily deal with using your STDMs. You’ll be facing the Crimson Team again in the latter part of the mission so make sure you have the AoA module equipped. It will be very difficult to survive and go on the offensive without that module.
Finally, no (normal) AA SP weapons will be enough to efficiently deal with the Crimson Team so if your chosen aircraft can carry additional STDM missiles on their hardpoints, use that option instead.
Mission Walkthrough
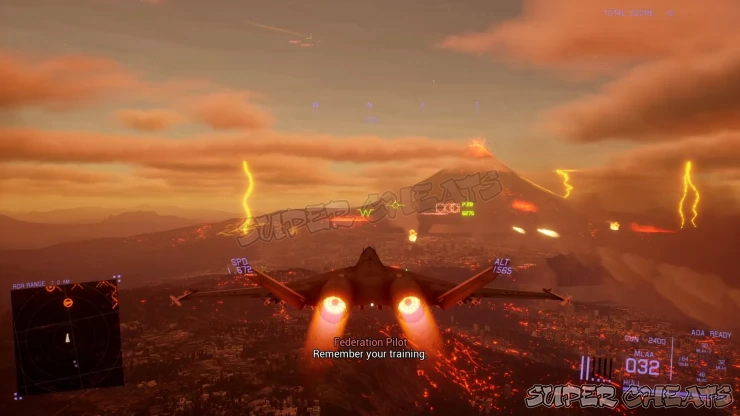
This mission is fairly straightforward. Once it starts, seek out and destroy the small enemy force in the area composed of 8x AA guns, 8x P.28 helicopters, 2x F/D-14s, 2x SK.27s and 2x F/E-4s. These targets are also scattered in the immediate area so just take them out as you normally do. After destroying all targets, the mission will be updated and the Crimson Team will arrive for their last showdown against your squad.

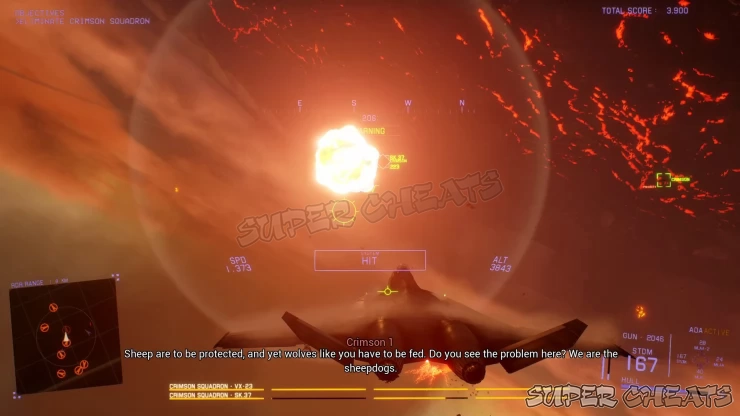
The Crimson Team will have the same composition as before, 4x VX-23s and 4x SK.37s. The strategy to take them down is still the same as before. However, each of them will be utilizing AoA limiter modules so you’ll need to be flying fast and make tight maneuvers to catch up. Like before, they’re most vulnerable right after making a ridiculously sharp turn or maneuver - just when the AoA is not resetting. This window isn’t that large but outside that, it’s still possible to land normal missile hits at medium or close distance. Also, due to the agility of the targets, you’ll have to rely on STDMs to connect shots.

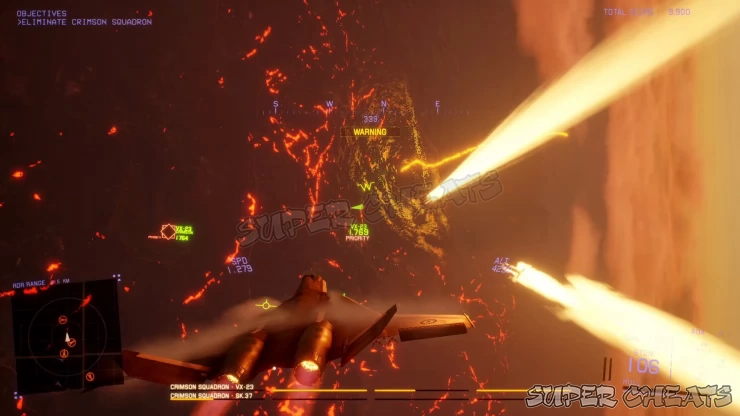
The first few minutes of the battle is hellish, with your missile warning blaring almost all the time, thanks to several Crimson Team members trying to shoot you down at the same time. I recommend choosing a target and focus on it until you shoot it down, then repeat the same tactic to the other members. Like the battle with Frost and Mother Goose squadron, you have to “dance” with your opponents and match their speed, turns, and movements so you can land some chip damage from your gun and missiles.
Maintaining close distance will allow your missiles to reach their target at the closest time possible and to prevent the enemy from reacting. Furthermore, as long as you’re able to match their turning speed and direction, you can even lead your shots to rip them to shreds with your guns. One good tactic that you can apply is “blind-firing”. Since the lock-on doesn’t disengage as long as you’re following the target closely, in a split-second that the target comes into view (like during a tight turn or when you’re chasing the target), release your missiles and let them do the rest.

As much as possible, fight at a higher altitude. Lower altitude means less room for you to maneuver and evade. This puts you at risk of getting damaged or worse, crashing. Also, prioritize your survival. Always keep situational awareness, especially with the missile warnings. Even if you already have a clear shot, have the mindset to ignore that temptation to hold that position for a few seconds especially if you have missiles inbound.
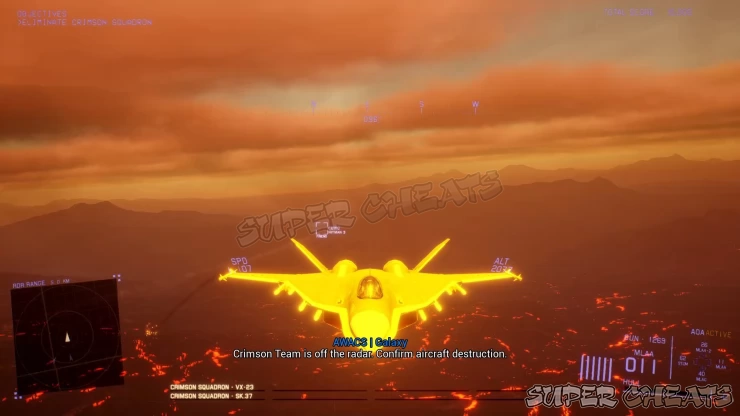
The battle will gradually become easier and more manageable as you whittle down their numbers. However, don’t let your guard down especially if you have sustained a lot of damage. A stray missile or bullet can lead to mission failure if you’re unfortunate and careless enough. After shooting down all enemies, the mission will be complete.

Mercenary Difficulty
There are no changes in the enemy team composition or behavior.
 Join us on Discord
