Episode 2: The Fairy Tactician
[-] Head to the Domus Flau Arena
Make your preparations then head to the arena. Enter the door and you’ll get the reminder that returning to the base will force you to start from the beginning. After the scenes, you’ll have to deal with Ichiya first.
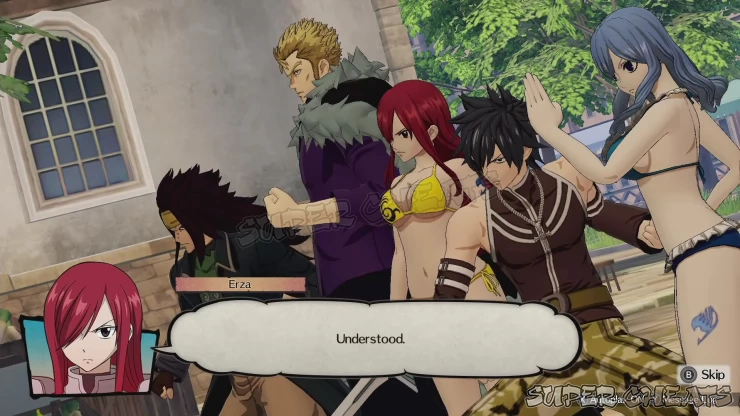
[-] Corner Ichiya at the designated place.
[-] Head to the location and defeat Ichiya.
Just follow the mission markers to force him to run towards the designated ambush spot. After trapping him at the bridge, you’ll enter a fight against him.
| Boss | Weaknesses | Resistances |
|---|---|---|
| Blue Pegasus, Ichiya | None | None |
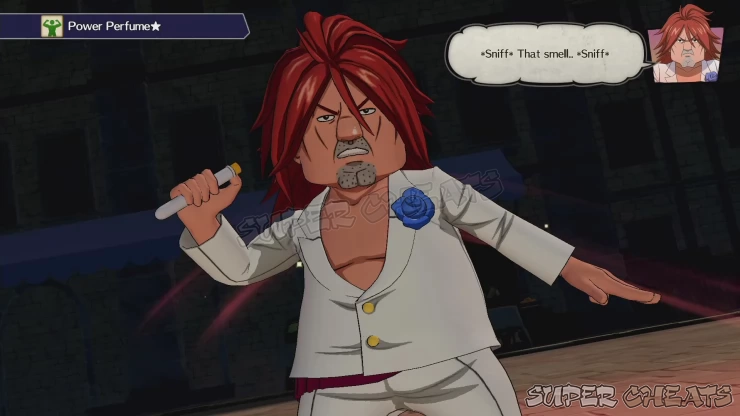
At the start of battle, you’ll get a notification about Ichiya’s Power Perfume and Fleet Floot perfume. These moves are self-buffs that will stack for each use so you have to defeat him before he gains the full benefit of his buffs. If you don’t have a full fairy gauge, concentrate on dealing damage and filling your gauge. Use Gajeel’s moves that inflict DEF Down and execute follow-up attacks whenever possible. Ichiya doesn’t have resistances or weaknesses so go wild in attacking him. Once your fairy gauge is full, finish him off with a Magic Chain.
[-] Head to the SW alley from the south.
[-] Continue to the SW alley from the north.
Next, we’ll switch control to Gray and Juvia. Like before, you have to follow the game plan. Just follow the mission markers to complete the pincer attack against Lyon and Sherria
| Boss | Weaknesses | Resistances |
|---|---|---|
| Lamia Scale, Lyon | Fire | Ice |
| Lamia Scale, Sherria | Demon | Holy, Non-Elemental |
Lyon will resist Gray and Juvia’s ice-elemental magic but you can exploit Sherria’s weakness to Demon damage by using Gray’s Ice Make: Ice Bringer. You’ll need to spam this attack to damage both of them. For Juvia, have her use Water Rain for the first turn then resort to using her ice attacks even if it will be resisted. You can opt to use Water Slicer since it has a chance to inflict Freeze. Like before, use Follow-up attacks whenever possible to maximize your damage output. Repeat the process until your fairy gauge is completely filled. Use your Magic Chain once available to deplete their HP. However, the battle is not over yet.
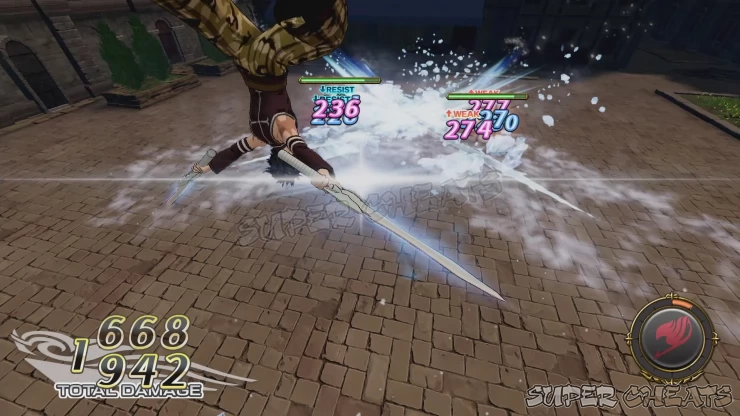
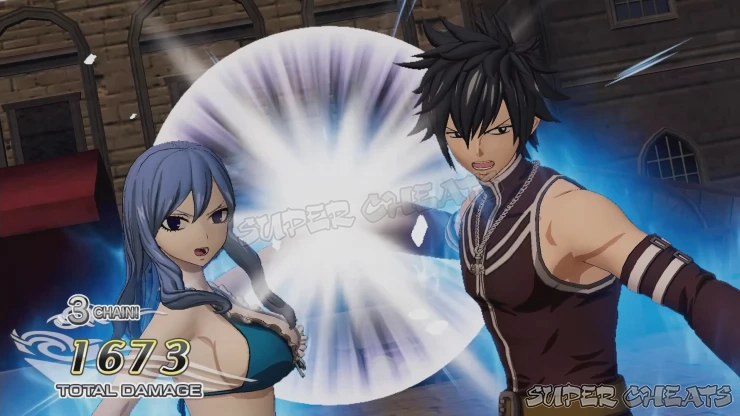
After the short cutscene, Gray and Juvia will learn their Unison Raid. This will serve as a tutorial for this feature so both of them will start the turn Awakened and the fairy gauge automatically filled. Trigger a Magic Chain then press R again to trigger a Unison Raid. The chain will continue so it’s up to you if you want to continue it or perform a Finisher to end the chain earlier.
[-] Head to higher ground from the clock tower.
The control switches back to Gajeel. Head to the mission marker near the fountain to trigger a cutscene. After that you’ll be facing Rogue in a one-on-one battle.
| Boss | Weaknesses | Resistances |
|---|---|---|
| Sabertooth, Rogue | Light | Dark |
Both Gajeel and Rogue have resistances to each other’s attacks since they have the same element. Start by casting Steel to increase Gajeel’s ATK and DEF at the cost of lowering his SPD. Focus on using Gajeel’s attacks that also applies the DEF Down debuff. If Gajeel is properly leveled up, even just using his Mega Iron Dragon Roar should be enough to inflict DEF Down and Break, allowing you to land another free hit. Keep spamming this attack until you deplete Rogue’s HP. A cutscene will follow afterward.
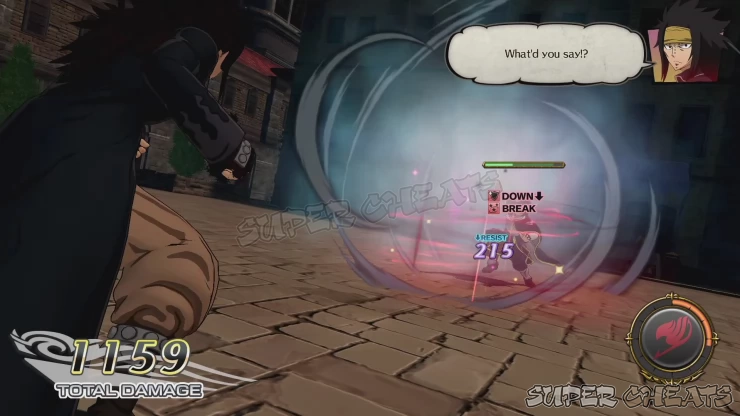
For the second phase of the battle, Rogue’s shadow will take over, boosting his stats. If the ATK/DEF buffs is still active, have Gajeel spam his DEF Down skills and continue trading blows with Rogue until his HP gets depleted once again.
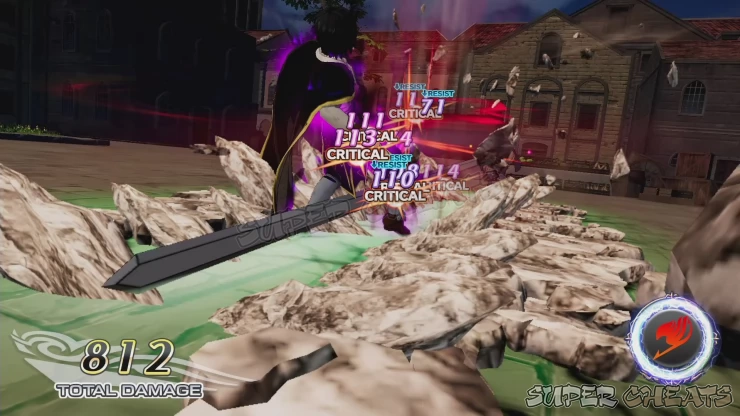
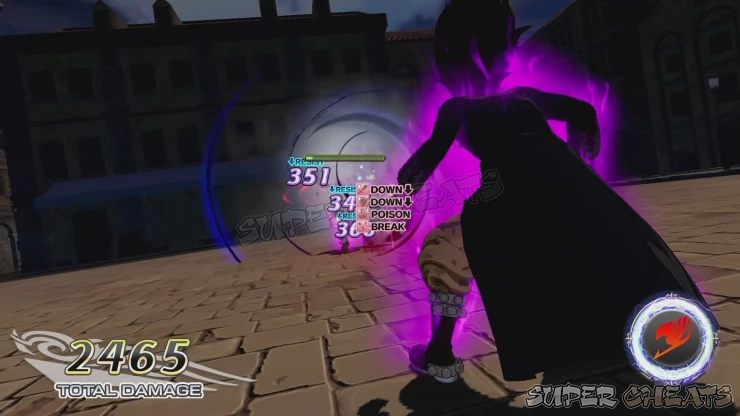
Finally at the third phase, Gajeel will take on his shadow dragon form. The battle is practically set to your favor now since Rogues’ attacks will just get drained and heal Gajeel. You should have a full fairy gauge at this point as well. You can cast Steel once again then activate a Magic Chain on the following turn. Alternatively, you can use the Iron Shadow Dragon Roar that’s temporarily available while in this form. This will seriously damage Rogue with several debuffs and status ailments inflicted. Finish him off to finally conclude the battle.
[-] Head to the high ground from the plaza
Next, you’ll be controlling Erza. Make your way to the next mission marker to trigger another short cutscene and to face your next challenger.
| Boss | Weaknesses | Resistances |
|---|---|---|
| Mermaid Heel, Kagura | None | Non-Elemental |
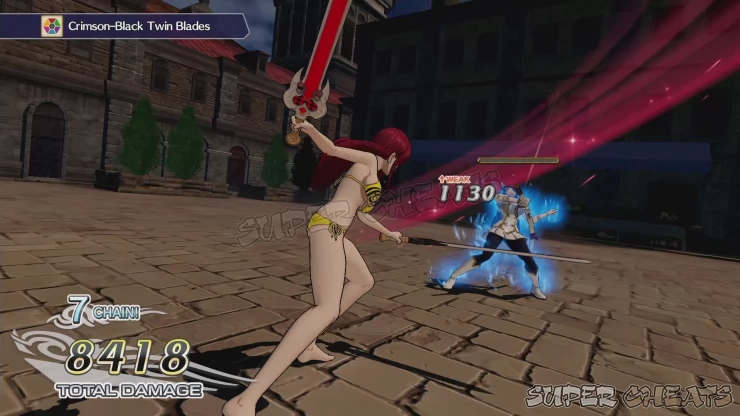
Kagura will resist most of Erza’s attacks, except for her Photon Slicer and her other armor forms. For the meantime, it’s still ideal to use Pentagram Sword to counter her attacks and make your fairy gauge fill faster. However, don’t waste your Magic Chain at this phase yet. When Kagura’s HP is low, finish her off with Benizakura.
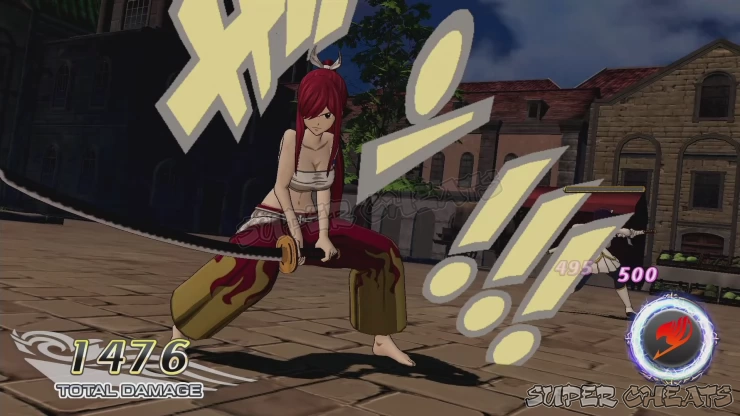
For the second phase, Kagura will start the round Awakened. If you have a full fairy gauge at this point, just unleash it to deal heavy damage on her. If she still survived, you can spam your other attacks to finish her off.
After the cutscene, you’ll be facing Minerva next.
| Boss | Weaknesses | Resistances |
|---|---|---|
| Sabertooth, Minerva | Holy | Demon |
For offense, you can use the Wind God Sword since this is the only attack in Erza’s repertoire that can deal extra damage to Minerva. Minerva’s attacks have a chance to inflict ATK/DEF down when they connect. If you have a full fairy gauge at this point, use it immediately. Otherwise, you can use Pentagram Sword to have the opportunity to counterattack and make your fairy gauge fill faster. You’ll want to finish her off before she can use her great magic which can heavily damage you so keep fighting and use a Magic Chain immediately once available.
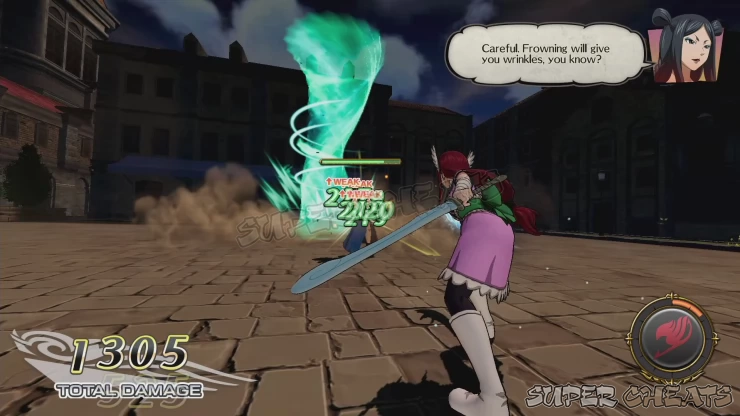
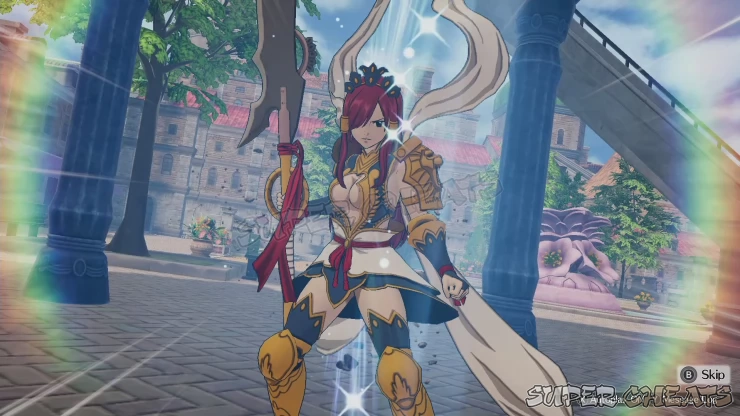
After the battle, Erza will receive her Nakagami Starlight armor. More cutscenes will follow and finally, the episode will be concluded.
We have questions and answers related to this topic which may also help you:
Comments for Episode 2: The Fairy Tactician
- Guide Pages
- Chapter 1: The Seven Year Gap Walkthrough
- Chapter 2: And So We Aim for the Top
- Chapter 3: Grand Magic Games
- Chapter 4: Battle of the Dragon Slayers
- Chapter 5: GLORIA
- Chapter 6: Humans and Dragons
- Chapter 7: Fairies vs Tartaros
- Chapter 8: Alegria
- Character Stories
- Requests
- Extras
 Join us on Discord
