Seattle: Day 3 (Abby)
Return to the Aquarium
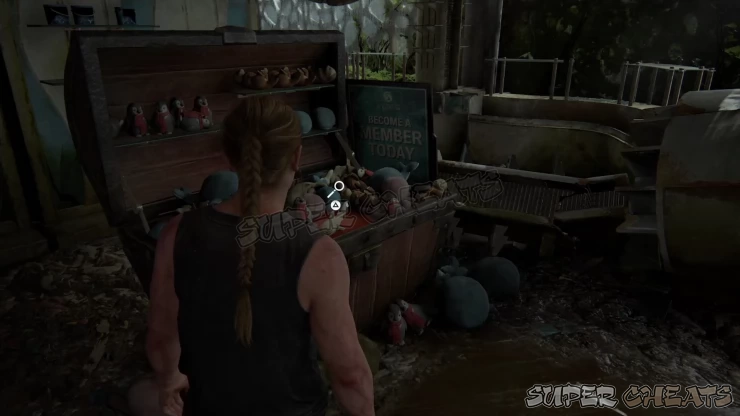
Follow Yara then play fetch with Alice. Continue following Yara to the gift shop then pick up the shark stuffed toy by the treasure chest display. This will complete the mission and start the next one after the cutscene.
The Marina
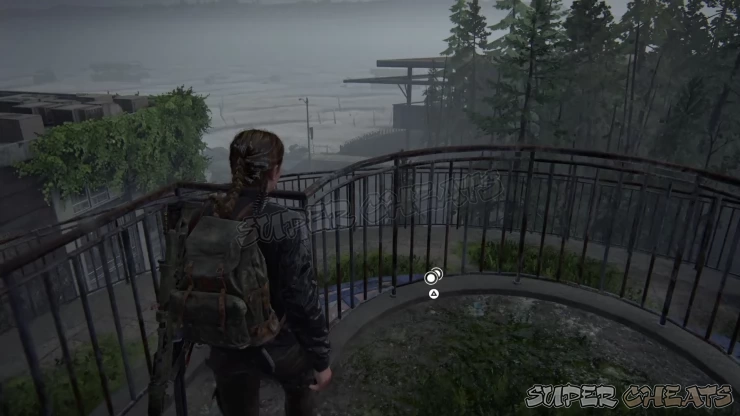
Once you’re in control, turn around and check the railing behind to find the Kansas Coin. Continue downstairs next and climb over the elevator shaft. Make your way to the ground level afterward.
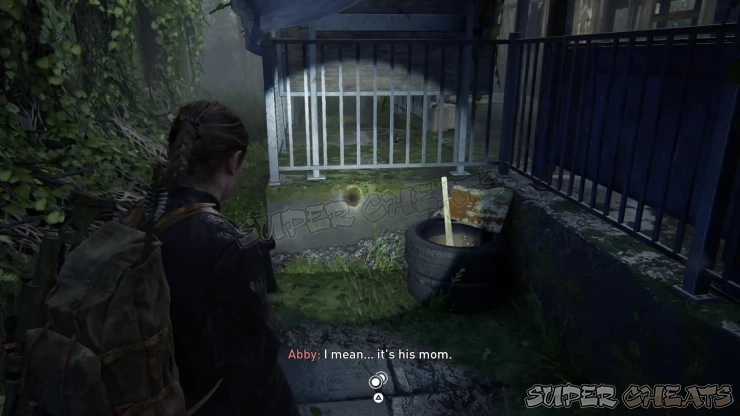
Continue following Yara to the train station then head to the right past the access ramp to find the Louisiana Coin on the ground, near some tires.
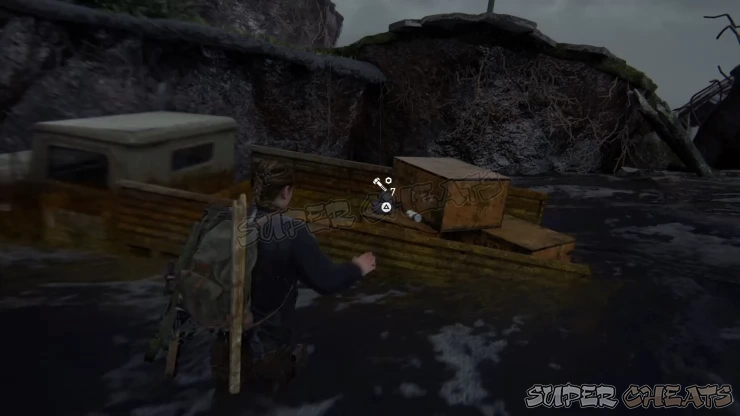
Enter the train next then pick up some parts on the left and some supplements on the other side. Leave the train afterward and continue to the flooded area. Drop down to the waters and find a partially-submerged truck near the seawall to find some parts and flamethrower fuel.
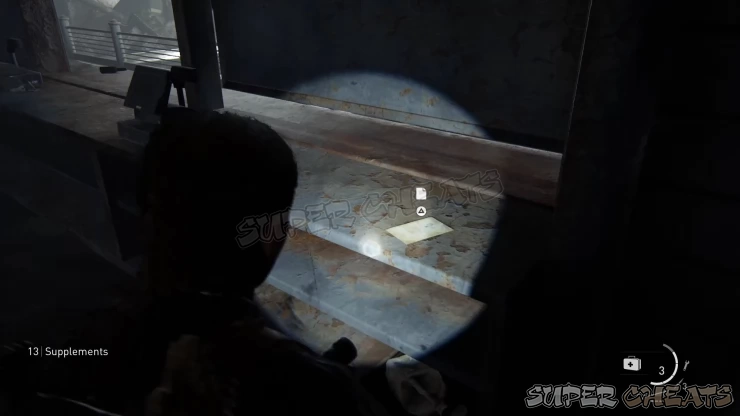
Turn around from the truck to find a ramp leader to a storm drain. Remove the cover and crawl inside. Continue following the straightforward path then climb over the railing. Don’t climb up the ladder yet; head straight to find a small shop called the Crab Shack. Head inside and pick up some parts, materials, med kit, and supplements. Grab the Marina Note Artifact from the counter. Leave the shop then climb up the ladder afterward.
Continue towards the street to regroup with Manny. The sniper is really good so keep low and move from cover to cover. There will be intervals between shots and if you see a flash of light from the footbridge, that means that the sniper is ready to fire. Run from cover to cover then go prone as soon as you see the light is up. Continue running when the light is out, which means that the shooter is reloading.
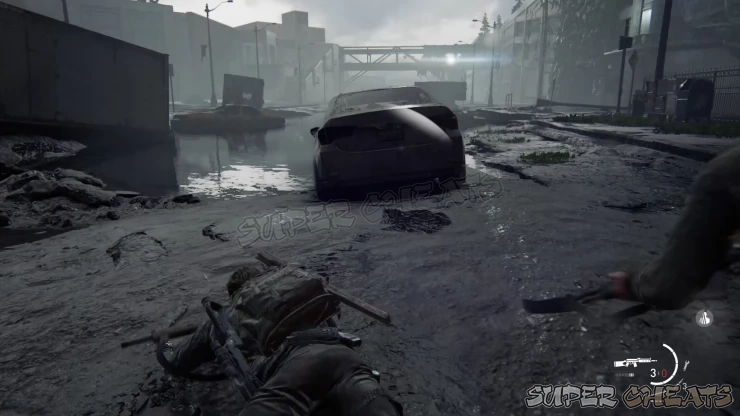
Head towards the back of a delivery truck. You can use the cart as temporary cover so you can reach the port terminal entrance to the right. Loot the parts, ammo, and other items in the immediate area then pull the shutter open to the parking lot.
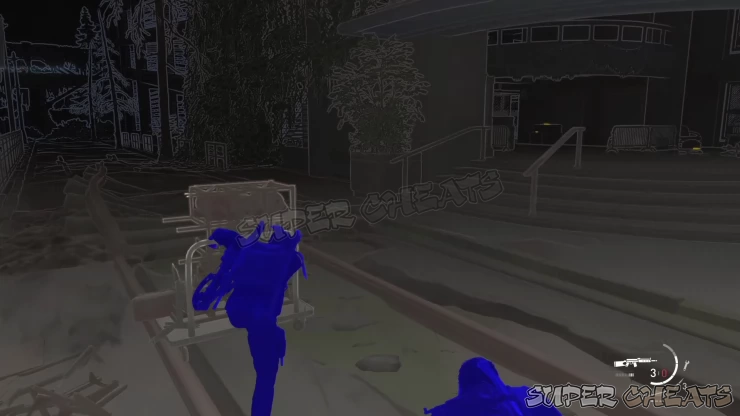
The shooter will keep firing at the nearby vehicles to lure the nearby infected towards you. Stay in cover and away from the shooter’s line of sight while you’re fighting off the runners rushing towards your position. Turn around to find a set of stairs behind you; use that to reach the next floor. There are more enemies to deal with here and the safest place where you can engage them is by the left wall near the stairs. This gives you a lot of cover to kill the infected even engage them in melee combat outside the shooter’s line of sight. Use this spot to heal up as well.
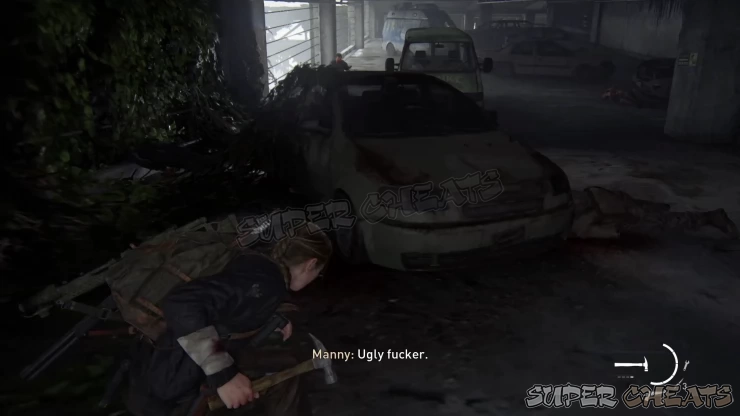
Continue moving forward and kill more infected along the way until you’re finally out of the shooter’s LoS once more. Heal up and pick up the nearby ammo/ materials. Continue to the footbridge and chase after the shooter while also returning fire to force him to run away. Continue your pursuit until the shooter hides inside a restaurant. Attempt to open the shutter then follow Manny to the other door to the kitchen.
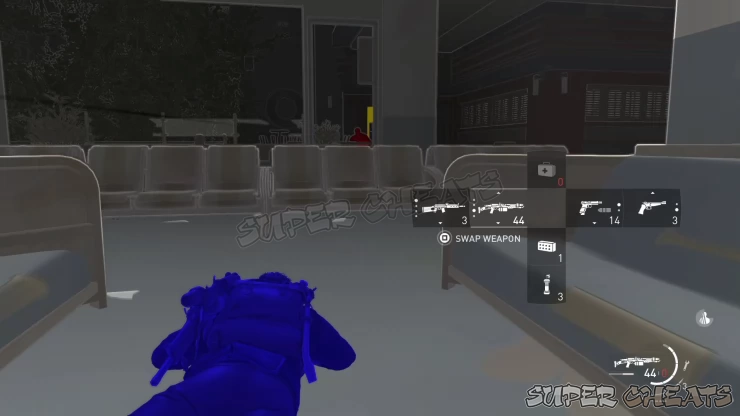
Next, keep pushing forward through the restaurant while laying low. Continue through the open door to trigger a cutscene and complete the mission.
The Island
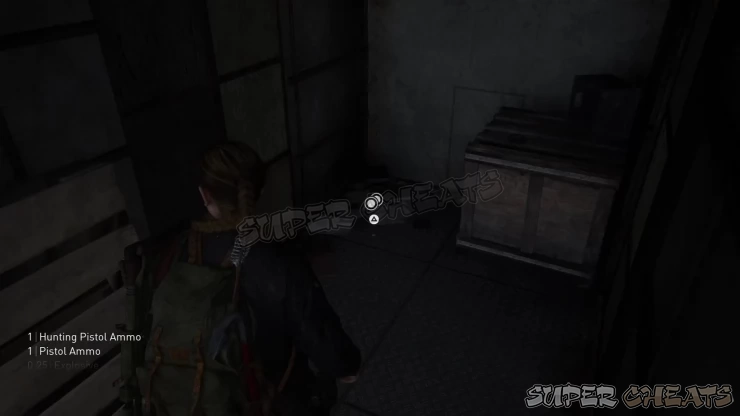
Follow Yara until you reach a ladder leading to the overpass bridge then turn left to find a truck. Enter the cargo hold and pick up the items as well as the Idaho Coin.
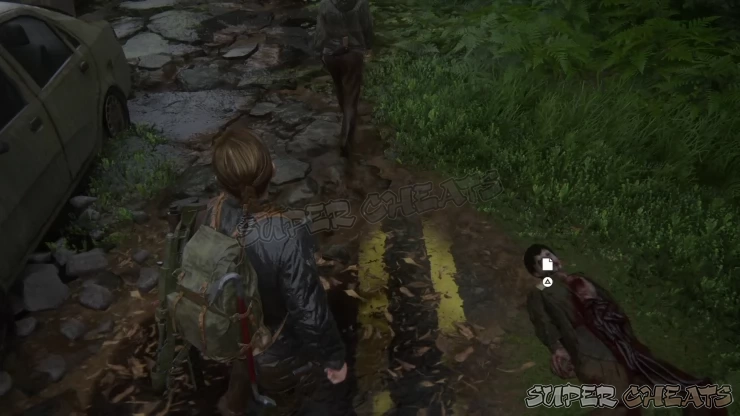
Leave the truck and continue along the path to find two WLF corpses. Check the one on the ground to find the WLF Scout Journal Artifact on its body.
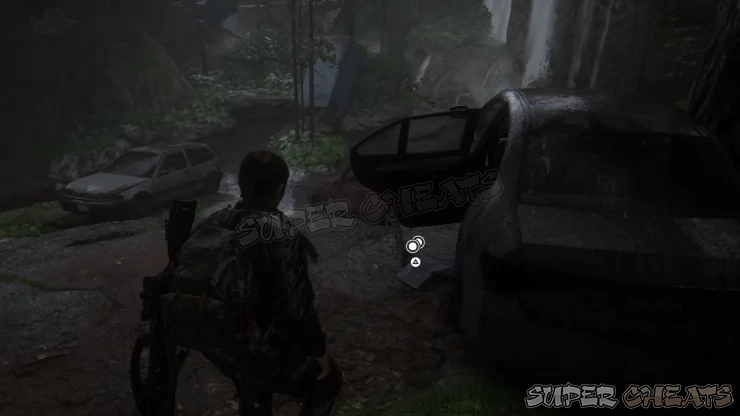
Continue along the trail until you reach a ledge by a small waterfall but don’t jump down yet. Look for a sedan near the edge to the left and find the North Carolina Coin on the ground, by the open back door of the car.
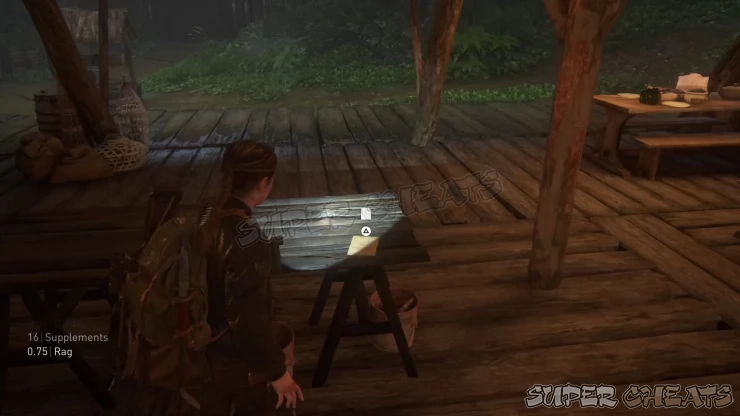
Press forward along the path until you reach the logging camp. There are no enemies here yet and a lot of materials here that you can find so check out the thatch roof houses for supplies. Enter the large house ahead to find the Venison Distribution Note Artifact on the table.
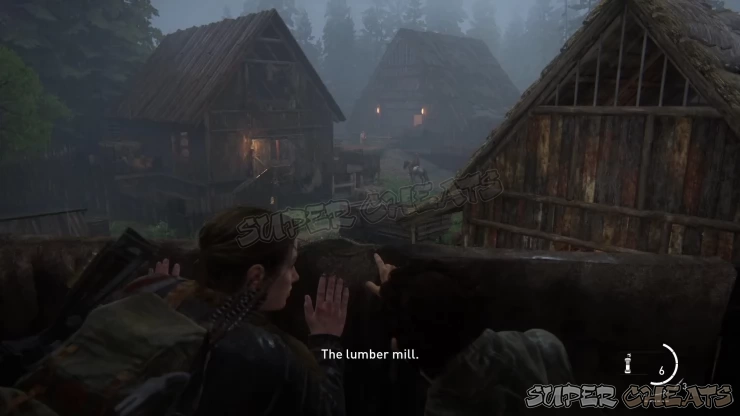
Continue to the next building and push the cart so it’s under the open window. Climb the cart to reach the window. Your destination is the lumber mill, which is the big building with torches and a sniper on the upper floor. There are several enemies in this area and you can either get past the enemies or stalk and stealth-kill them.
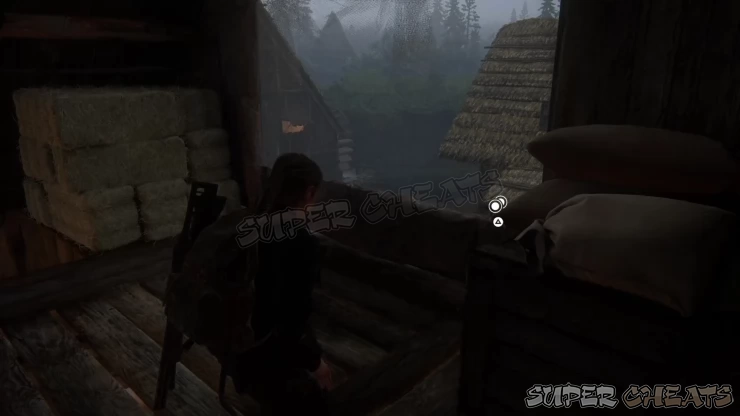
After clearing the area, don’t go through the lumber mill yet; head inside the building in front of it and make your way to the second floor to find the Montana Coin near the window, on top of a wooden crate to the right. Loot the remaining supplies in the area then pass through the lumber mill next.
Continue following the path until you finally reach a small watchtower on an uphill path. Climb into the watchtower to find some ammo, supplies, and parts. Continue forth until you find two more wooden buildings. Head inside the building to the left to find the Young Seraphite's Journal Artifact on the bed.
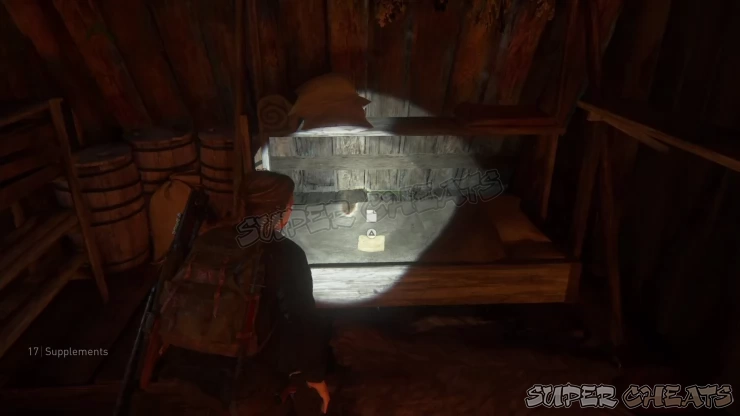
Pick up the supplements and other items inside. At the back of this building, you’ll also find a Workbench. Use the workbench as necessary.
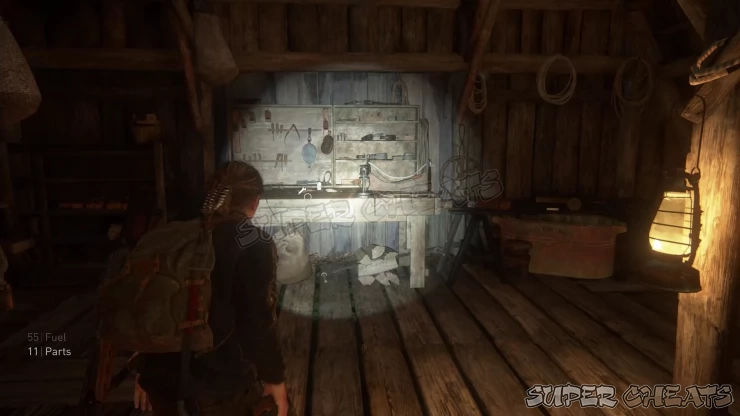
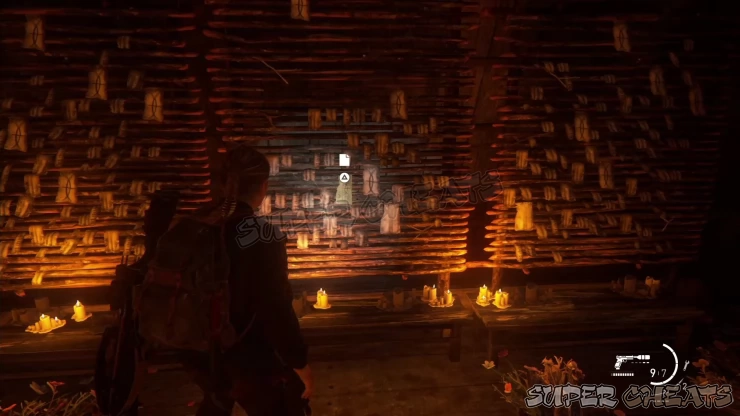
Head to the other wooden building then pick up the Mournful Prayer Note Artifact clipped to the right. This should be the last collectible in this mission so you can just focus on the main objectives from hereon.
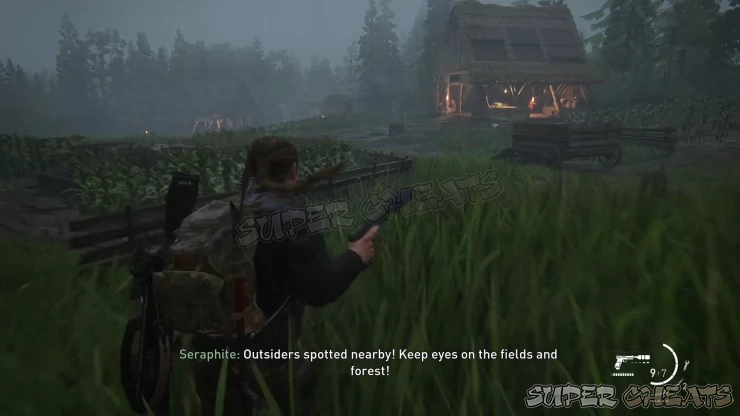
Follow the main path next and you’ll reach the farm where you’ll encounter more seraphites patrolling the area. There’s a lot of cover to use here so it’s possible to bypass most of the enemies. Either way, once you’re able to sneak past them or clear the area of enemies, continue towards the village.
Continue following Yara until you squeeze inside a large wooden building. Pick up the items there, including some supplements on the table in the corner. Move along then finally help Yara open the door to Lev’s house. After the cutscene, the next chapter will start.
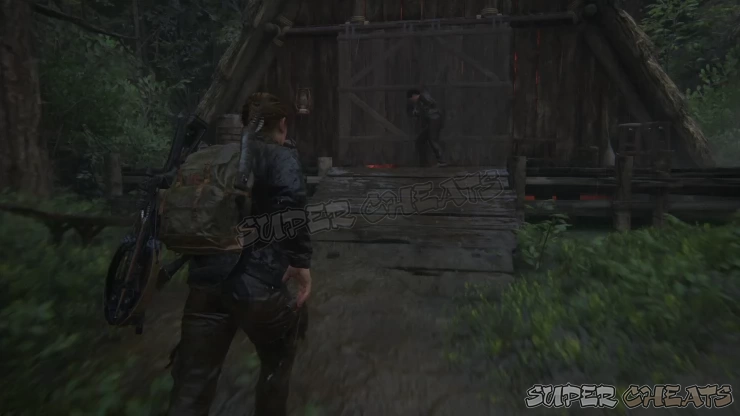
The Escape
Follow Yara and Lev along the stream. Enter the first house to the right to find some supplies, including some parts and supplements.
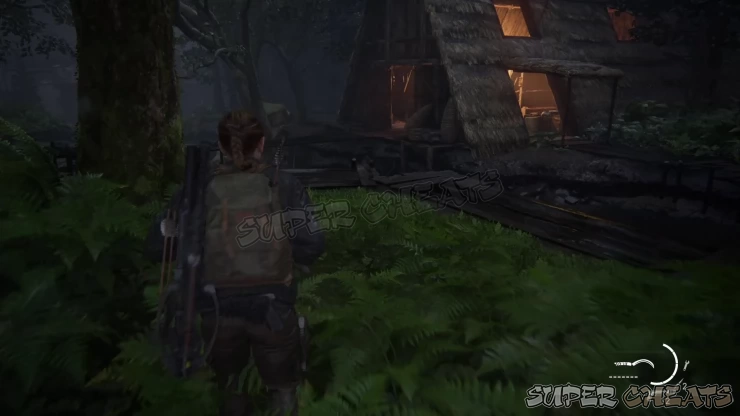
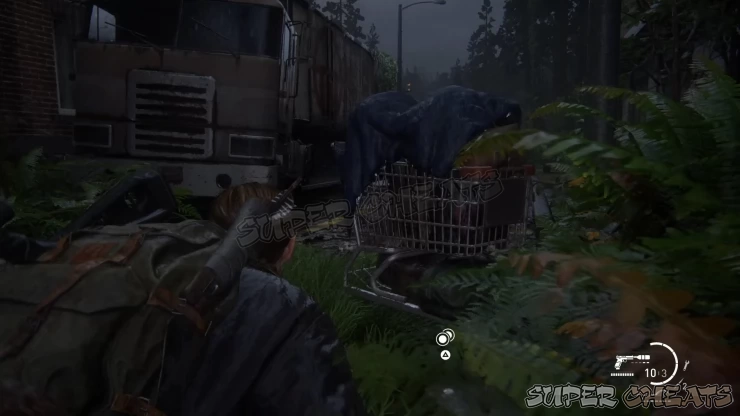
Continue following the path until you pass through a coffee shop. Head to the next building where you have to squeeze to a flooded basement. Loot the supplements and parts along the way then continue upstairs then exit to the street area. Before passing under the trailer truck, turn to the left and find the Arkansas Coin behind the shopping cart.
Head past the truck and continue along the path. After the cutscene, loot the materials and parts on the storage shelves, as well as supplements and shotgun shells by the lockers. To continue, climb over the open window to reach the next area. Quickly take cover and watch out for the WLF soldiers sent to hunt you. Once the first wave has been dealt with, keep low and head inside the store where more WLF soldiers are waiting. Deal with them using any method or approach as you want then loot the area for ammo and crafting materials after clearing the area.
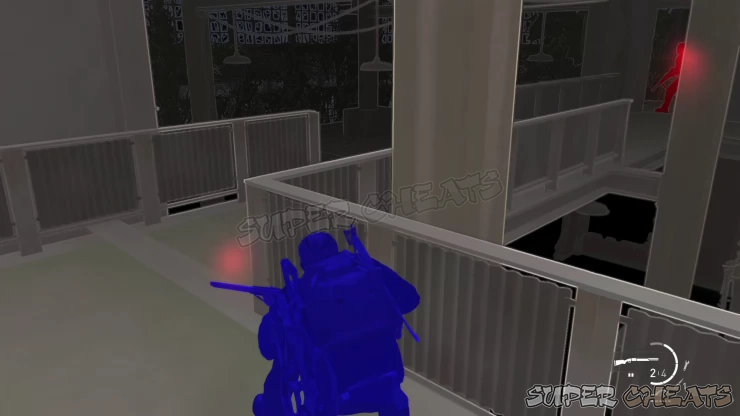
Exit the building and make your way to the radio station, with Lev leading the way. Grab some parts at the back of the truck along the way then boost Lev up to the ladder. Climb up the ladder after it is lowered then climb through the open window to find more supplies inside and a Workbench. Get the supplements here and use the workbench as needed. This is the last collectible in this mission so just focus on the main objectives from hereon.
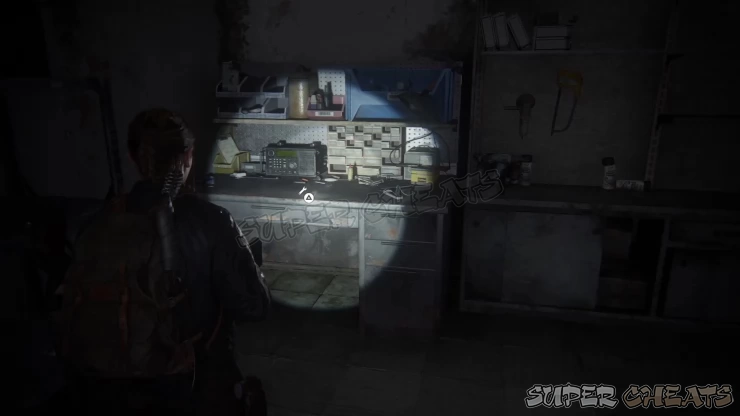
Leave the radio station and drop to the ground level where you’ll encounter seraphite and WLF forces exchanging fire. Stay low and take them out since they’ll be equally hostile towards you. You can have let them kill each other if you want to save up your ammo then take out the stragglers.
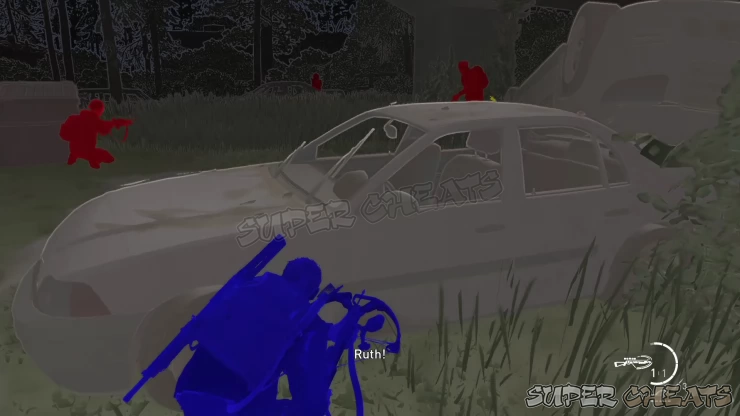
Keep pushing forward until you reach the diner. Kill all enemies then pick up the supplies and ammo inside the diner. Once done, find the horse outside that you can use. During the horse-riding sequence, you’ll have unlimited ammo so just fire away as needed. There’s only one path to follow so just keep riding until you encounter enemy riders in the open field. Take them out then continue riding until you’re forced to continue On Foot.
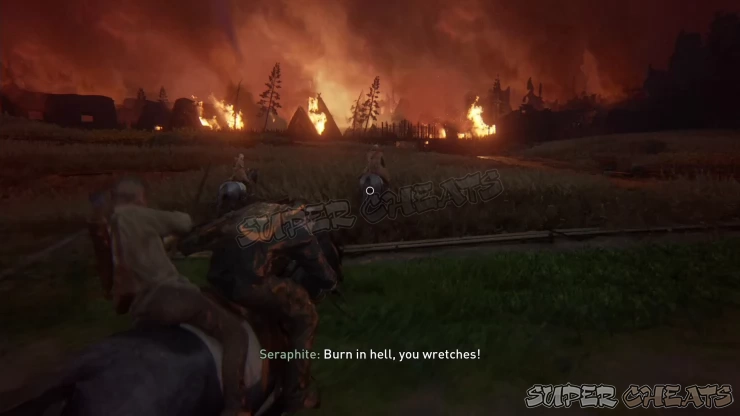
Move through the burning houses until you find another firefight between the WLF and seraphite forces. It will be hard to sneak on them so take cover and pick them off or wait for them to kill each other. Continue forth until you’re forced to get inside a burning dining hall. Cross the beams until you make it to the ground level. Force to remove the debris blocking the exit and press the required button prompts.
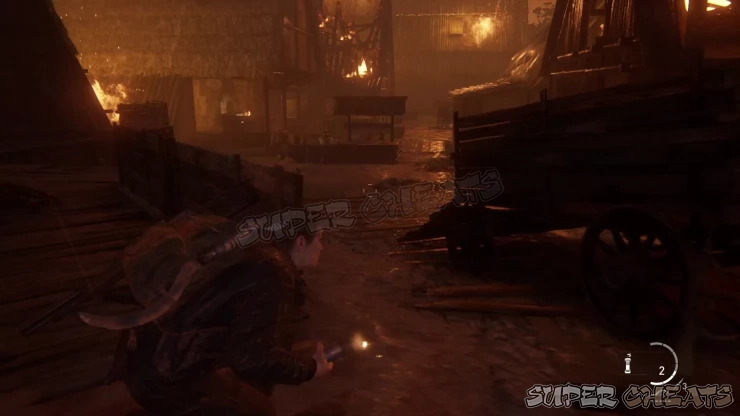
Next, you’ll have to fight a seraphite brute. You only have the sickle as your weapon during this fight so don’t worry about its durability. As with other melee fights, evade and counterattack to deal damage. At the start of the battle, you have to evade two attacks before counterattacking; once you’ve dealt enough damage, the brute will resort to a three-swing combo. Beware of the brute’s surprise grab attacks as well.
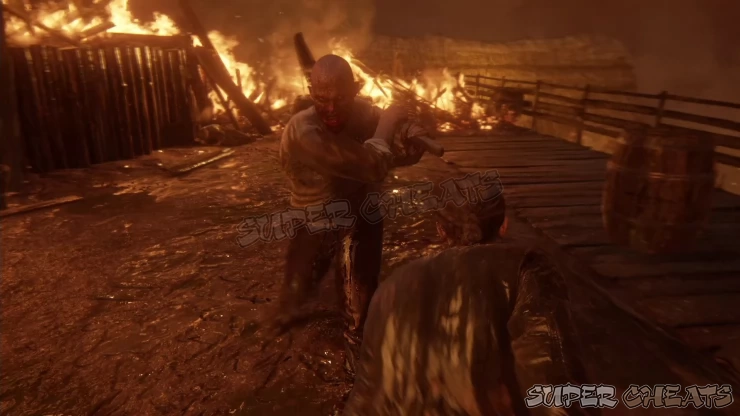
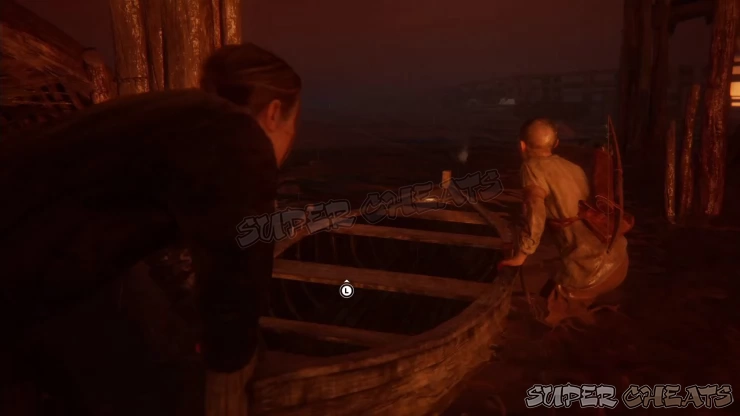
Keep repeating this until you’re thrown in a QTE sequence. Complete the button prompts to finally kill the brute. There will be no more enemies along the way so just follow Lev to the boat to complete the mission.
The Confrontation
After arriving at the theater, head to the fire escape on the right side and boost Lev up so he can lower the ladder for you. Climb up the ladder and enter through the window. Enter the projector room and examine the map and the photos on the table then head downstairs to sneak up behind the man to trigger a cutscene.
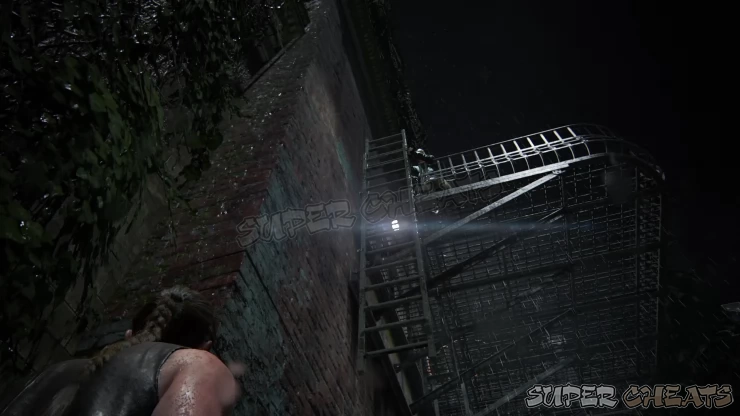
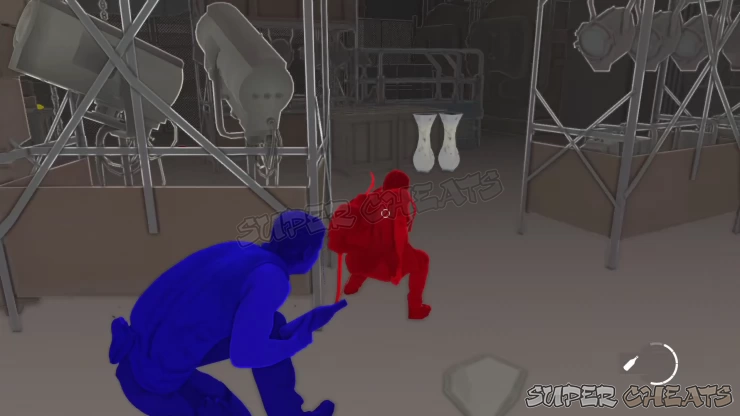
During the cutscene, follow the target behind the stage curtains to trigger the boss fight. You don’t have any weapons here so you have to stay out of the target’s line of sight. You also don’t have any med kits so you’ll only be able to heal yourself by picking up health packs scattered in the field. For the first phase of the battle, the enemy will be wielding a pistol. The only way to damage the enemy is by sneaking behind her and landing some melee hits. The enemy is smart and will not follow a fixed movement pattern so you have to keep using Listen Mode to keep track of her movements. Fighting in High Contrast mode will also allow you to easily see the enemy at a greater distance.
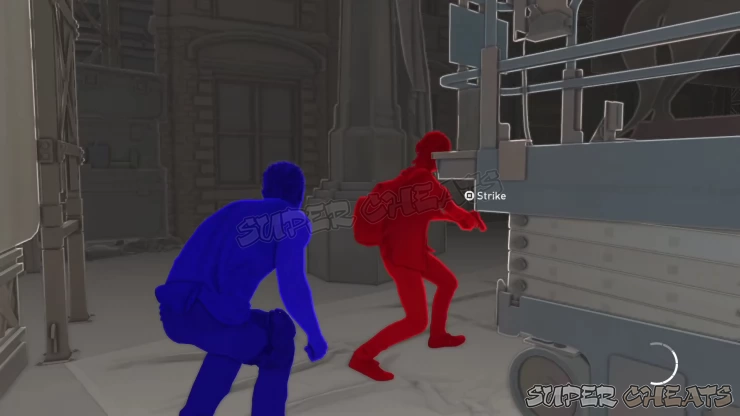
After falling to the lower floor, the enemy will wield her shotgun. Dodge immediately then get away from her and try to pick up a bottle or brick along the way. Once you have gained distance, take cover and use Listen Mode to keep track of her movements. Once again, you have to sneak behind her or stun her by throwing a bottle or brick so you can land some melee hits.
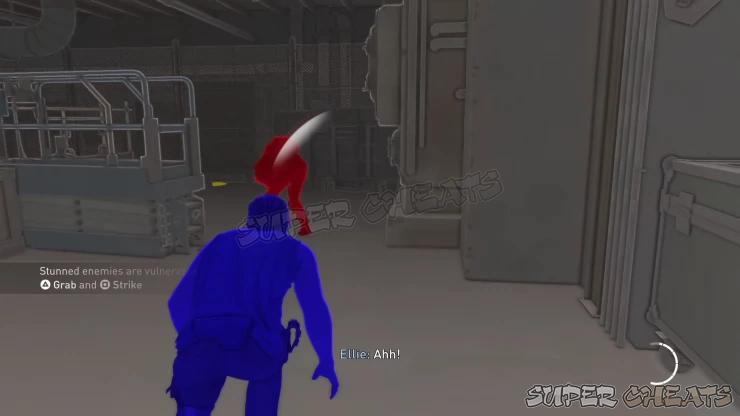
After dealing enough damage, the enemy will switch to her bow and arrow which can impale you and cause damage-over-time until you remove the arrow. The same strategy applies; stay low and use Listen Mode regularly to keep track of her and plan your approach. Stunning her with a bottle or brick is still a viable strategy. Sneak or stun her then land the last batch of melee attacks to finish the battle.
The Farm
This short chapter is cutscene-heavy with no collectibles. As such, there's no need for a walkthrough since you'll just perform mundane tasks like interacting with specific objects. After talking with Tommy and a few more cutscenes, the chapter will be complete.
We have questions and answers related to this topic which may also help you:
 Join us on Discord
