Seattle: Day 1 (Part 2)
Thank you for printing this page from www.SuperCheats.com.Remember to come back to check for updates to this guide and much more content for The Last of Us 2
Last Updated:
Welcome to our comprehensive, collectible-intensive, spoiler-free walkthrough. As a general note, make it a habit to manually save often especially if you’re not relying on guides when playing, so you can always go back to “point-of-no return” portions of the game to collect various collectibles. In this playthrough, we have enabled High Contrast Mode and Enhanced Listening so don’t get confused if you see different features in the screenshots we’ll feature in this guide. You can modify these settings anytime from the Options menu.
Severena Hotel
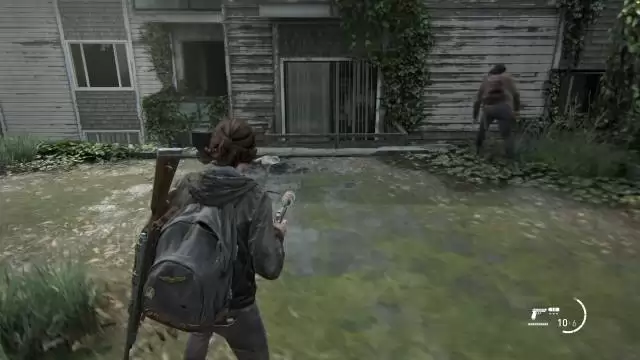
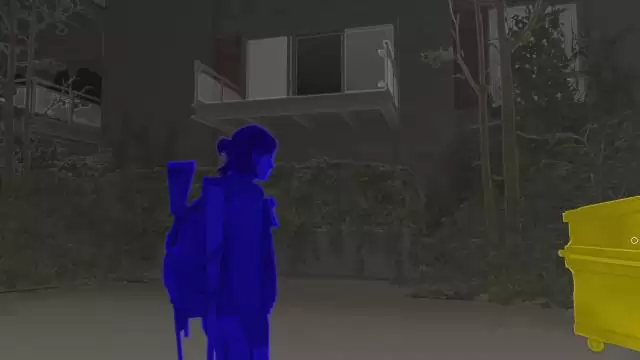
Follow the straightforward path until you reach the hotel perimeter. Follow the main highway to spot an infected that will hop over the fence. You can get in by climbing over the same fence.

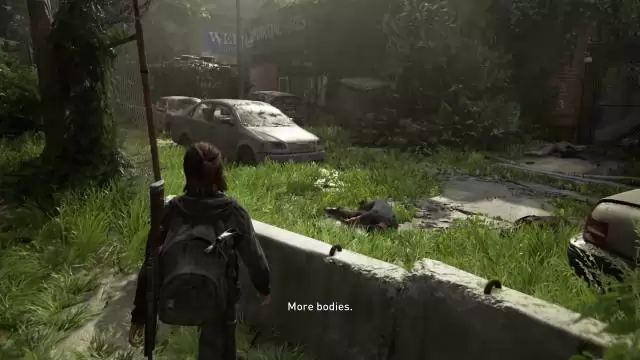
Once inside the hotel yard, carefully approach the entrance. There are several infected here and the best way to deal with them is by throwing a molotov at the ones feasting on a body. The sound and fire should reveal the other infected inside the room so you can safely finish them off from the door. After clearing the room, head inside and examine the body in the middle of the room. There’s also a lot of materials here so make sure to explore the room and craft items as necessary.

To continue, look for a barricaded door near the entrance. Interact with it to remove the metal bar and open the door. You can examine the body on the floor and the gas canister nearby. Don’t forget to enter the Employees Only room nearby to find some materials and parts.

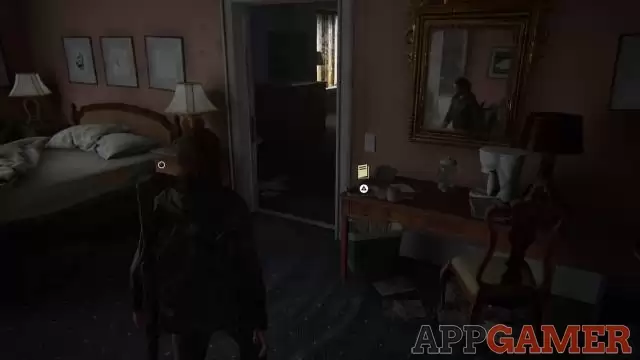
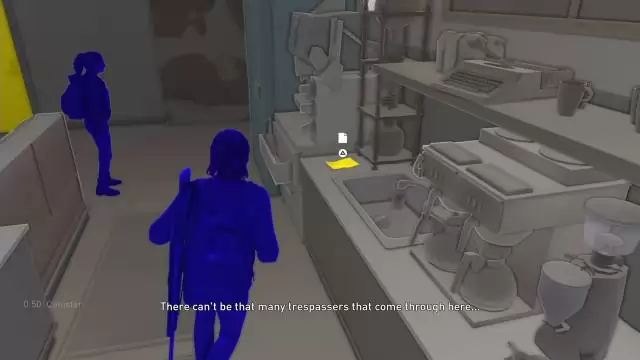
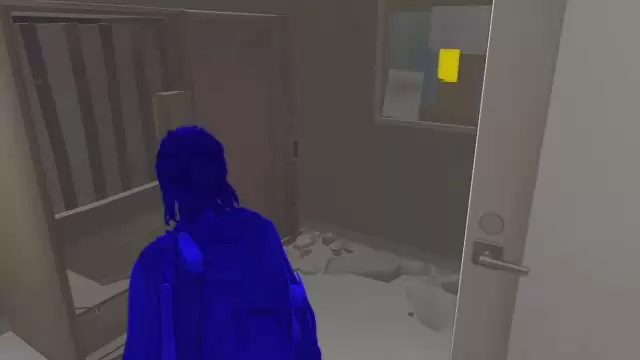
Continue upstairs of the hotel and you'll immediately find a room with a corpse by the door. Examine that corpse as well then enter that room. You'll find the Stealth Training Manual on the desk in front of the mirror, as shown below.
Turn around and loot the supplements in the bathroom then continue to the adjacent room. Open the drawer under the TV stand to find the WLF Recruiter Journal Artifact. Turn around and pull the drawer between the two beds to find the Know It All Trading Card.


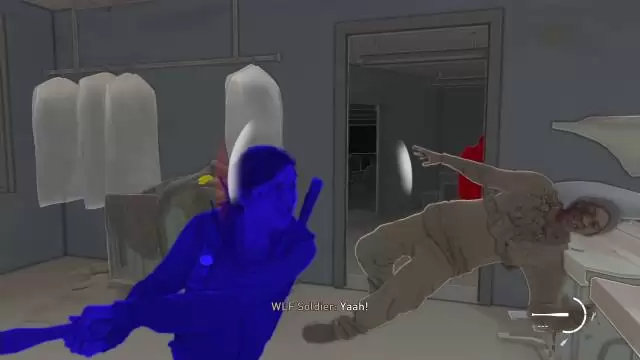
Leave the room then open the door to the next room to trigger a cutscene. After the scene, leave the room. There’s a hammer on the desk to the left; pick it up if you don’t have a better melee weapon equipped. You’re now done in this location so exit to the balcony and drop down to the van below to return to ground level.
Ride your horse and continue to Gate East 1. Get off your horse and power up the generator. Dina will input the correct gate code to open it. Once done, get back to your horse and continue following the path until a cutscene triggers.

Eastbrook Elementary
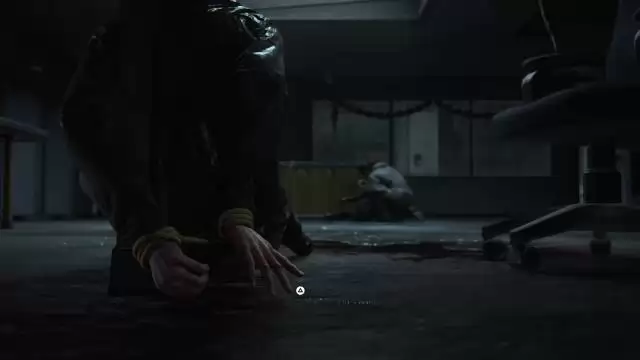
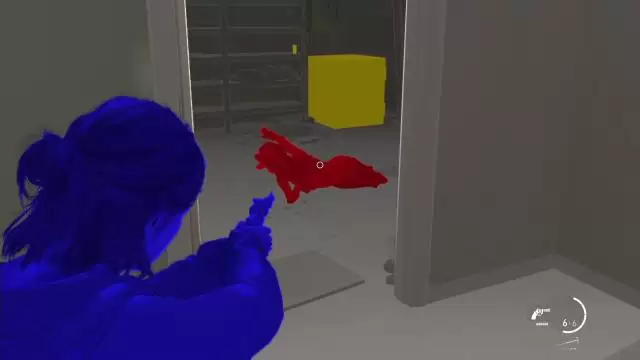
As soon as you gain control, press the button prompts to break free and finish off the assailant. More WLF soldiers will appear so take them out as well. Loot the ammo and other items in the room then follow Dina to the next hallway. More enemies will arrive here as well so take cover and engage them. They will try to flank you so watch your sides and use Listen mode to track their movements.
After killing all enemies, check both rooms to collect ammo and materials then head to the next area. There’s a lot of grassy patches that you can use to hide here but the enemies will be actively combing the area as well. Be prepared to ambush them or use bricks/bottles to stun and kill them with your melee attacks. Take out the enemies in the cafeteria to trigger the arrival of reinforcements then do the same and eliminate them all. Once clear, sweep the cafeteria for supplies and parts.

After clearing the area, heal up and follow Dina as she climbs up the roof. Follow her to the rooftops then pick up the parts, ammo, and health pack on the table straight ahead. Three more enemies will arrive and search for you. You can crawl under the solar panels and sneak up on the enemies to dispatch them silently one by one.
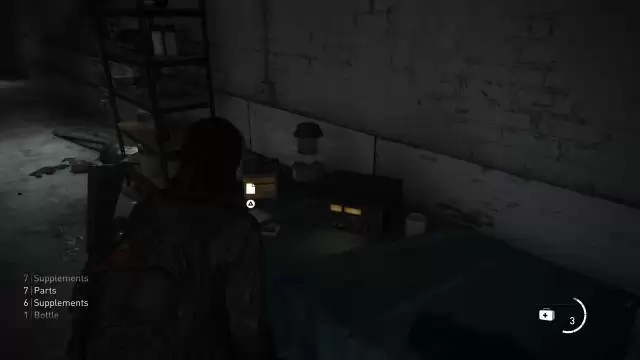
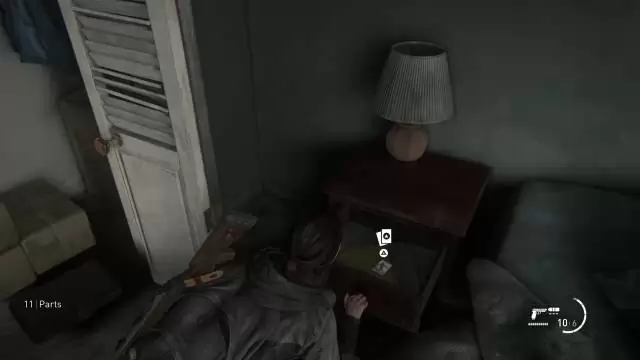
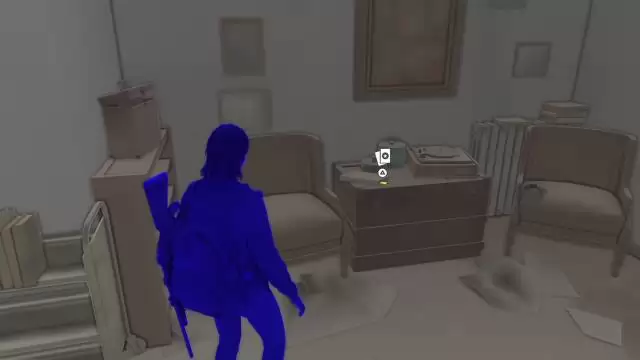
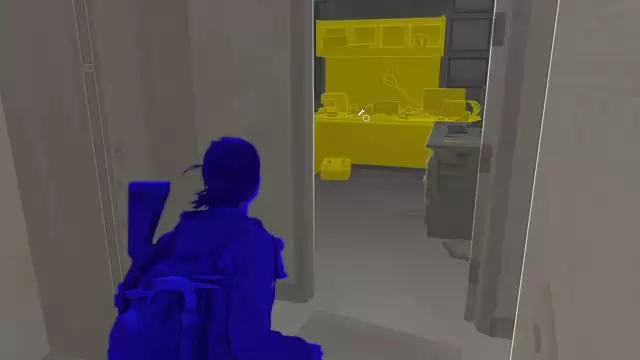
Once the rooftop is clear, find the door where you can enter. After entering, loot the materials and parts to the left, then turn around and find more materials, supplements, and ammo on the table and shelves in the corner. Don’t forget to pick up the Isaac's Mandate Artifact on the same table as well as shown below.
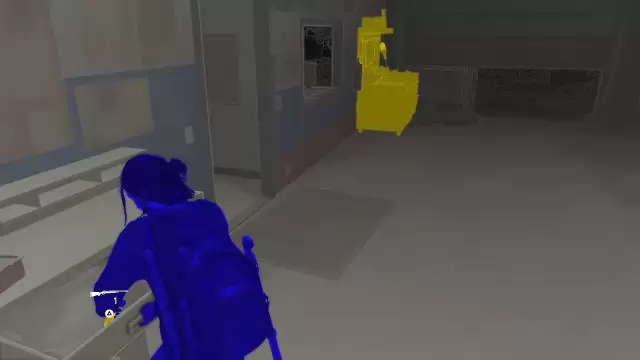
Continue forward and find the vent where you can force open with Dina. Once outside, move along until you find a nearby apartment building. Find the closest balcony then sprint-jump to land on it.
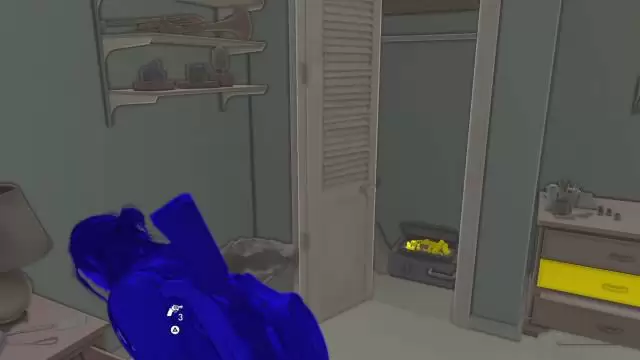
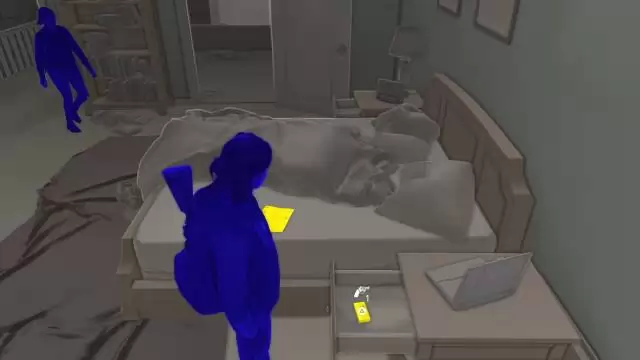
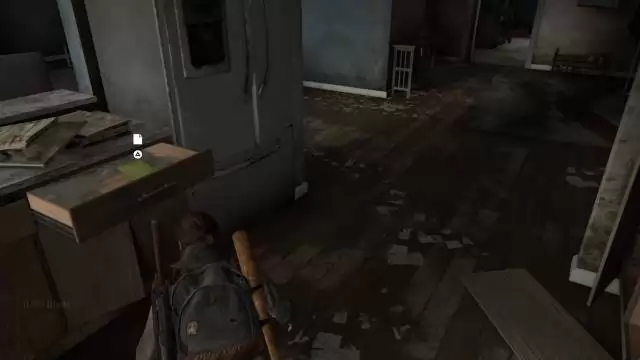
Enter the apartment then loot the supplies in the kitchen. Next, vault over the toppled bed and enter the bedroom where you can find more supplies and parts in the closet. Pull the drawer beside the bed to get the Cardio Trading Card.
Leave the apartment unit then head over to the next one. Loot the ammo, parts, and supplies in the kitchen and bedroom, as well as the supplements in the bathroom. Once done looting the place, exit through the door for a cutscene. After the cutscene, you can now drop down to street level to start the next section of the story.
Capitol Hill
Unlike the Downtown area, this area is not as open but the level is quite lengthy. The level’s design will still force you through a straightforward path though there are certain buildings that you can enter and explore. We will describe which ones to check and what valuable loot they’re hiding. Please refer to the screenshots as well to know what you’re looking for.
After jumping down to the street level, continue to the two apartment buildings. Your landmark is the drained pool on the leftmost side. Each of the buildings has a collectible so you can check them in any order. First, let’s enter Apartment 3. Head inside and open the drawer by the sofa to get the Kinnard, Esq. Trading Card. Loot the parts and supplies in the kitchen. The stairs are blocked so you’re done in this location for now.

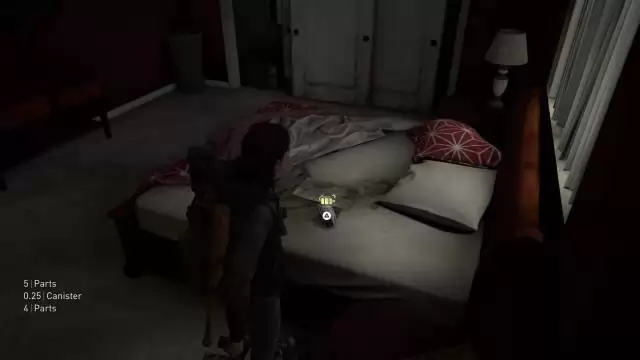
Next, head to Apartment 6 which is situated between Apartment 3 and the pool. Once inside, you should see a trail of blood going upstairs. Loot the kitchen for supplies then continue upstairs. Kill the infected that will ambush you then head to the bedroom to find parts, revolver ammo, and Chevy's Apology Artifact on the bed. Find some supplements in the bathroom, then check the other bedroom for more items, including a baseball bat.
Leave the apartment then proceed forth to the Capitol Inn building. From the inn’s parking lot, find a dumpster to the right that you can move and place it under the balcony of a nearby apartment. Climb up the dumpster then reach the balcony to enter the apartment unit. Loot the items in the kitchen. One of the drawers there has the Raul's Olive Branch Artifact.
Next, check the bathroom for supplements, the closet for parts, then enter the bedroom to the left to find more materials and a Trap Mine. Pick it up to permanently unlock the Trap Mine recipe in your crafting menu. That’s all in this apartment so head back and regroup with Dina.
Enter the laundry/storage room of the inn around the corner and loot the materials inside. Next, enter the next open room then pick up the supplements in the bathroom. Climb out of the bathroom window then look for another open bathroom window. Vault inside then pick up the materials and the Rockafella Trading Card on the floor near the door. You’re done now in this area so head to the second floor and vault over the balcony to reach the streets below.
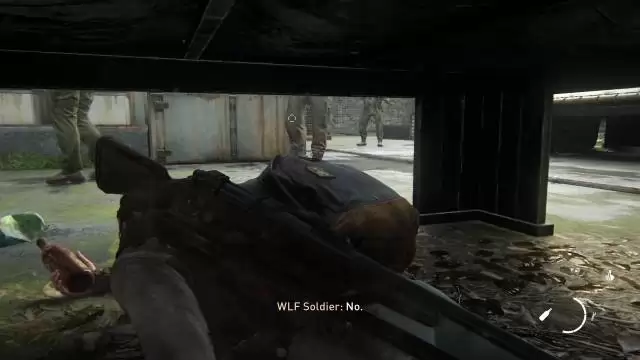
Continue along the buildings and you’ll eventually run across a WLF Patrol. It will be easier to kill them stealthily but if not, the location has lots of cover that will allow you to do hit-and-run tactics or flanking maneuvers. The dry cleaner building has some crafting materials as well so make sure to check it out.
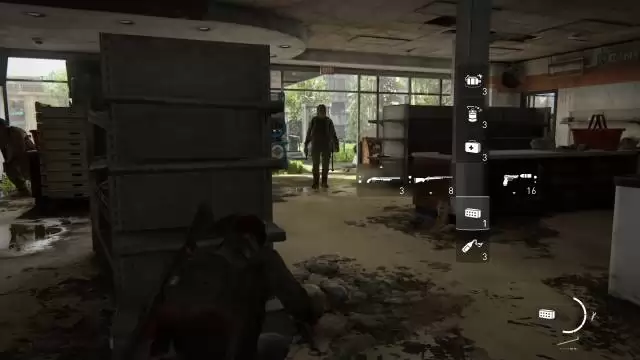
The boutique/gift shop across the dry cleaner has some crafting materials in the corner. Continue walking along that street to find a gas station. Head inside to find a lot of parts and a Workbench. You can use the workbench to upgrade your weapons if you haven’t done so already.
Check out the other rooms inside the gas station to find more supplies, including supplements in the bathroom. Another WLF Patrol will arrive and sweep the gas station. Like before, you can take them out silently or whatever method you please.
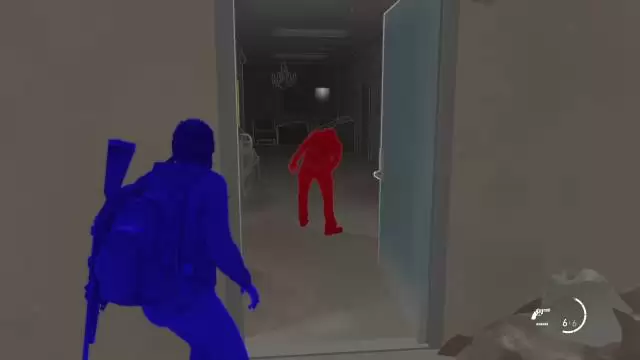
Once the gas station is clear, check the bookstore across the street. Open the back door to find several infected inside, including a clicker. Pick up the supplements in the bathroom then open the door leading to the main store area.
Head to the coffee house section of the same building then pick up the Rebecca's Tipoff Artifact by the sink. Open the door that leads you back to the corridor with the restrooms and check the corner to find the Doctor Stem Trading Card on top of a chest with the gramophone. Leave the bookstore afterward.
If you follow the street outside the bookstore, it leads to a barrier gate. That one is busted so you’ll have to circle around and find another way past it. You’ll finally see a red-bricked building with the “Bagel Bros” logo. This is where you have to pass through to continue to the next area. However, there are more collectibles to find here for the meantime.
This area is full of WLF, including a sniper in the second floor of the Bagel Bros building. To be safe, drop down and enter the shop across the Bagel Bros building and loot the materials in the backroom. Silently take out the two WLF soldiers inside the shop then crawl to the street and hide in the grass.
Now instead of heading straight to the Bagel Bros building, turn around and walk a bit to find the supermarket. There’s a lot of supplies inside but there are infected as well so take them out silently, including the clicker that’s patrolling the back room. Pick up the supplements by the cashier. Head to the back room, pick up the parts on the shelf, then open the lockers to find a health kit, and grab the Sergeant Frost Trading Card. Enter the storage room nearby to get a Lead Pipe and more materials.
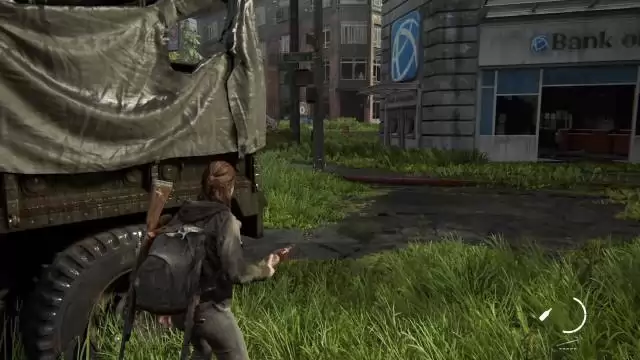
That’s all the goods here no so head back towards the Bagel Bros building and clear the area. You can enter the nearby bank and use that to flank the enemies and give you access to the Bagel Bros building without too much exposure. After wiping off the enemies, scour the bank and the Bagel Bros building for a good amount of ammo, materials, and supplements.
To leave the area, find the hole in the wall on the second floor of the building. Once you’re sure that you’re done scavenging the area, jump down and pick up the rifle ammo and explosives around the corner. Continue to the FEDRA guardhouse where you can boost Dina up and continue to the next area.
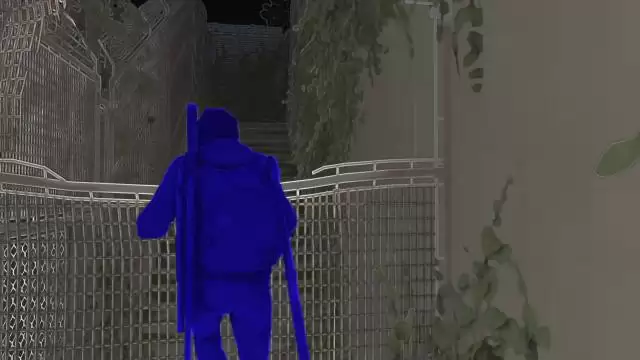
Move along and you’ll encounter a clicker that will trigger a trip mine and get blown to pieces. There are several such traps scattered in the immediate area so be careful. If you have High Contrast Mode enabled, you’ll be able to see these traps a lot easier.
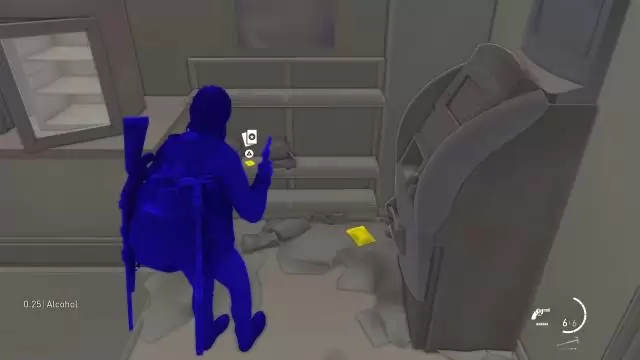
There are more infected ahead but you can lure them to the trip mines for free kills. Enter the liquor store to the left then loot the supplies inside, including the Candelabra Trading Card on a shelf beside the ATM.
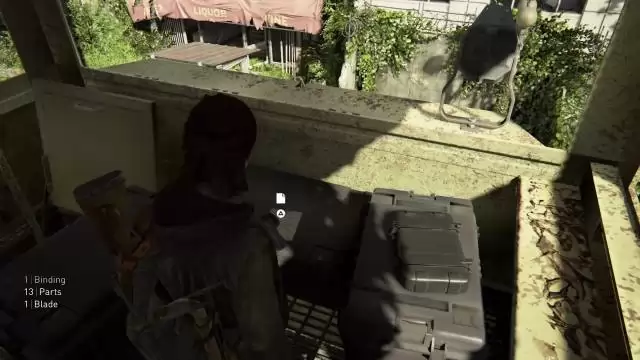
Continue forth and take out the roaming infected outside the liquor store. Continue past the open gate then climb up the watchtower to the right. Pick up the materials, rifle ammo, parts, and the Tower Doodles Artifact.
Once done looting the watchtower, slide down to the stream. There are no enemies here so just keep an eye out for supplies. Check the tank and truck to the right for some supplies and shotgun ammo, then continue to the left, past the collapsed overpass. You’ll eventually come across a painted mural on the wall that says “Feel Her Love”.
From that wall painting, turn around to find an open cargo truck. Climb inside and pick up rifle ammo, materials, and the Raul's Account Artifact.
From there, continue forth until you find infected corpses including a dead horse. Examine the horse’s saddlebag then continue forth until you reach a closed gate and a tight, grassy path full of trip mines. You can trigger these trip mines by throwing bottles or bricks at them.
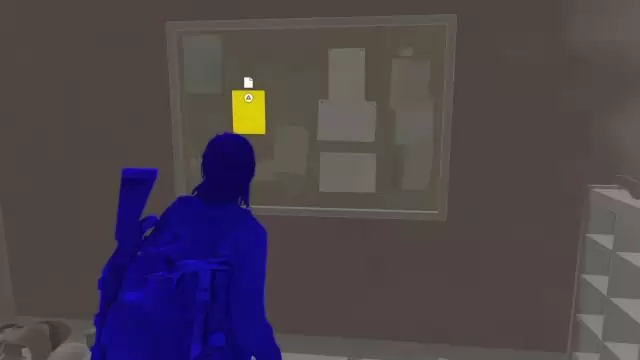
Enter the gym to the right then head to the locker room. Pick up the Fran's Refusal Artifact on the small bulletin board. Turn around and you’ll find a Workbench.
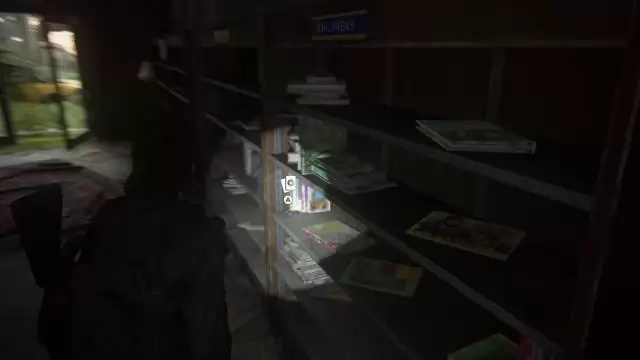
Leave the gym and enter the thrift store just across it. Watch out for the trip mines then check the Children’s books in the corner to find a Bizarrebra Trading Card.
Next, open the back door and turn to the right to find a small bulletin board on the wall. Get the Thrift Store Reminder Artifact from it.
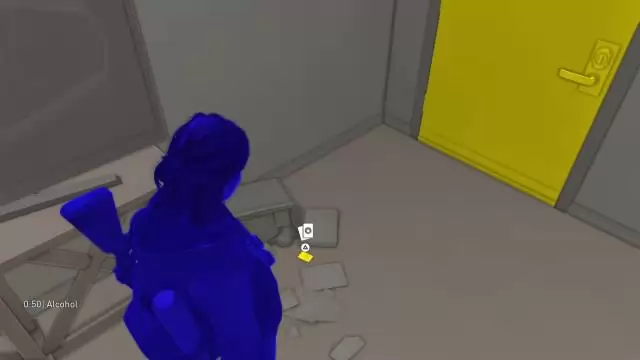
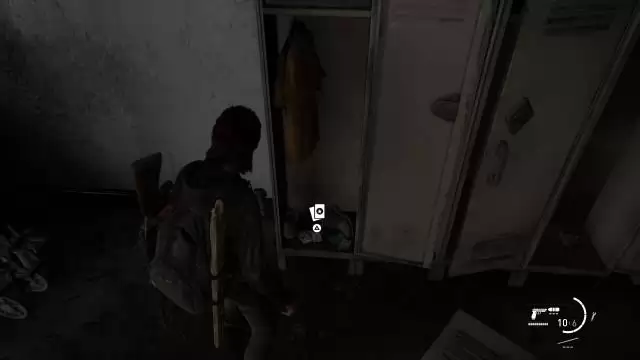
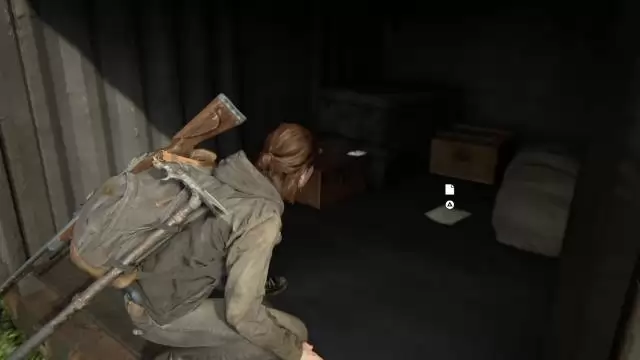
Open the door behind you to find the safe. Kill the legless clicker then use the code 55-01-33 to open the safe. Loot the rifle ammo, shotgun ammo, health pack, and blade inside. Get the other materials inside this room (and craft some items if you haven’t yet). The other door is just an empty bathroom. You’re now done in this place so leave the store and open the van nearby to find some rag and tape inside.
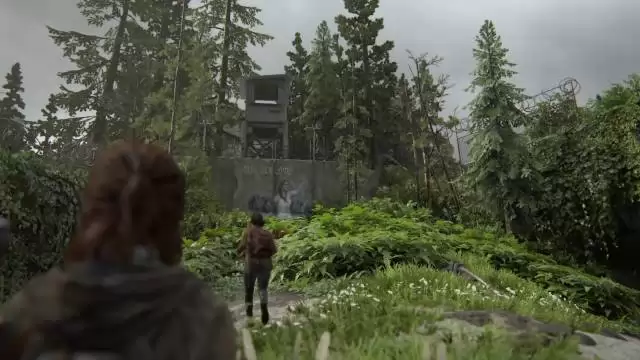
From here, it’s just a straightforward path with no more collectibles or valuables so just follow the path to reach a locked gate leading to the TV station grounds.
Anything missing from this guide?
ASK A QUESTION for The Last of Us 2Comments for Seattle: Day 1 (Part 2)
No comments yet. Tell us what you think to be the first.
Table of ContentsClose
 Join us on Discord
Click to close