Seattle: Day 1 (Abby) Part 1
The Stadium
After waking up, follow Manny to the mess hall. Once there, talk to the various NPCs (use High Contrast Mode and talk to the yellow NPCs) then regroup with Manny by the door. Continue upstairs until you reach Suite 203. Head towards the bed to get the backpack then follow Mel and Manny outside.
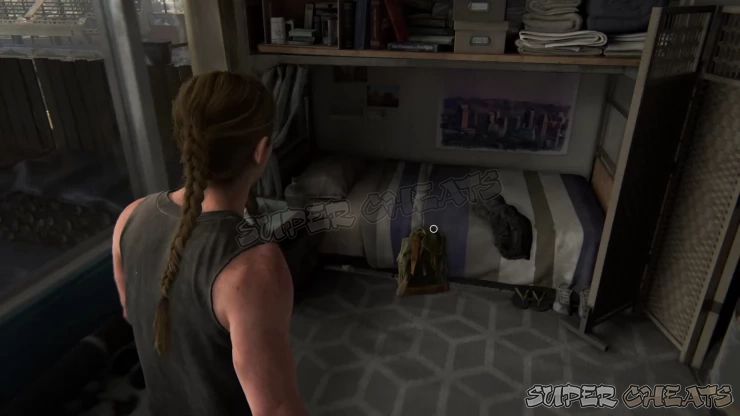
As soon as you leave the suite, turn to the left and look at the ground to find the Alaska Coin near the wall, as shown below.
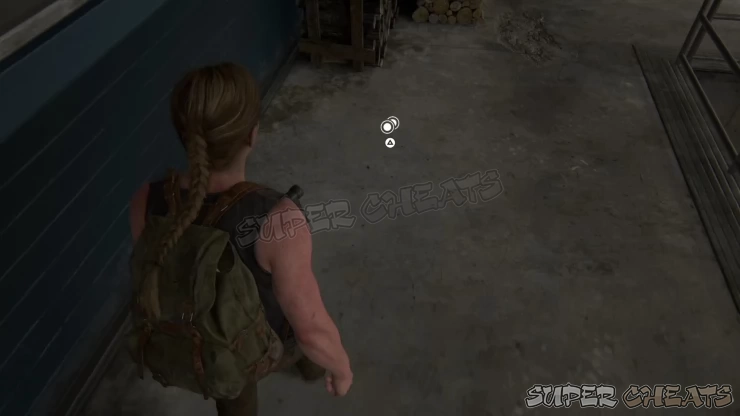
Continue downstairs past the food preparation area. Once you reach the laundry area, go to the right side of the stairs and find the Maine Coin on a bench. Continue downstairs
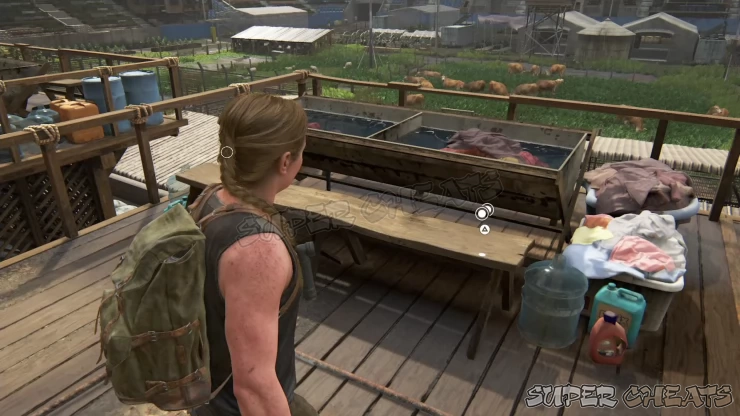
Continue downstairs to the dog kennels. Play fetch and cuddle with Bear then leave the kennels once done. After passing through the dog kennels, you’ll make your way to the quartermaster. Continue following Mel and Manny until you see a WLF soldier with her feet on the desk. Don’t enter the door at the end of the corridor yet. A few steps behind the desk soldier, look on the ground to the right to find the New Jersey Coin.
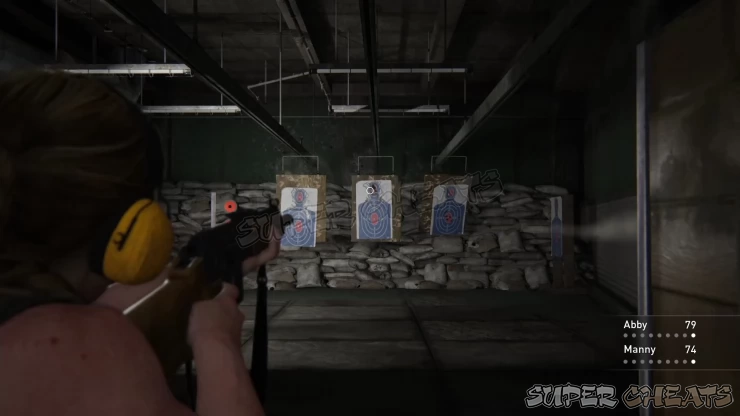
Continue to the next door to get your weapons. After getting your weapons, you can turn around from the quartermaster's table to find a shooting range where you can test them. (You can save your game at this point) Talk to Manny standing outside the shooting range and he’ll have a friendly competition with you. The goal is to score higher than him in a shooting contest. Scoring higher than Manny in this challenge will unlock the Sharpshooter Trophy.
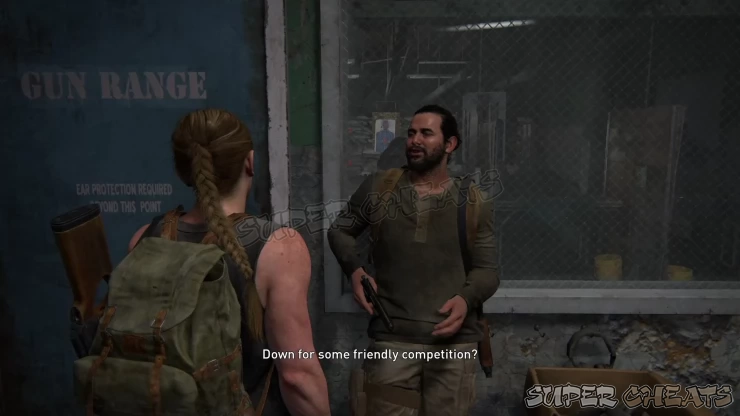
The assault rifle is the best weapon for this challenge since it has a faster fire rate and larger mag size. To get a better score, try to consistently land headshots. Take your time to line up your aim before taking your shot. This shouldn’t be that difficult; if you fail, you can reload and try again.
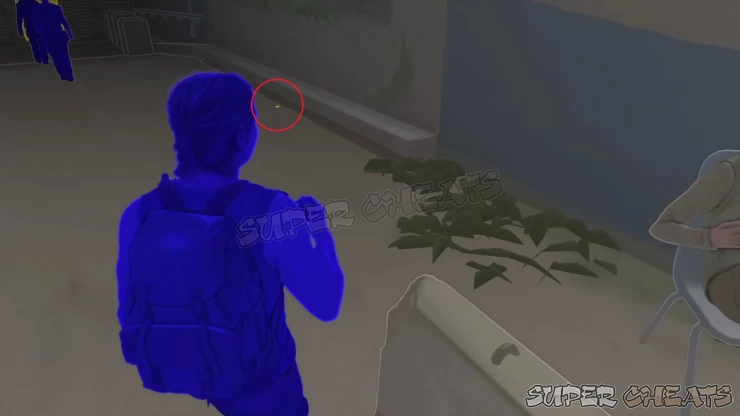
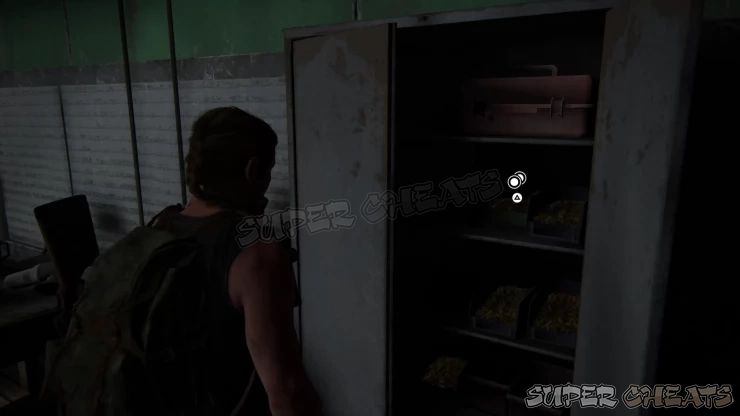
After completing the shooting range challenge, head towards the garage but turn left first and pick up the Vermont Coin from the metal cabinet in the corner, as shown below. If you found all the Coins up to this point, the Trophy “Mint Condition” will be unlocked as well. Once done, regroup with Mel, Manny, and Alice and ride at the back of the truck.
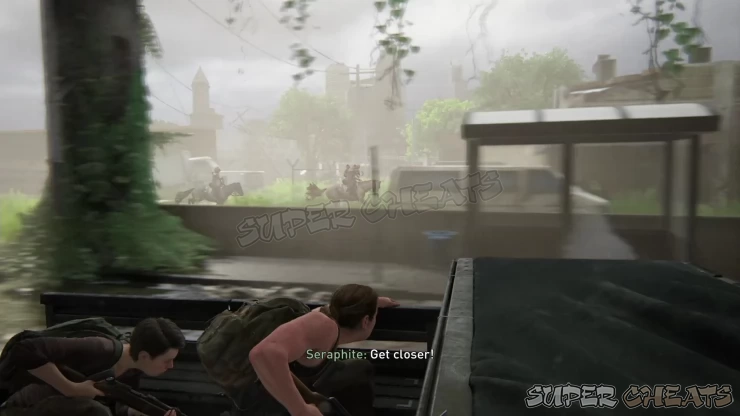
After a short while, you’ll encounter a scar ambush. You’ll have infinite ammo so focus on shooting them. You can also aim for the horses to get them off your track easily. Continue defending yourself until you finally reach the end of the sequence and the next mission starts.
On Foot
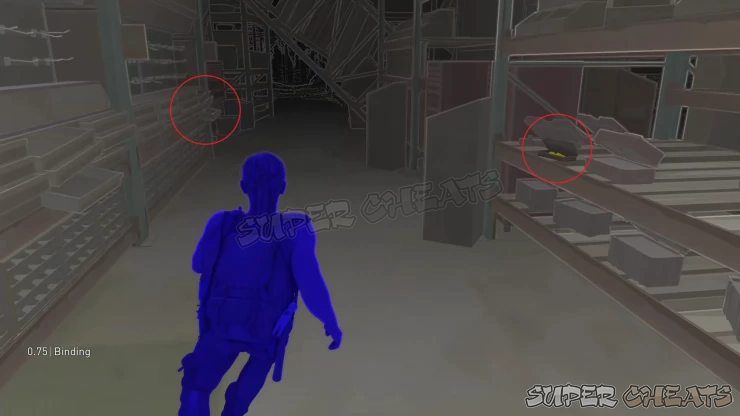
After climbing inside the warehouse, turn to the right and look for a small table in the corner. Pick up the Kentucky Coin on the table.
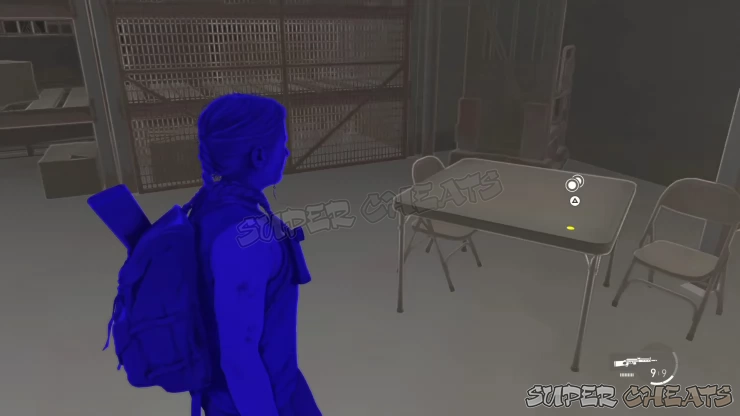
Follow the group and pick up the crafting materials by the trolley to unlock the Pipe Bomb recipe. Go ahead and build one then continue forth to the hardware area. Loot the nearby crafting materials and take out the infected.
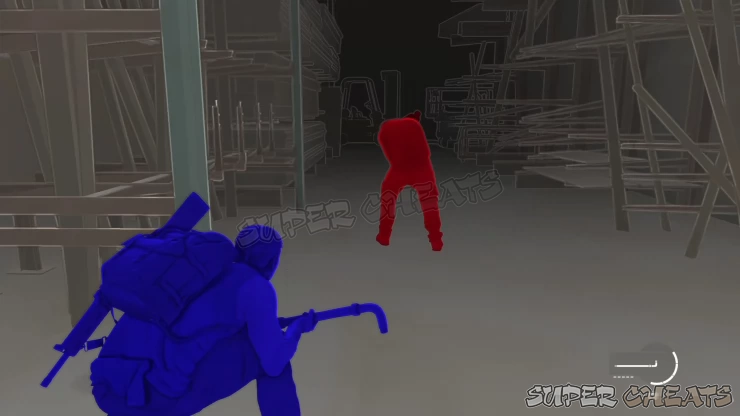
After clearing the area, you’ll need to find a way to reach the opening up on the wall. Find the large shelf where you can climb onto and collect the parts along the way. Jump to the nearby pile of wood blocks and plywood and work your way around to reach the top of the shelf where you can find supplements on the table.
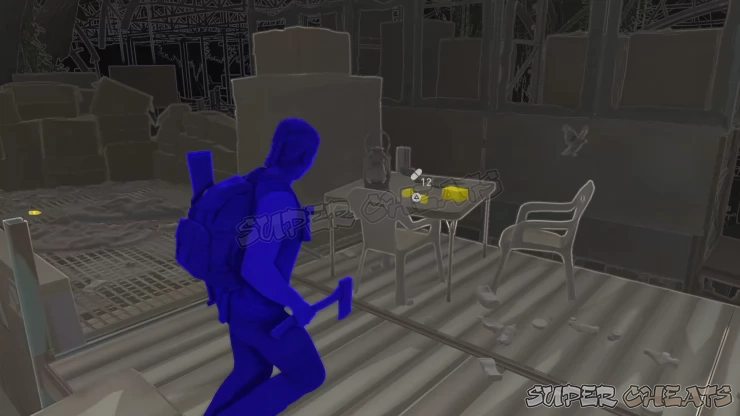
After collecting the items, jump to the other shelf that will collapse. Shoot at the clicker then take out the group of runners that will converge in your location. In a short while, a shambler will join the fray so be prepared to keep your distance and take it out.
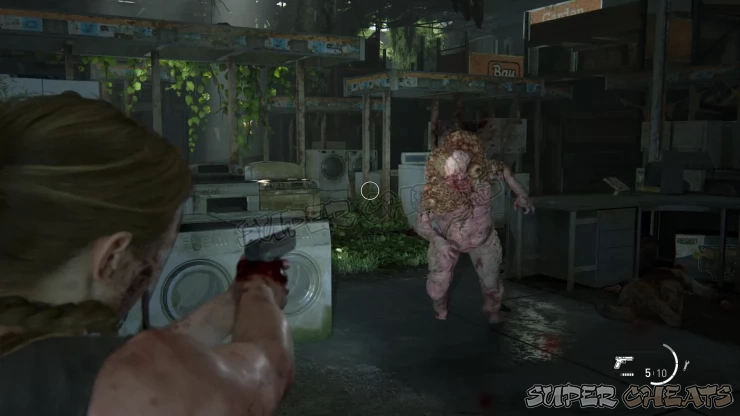
There are no more enemies or collectibles in this area so take your time checking every nook and cranny for crafting materials and other supplies. Find some parts in one of the cashier counters and more in the toolbox/cabinet area near the exit. To continue, try to open the double door to reach the next area.
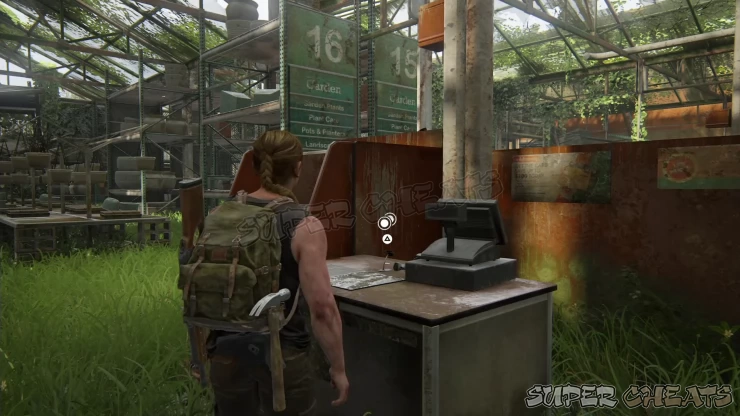
You’ll be in the gardening supplies area. There are also no enemies here and there’s a lot of valuable loot to collect. Head to the farthest cashier counter near row 16 to find the Massachusetts Coin. Collect the remaining items in the area then find a crashed SUV near the sheds section and climb over it to leave the building.
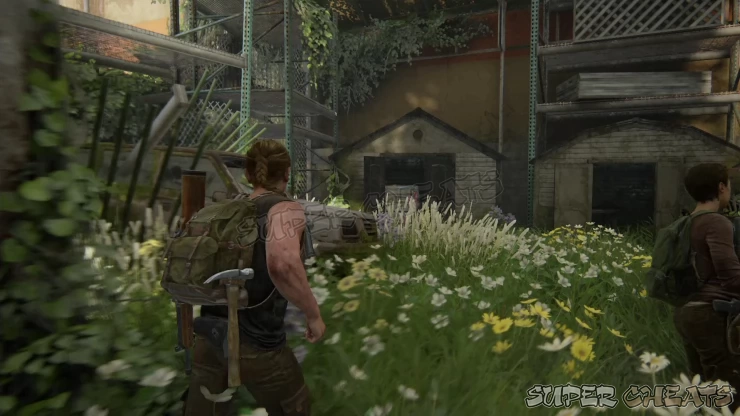
Drop down to the street then climb over the delivery van nearby to find a lead pipe and parts. Pick up the other items inside the truck then head over the nearby door. It is locked so find a dangling rope to the left and interact with it to boost Manny up. Climb up after him, then pick up the rope. Use it to rappel down to the shop below. Find the supplements behind the counter and parts in the shelf. Collect the other loot then push the cabinet blocking the door to let Mel and Alice in.
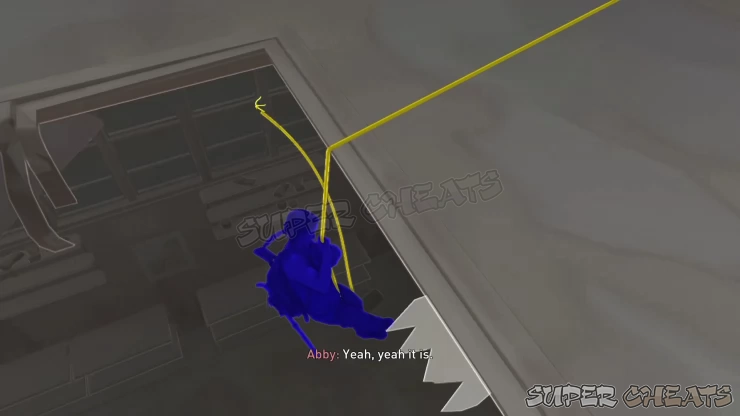
Continue to the boat workshop next. Collect the parts and crafting materials on the shelves and table. There’s also a Workbench beside the stairs that you can use. If you continue upstairs, you’ll find some supplements on the white desk beside the locked door, and more crafting materials. Ignore the door for now then use the workbench if you haven’t done yet.
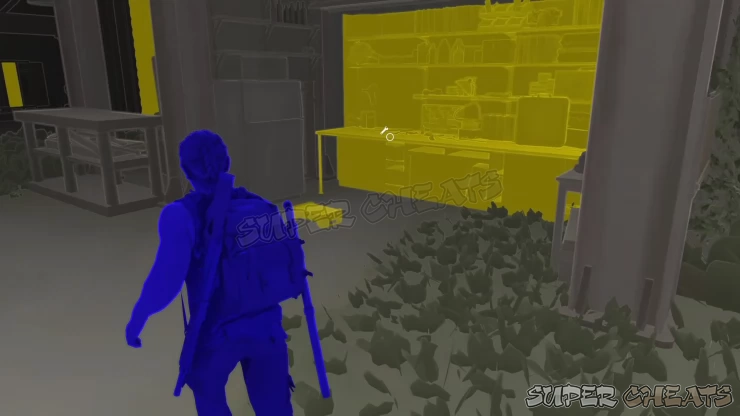
Head towards the boat next and collect the other materials from the shelves near the wall. Next, rotate the crank to let Alice and Manny go through. After the crank breaks, talk to Mel then find a steel cage at the back. Boost Mel up and wait for her to open the door on the second floor, above the Workbench.
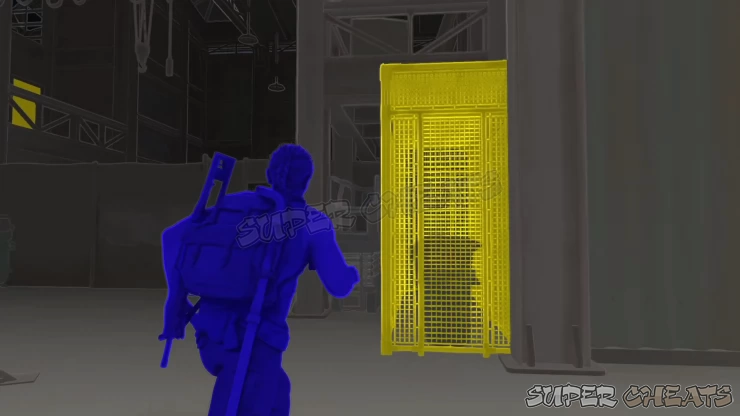
Regroup with Mel then pick up the ladder on the balcony. Set it up on the wall where you found the ladder to reach the space above to find some supplements on the table as well as the Ohio Coin.
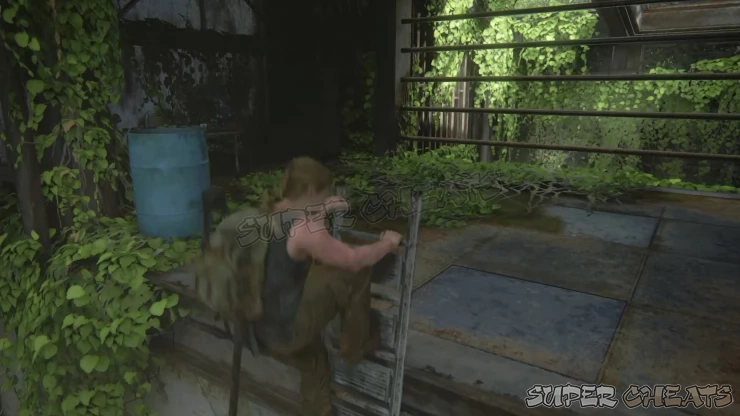
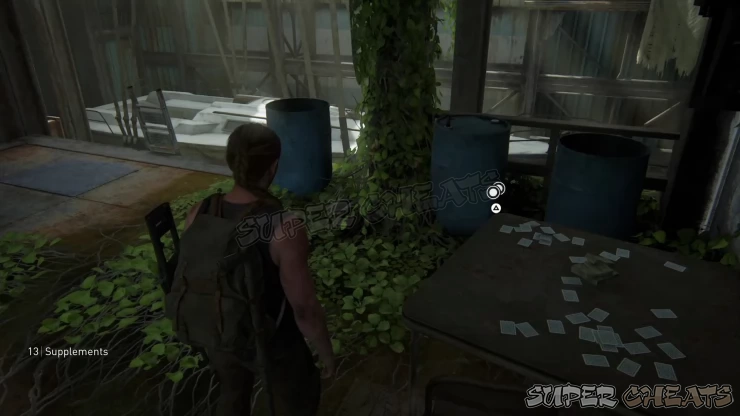
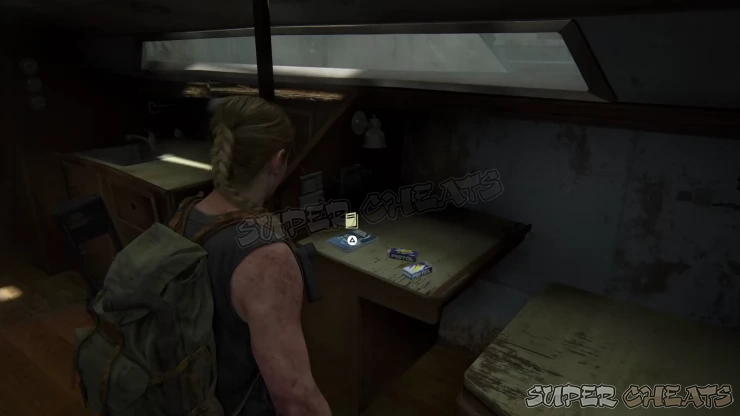
Climb back down the ladder then carry it again. Set it as a bridge to reach the yacht next then carefully cross it. Once you’re on the yacht, head inside and pick up the health kit, ammo, and the Covert Ops Training Manual on the desk to the right.
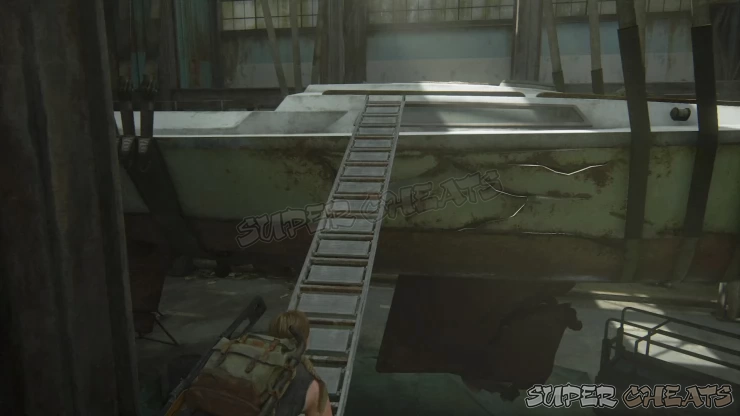
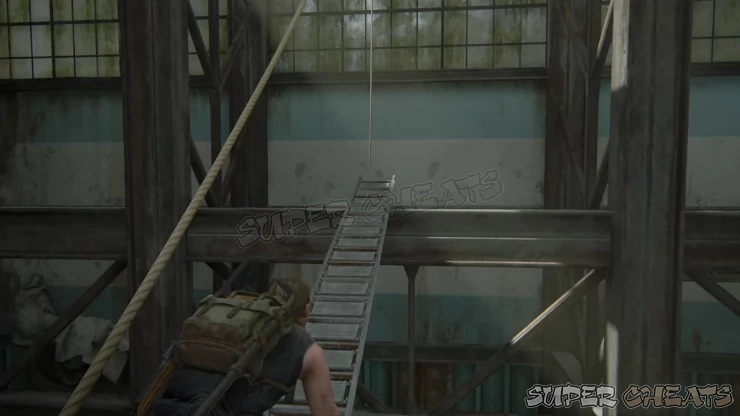
Head outside the yacht then pick up the rope next. Throw it over the steel beam as shown below. Next, pick up the ladder then place it on the lower steel beam so you can jump to the rope. Cross the ladder and jump to the rope then pull yourself up. Cross another metal beam then climb the ladder to the roof. Once you’ve reached the roof, find another ladder that will take you to the stairs of the fire escape. Go downstairs to regroup with Manny and Alice.
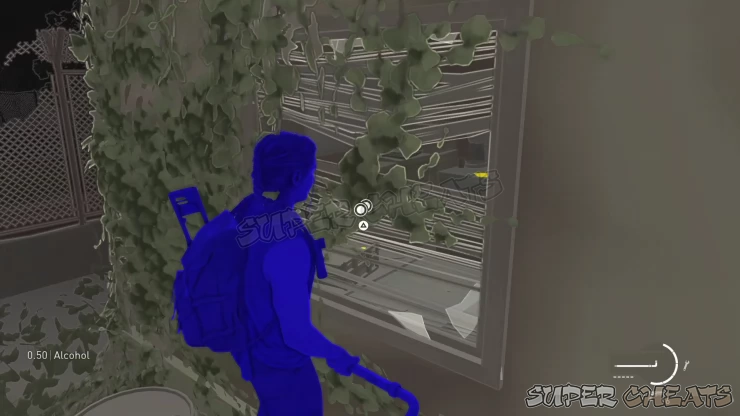
There’s a mobile office parked outside with loot inside. Circle around at the back of the building then climb over some barrels below a window so you can smash the window. Pick up the Indiana Coin on the desk. Climb inside and loot the other materials. Pick up the WLF Gun Cache Note Artifact on the metal drawer near the door.
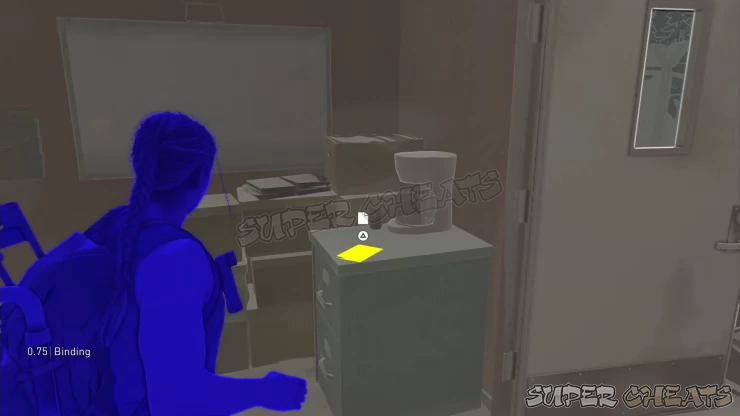
Leave the office then circle around the side of the building near the fence to find a crack on the wall large enough to allow you to slip into. Pick up the supplements, medkit, and crafting materials inside. Use the code 17-38-07 to open the safe and pick up the Hunting Pistol weapon as well as other supplies.
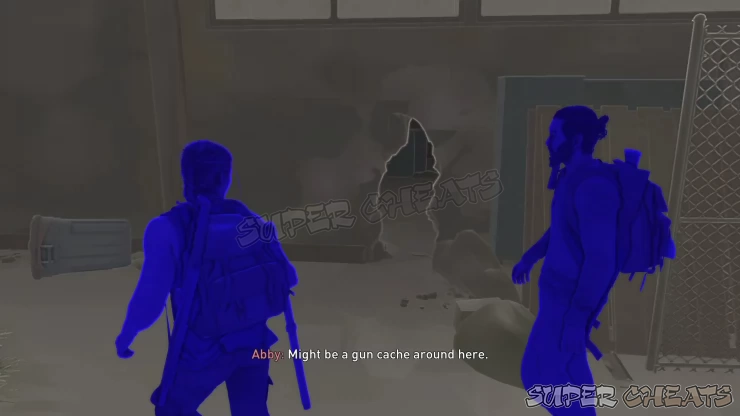
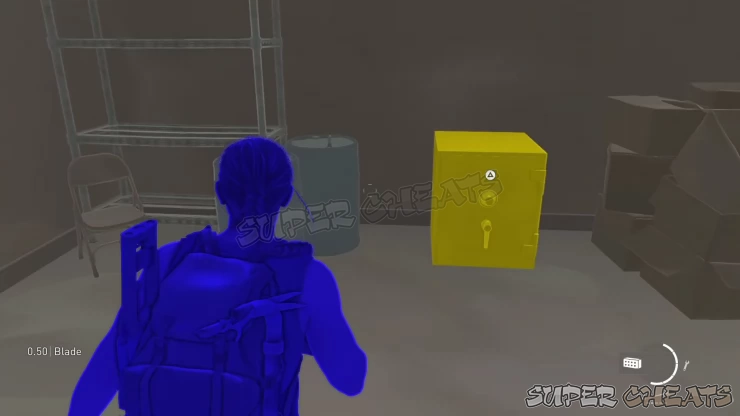
After looting the safe, head towards the broken fence then drop down to the train tracks. There are no more collectibles until the end of the chapter so you just need to keep an eye out for crafting materials and ammo. Walk ahead and you’ll encounter more enemies. Pick them off using any method you please then check every train car to find supplies. Kill the reinforcements that will arrive near the end of the track.
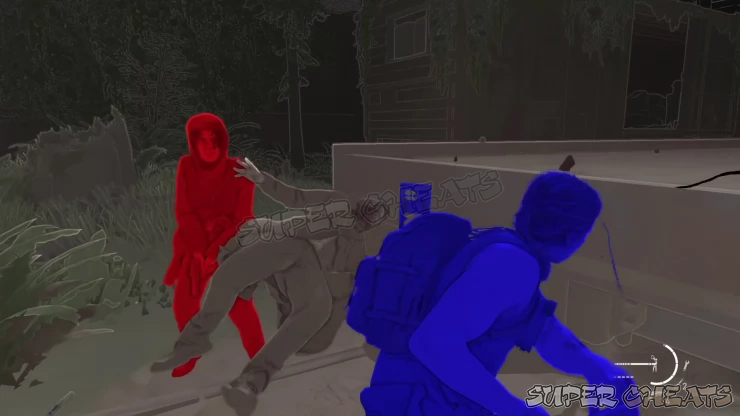
Once done, climb up to the next building then open The Gate to the gas station where more scars await. Find cover immediately then pick them off. It’s safe to go prone behind cover and kill the scars swarming your position. Hold your position until some allied Patrol arrives and lends a hand. Ride at the back of the truck to trigger a cutscene and complete this mission.
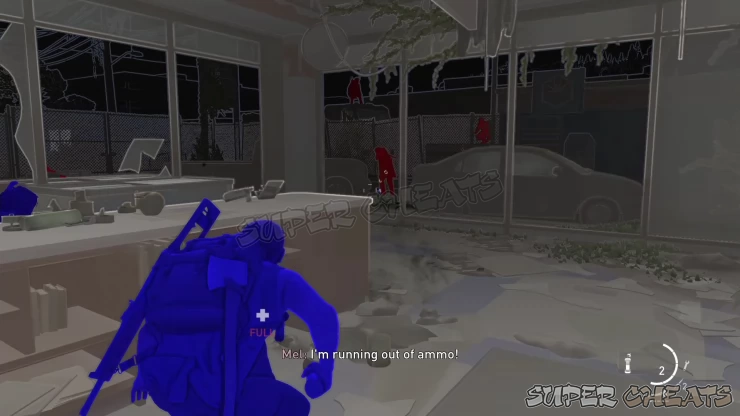
The Forward Base
After arriving at the base, walk towards a group of four soldiers talking near an electric pole to the right. Take the stairs then pick up the California Coin on the ground. Continue to the next gate afterward.
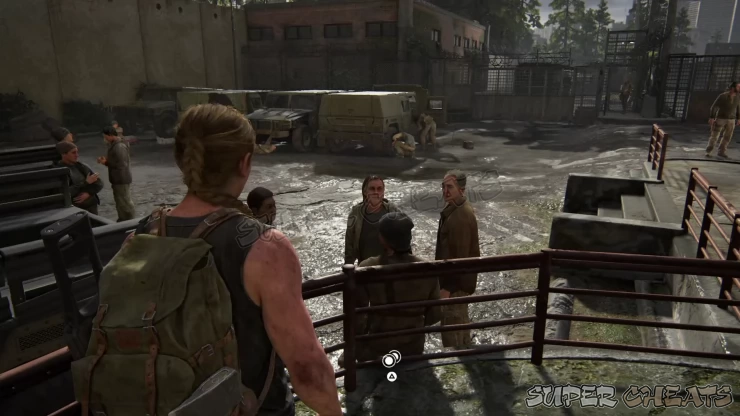
After passing through The Gate, turn to the left and look for a large group of soldiers gathered in front of the portalets. Go around them and pick up the New Mexico Coin on top of a green crate.
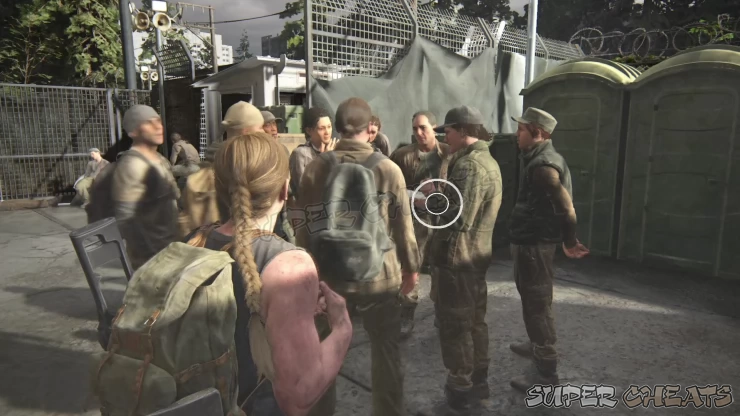
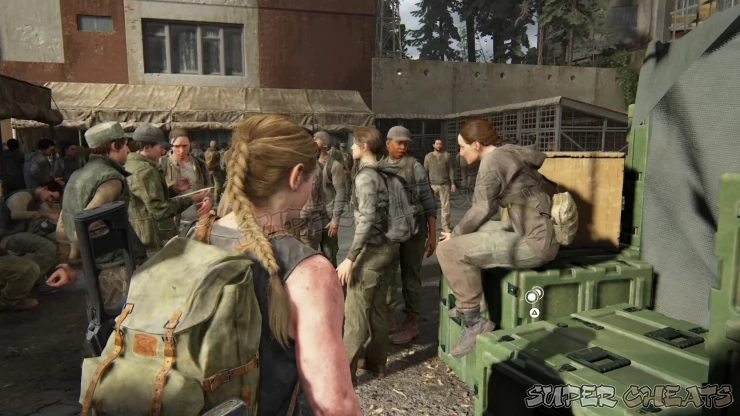
Turn to the left to find a tent where there are soldiers working on ammo clips and other weapons. It’s along the way so you won’t miss it. There’s a Workbench there that you can use. Pick up the parts, ammo, and pipe bombs on the table.
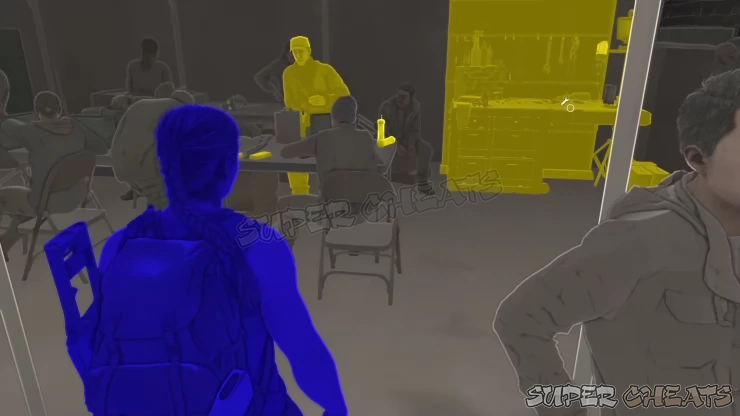
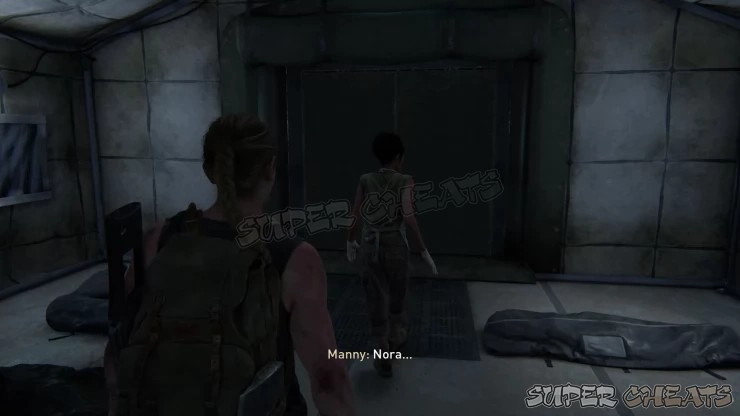
Talk to the other NPCs if you want then enter the medical tent. Continue to the adjacent tent to find Mel then follow Nora to the next tent where the body bags are stored. Once you’re out, continue along the way to the building and talk to the guard outside so you can enter.
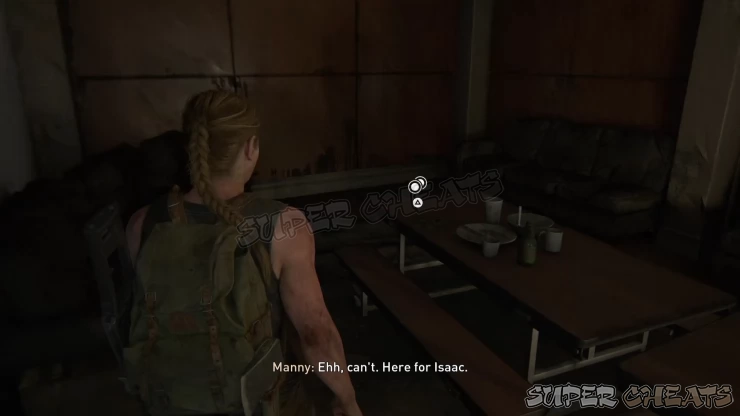
After entering the building, head towards the tables to the left to find the South Carolina Coin on the corner.
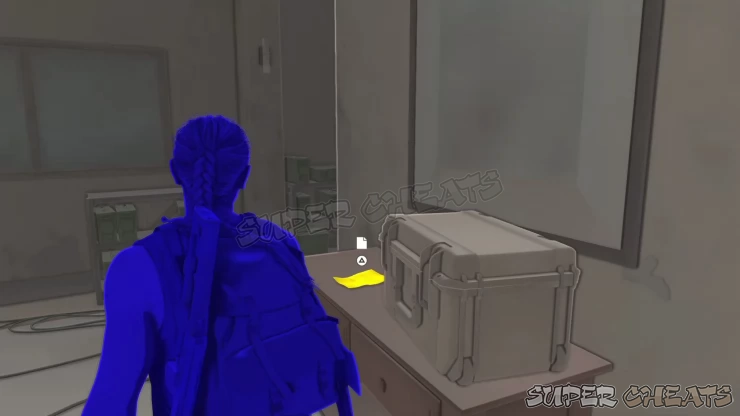
Turn around and head to the doorway. Pick up the WLF Interrogator Letter Artifact along the way, on the table.
The Aquarium
At the start of the mission, jump down to the water then follow Owen. Once he dives down, follow him into the tunnel then surface to a small dome. Continue following him and going upstairs to find a shutter. Pull it open then head over to the boat.
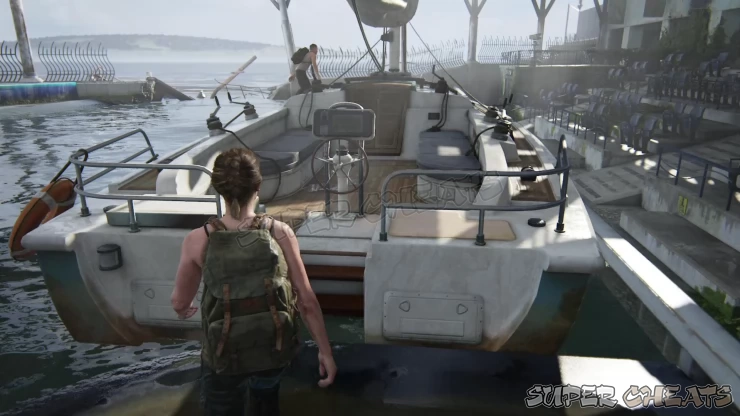
After checking out the boat, find the blue door to the right where the boat was docked then boost over the gap to get inside.
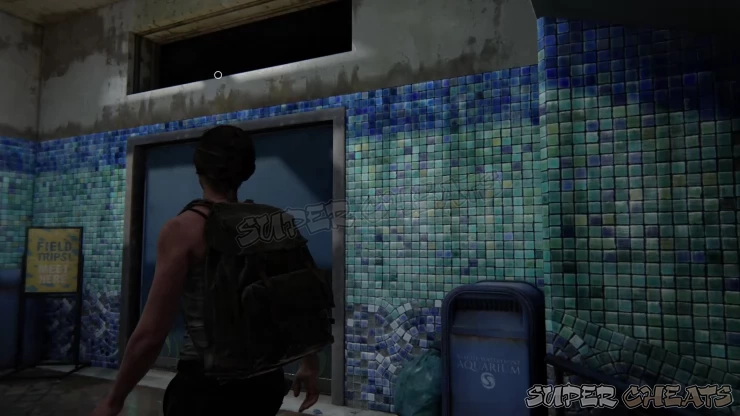
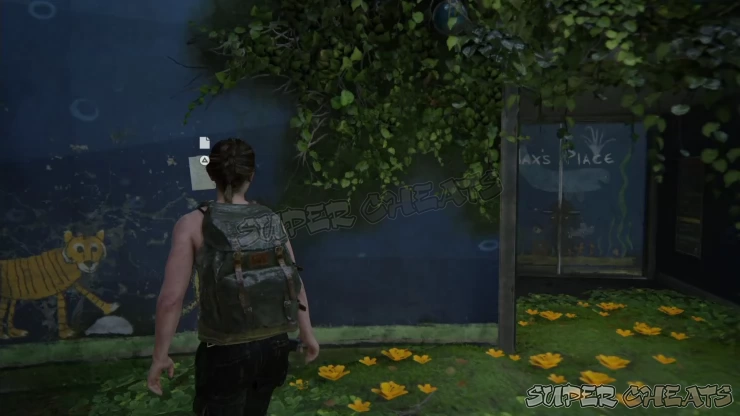
While inside, check the various objects. Pick up the note Artifact on the wall near the door that’s labeled “Max’s Place”.
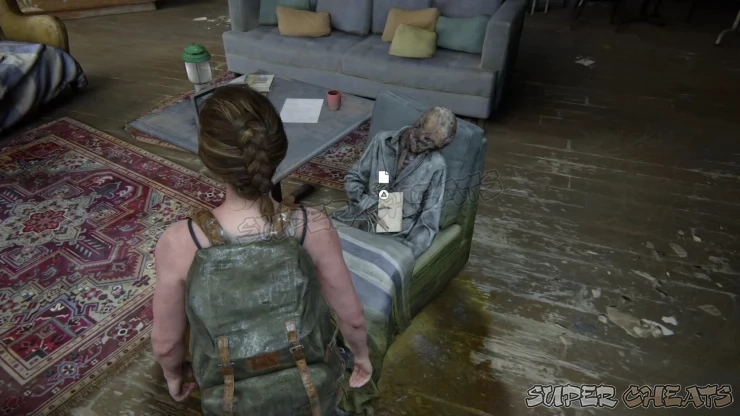
Next go upstairs to the cafe then pick up another note Artifact on the body sitting on a couch by the window. Disturbing this body will also allow Owen to get a set of keys. Go back downstairs and attempt to open the door to Max’s Place to proceed. Next, continue down the elevator shaft with Owen and follow the path to trigger the cutscene and end the flashback mission.
We have questions and answers related to this topic which may also help you:
 Join us on Discord
