Artifact Locations (Abby)
Thank you for printing this page from www.SuperCheats.com.Remember to come back to check for updates to this guide and much more content for The Last of Us 2
Last Updated:

Artifacts are basically notes that you can find scattered in the environment, usually left behind by other survivors. Some of these are somewhat tricky to find since they are either hidden in off-path spots or cleverly hidden in plain sight - like other collectibles. In this page, we will list down the locations of all artifacts in the game, divided into chapters. Since there's a lot of artifacts to find, we will be dividing the individual locations based on the story chapters per playable character.
For convenience, it is recommended to enable High Contrast mode in the Accessibility options. You can also consider turning on the Enhanced Listening Mode (in the Navigation and Traversal section in the Options menu) which will enable you to use mapped buttons to send a ping to find nearby collectibles in your immediate location. Finding all Artifacts (and Journal Entries) will unlock the "Archivist" Trophy.
New to the game? Don’t forget to check out our Beginner’s Guide for a quickstart! You can also check out our other dedicated pages for the other collectibles in the game.
The Park
From the forest, continue following the track until you reach a brick building. From there, turn to the right to find a gazebo. Go there first and pick up the Zoo Holiday Brochure artifact from the bench.
Seattle: Day 1
The artifacts will be listed in the order they're found.On Foot
After leaving the boat workshop, you'll find a mobile office parked outside with loot inside. Smash one of the windows then climb inside and loot the other materials. Pick up the WLF Gun Cache Note artifact on the metal drawer near the door.
The Forward Base
After passing through the tent with the bodybags and entering the building where you have to meet Isaac, head to the doorway and pick up the WLF Interrogator Letter artifact along the way, on the table.
The Aquarium
Continue inside until you reach the reception area of the aquarium. Pick up the note artifact on the wall near the door that’s labeled “Max’s Place”.
Next go upstairs to the cafe then pick up another note Artifact on the body sitting on a couch by the window.

Hostile Territory
After climbing over the fence, continue through the diner then go downstairs until you see the brick building with the sign Tang Fabrics & Imports. Instead of going there, turn around the corner and Abby will comment about the smell. Look for a window to the left where you can climb into. Inside, pick up the Scar Suicide Note artifact on the body near the wall.

Continue through the mission until you reach an alley full of shops, including a bakery, traditional medicine, bar, and antique shop. Enter the Ruby Dragon bar beside the medicine shop and loot the crafting materials and parts behind the counter.
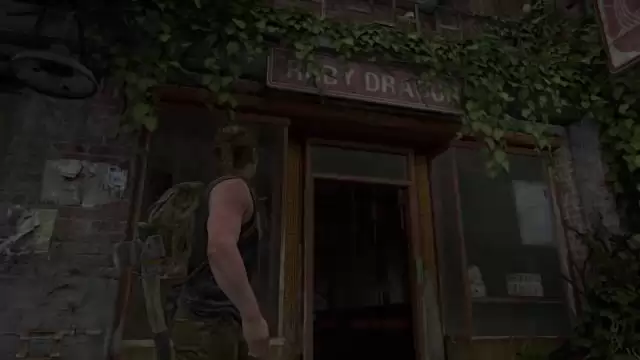
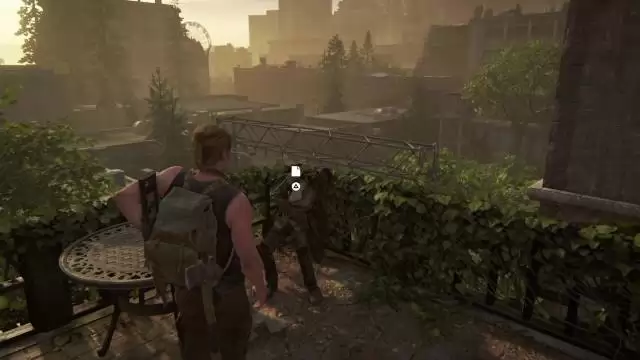
Once done, open the backdoor and head to the second floor. There is a couple of clickers inside so crawl under the table blocking the door then kill the clickers from there. After clearing the room, loot the other crafting materials then jump across to the adjacent shop to reach the balcony. Take the stairs to the right first to reach another balcony with a corpse. Loot the ammo on the table and the Plea to Seraphite Prophet Artifact from the body.
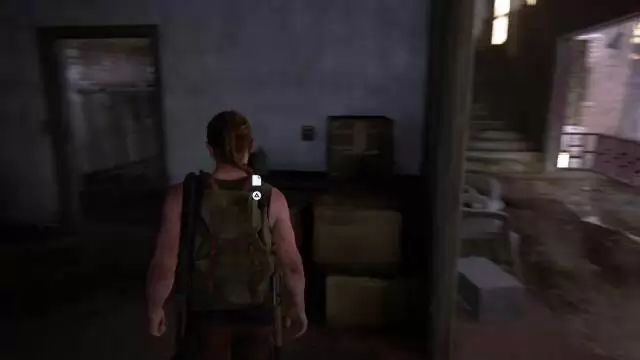
Backtrack then enter the room to immediately find the Jasmine Bakery Safe Artifact on a cardboard box.
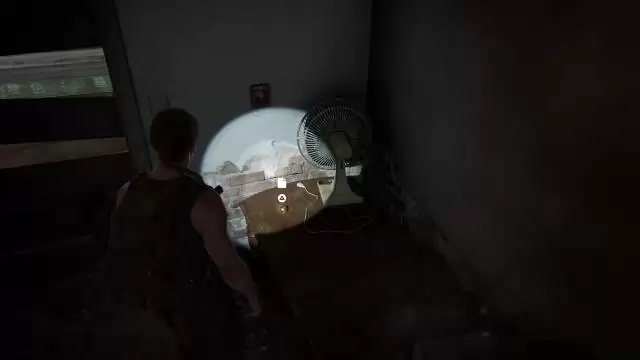
Head to the next room but don’t drop down from the hole on the wall yet; instead, look to the right to find a small egg-shaped object on top of a drawer. Pick it up to obtain the Strange Relic Artifact which will unlock the Relic of the Sages trophy.
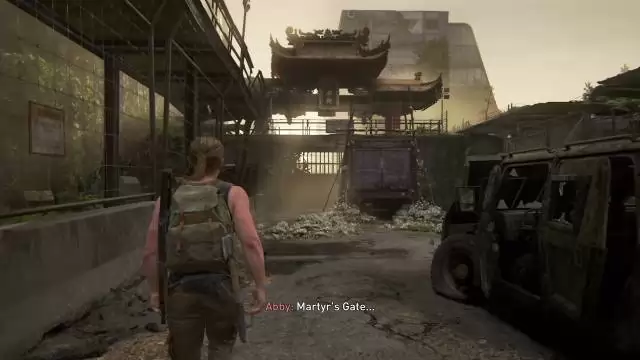
Continue through the mission until you reach Martyr’s Gate. The abandoned armored truck near The Gate has several Artifacts that you can pick up from both sides of the truck. Open the truck to pick up the Seraphite Prayer to the Prophet - Peace Artifact inside.
* Seraphite Prayer to the Prophet - Respect (Left side of the truck)
* Seraphite Prayer to the Prophet - Steed (Left side of the truck)
* Seraphite Prayer to the Prophet - Pairing (Right side of the truck)
* Seraphite Prayer to the Prophet - Prosperity (Right side of the truck)
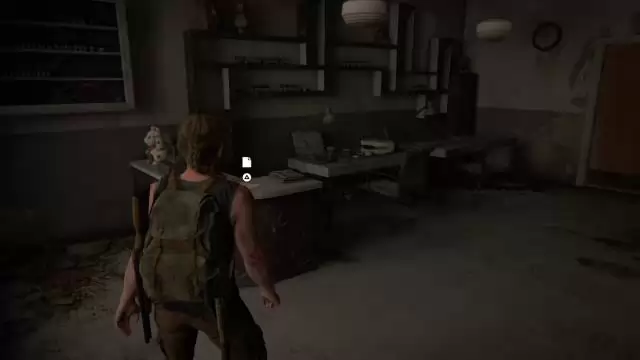
Enter the building to the right side of the truck at Martyr's Gate and pick up the WLF Soldier Meets Prophet Letter Artifact on the desk.
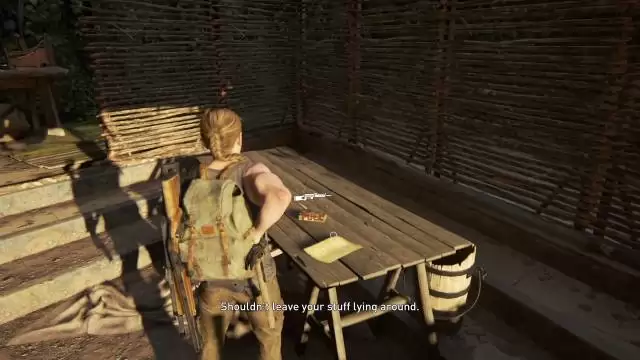
After passing through Martyr's Gate, you'll encounter a Scar Patrol emerging from a destroyed multi-storey building. Go through that building through the fire escape stairs until you reach a small Scar rest camp. There's a Workbench there, with the Letter from Seraphite Father to Son Artifact on the table.
The Forest
After defeating the seraphite brute and getting your backpack back, you'll enter an auto shop. Head to the break room and pick up the Failed Truce artifact on the table.
The Coast
After entering the beached ferry, loot the parts along the way then continue to the next room with several bodies. Pick up the Infirmary Note artifact on the bed by the doorway.
After getting the crossbow, continue to the other end of the current deck to find some supplements and the Mutiny Note Artifact on the bed at the end of the corridor.

Continue to the top deck of the ferry and make your way to the bridge. Pick up the Ferry Log Artifact from the captain’s body.

Seattle: Day 2
The artifacts will be listed in the order they're found.The Shortcut
Sprint-jump to the rock platforms across the rapids to reach the first apartment building across. Continue upstairs and enter the open apartment unit there. Find the Survivor Plea artifact on the floor in front of the wrecked door of a small room.
After passing through the overpass bridge, sprint-jump to the next apartment building and land on the balcony. Open/break the glass door and head inside. Head past the table then look for the Neighbor Exchange Artifact on the small table beside the kitchen.

After clearing the infested deli/eatery, make your way to the telecoms shop across the rapids and pick up the Scavenging List Artifact beside a WLF corpse.

Continue up the building and cross over the broken floors and climb the ladder up to more offices. Pick up the parts along the way then continue climbing up through the ruins of what seems to be a data center. Lev will hop across the metal beams so open the door to the left then pick up the Seraphite Truce Artifact on the table.

Finally, after leaving the construction elevator, leave the elevator then pick up the Seraphite Orders Artifact pinned on the wall by the doorway along the way.

The Descent
After landing in the indoor pool, continue to the other end of the corridor and enter the Orchards Juice Bar. You can find some supplements from a drawer behind the counter. Pick up the Gym Safe Combo artifact pinned on the wall in the back room.
From the indoor pool/gym area, open the emergency exit to automatically get the FEDRA Orders Artifact from the corpse blocking the door.

After getting a gas mask for Lev and using a rope to rappel down to the lower floor, enter the small room to the right to find a skeleton and the FEDRA Final Note Artifact on the floor in front of it.

Ground Zero
Continue following Nora to the Oncology Center where you’ll have to resume the exploration alone. Loot the items in this room then open the next door. Continue to the elevators but before taking the stairs, crawl through an open doorway to the right to find the Annex Letter artifact beside a body. Loot the other items, leave the room, and continue downstairs.

The door to the ICU will be locked so you’ll have to drop down from the ledge by the stairs to reach the lower floor. Turn to the right and examine the bag on the floor beside a body to get the Soldier's Letter Artifact. Vault over the metal barricade then loot the items inside.

Next, pick up some parts on a shelf behind the boxes where you landed, then check the chapel for more items. Pick up the Chapel Note Artifact on the altar. From here, exit throug the small door to reach the quarantine tunnel to the ER.

Loot the items in the area (use High Contrast Mode to see them). You can’t open the main doors yet since it requires power. Next, shatter the glass in room 24 to find the Patient's Note Artifact on the gurney.

Continue forward then enter room 25 to get some supplements and materials. Continue forward to the Surgery Suites. There are clickers and runners trapped behind electronic doors so you don’t have to worry about them at the moment. Beware of the wall clicker inside one of the rooms. Enter the last room to the left of the main door to find some supplements in the drawer and the Doctor's Note Artifact on the desk.

Seattle: Day 3
The artifacts will be listed in the order they're found.The Marina
After wading through the flooded portion of the marina and crawling through a storm drain, continue following the straightforward path then climb over the railing. Don’t climb up the ladder yet; head straight to find a small shop called the Crab Shack. Head inside and pick up some parts, materials, med kit, and supplements. Grab the Marina Note artifact from the counter. Leave the shop then climb up the ladder afterward.
The Island
After reaching the overpass bridge near the start of the mission, continue along the path to find two WLF corpses. Check the one on the ground to find the WLF Scout Journal artifact on its body.
Press forward along the path until you reach the logging camp. There are no enemies here yet and a lot of materials here that you can find so check out the thatch roof houses for supplies. Enter the large house ahead to find the Venison Distribution Note Artifact on the table.

Continue following the path until you finally reach a small watchtower on an uphill path. Climb into the watchtower to find some ammo, supplies, and parts. Continue forth until you find two more wooden buildings. Head inside the building to the left to find the Young Seraphite's Journal Artifact on the bed.

Head to the other wooden building then pick up the Mournful Prayer Note Artifact clipped to the right. This should be the last collectible in this mission so you can just focus on the main objectives from hereon.

Santa Barbara
2425 Constance
Continue along the street until you reach a house with some infected inside. Kill all infected inside and pick up the note artifact inside the bathroom. Loot the other items inside then continue along the street until you reach a dead end.

Anything missing from this guide?
ASK A QUESTION for The Last of Us 2Comments for Artifact Locations (Abby)
No comments yet. Tell us what you think to be the first.
Table of ContentsClose
 Join us on Discord
Click to close