Seattle: Day 2 (Part 2)
The Seraphites
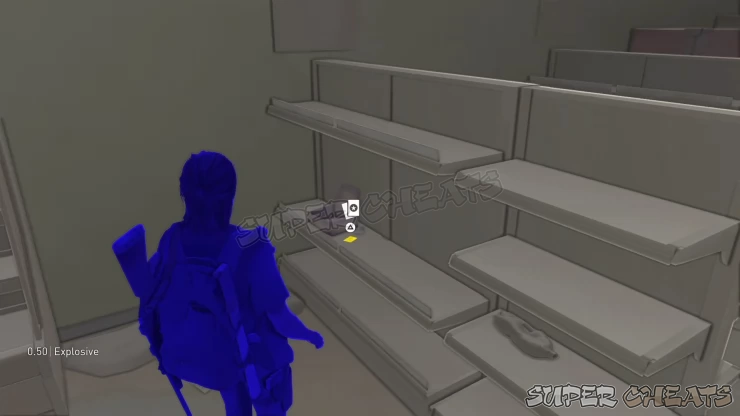
After passing through the checkpoint, climb up the ledge to the right but don’t drop yet. Instead, turn around and sprint-jump to the roof then continue to the other ledge to find some parts and other materials. Backtrack and jump down to the convenience store to proceed. Inside the convenience store, check around the shelves to find some supplies. Open the door inside the convenience store to find more supplies and parts. On the shelf near the cashier in the corner, you’ll find the Randy Styles Trading Card as shown below.
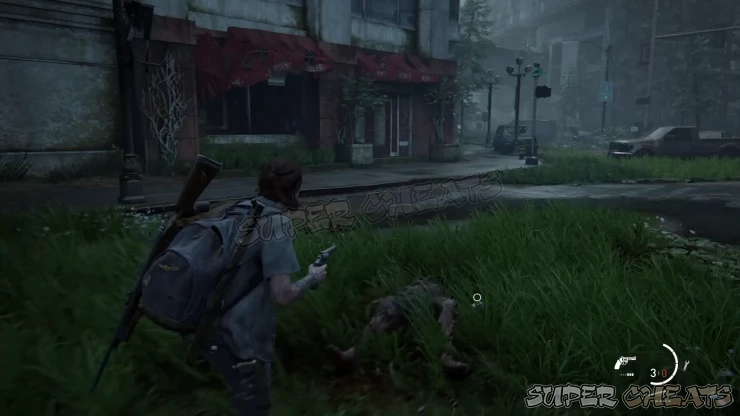
Exit the convenience store by the window then cross the street. There’s a bar there (with the red awnings) with several infected inside. You can break a window and let the infected out so you can pick them off safely. One of the clickers that you’ll kill will drop the WLF Target List Artifact. Head inside the bar and loot the various supplies in the bar area. Explore its kitchen as well to find some supplements and more crafting materials.
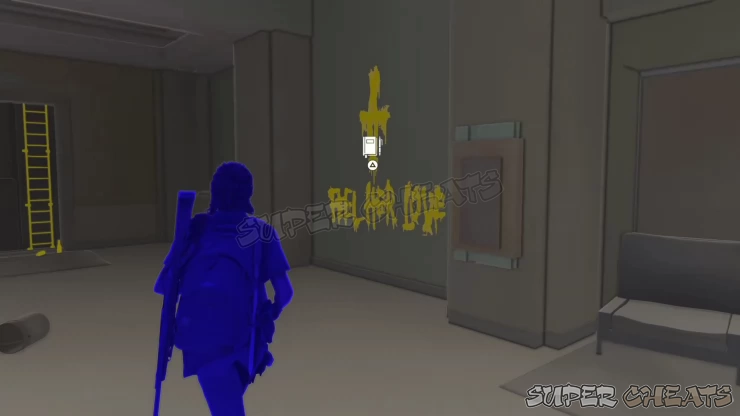
Leave the bar, turn around, and head towards the conference center, beside the convenience store. Check the desk to right to find some crafting materials then head to the painted message on the wall for a Journal Entry.
Once done, head to the elevator shaft and climb up the ladder and slip through the stalled elevator to reach the upper floor. The door is locked so break the glass window and the glass roof above it. Next, grab the rope and throw it over the metal support to the left.
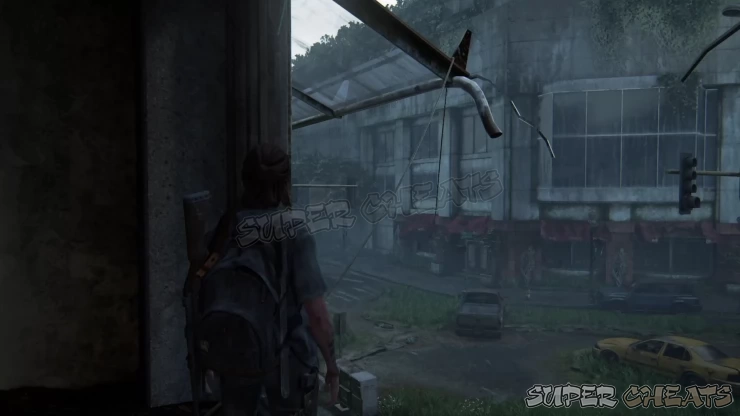
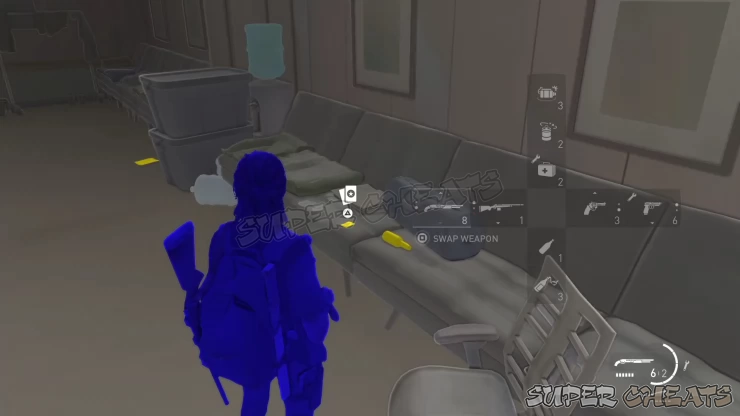
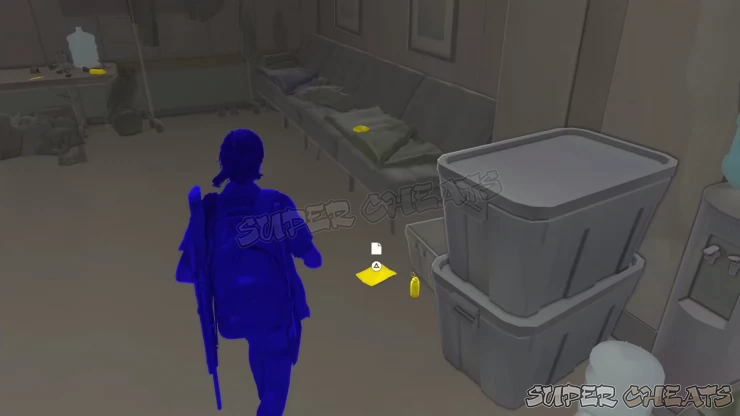
Jump down to the ground and grab the rope. Climb up then swing to the other room. In this room, loot the various parts, ammo, and supplies. You can find the Shift Trading Card on the couch. Head to the left to find the Last Letter to Husband Artifact on the floor near the plastic containers. After looting this area, jump out of the window to leave the building.
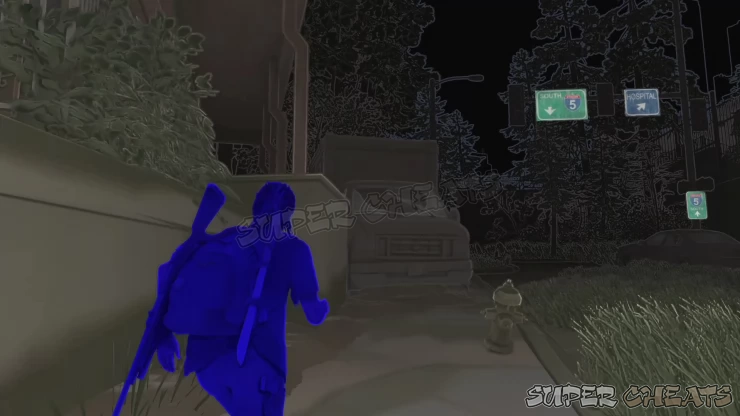
Continue following the main road and pick up some parts beside a skeleton and a car along the way. A few steps ahead and you’ll find an apartment to the left and a locked gate to the right. You have to find a way to vault over The Gate to proceed but it’s recommended to explore the apartment building to the left first since it has a lot of valuable loot inside.
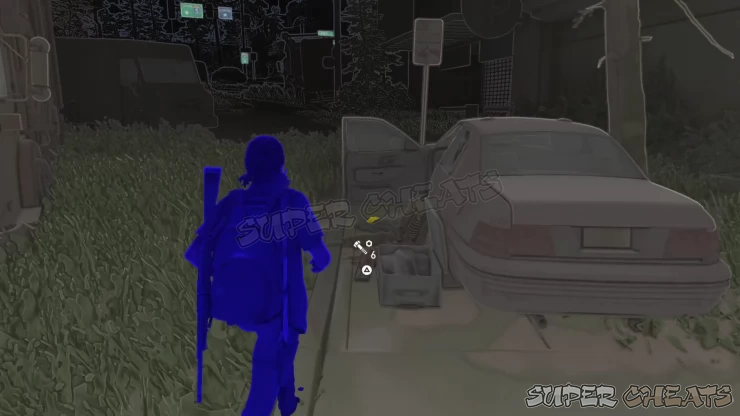
The main door is locked so head to the side where you can use a delivery truck to climb up and reach the second floor window. Smash the window and climb inside. Pick up the loot and the Evacuation Letter Artifact on the table.
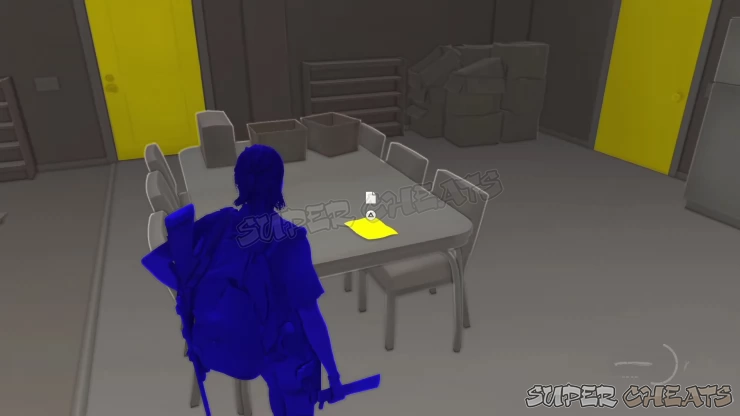
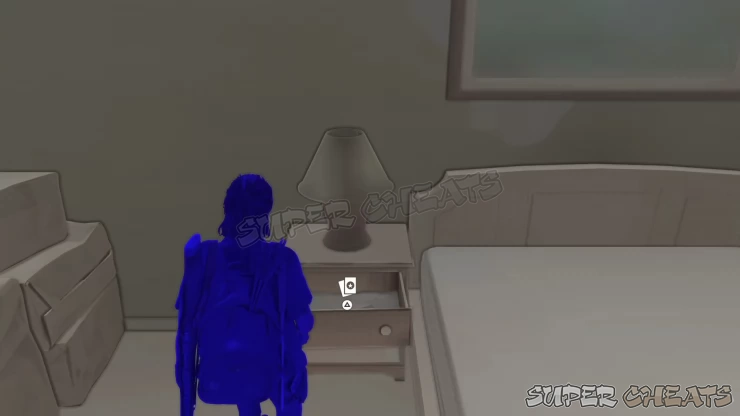
Next, open the door beside the fridge and open the nightstand drawer to find the Star Sign Trading Card inside.
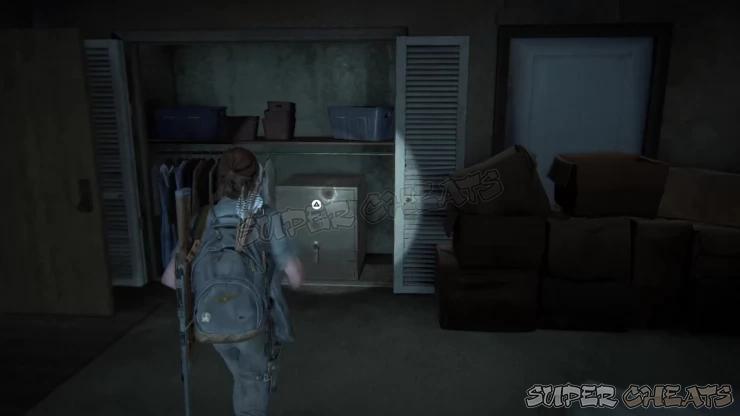
The calendar on the wall holds the clue to the safe’s code; examining it is optional. Look for the safe inside the closet and enter the code 10-08-83 to open it. Loot the ammo and a good stash of supplements inside. Once done, you can now leave the room.
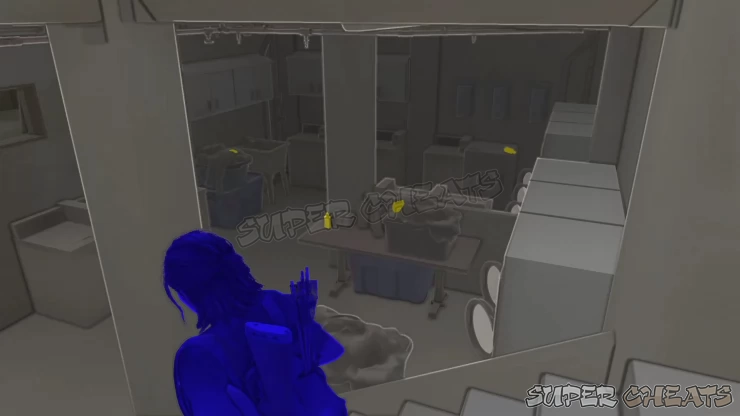
Before checking the other apartment unit, you can go downstairs and grab some crafting materials from the reception counter. Open the door to the basement to find more materials.
Once done, enter the next apartment unit. Pick up the parts near the blinded window and other scattered items in the unit. You’ll also find a Workbench by the kitchen. The bedroom near the workbench is locked but there is some valuable loot inside.
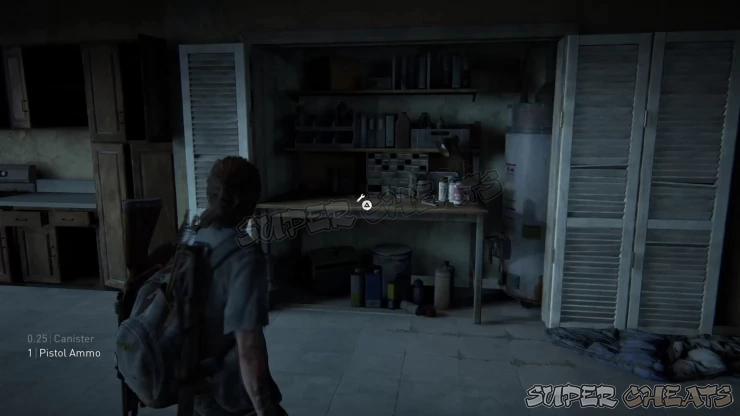
Save your game if you want then use the Workbench. You’ll get attacked by the deserters mentioned in the earlier Artifact you acquired. Kill them all then head to the newly-opened bedroom to find the WLF Deserter Letter artifact on the cabinet beside the door.
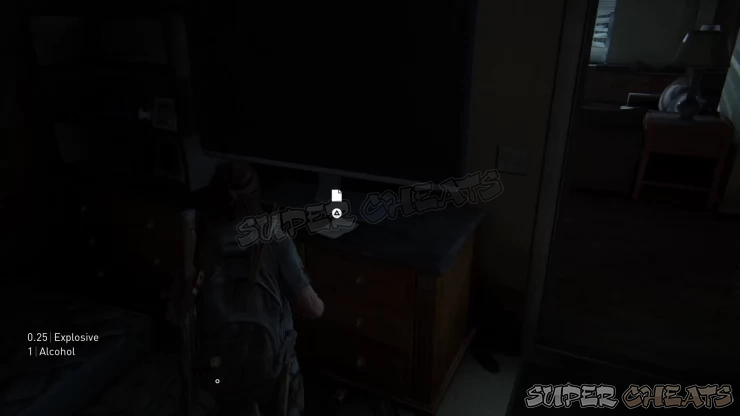
Find the Explosives Training Manual on the bed as well Loot the ammo, supplements, and other supplies in the room; you can now use the Workbench peacefully once again.
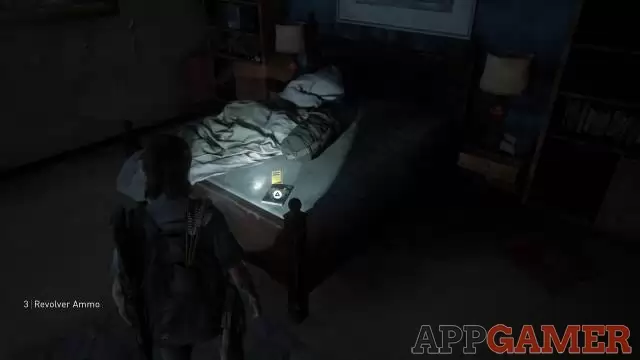
You’re finally done in this building so leave and head towards The Gate. Climb over the red dumpster to the right to get over the gate.
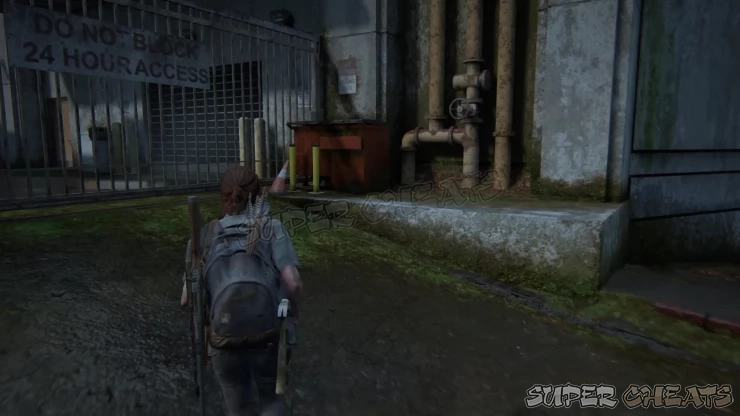
Once inside, open the loading bay door. You have to open The Gate and somehow get the dumpster out so you can use it as a foothold to reach the next area. First, loot the materials by the shelves. There are more items by the lift on the other side so pull the dumpster there then quickly climb on it and reach the lift. Grab the materials and shotgun ammo then jump back down.
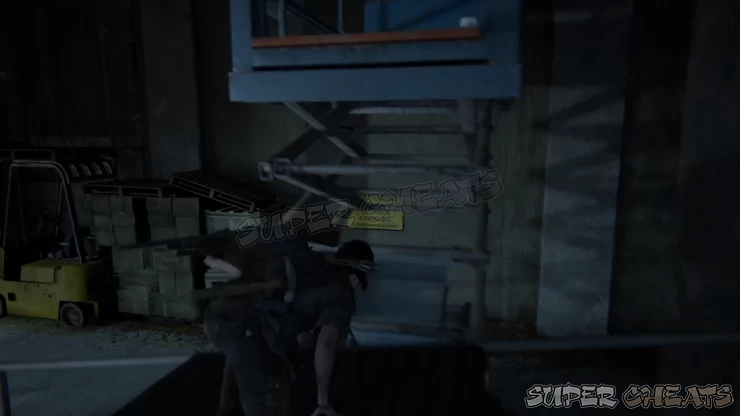
Grab the dumpster again and pull it to the top of the ramp where it can start sliding down as soon as you release it. Once in position, release the dumpster then quickly run to the chains by the rolling shutter and pull the chain to raise The Gate. When done correctly, the dumpster should slide pass through as shown below.
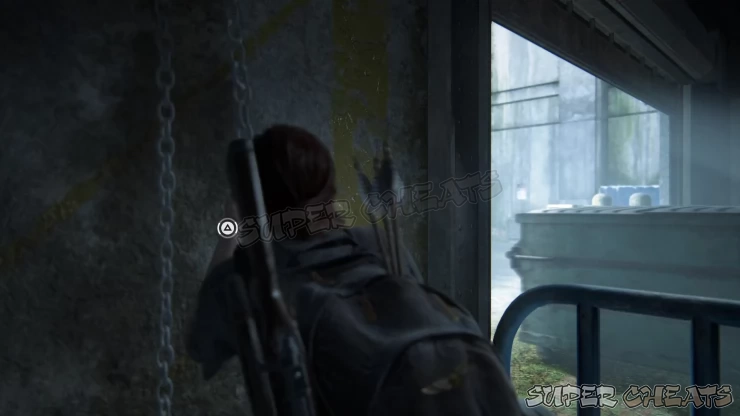
Leave the loading bay and push the dumpster over the wall with the locked small gates. Climb over and unlock the gates just in case you want to backtrack before moving forward. Take the stairs then climb the ledges to get a good view of the hospital. A Journal Entry will be automatically added as well.
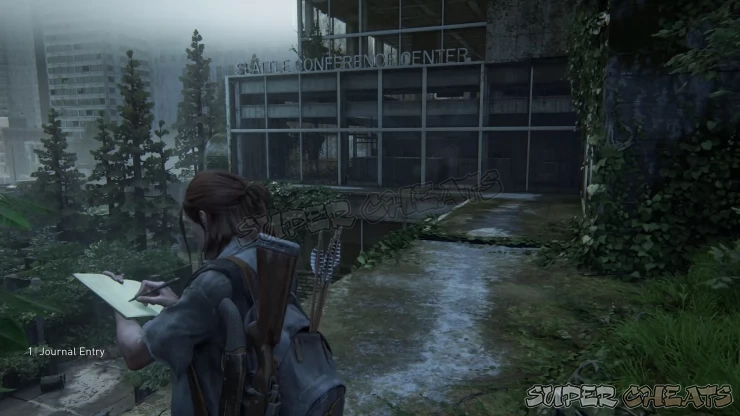
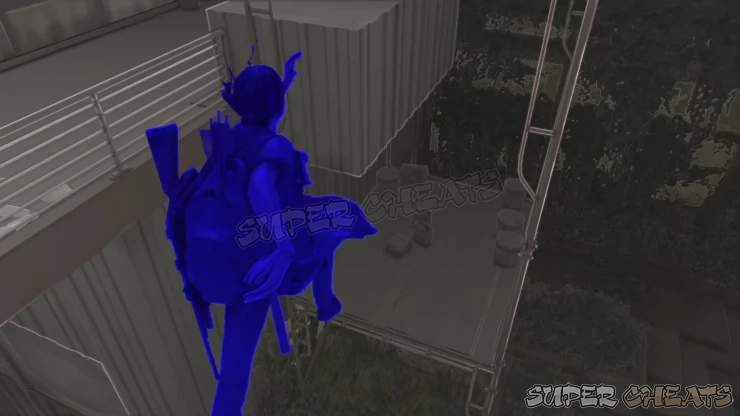
Head to the Seattle Convention Center and smash the window. You have to reach the lower floor so find a scaffolding near the railing that will allow you to jump to the other scaffolding.
The room nearby is locked so circle around to find a couple of glass windows. Break one of them then climb inside the room to find a good amount of loot like a molotov, parts, ammo, and the Arch-Enemy Trading Card from one of the desk drawers.
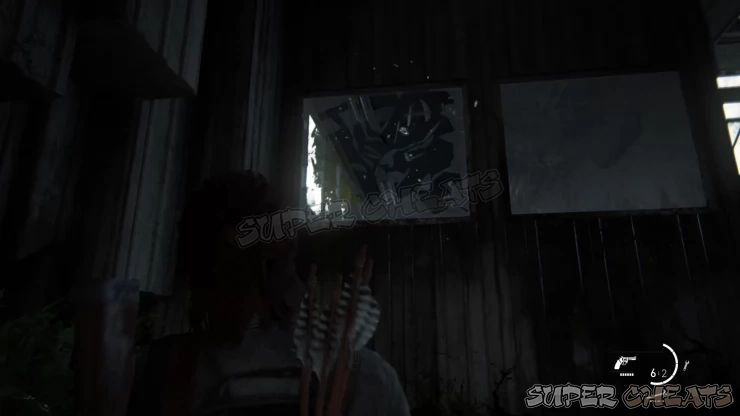
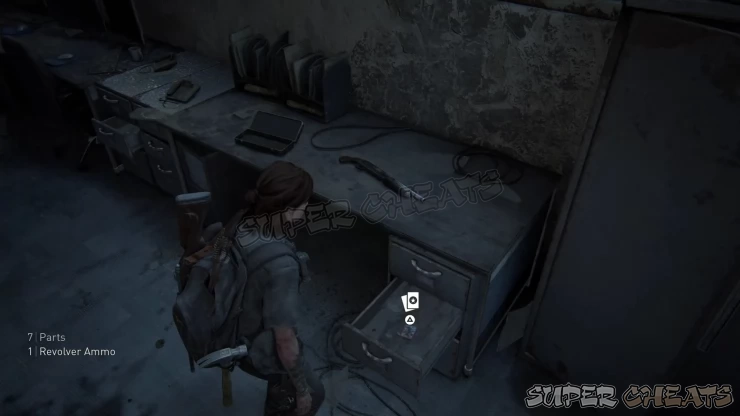
Once done, open the door then continue to the next door to reach a large office floor. There are no collectibles in this area so just focus on scavenging for supplies. From the lobby, check the small office and the bathroom for supplies and ammo. Continue through the corridor to reach the next large room.
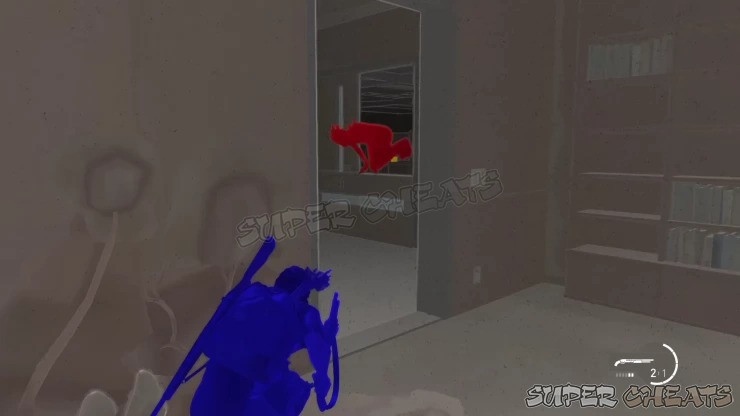
In the next room, you’ll find some stalkers. These are tricky, silent enemies that you won’t detect easily in Listen mode unless they move or when they’re near you. They can be easily seen if you have High Contrast Mode enabled. Move slowly since it’s possible to flank them first. Peek over corners or behind cover until you spot them. It’s safe to use your gun to snipe them since they won’t go rushing towards you unless they’re near you.
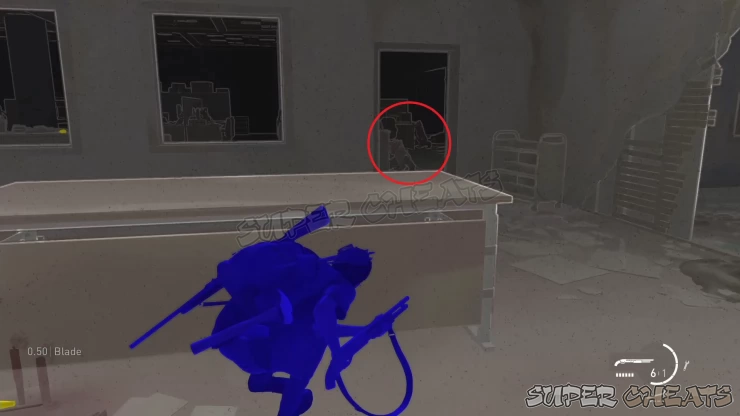
Continue moving to the other end of the floor while eliminating the stalkers you’ll encounter. You don’t need to wipe them all out but they’ll most likely find you first anyway. Once you reach the window on the other end of the building, shatter it and climb to the fire exit. Go upstairs then find the open ledge where you can jump to the next set of stairs. Make sure to do a sprint-jump to reach it. After reaching it, continue downstairs and enter the broken window.
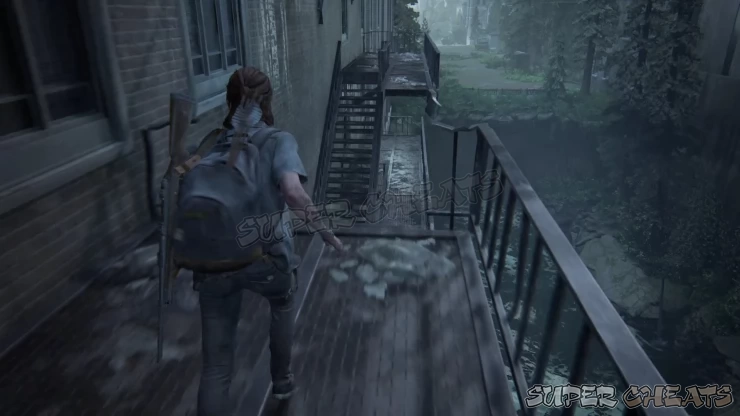
On this floor, you’ll encounter more stalkers with a clicker mixed in so you have to be careful. Placing some trap mines around the corners will be ideal to kill the clickers or stalkers that will wander through them. Prioritize killing the clicker first so you can safely snipe the stalkers you can find. Like before, you can easily track these pesky silent enemies when in High Contrast Mode. Check the rooms for crafting materials while keeping an eye out for stalkers. Once you’ve cleared them continue to the next room, heal up and scavenge the remaining supplies. Head to the next door and try to open it to trigger a QTE.
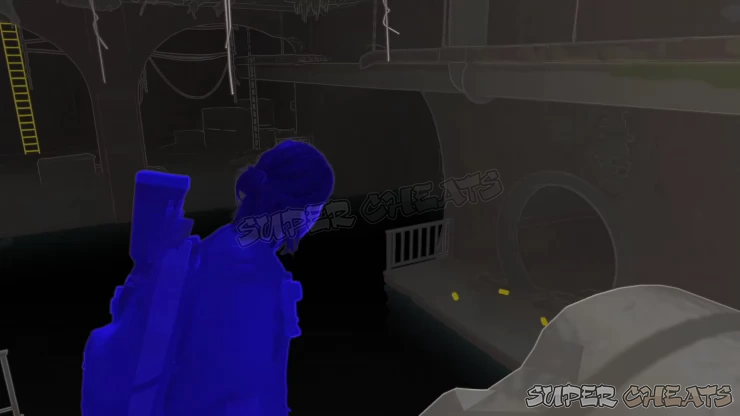
Once in the sewer, ignore The Gate ahead since it’s locked. Turn around and swim in the water to find a ledge behind that you can climb up and pipe to cross. Climb up the ladder to return to the surface. Follow the path to exit the station then carefully head to the grassy area.
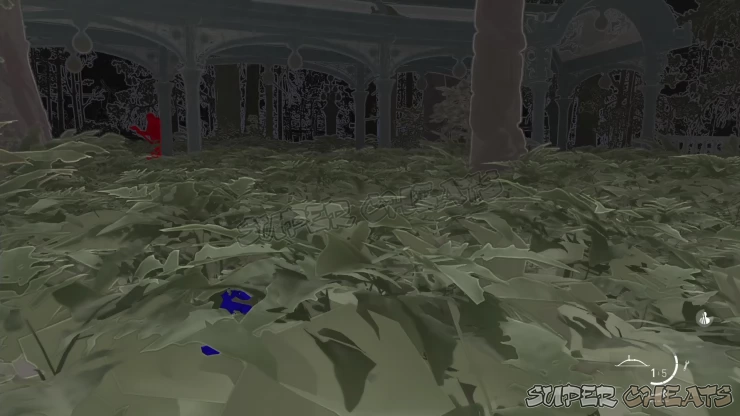
Eventually, you’ll be hit by an arrow to the shoulder; press and hold R1 to remove it. Your HP will continually drain until you remove the arrow so make sure to do it immediately if this happens again in the future. Heal up if needed then prepare to fight off the Scars. They’ll blend well to the surroundings so stay in cover and use Listen to spot them. Enabling High Contrast Mode as well will give you a significant advantage in flanking and killing them.
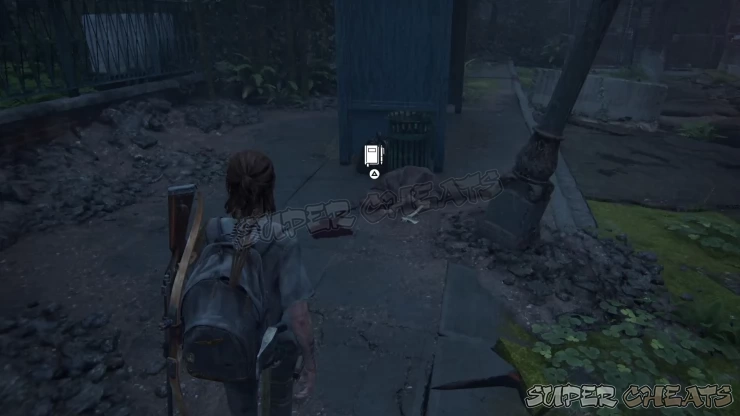
After clearing the area, leave the grassy area until you reach the street. Check the area for loot then look out for a Scar body near a bus stop. Approach it to log a Journal Entry. Pick up the hatchet as well. Once done, enter the Garden Suites near The Gate.
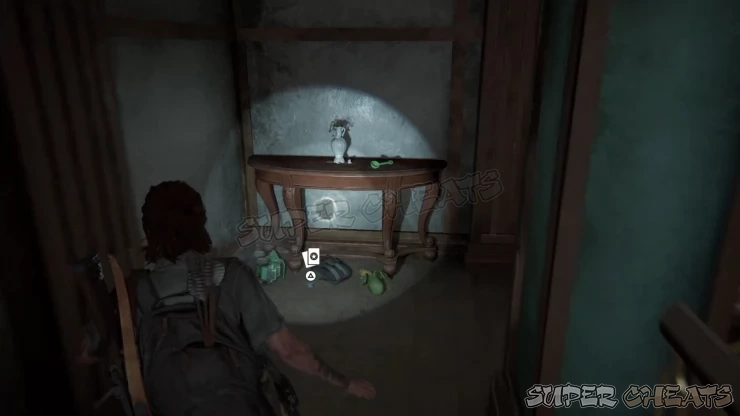
Once inside, scavenge the first floor of materials then go upstairs. Don’t enter the room yet; instead, circle around the other corner of the corridor and pick up the Doppelganger Trading Card under the table, near a pile of toys. Enter the room 201 next. Scour the room for ammo, parts, and crafting materials. Open the door to the fire exit but don’t drop down to the alley yet. Instead, go upstairs to reach the room above.
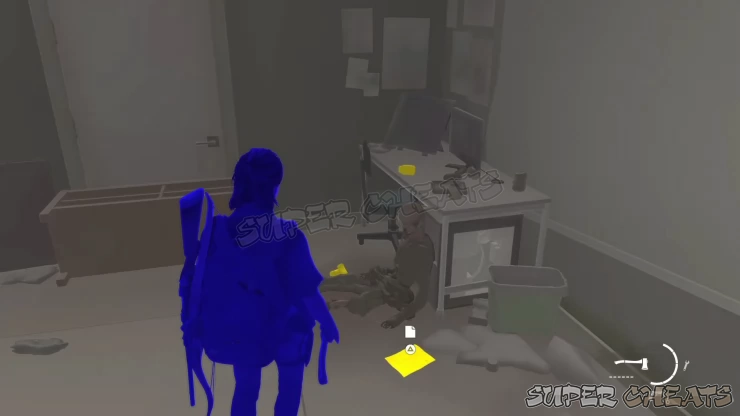
The door is locked so head to the accessible then smash the window to get in. Inside, pick up the Dying Husband's Plea Artifact from the corpse nearby. Don’t forget to get the supplements, ammo, and other materials as well. Once done, make your way to the alley.
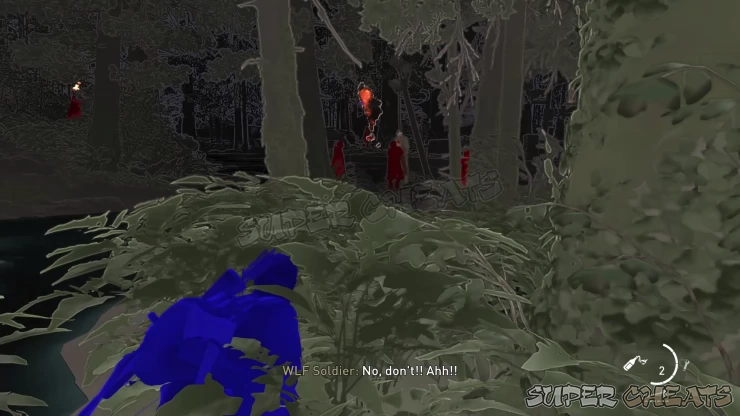
Continue following the straightforward path until you reach the next area where a captive WLF soldier is disemboweled by a group of Scars. You can throw a molotov in the middle around the WLF captive to burn the three scars surrounding him. From there, you can creep around the grass to dispatch the remaining enemies.
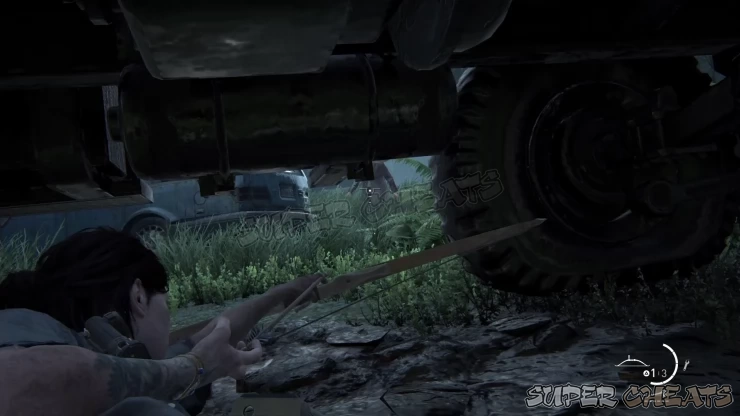
After killing the enemies, make your way to the collapsed parking building where more enemies await. Sneak around and take them out as necessary. Make your way to the upper level of the parking building to reach the street where more abandoned cars are located. As soon as you reach the area, another Scar Patrol will arrive. Use the cover to pick them off. A good ambush location is under the truck where you can see them approach. Use your bow to silently take them out and allow you to sneak behind unwary enemies.
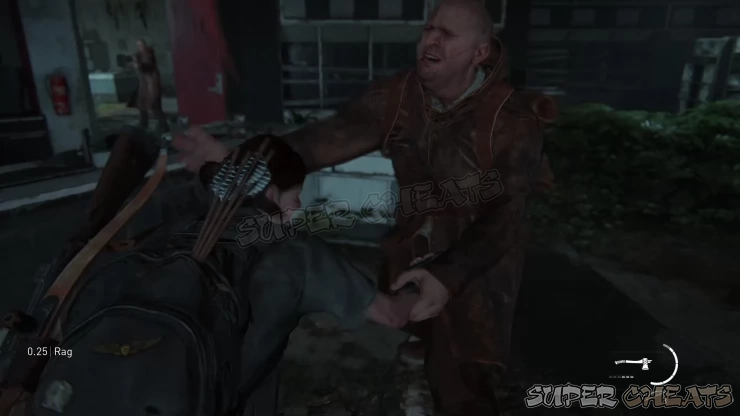
Continue up the street then jump over the gap to reach the ruined mall. Scour the cafe for ammo and crafting materials. Once done, head to Merci and destroy the glass door/window to gain entry. Open the door to trigger a fight against a heavy Scar melee enemy. Try to get away from the door and shoot the enemy. Otherwise, prepare to evade and use melee attacks to take down the big guy. Take cover afterward and deal with the archer in the next room. Don’t forget to pick up the pickaxe dropped by the large enemy. Head to the next room and scavenge the room for crafting materials. Open the next door then explore the area for more items. Once done, find the stairs and make your way to the rooftop. From there, use the ladder to drop to the pool below then swim towards the next set of stairs.
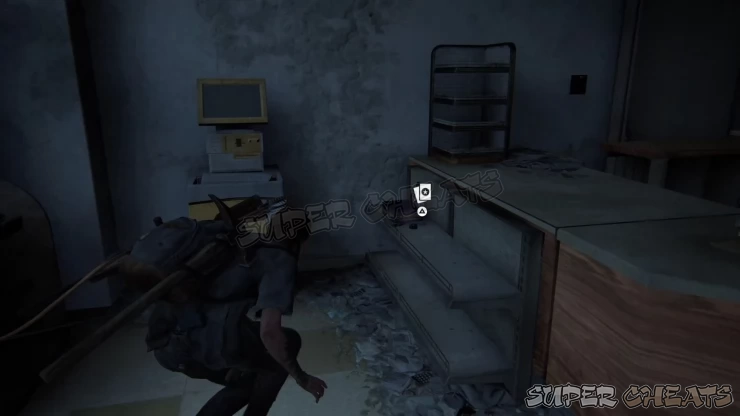
Continue upstairs to find Weston’s Pharmacy. There are a few collectibles to be found here. First, pick up the Bhat M'Andarr Trading Card from the shelf near the door, by the counter. Check behind the counter and grab the Pharmacy Note Artifact under the counter.
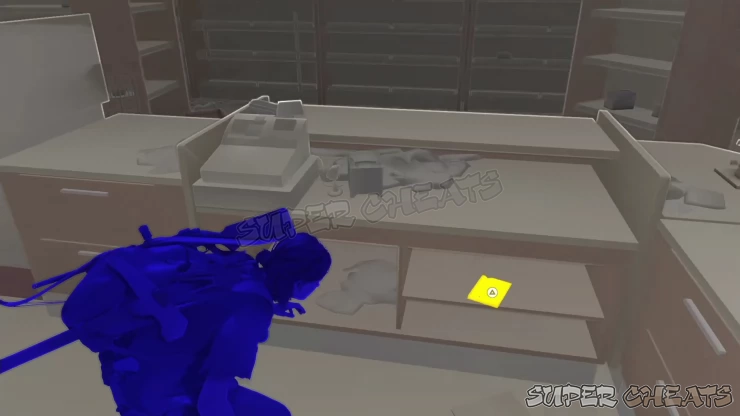
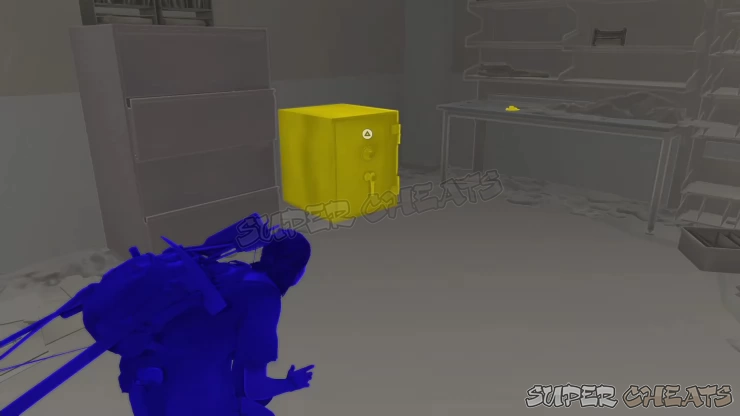
Find the hole on the wall where you can crawl into. Once inside, you’ll find a safe to the left. Use the code 38-55-23 to get supplements, ammo, explosive arrow, and more.
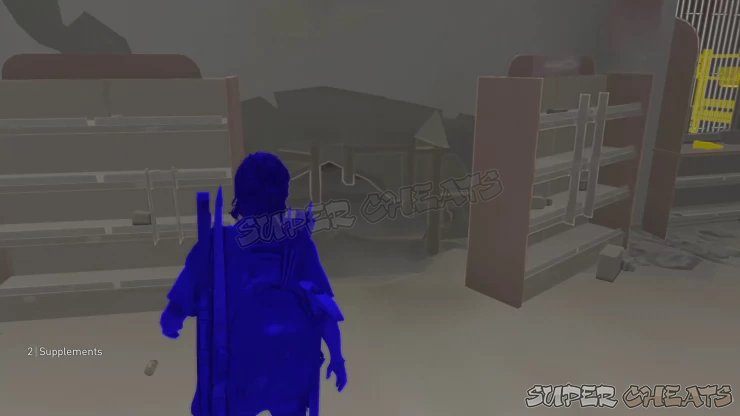
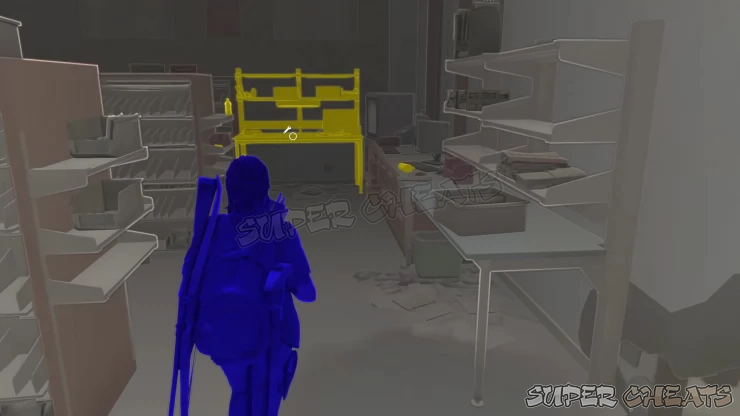
While in the same room, turn around and find the Workbench in the corner. Pick up more supplements and other materials from the shelves then use the workbench. Once done, scour the other shelves outside for more items then leave the pharmacy.
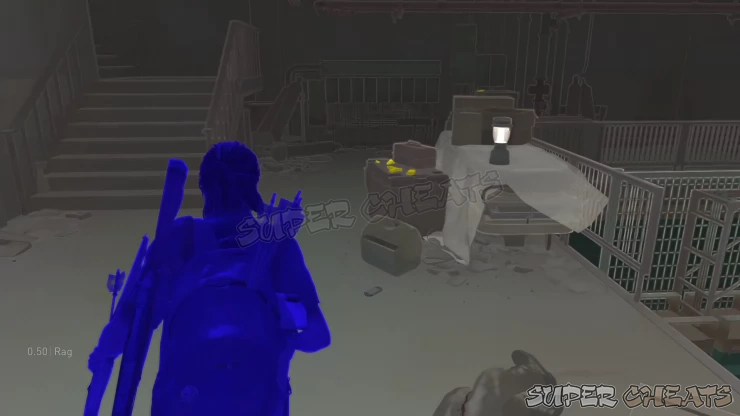
Go downstairs then swim by the pond. Follow the path until you reach the side of a building where you have to dive inside. There’s a lone WLF soldier with her back on the water so carefully sneak up on her. Once done, loot the parts and ammo nearby. If you circle around, you can find a wrench melee weapon underwater as well. Next, open the door to reach the hospital grounds.
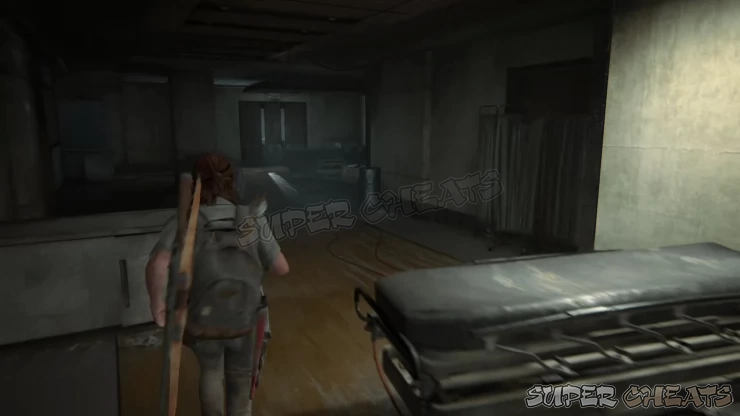
There’s a lot of WLF soldiers here and a Patrol dog so do your best in picking them off one by one to avoid getting overrun. There are several entry points in the building so it’s up to you where you’ll enter. There’s also no collectible in the ground floor so just focus on taking out the enemies and grabbing the crafting materials along the way. Sweep the hospital ground and the interior for enemies and kill them all. After clearing the area, head further inside and follow the hallway with the lights on and open the double door to access the stairs.
Continue upstairs and enter the first room to the right. Pick up the Hospital Supply List Artifact on the drawer behind the couch. Loot the supplements from the trays nearby as well.
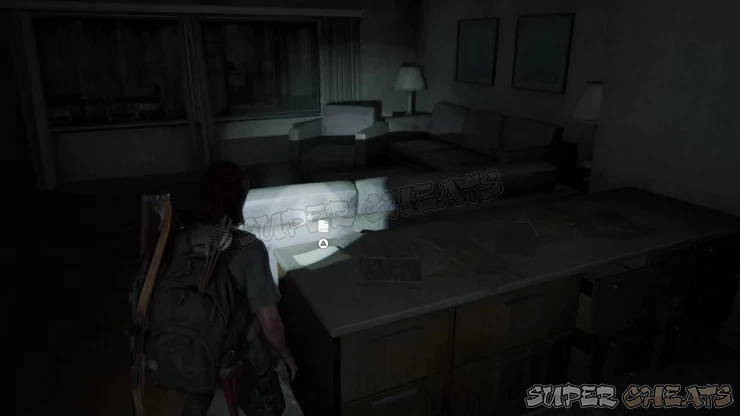
Leave the room and continue following the path until you find an open vent shaft. Climb into it and continue following the shaft until you reach the end. After landing in the corridor, turn around and pick up more supplements and crafting materials. Once ready, enter the other door at the end of the corridor to continue with the story.
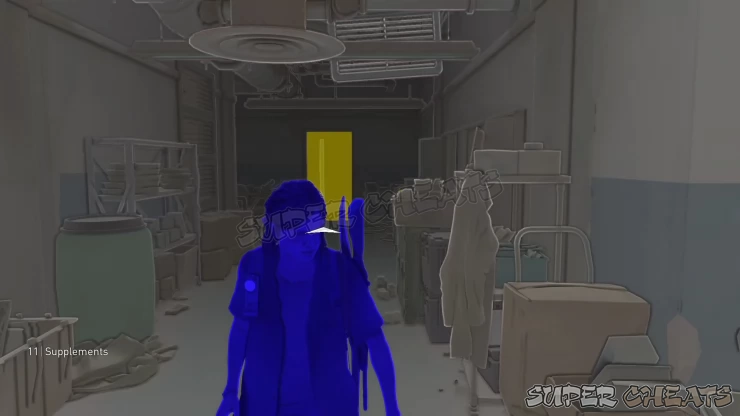
After the cutscene, you’ll have to pursue Nora. Keep chasing after her and don’t stop to deal with reinforcements. After catching up with her, complete a QTE. Resume your pursuit until you corner her. After another cutscene, you’ll end up in the basement area where there are clickers. WLF soldiers will follow suit so take cover and throw a bottle/brick or molotov to the enemies to get the attention of the clickers. Let the WLF soldiers and the infected kill each other then pick off the remnants. More WLF reinforcements will arrive so deal with them as necessary.
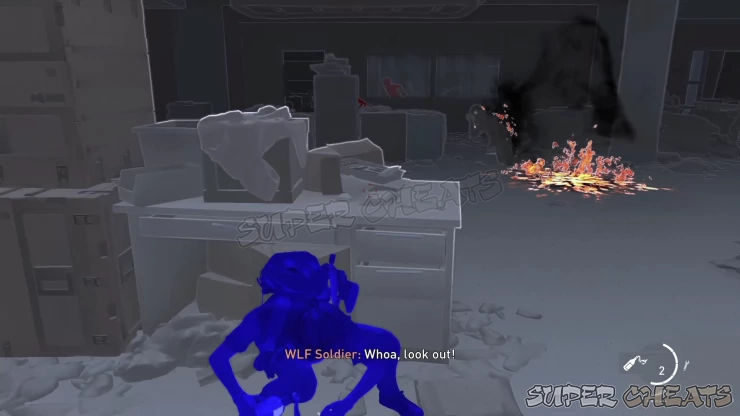
After clearing the area, scour the room for more crafting items. Open the door where Nora left. From here, just follow the path until you catch up with her. Complete the button prompts to complete the mission.
St. Mary’s Hospital
This is a flashback mission with no enemies or collectibles. You can check the rooms for notes and documents that will contribute to the story. Continue to the operating room in the hallway and head inside. Find the firefly duffle bag on the floor and examine it to trigger a cutscene and complete the mission.
We have questions and answers related to this topic which may also help you:
 Join us on Discord
