Seattle: Day 2 (Part 1)
Thank you for printing this page from www.SuperCheats.com.Remember to come back to check for updates to this guide and much more content for The Last of Us 2
Last Updated:
Welcome to our comprehensive, collectible-intensive, spoiler-free walkthrough. As a general note, make it a habit to manually save often especially if you’re not relying on guides when playing, so you can always go back to “point-of-no return” portions of the game to collect various collectibles. In this playthrough, we have enabled High Contrast Mode and Enhanced Listening so don’t get confused if you see different features in the screenshots we’ll feature in this guide. You can modify these settings anytime from the Options menu.
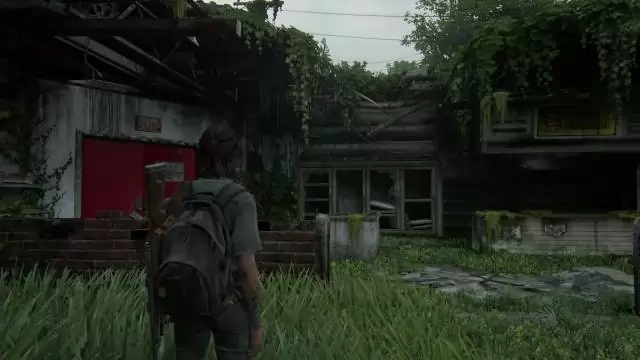
Hillcrest
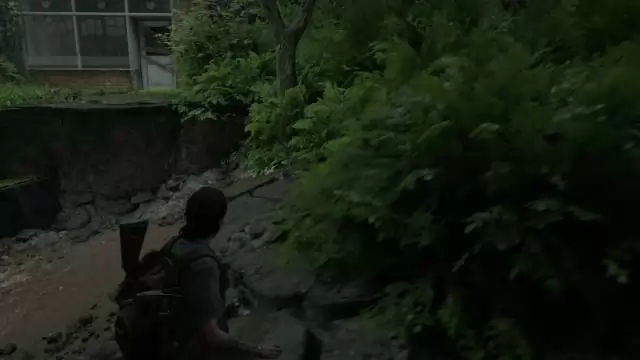
After waking up, head to the projector room to find Dina. After the cutscene, you’ll be in Hillcrest. Once you have control, turn around and drop down to the sinkhole. Break the rear window of the pickup truck then grab the Wachumero Trading Card. There are several establishments here that you can explore in any order. They’ll have the usual crafting materials and some collectibles. We will be listing them down below.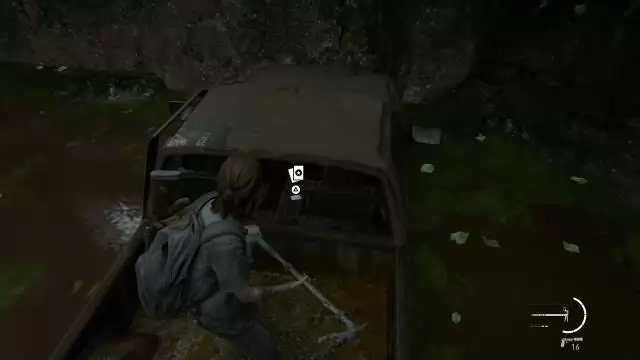
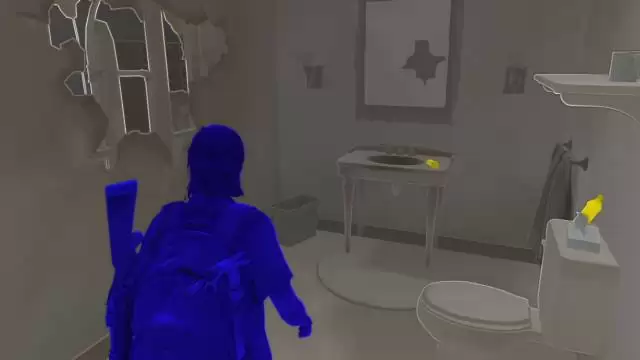
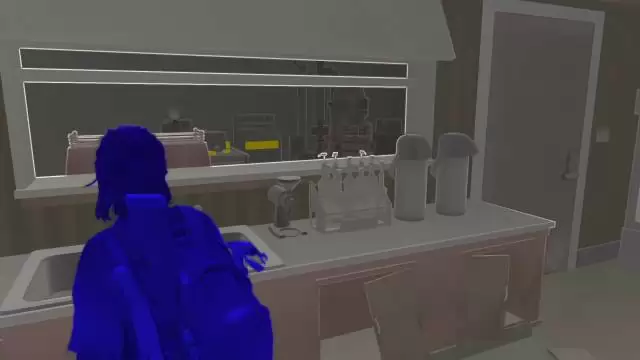
Natural Remedies: This is the first shop to the left of the starting point. Find some supplements by the counter then exit through the back door and slip through the crack on the wall to find more supplements and alcohol inside the bathroom.
Laundromat: You can find the Join WLF Note Artifact in the back room.
Rosemont: This clothing store is on the right side of the street. Pick up the materials outside then find the hole that leads to the basement behind the counter. Here you can find Boris' Daughter's Drawing Artifact on a table and a Workbench, as well as some supplements and other supplies.

Madrona Bakery: There’s a blade and alcohol in the kitchen but aside from that, nothing notable.
After exploring and looting the establishments above, climb over the toppled truck on the other end of the street to reach the next area. After climbing the truck, head to the left through a narrow path by the bushes. You should find a small store here that you can reach by climbing over the dumpster.
Break the glass and enter the store. Grab the Need a Plan Note Artifact on the display desk then loot the supplements from the drawer to the side and behind the cashier counter. Turn around and find the Sahir the Sorcerer Trading Card inside one of the cardboard boxes there.
Leave the store and backtrack to your starting point. Enter the Used & Rare Books shop and pick up the Yolanda's Note Artifact on top of the display counter.

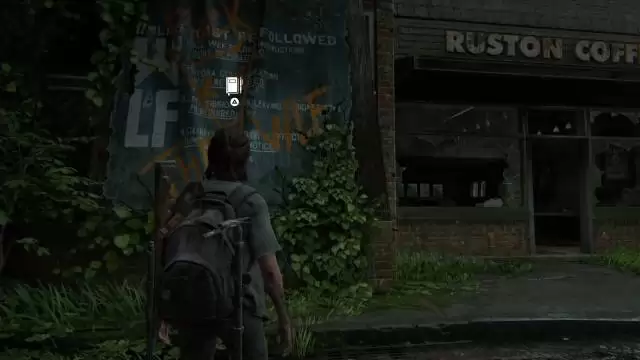
Leave the store through the front windows and head to the coffee shop next door. Examine the vandalized WLF rules tarp outside for a Journal Entry.
Head inside the coffee shop. The good loot is found inside the kitchen but the door is locked. Circle around and enter the bathroom where you can find an open vent. Crawl into that vent and continue until you reach the other end above the kitchen. Loot the med kit, crafting materials, parts, and rifle ammo. You can open the door from the inside as well.
Leave the coffee shop then find the nearby ladder that will take you to the roof of the brick building with barbed wires. Make sure to craft some Trap Mines if you haven’t yet. Once ready, vault over the metal beams to drop to the lower floor. This will be your first encounter with dogs and they’ll be able to track you consistently using your scent. This can be difficult especially if you’re planning to maintain stealth and take out enemies efficiently. Furthermore, these dogs can bite your arm and hold you in place while their handlers shoot you.
Unfortunately, the best way to deal with these canines is by leaving Trap Mines as you move along. If you use the Listen function, you’ll be able to see your trail which the dog will follow. If you’re also able to spot dogs from a good range, you can prioritize shooting them. There are no collectibles in this area so you can concentrate on taking out the enemies while jumping from building to building to collect crafting materials to replenish your consumables. Continue to the red double door in a torn shop at the end of the street to proceed to the next area.
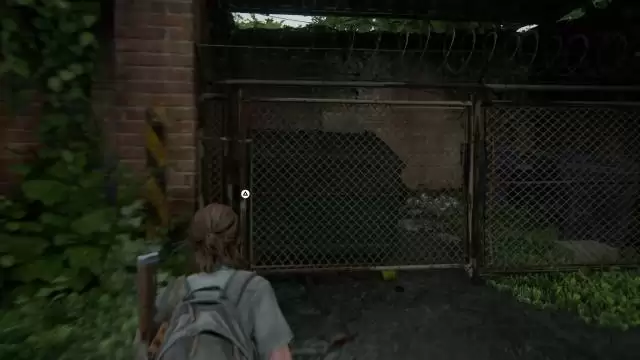
After blocking the red door, collect the parts and other materials on the shelves. There are no enemies in this immediate area so just head outside and take the stairs back to the alley. You have to climb up the roof of the small garage. To reach it, find the dumpster behind the chain-link fence at the end of the alley. Open the fence to release the dumpster. Don’t forget to loot the parts and canister on the ground behind where the dumpster was. Grab the dumpster and push it to the parking space beside the small garage. After putting it in place, quickly climb it and reach the roof since it will roll down the slope.
Drop down and head inside. Here, you’ll find a Workbench. Search for a bike parked in the corner and pick up the Naledi the Youthful Trading Card stuck in its rear wheel.

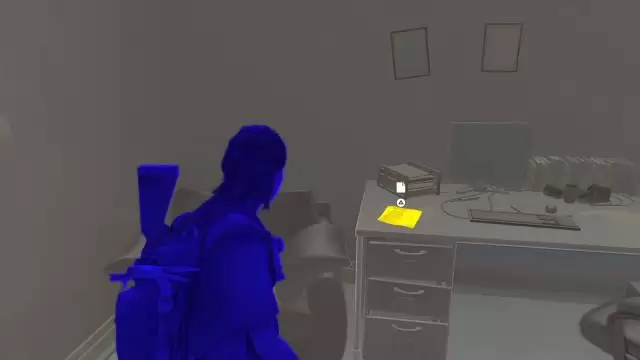
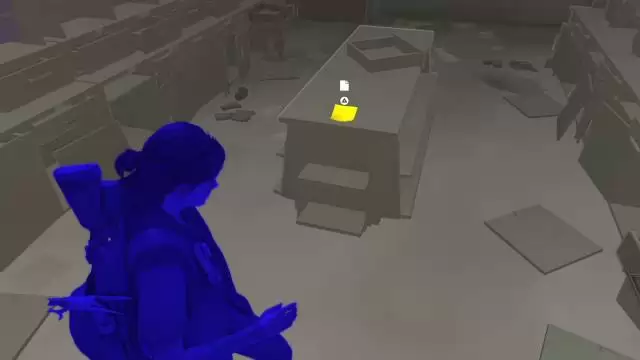
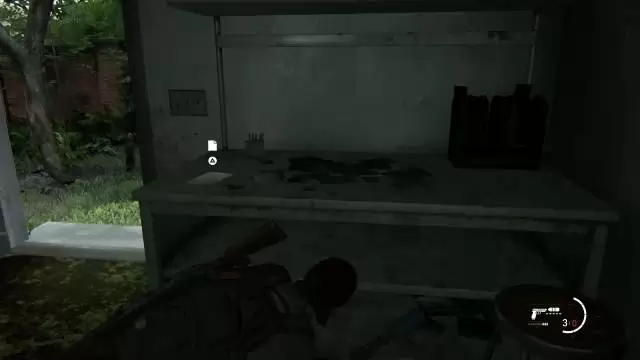
Check the adjacent room to find the Condolence Note Artifact on the desk to the left and some parts on the other desk. Use the Workbench then leave the store.

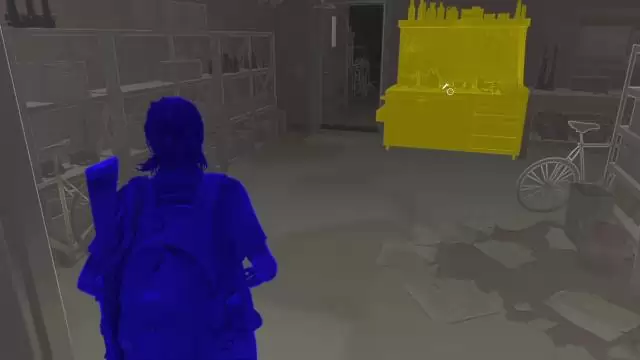
Once you’re in the street, look to the right to find Goldstar Liquor Shop near the sinkhole as shown below. Enter that abandoned establishment and check the counter for some revolver ammo, alcohol, and snacks to replenish your HP by the display fridges. Turn around to find the doorway to the basement with a collapsed staircase.
Drop down and collect the shotgun ammo and crafting materials. There are two shamblers that you have to defeat here. It’s ideal to use trap mines, molotovs, and shotguns to take them out quickly. After killing the shamblers, look around for more crafting materials. To leave the basement, find the other staircase out of the basement that you can access by vaulting over the broken wall in the bathroom or crawling under another hole on the wall.
Continue upstairs to end up in a daycare center. Approach the fungal-covered corpse by the counter and pick up the Precision Training Manual on the floor beside it. Jump out of the window back to the street.
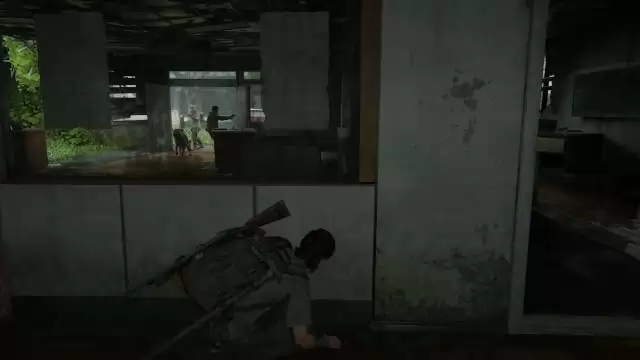
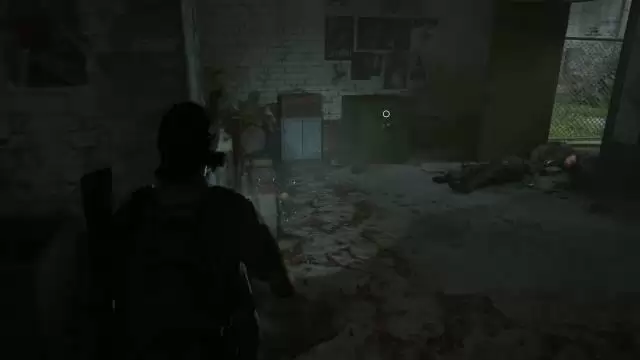
There will be more runners scrambling about the buildings. Sneak on them and kill them so you can safely loot the establishments. First, enter the tattoo parlor beside the bike shop. Grab the supplements near the hole on the wall then check the back room to find the Note in the Hillcrest Tattoo Parlor Artifact.
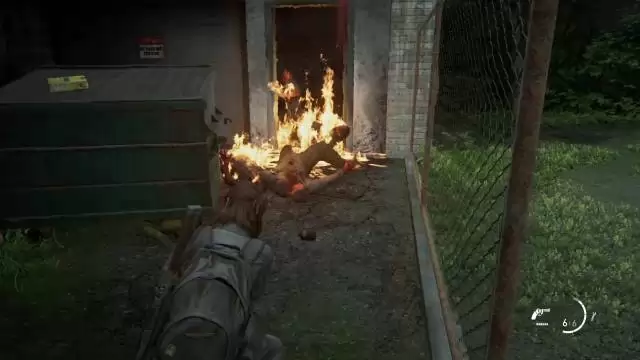
Next, enter the next building called Shear Lux and pick up some supplements by the counter. Exit to the back door and you’ll find a dumpster blocking the door of the auto-repair shop. There are several infected inside that will start rushing out as soon as you open the door. A good tactic is leaving a trap mine near the door then run back as soon as you open the door or just use molotovs to kill them all.
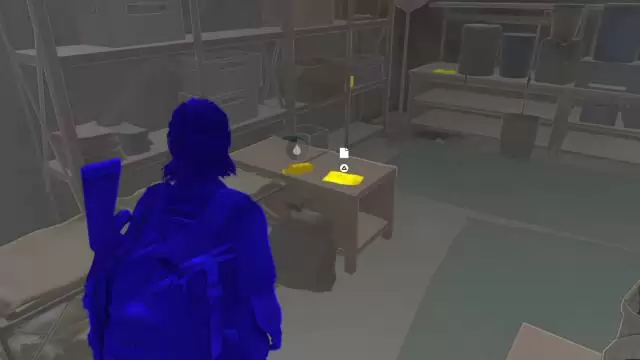
Head inside the garage and open the small office to get some supplements, parts, and other supplies. Next, open the safe using the code 30-82-65 and loot the various ammo, supplies, and Short Gun Holster inside.
Head back to the main street then enter the pet grooming shop near the collapsed road. The door to the back room/ grooming room is locked but don’t break the window yet; there’s a shambler and a runner in the adjacent bar which will be alerted immediately if you made any noise.

Ignore the back room for now and crawl through the hole on the wall to reach the bar. Kill the runner and the shambler then go back to the pet store and break the window to access the back room. Loot the supplements and crafting materials then pick up the Turn in Boris Note Artifact on the table near the door.
Enter the bar again then loot the alcohol and revolver ammo in the center island. Continue to the kitchen then look to the left to find a memo posted on the wall. Examine it to get the Dale's Combo Artifact. (this is the code for the safe in the auto-repair shop earlier) Loot more supplements along the way then open the door to continue forth.

Approach the corpse at the base of the stairs to get a couple of arrows. Continue upstairs to reach a small area with some residential houses. There are three patrolling infected here; you can sneak up on them and kill them silently or just shoot them straight up. After clearing the area, find the wooden fence where you can climb over.


While in the backyard, check the playhouse to find the Brainstorm Trading Card by the toy’s window.

Enter the house next then turn left to the kitchen. Obtain the Rosemont's Flyer Artifact on top of the drawer to the left. Loot the other materials and ignore the hole on the door for now.

Head to the living room and pick up the supplements on the small table as well as the Boris' Confession Artifact. Pick up the remaining loot in the room then exit through the damaged door in the kitchen.

You’ll be tackled by the infected Boris. Kill him and examine the body to get the Bow weapon. The arrows recipe will be unlocked as well. Loot the other materials inside the garage then open the garage doors to leave the house. There are marked mannequins in the backyard that you can use for target practice. Don’t worry about your arrows since you can recover them. Use this chance to practice your arrow shooting skills since they’ll be quite effective in taking out targets silently. Once done, climb over the sloped fence to reach the next area.

This next area is crawling with WLF patrols, including dogs and a sharpshooter on the second floor of the house in the far end of the street. There’s a crowbar in front of a car where you landed. Use your bow to take out the dog and the other patrols. Lay down some mines around the paths where they’ll most likely walk over while keeping low in the grass. There’s a lot of enemies here so use your Listen skill while exploring each of the houses for loot and supplies.

There’s only one collectible in this area and it is located in the last house in the street, where the sharpshooter is located. Head to the second floor and check the bathroom to get some supplements. Check under the bed in the bedroom close to the balcony to find the Reverb Trading Card.

Loot the other supplies in the house then drop down towards the next house with the backyard grill. There’s another Patrol here including a dog so deal with them accordingly. After clearing the area, loot the supplies inside the house then enter the small garage beside the gazebo. Loot the supplies inside and slide down to the next area.

From hereon, there are no collectibles so focus on taking care of the enemies and finding crafting supplies for your consumables. After the WLF soldiers arrive from the main gate, watch out for a dog and its handler coming in from the left. Enter the house nearby for some crafting materials. Once done, craft your consumables and heal up then vault over the window to reach the next area where more enemies await.

There’s a sharpshooter on the roof over the fence and more enemies will arrive from the burned down house to the right. Circle around to the shed on the right so you’ll have cover from the sharpshooter and allow you to flank the enemies. Put some trap mines near your location then take out the enemies, including an attack dog. Once the enemies nearby are dead, snipe the sharpshooter from the grass. Once clear, loot the supplies in the storage shed, heal up, then continue to the house.

Vault over the window to reach the back alley. A dog will bark at you from the chain-link fence so it’s up to you if you’ll kill it or ignore it. Continue through the opening on the wall where more enemies will gang up on you with melee weapons. Prepare to evade and counter while keeping in cover. Clear this room then heal up as needed.

Continue upstairs and an enemy will charge towards you with a machete. Kill her then continue following the straightforward path until you get reunited with an ally. Take out the reinforcements that will arrive on the scene. Heal up then ride the pick up truck on the passenger side. During this chase sequence, you’ll have infinite ammo so shoot away to keep the enemies off. After completing the chase sequence, this section is now complete.

Finding Strings
As soon as you start the flashback quest, approach the cliff to get the prompt for a Journal Entry.

After that, keep following Tommy to get a chance to try out sniping the infected across the ridge. Don’t worry about the ammo since you won’t run out. Take your time practicing your shots, especially when adjusting the bullet drop. First, target the red sign to draw out the infected. Once they’re out, snipe all of them to complete this sequence. Next, keep following Tommy to the next sniping spot. Take out all infected in the ski lift area to move along.

Upon reaching the lodge, you can go around and pick up the scattered materials and ammo. There are no collectibles here yet so don’t worry about missing anything. Examine the different objects of interest here and even talk to Tommy if you want. When you’re ready, head to the exit and regroup with Joel and mount your horse.

Continue following the trail until you reach the hotel. Turn to the left to see the sign of the music store then climb over the small trailer to find a collapsed section of the road with a small car in the hole. Approach the other side of the car to find the Austringer Trading Card on the back seat.

Next, regroup with Joel and attempt to find a way in the hotel. After slipping through inside by yourself, loot the crafting materials in the first room. Leave the room then turn left to find the main door. Open it to let Joel inside. Check room 111 to find ammo and a med kit there. Once done, regroup with Joel by the vending machine and follow him inside.

Loot the materials in the following room then climb over the hole on the wall after Joel. Check the rooms, especially Room 107 where you can find the Tara's Invitation Artifact on the dresser near the door. This is the last collectible in this mission so just concentrate on finding crafting materials as you proceed with the mission. Check the bathroom of the same room to get a Lead Pipe. After looting the floor, follow Joel by climbing to the next floor.

Next, you’ll find a lot of runners and clickers in the main hall. Sneak up behind them and kill them one by one. After clearing the room, look around for ammo, crafting materials, and a baseball bat. Don’t forget to craft molotovs and heal up. Once done, regroup with Joel by the other door.

Another wave of infected will arrive. Stick close to Joel and make your shots count. After clearing the room, Joel will open the next door. Slip through to join him and continue through the narrow space along the wall. Here, you’ll be fighting a bloater next.

This fight is tough since you’ll be relying on your rifle and pistol since you don’t have access to explosives. Joel will be providing covering for you so concentrate on keeping the distance between you and the bloater. Aim your shot when the bloater is occupied with Joel. If ever the bloater gets close to you, prepare to evade then quickly run away.

Avoid melee range as much as possible and keep slipping through the gaps on the walls to keep your distance. You also have to look out for the occasional runner that will join the fray. Kill it immediately so you can focus on the bloater.

The bloater can also throw pustules from its body that will explode and leave a toxic cloud of gas behind. It will telegraph this attack by stopping and grabbing something from its body before throwing at you. Avoid lingering inside the toxic cloud to avoid getting damaged over time. Keep running and use the various obstacles to keep distance. Heal up as necessary and pick up the ammo and other crafting materials scattered around the rooms. Don’t forget to use your molotovs if you have any in stock. Continue repeating this process until you finally take out the bloater.

After killing the bloater, look around for more items then regroup with Joel to the next room. There are no more enemies at this point so just follow Joel until you finally reach the end of the hotel to trigger a cutscene. The mission will be complete afterward.

We have questions and answers related to this topic which may also help you:
Anything missing from this guide?
ASK A QUESTION for The Last of Us 2Comments for Seattle: Day 2 (Part 1)
No comments yet. Tell us what you think to be the first.
Table of ContentsClose
 Join us on Discord
Click to close