Seattle: Day 2 (Abby) Part 2
The Descent
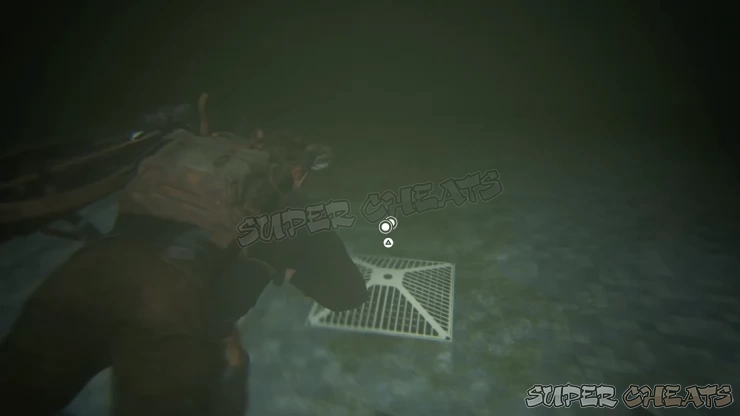
Start by diving to the pool and pick up the Illinois Coin on top of a drainage pipe. Loot the nearby materials then open the door. There are two doors here; the left leads to a gym and the door to the right leads to the shower/locker room. Both of these rooms lead to the corridor so check them both for additional materials.
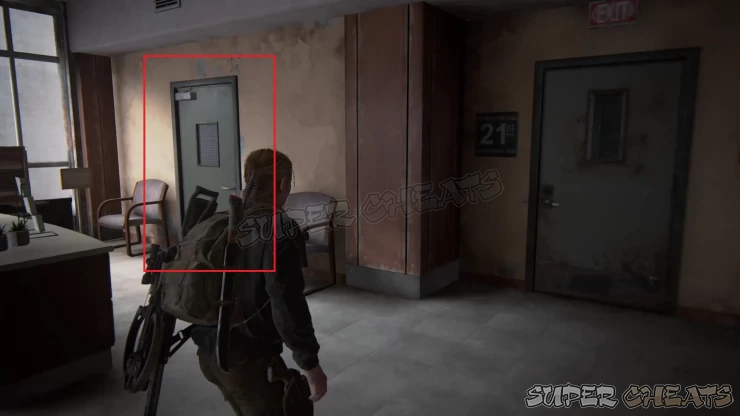
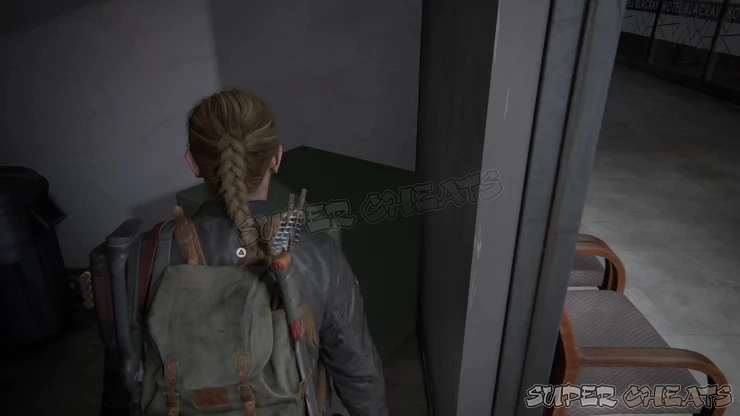
In the corridor, your next destination is the emergency exit door. Ignore it for now; instead, enter the door in front of a desk to find a safe inside. Use the code 12-18-79 to open the safe. Loot the supplements and various materials inside. This is the last safe of the game and if you haven’t missed any of the safes in the previous chapters, you’ll unlock the Trophy “Safecracker”.
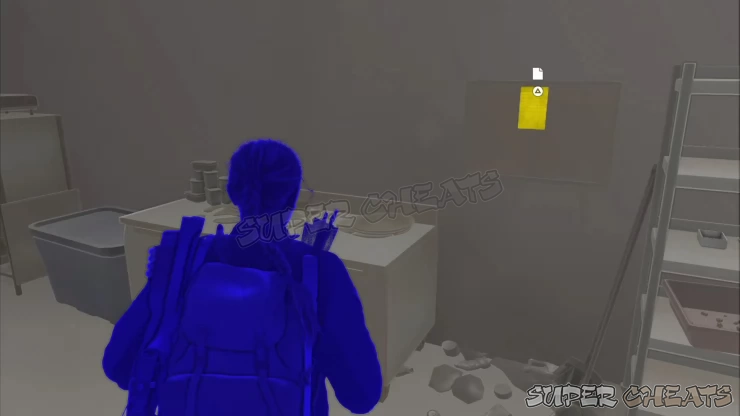
Leave the room and continue to the other end of the corridor and enter the Orchards Juice Bar. Get the supplements from a drawer behind the counter. Pick up the Gym Safe Combo Artifact pinned on the wall in the back room.
Head back to the emergency stairs and automatically get the FEDRA Orders Artifact from the corpse blocking the door. Continue downstairs and pick up the Hunting Pistol ammo along the way. Try to open the door but since the floor is filled with spores, you’ll have to leave Lev behind for the meantime and explore the floor alone.
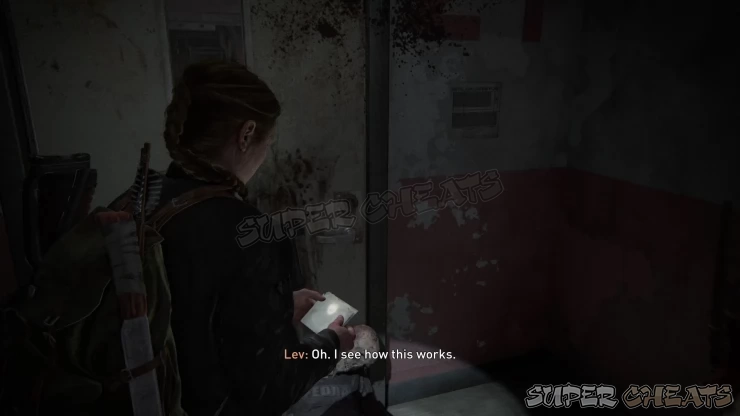
Enter the room to the left to find some supplements, ammo, and materials. Backtrack and cross the metal beam then squeeze through the hole on the wall. There are no enemies yet on this floor so check the individual rooms for crafting items. The bathroom in the last room to the left has supplements in the drawer. The last bedroom across has parts on the table and a small cabinet. Better yet, the corpse here has an intact gas mask. Pick it up and prepare to leave the room.
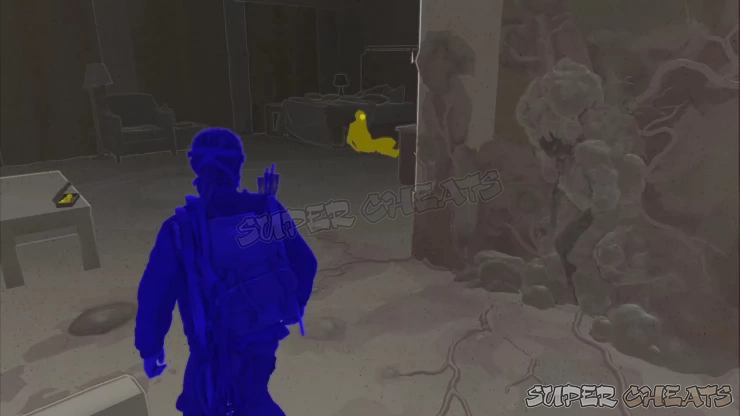
There will be stalkers now at this point so use High Contrast Mode to see their outline. Take out all the stalkers or outmaneuver them towards the exit. Return to Lev to continue your journey.
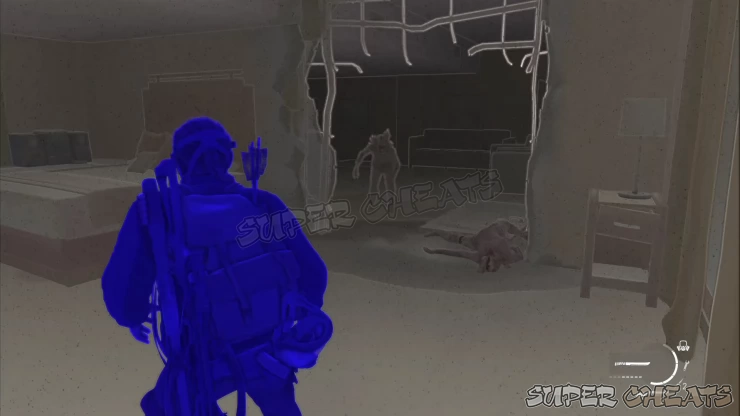
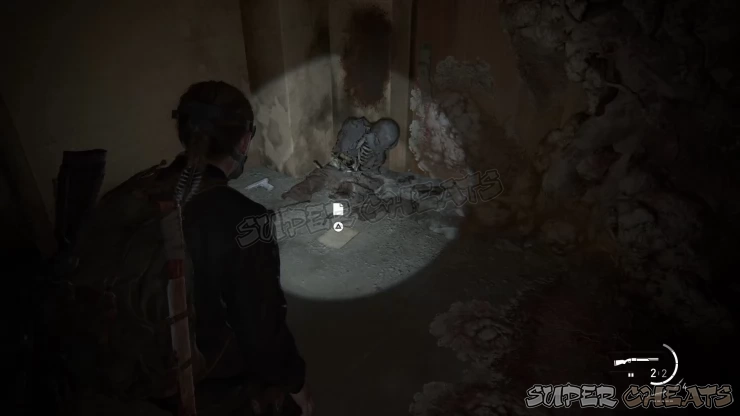
Boost Lev up the ledge to get the dangling rope right above the corpse. Use that rope to rappel down to the lower floor. After landing, enter the small room to the right to find a skeleton and the FEDRA Final Note Artifact on the floor in front of it.
Next, you’ll have to systematically climb down through several broken floors of the hotel. You also have to watch out for clickers that are stuck on walls. They’ll break free and attack you if you get too close. You’ll be able to easily distinguish these if you have High Contrast Mode on, as shown below. Always have a shiv ready and your health full. Otherwise, you can kill these pretentious clickers using long-range attacks. Continue through the end of this floor then sprint-jump to the lower floor. In this floor, there’s a clicker in the other room so instead of jumping over the gap, circle around by crossing the metal beam to the right and carefully approach the clicker to take it out. Loot the parts on the table after ward.
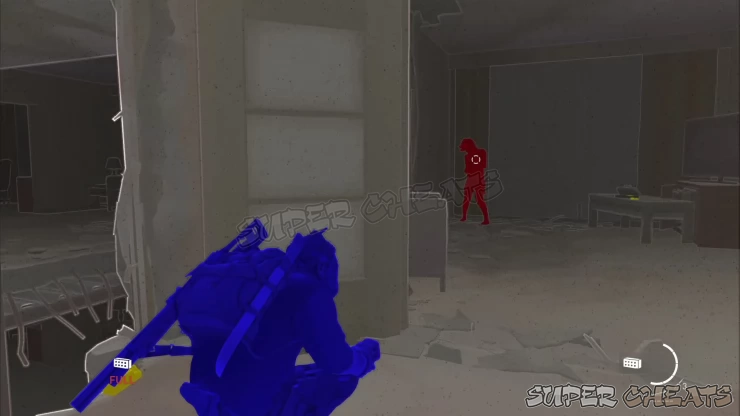
Continue around the corner but don’t go down yet! Instead, squeeze through the bathroom door to the right. Cross the metal beam and crawl through a small hole. Pick up the Flamethrower from the FEDRA body on the left. There’s another live clicker on the wall so test your new weapon on it if you want, then loot the supplements and other items in this room. Backtrack to the previous hotel room then drop down the ledge afterward.
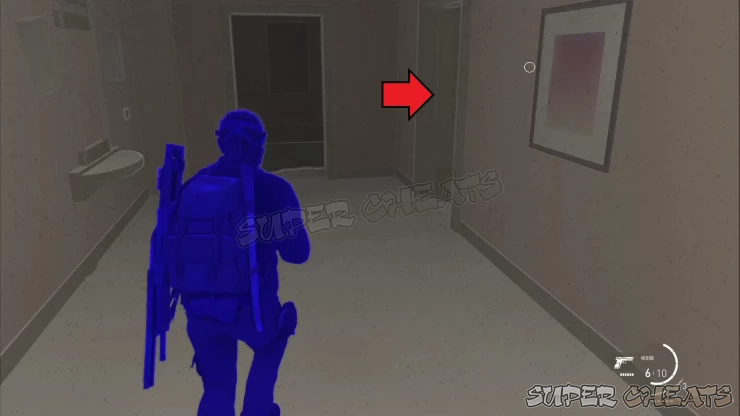
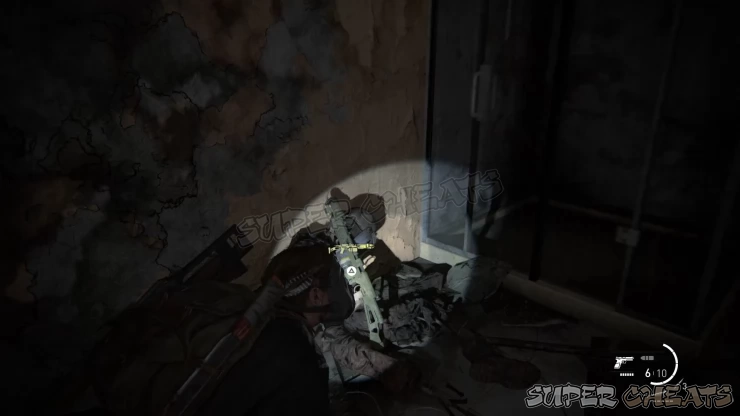
Check the bathroom to the left to find some supplements from the drawer then head past the door to find some parts near the edge. From there, return to where you landed and cross the metal beam to reach the intact rooms. There are clickers here so carefully sneak behind and kill them both. Loot the crafting materials then descend to the collapsed floors
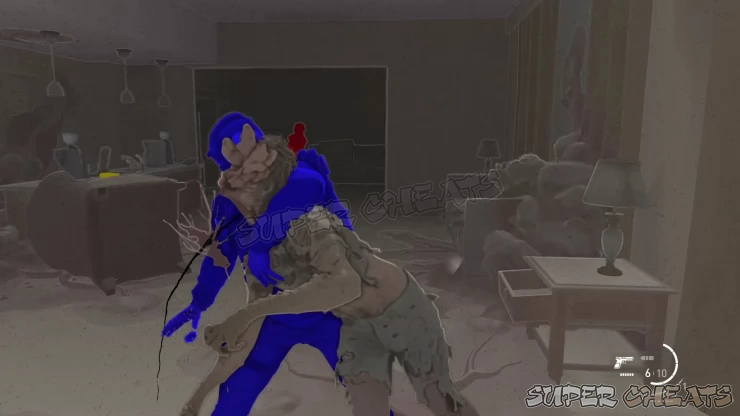
Cross the next metal beam to the next room. This room has a shambler in it so be careful when walking around the corner. You can find a lead pipe and some parts inside the drawer if you manage to take out the shambler. Cross the other metal beam then sprint-jump once again to the ledge below. After landing, turn around and jump across the gap to get the Oregon Coin on the shelf to the right. Jump across once again.
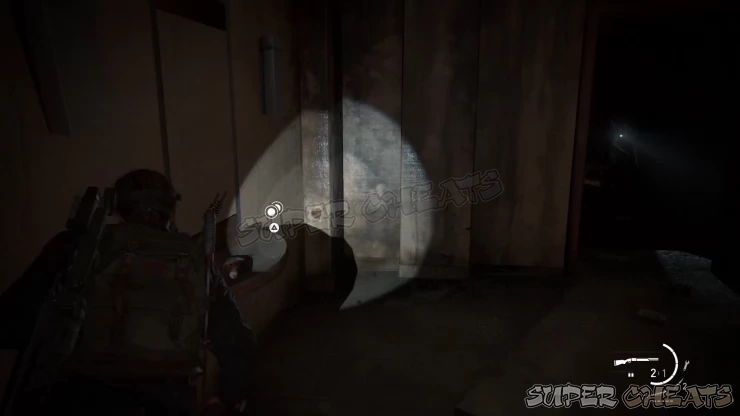
There’s some supplements in the nightstand in the corner but a wall clicker will burst free from the wall if you get near. Kill it then follow the path. Cross the metal beam then check out the room for more crafting materials. Climb down the ledges then drop down to the next room. Turn around and pick up supplements from the drawer. From here, just follow the collapsed floors going down while also checking each floor for crafting items. Once you’ve reached the double door at the bottom, prepare for a fight.
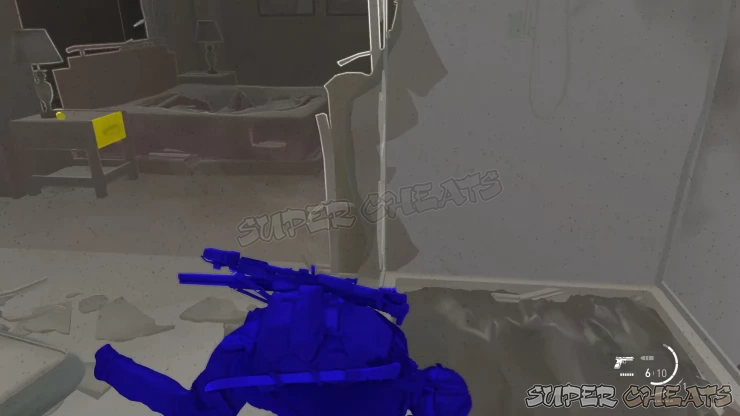
On this floor, there’s a bloater, several patrolling clickers, and of course, wall clickers. The tricky part here is that if you trigger any of those wall clickers, the other infected in the area will react as well and will start swarming at you. Since the wall clickers are basically proximity mines, it will be hard to sneak your way out of them. Enhanced listening mode will help immensely here since it will display wall clickers as red when you’re near them without triggering them.
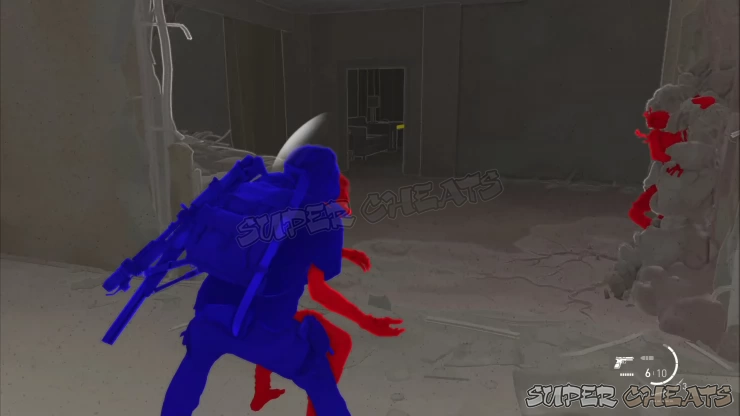
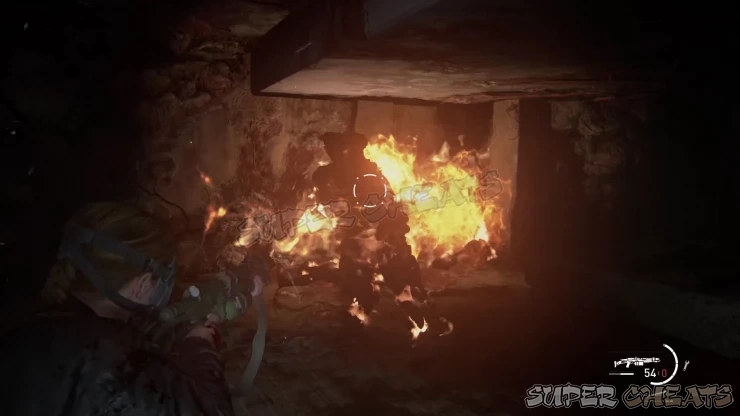
Start by silently shivving off the patrolling clickers. If ever you get the attention of all the infected in the current floor, keep an eye out of doors and gaps where you can squeeze through. Always prioritize taking out the clickers so you can focus on the bloater. Your flamethrower will work well against the bloater since it will stagger it. Empty your flamethrower fuel at the bloater if you have to, then finish it off with high-powered blasts from your shotgun, hunting pistol, or pipe bombs. After the battle, check the area for items and ammo, then open the elevator door to proceed.
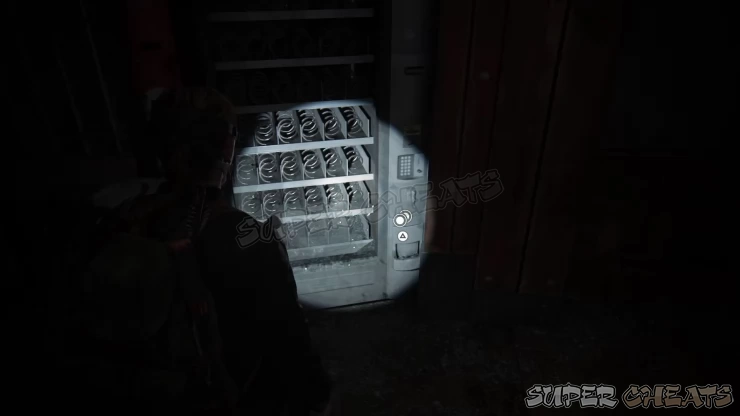
Climb down the elevator shaft. After exiting, turn to the left to find a canister and some parts. Smash the glass of the vending machine to reveal the Wisconsin Coin in the coin return slot. Pick up more ammo on the other end of this corridor then open the door to finally exit the hotel.
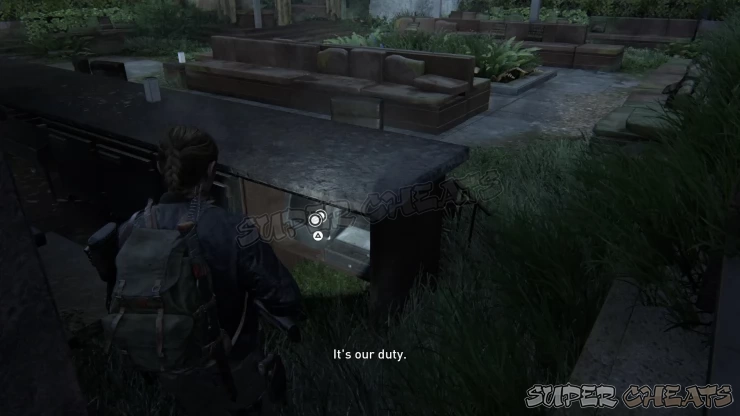
Continue down to the open bar. Scour the area for items, especially a lot of parts under a roofed corner sofa. Pick up the Rhode Island Coin beside a cash register under the counter, as shown below.
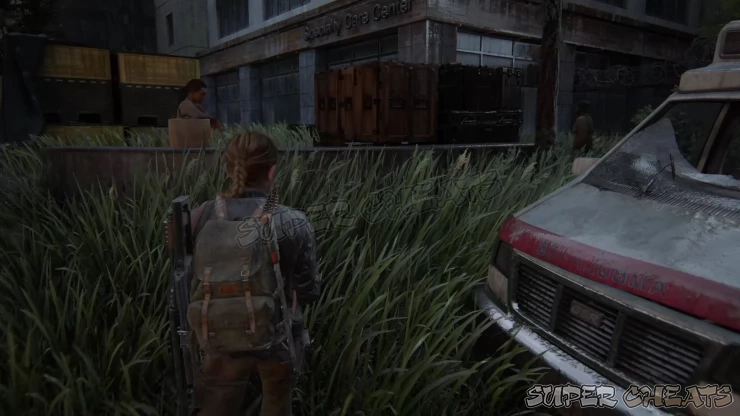
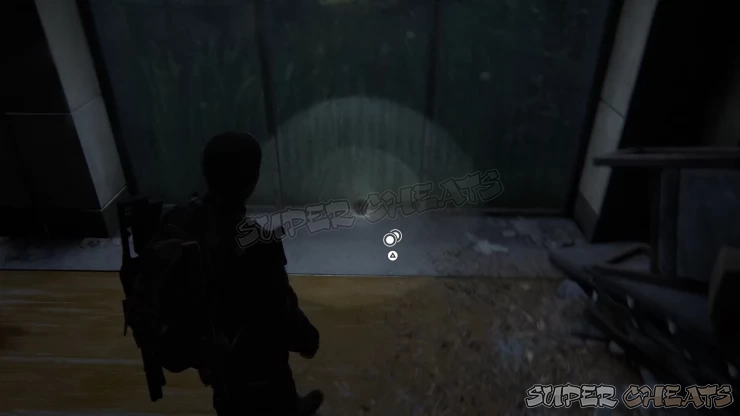
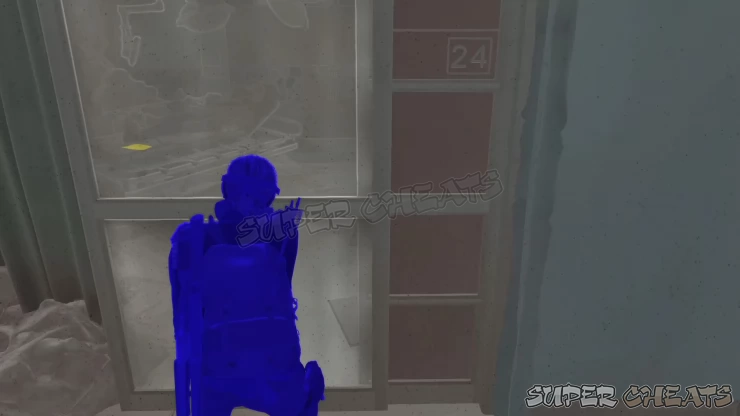
Find the wooden walkway connected to the next building then find more parts inside a bathroom to the left after dropping off a slightly collapsed floor. Continue following the path to trigger a cutscene. After jumping in the water, keep swimming until you reach the shore. After the conversation with your WLF allies, turn to the right and head to the building with the sign Special Care Center. Look for the Missouri Coin on the floor near the glass window as shown below. Talk with the various NPCs then head towards the hospital to conclude this mission.
Ground Zero
Follow Nora until you finally go downstairs to the lower floor. While in the cafe area, check behind the counter by the cash register to find the Washington Coin.
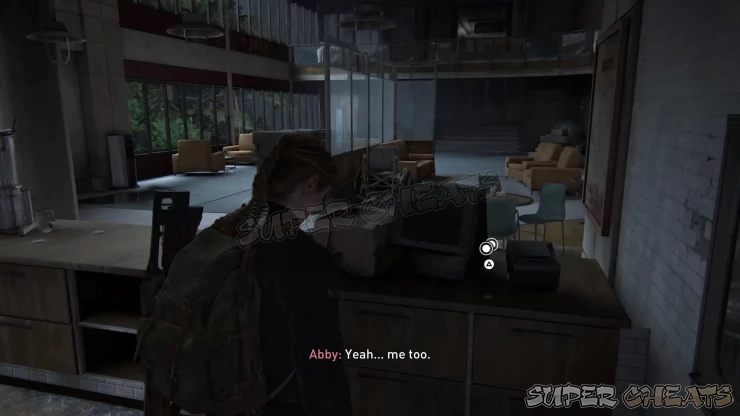
Continue following Nora to the Oncology Center where you’ll have to resume the exploration alone. Loot the items in this room then open the next door. Continue to the elevators but before taking the stairs, crawl through an open doorway to the right to find the Annex Letter Artifact beside a body. Loot the other items, leave the room, and continue downstairs.
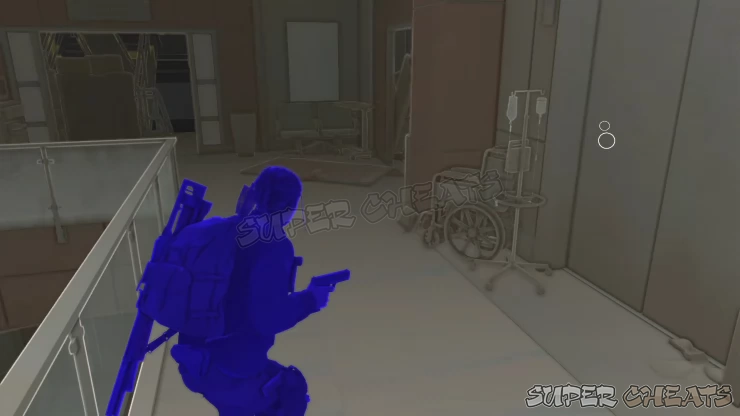
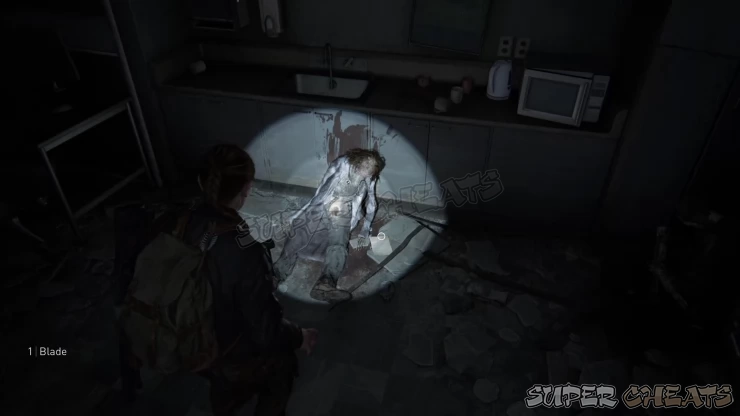
The door to the ICU will be locked so you’ll have to drop down from the ledge by the stairs to reach the lower floor. Turn to the right and examine the bag on the floor beside a body to get the Soldier's Letter Artifact. Vault over the metal barricade then loot the items inside.
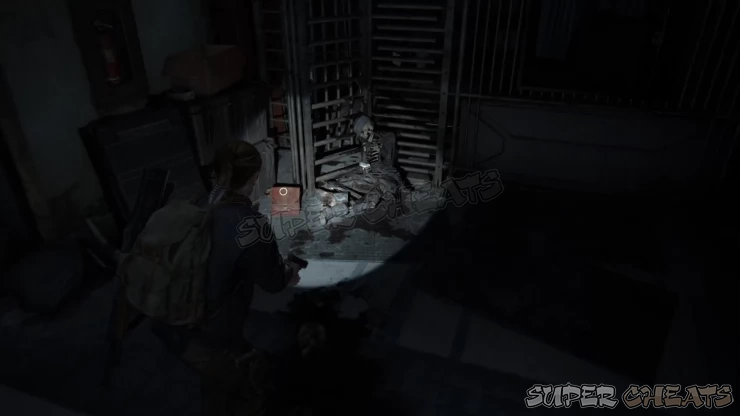
Next, pick up some parts on a shelf behind the boxes where you landed, then check the chapel for more items. Pick up the Chapel Note Artifact on the altar. From here, exit throug the small door to reach the quarantine tunnel to the ER.
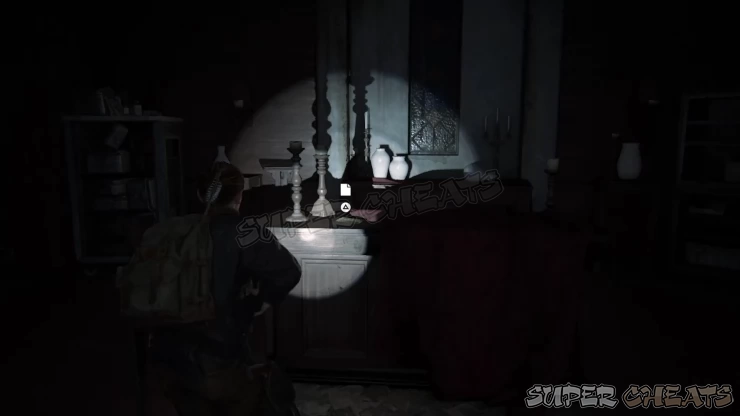
Loot the items in the area (use High Contrast Mode to see them). You can’t open the main doors yet since it requires power. Next, shatter the glass in room 24 to find the Patient's Note Artifact on the gurney.
Continue forward then enter room 25 to get some supplements and materials. Continue forward to the Surgery Suites. There are clickers and runners trapped behind electronic doors so you don’t have to worry about them at the moment. Beware of the wall clicker inside one of the rooms. Enter the last room to the left of the main door to find some supplements in the drawer and the Doctor's Note Artifact on the desk.
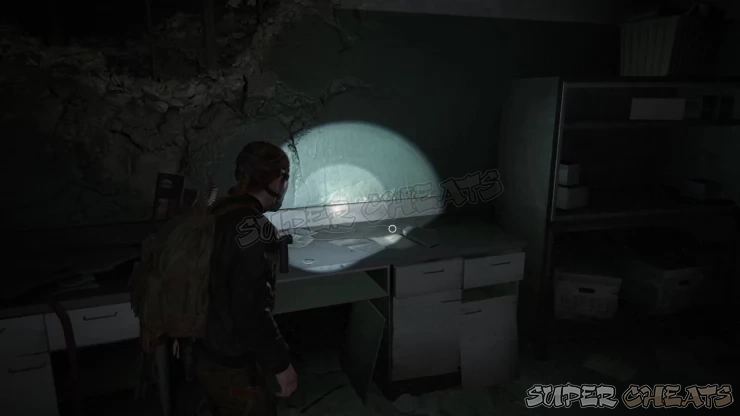
Finally, climb over the open vent on the same room to find a Workbench and the generator needed to restore power to the doors. Pick up the parts nearby then use the workbench. You should have a lot of parts collected at this point so we recommend prioritizing the damage upgrades for your shotgun and hunting pistol since there’s a boss battle in a short while. Make sure that you have fully crafted a full stock of pipe bombs and med kits. Once done, start up the generator to restore power. Exit through the main door afterward.
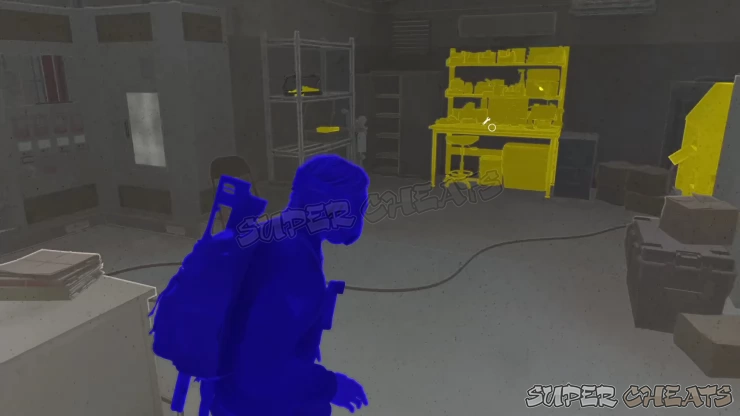
The trapped infected will be released. Stay low and try to take them out silently. There’s some supplements inside the tent to the left but beware of the wall clicker in the middle of the room. Next, enter the room in the corner to find more supplies and some supplements inside one of the fridges.
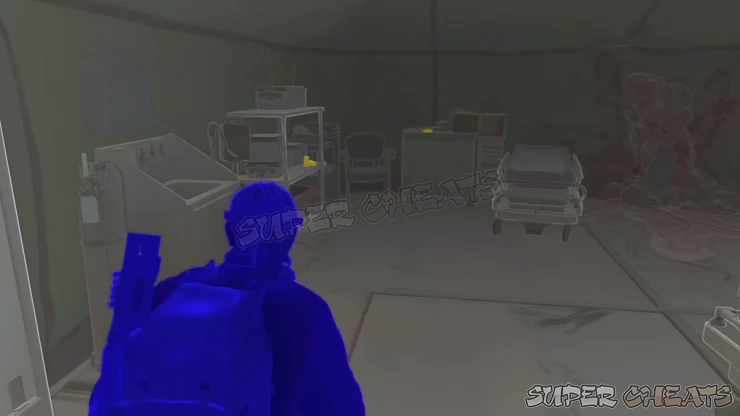
Exit through the door again and follow the trail of blood leading to the garage. Head to the left to find the ambulance. Open it and check the drawers until you get the surgical set. Once the Rat King appears, smash the window and keep running. During the chase sequence, keep running and vaulting over obstacles to avoid the large infected. After reaching the last door with the hatchet, smash the prompted button to complete the chase sequence and start the boss fight. Please follow this link for the dedicated strategy page for defeating this boss.
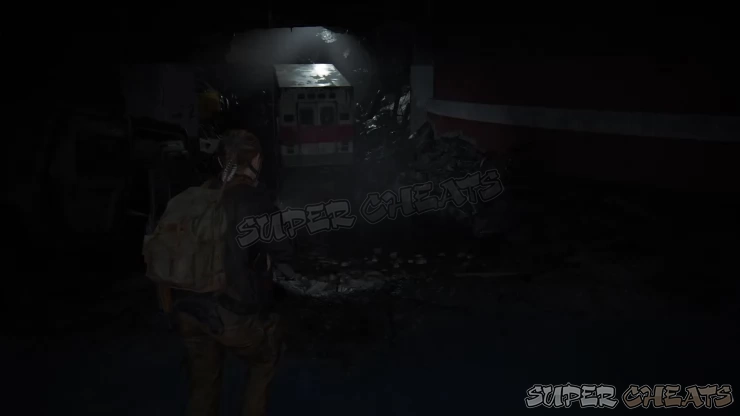
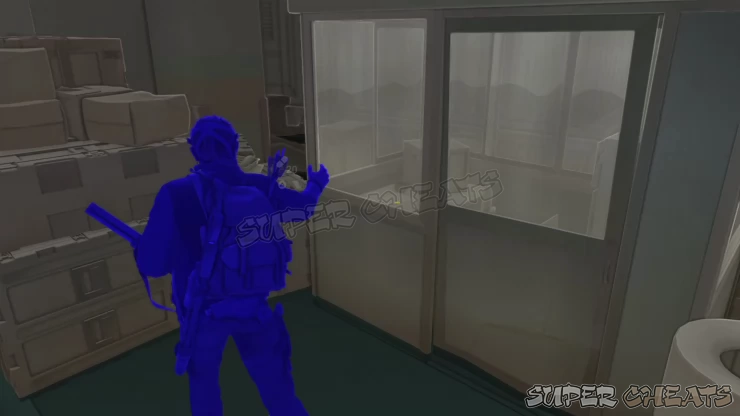
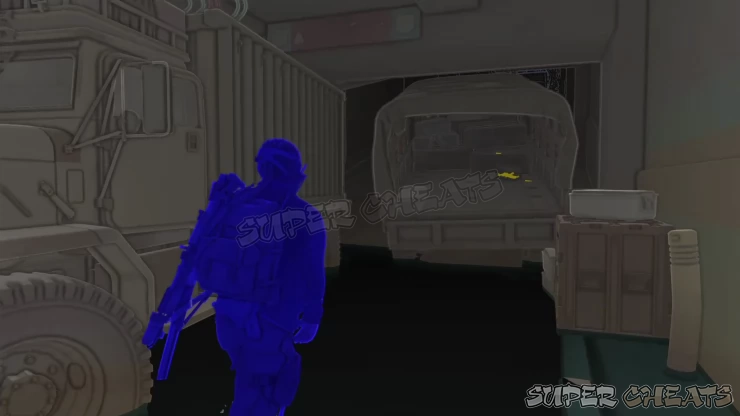
Finally, after killing the boss, loot the items in the area then open the shutter to the garage. Circle around the trucks to find the booth where you can pick up some supplements and the Hawaii Coin. This is the last collectible of this stage. Find the ramp and make sure to loot the parts at the back of the army truck before squeezing past it. Continue towards the opening and climb outside to meet up with Lev and complete the mission.
We have questions and answers related to this topic which may also help you:
 Join us on Discord
