Santa Barbara
2425 Constance
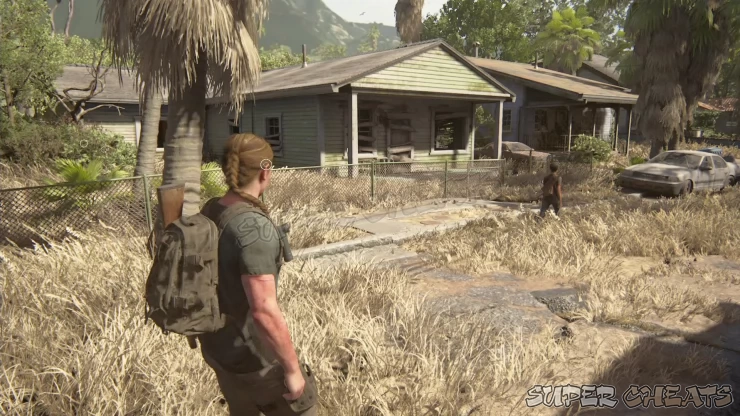
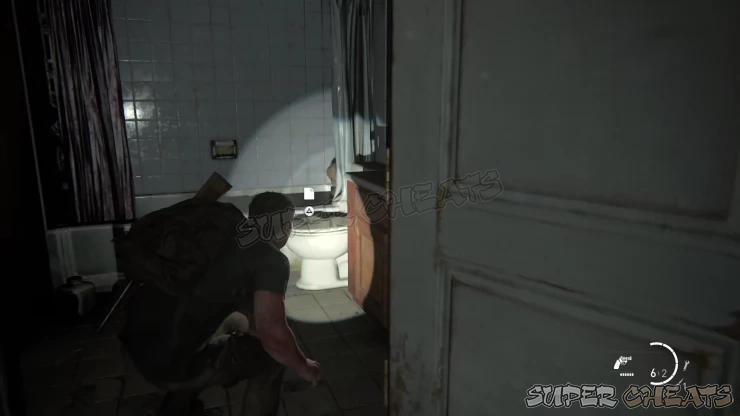
Continue along the street until you reach a house with some infected inside. Kill all infected inside and pick up the note artifact inside the bathroom. Loot the other items inside then continue along the street until you reach a dead end.
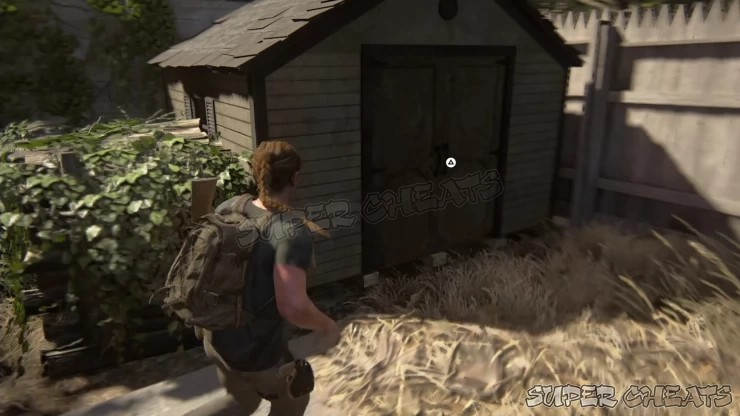
Enter through the garage of the house to the right. Once inside, loot the items then examine the letter on the table along the hallway. Leave the house and check the shed outside the dry pool in the backyard.
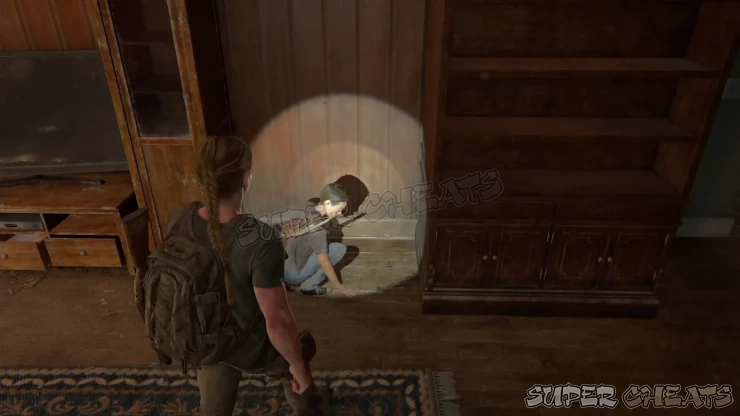
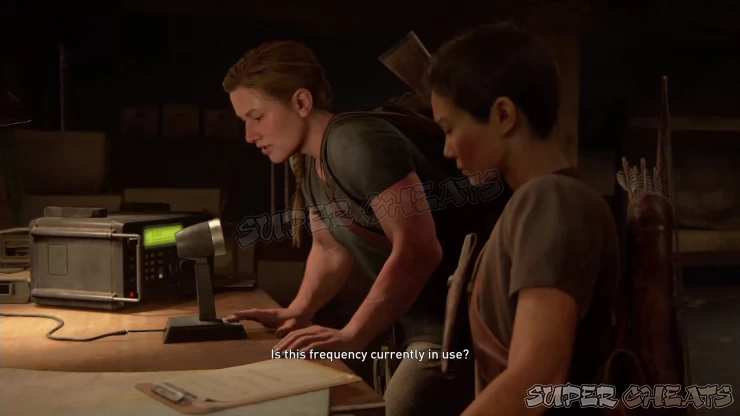
Return to the house and regroup with Lev. Push the shelf to the side to reveal the stairs leading to a secret basement. Go downstairs and flip the power switch in the corner then operate the radio afterward. Once done, leave the house to complete this chapter.
Pushing Inland
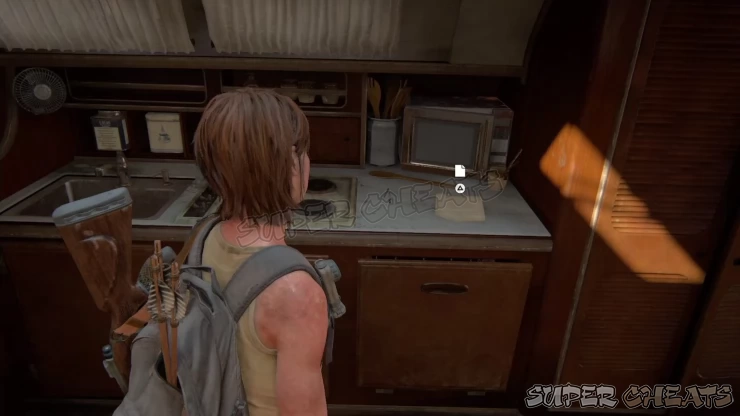
Before leaving the boat, pick up the Abby's Note artifact from the counter on the left. Leave the boat and then follow the uphill path until you reach the broken wooden stairs. Jump to reach the ledge and pull yourself up. Finally, climb over the fence to reach the street.
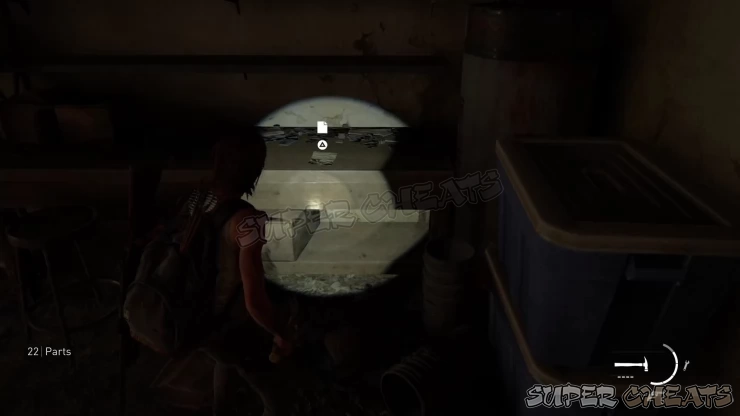
Continue towards the house to the left with the U-Move trailer parked in the garage. Kill the lone infected there then enter the garage to find ammo, parts, and other supplies. Pick up the Mansion Note Artifact on the desk to the left.
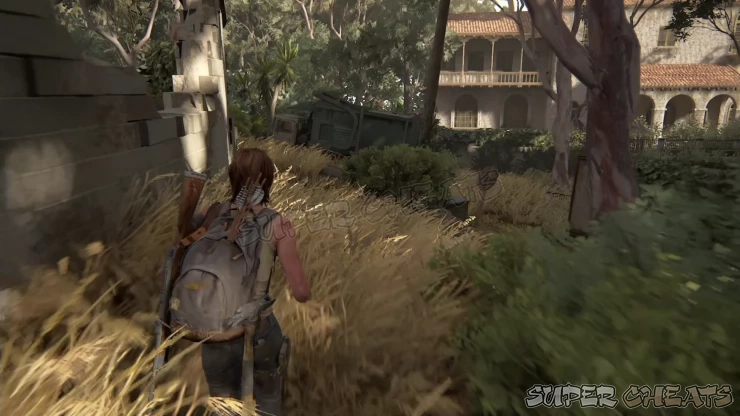
Leave the garage and continue forth. There are more runners and clickers here, as well as a couple of stalkers hiding in the uphill street area. Kill all the infected then collect some supplies at the back of the delivery truck near the townhouse to the right. Find the broken section of a nearby estate’s wall and climb over it.
Once inside, a clicker will appear from the rooftop. Reach the roof by climbing over the parked car then stealth-kill the clicker then enter through the second floor floor of the house. Don’t fall down yet; instead, check the kid’s bedroom to the right to find the CBB-73 Trading Card on the desk. Loot the supplements in the bathroom then once ready, drop down to the lower floor near the staircase.
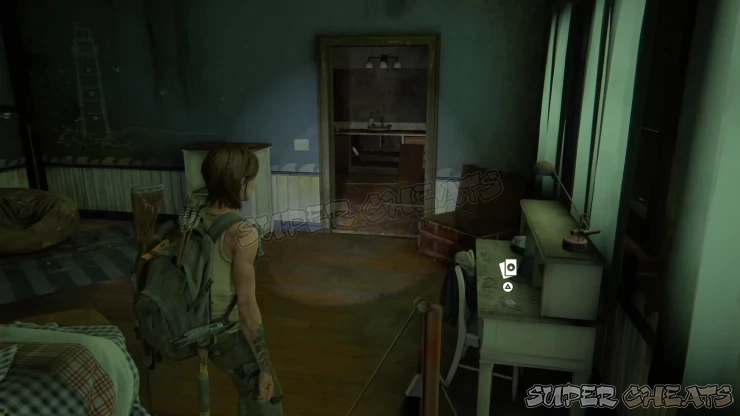
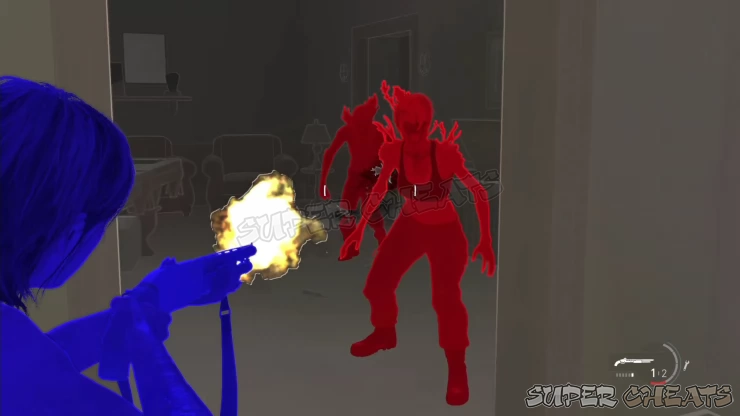
There are two shamblers on this floor which will be backed up by several runners and stalkers as well. Try to place some trap mines around the corners and try to lure the stalkers and shamblers by throwing a brick away from you. You can then safely lob molotovs at them. If they detect you, prepare to run around and unload your shotgun rounds to deal with them.
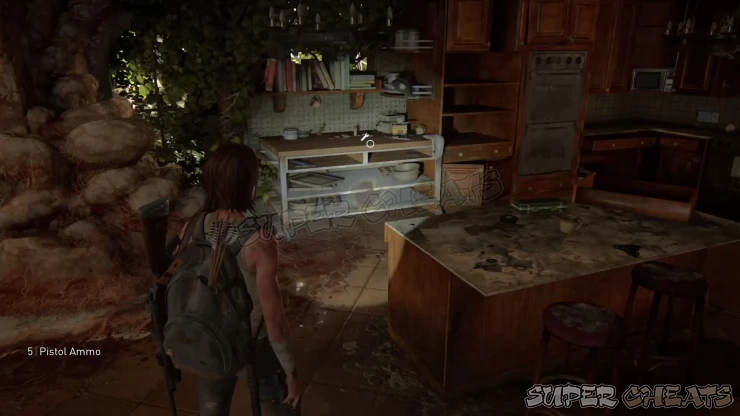
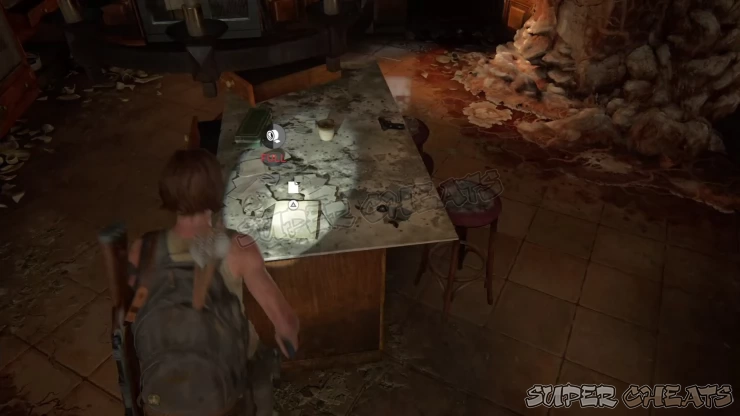
After clearing the lower floor, heal up then pick up the various loot around the room. Use the Workbench then pick up the Runaway Warning Artifact on the center table. After looting the house, leave through the open window then crawl under the wall to reach another street section.
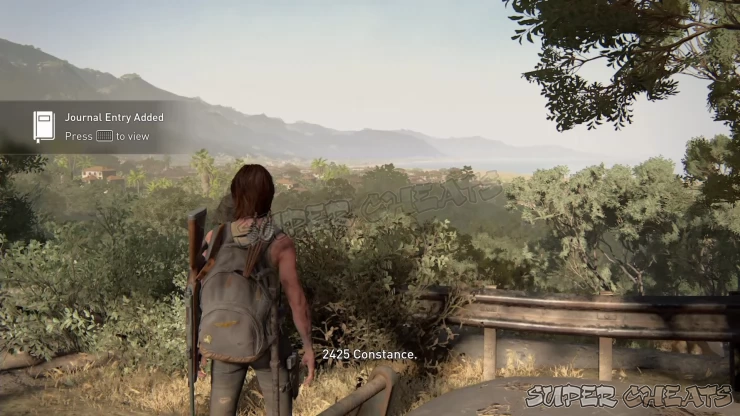
Approach the police car and press L3 to look out at the horizon to trigger an automatic Journal Entry log added. Follow the road and pick up some materials and parts at the back of the military truck. Slowly descend down the dirt hill and pick up some supplements from the overturned truck along the slope.
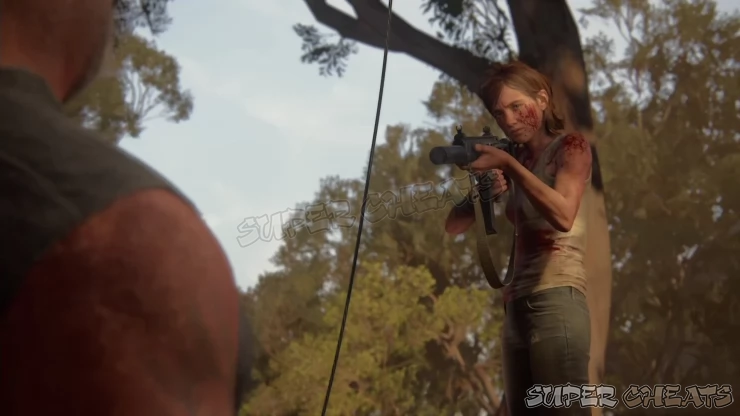
Follow the downhill path and take out the infected along the way. Squeeze through the gap to trigger cutscene and complete this mission. You’ll also receive the last weapon in the game, the Silenced Submachine Gun. If you found all weapons up to this point (including Abby’s playthroughs), you’ll also unlock the Trophy “High Caliber”.
The Resort
Stay low and take out the Rattlers patrolling nearby. These hostile slavers and opportunists usually wear body armor and helmets, making them hard to kill instantly using headshots. These armored Rattlers are still vulnerable to molotovs, trap mines, stealth-kills, and close-quarters shotgun rounds while your other weapons like arrows and Silenced SMG can easily pick off ordinary rattlers. After wiping out the first patrol, enter the train station in the middle and the train car to the right to get some supplies.
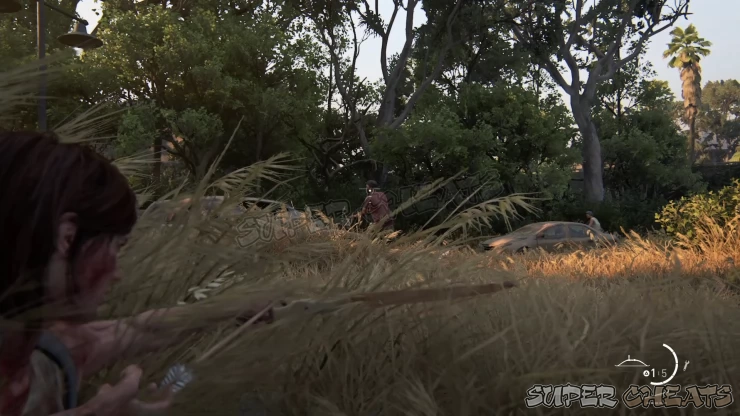
Past the train station is another group of rattlers, including armored ones. It’s recommended to lay down trap mines around corners then try to pick off unarmored rattlers with your bow or silenced SMGs. Keep low and eliminate them while they’re searching for you. Once cleared, enter the shop where this second group used as a camp then loot the various ammo and crafting materials inside.
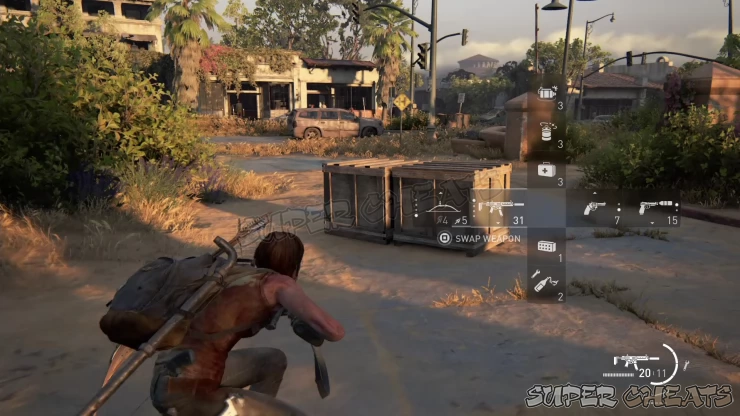
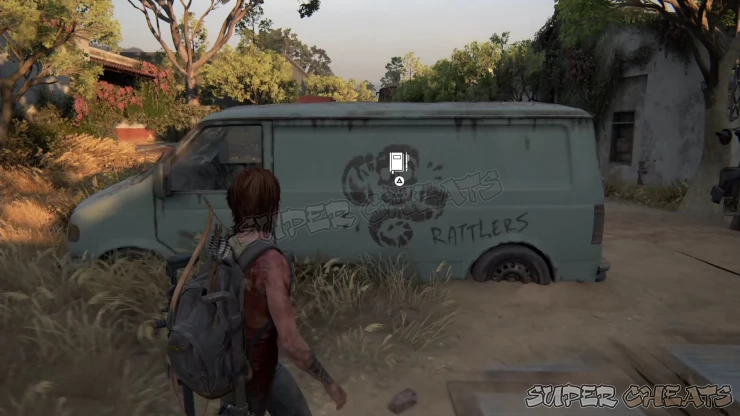
Leave the store and head to the right to find a van with the Rattlers graffiti. Examine it to register a new Journal Entry. Continue past the van and enter the train car. Climb the next ladder to get a view of the resort you have to infiltrate.
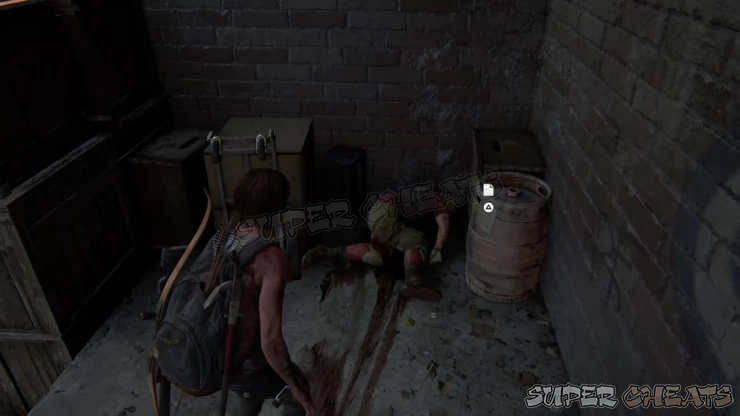
After dropping down from the train car and follow the tracks. Head to the platform to the left and follow the trail of blood to a rattler’s body and the Santa Barbara Slave Note Artifact pinned beside it.
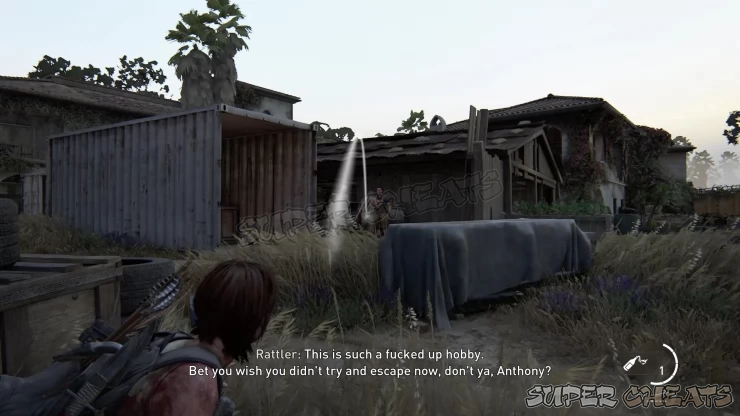
Next, crawl under the train car next to a chain-link fence and use it to get inside the rattler compound. There are a lot of enemies here and you can take out three of them at the start by throwing a molotov in the middle of that small group. From there, you can stay in cover and snipe the enemies or stalk enemies searching for you and stealth-kill them.
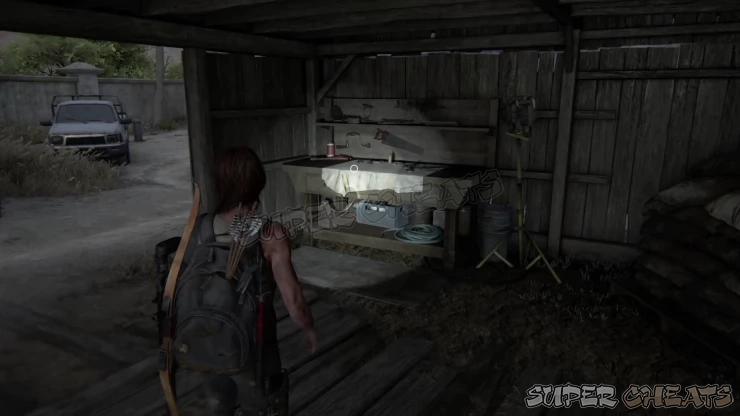
After killing the area, you can now use the Workbench inside the shed in the middle. Check the shed and the nearby 2-storey building for supplies and ammo.
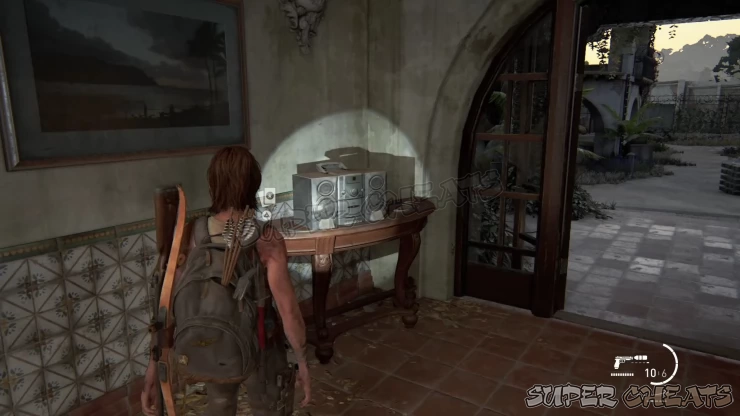
Next, enter the tunnel-like hallway with the lights on and look to the right to find the Sparkthug Trading Card beside the stereo. If you found all trading cards up to this point, the Trophy “Master Set” will be unlocked by finding this trading card. Continue to the gap on the next door and squeeze through. Collect more supplies in this room then climb over the barricade on the doorway to reach the next area.
This area has a lot of enemies as well. There are also a runner and clickers chained to the ground. Try to systematically take out the enemies silently to avoid getting overwhelmed by enemies. Stealth-kill the nearest patrolling enemies then try releasing the chained infected by shooting the chains with your pistol (with silencer). You can also plant trap mines in key spots then start a shoot-out. Just remember how to properly counter the heavily-armored Rattlers that will attempt to close the distance and flank you.
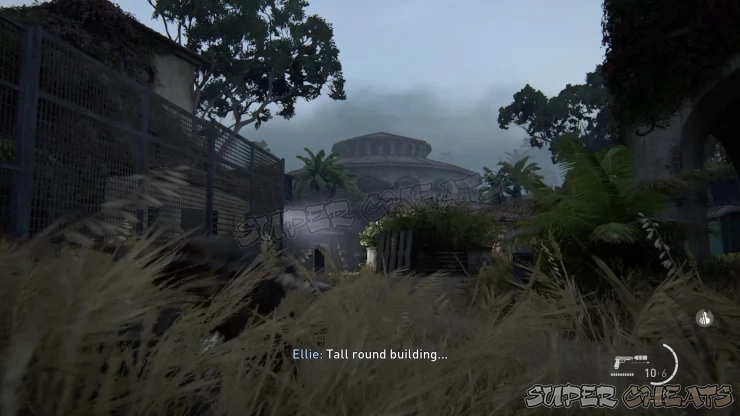
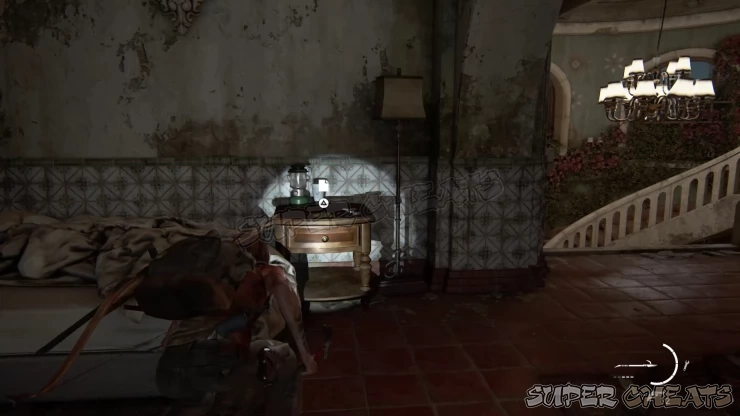
After clearing the courtyard, head inside and loot the bodies and nearby objects for ammo and other supplies. Head towards the staircase. Be careful since there could be stragglers on the upper floor who can detect you. After killing them, go upstairs and go to the right to find Rattler's Letter Home Artifact on the nightstand near a bed. This should be the last artifact of the game. If you found all the Journal Entries and Artifacts up to this point, the Trophy “Archivist” should be unlocked as well. This should be the last collectible of the game so you can just focus on the objectives.
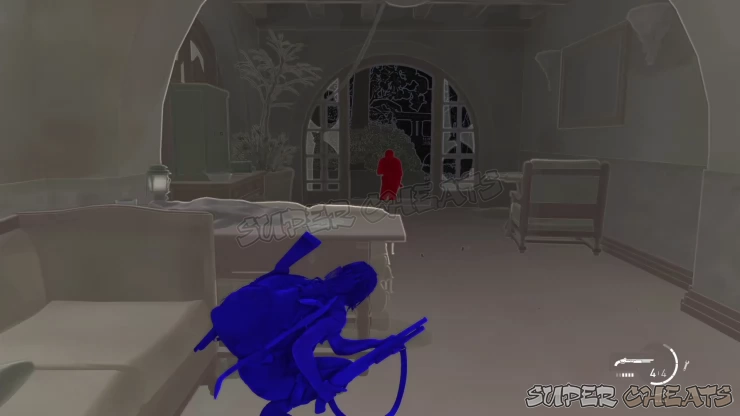
Continue looting the rooms then exit to the other door. More rattlers will emerge from the building so be prepared to fall back and engage them. The tight hallway where you came from is a good ambush point to pursuers. You can plant trap mines or throw molotovs while in cover without giving enemies a chance to escape.
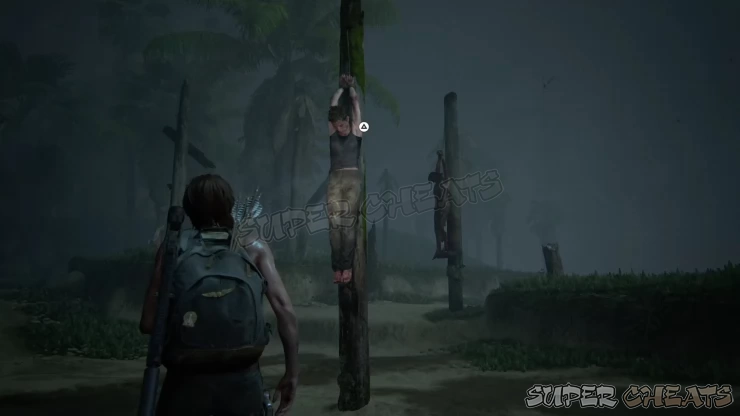
After killing all enemies, follow the only path leading to the prison cells. After releasing the prisoners, continue the path to the beach where you can see prisoners tied up to the “pillars”. Find and release Abby then follow her to the boats. Here, the final confrontation will take place.
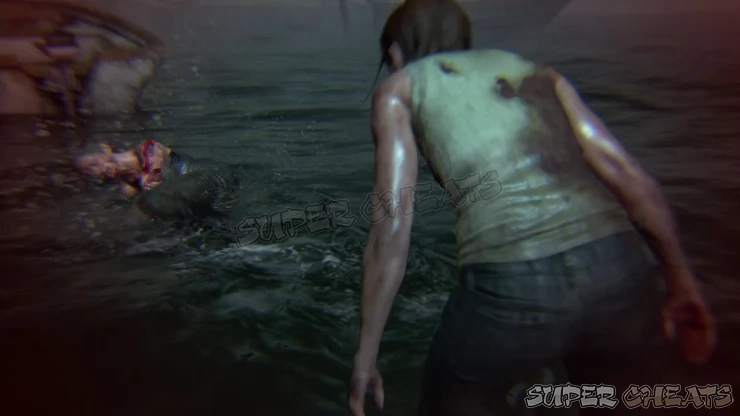
The battle has the same mechanics as the previous brawls you had. Avoid preemptively attacking and prepare to dodge attacks before landing counterattacks. Repeat this pattern and complete the QTE sequences to complete the battle and see the ending cutscenes. Congratulations for completing the game!
We have questions and answers related to this topic which may also help you:
 Join us on Discord
