Jackson
Collectibles Summary
Waking Up
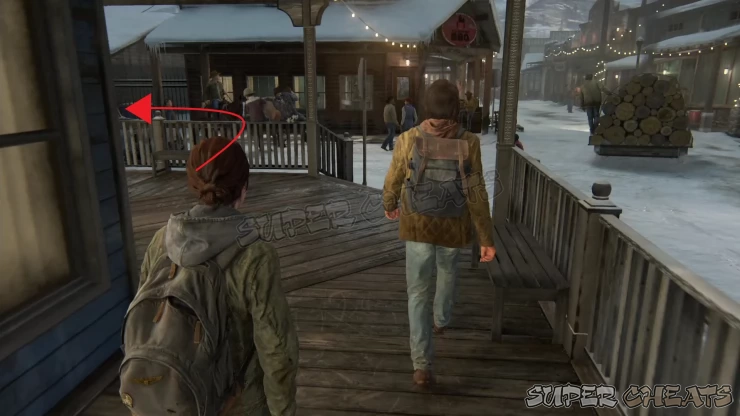
We’ll start off this walkthrough when you take control of Ellie, after Jesse wakes her up. Pick up your jacket and combat knife near the door to leave the house. Next, continue following Jesse until you reach the street. Keep hugging the left walkway and once you’ve reached the corner (where the cart with the logs left off), turn left and pick up the Seismicayla trading card.
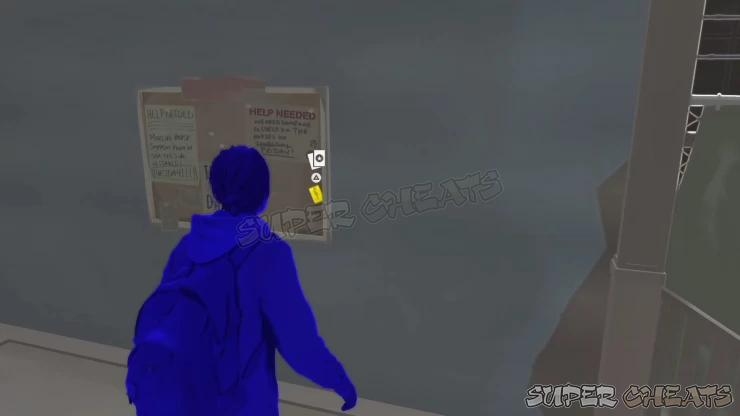
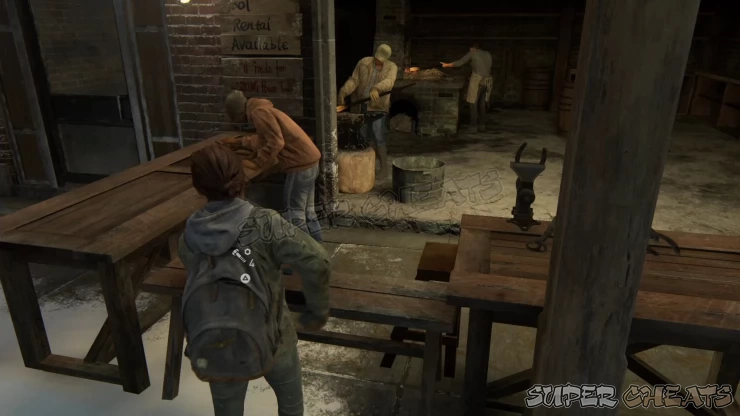
Next, pick up some free parts from the tray in front of the blacksmith. Don’t enter the bar where Jesse is waiting yet; instead, go around the tractor with the cart full of logs then head to the right to find a note on top of a crate, beside a ladder. Pick up the Volunteer Request Artifact. Regroup with Jesse then open the door to enter the bar.
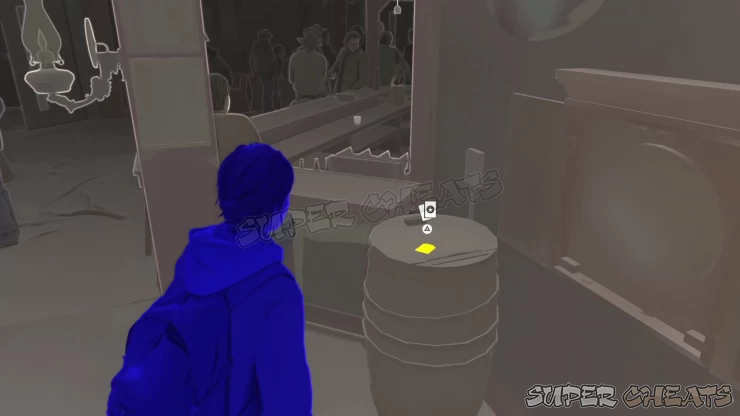
After the cutscene in the bar and receiving your “bigot sandwich”, Jesse and Maria will leave the bar. Don’t follow them yet; turn to the left and find the Keene Twins trading card on top of the barrel by the dartboard. After picking it up, leave the bar.
While walking with Jesse and Maria, turn to the right beside the pile of logs to find some parts lying on top of a crate. Pick them up then continue along the road. Before turning left, you can pick up more parts by the pile of sacks and wooden pallet. Regroup with Jesse and Maria then continue to the playground to find Dina.
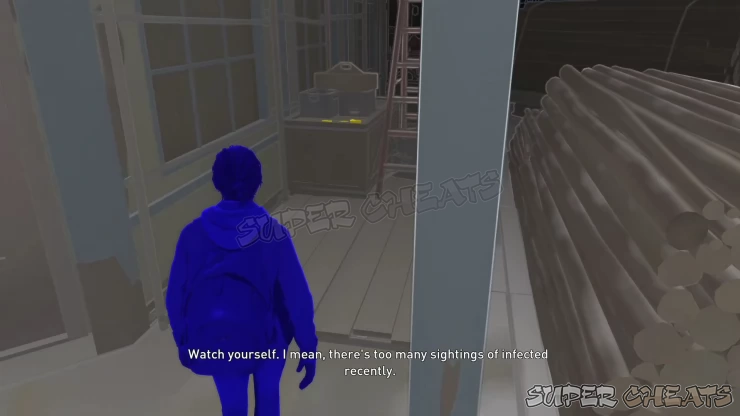
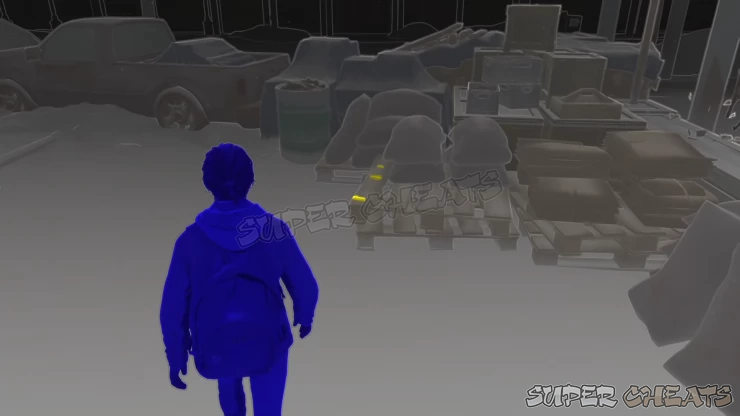
After the scene, you’ll be in a short snowball fight minigame. Just pick up nearby snowballs and get close enough to get a lock-on to a kid then press R2 to throw. Score 10 hits on the kids to complete the minigame.
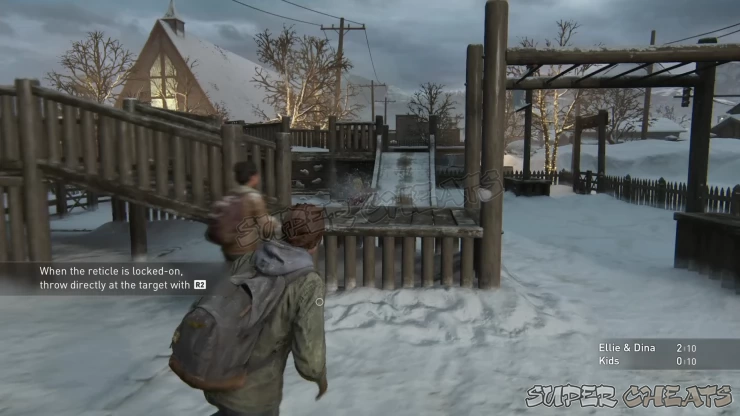
After the snowball fight, you just need to continue to the stables and get to your horses to complete this section of the game.
The Overlook
The control switches to another group of survivors. Keep following the guy and follow the tutorial prompts for various environment traversal methods. After the cutscene, follow the only path until you reach a dead end. Find the ledge where you can jump off to proceed.
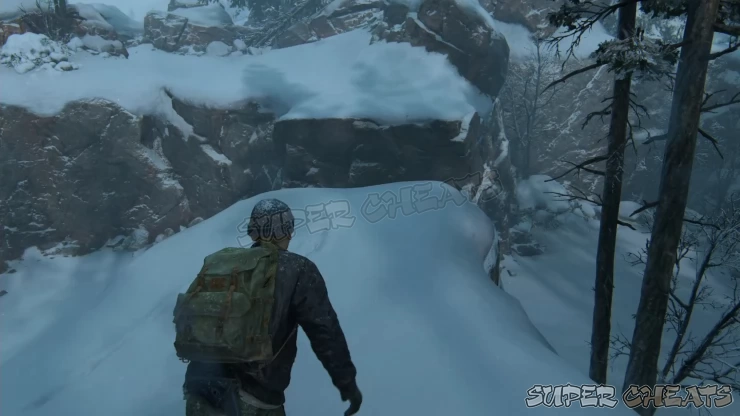
Continue along the path until you encounter the infected hiding under the snow. Break free from the grapple and after landing, dodge its attack and finish it off with melee. There’s another infected that will jump down along the way but you can ignore it and run towards the house downhill. Climb up the bin and over the open window to get inside.
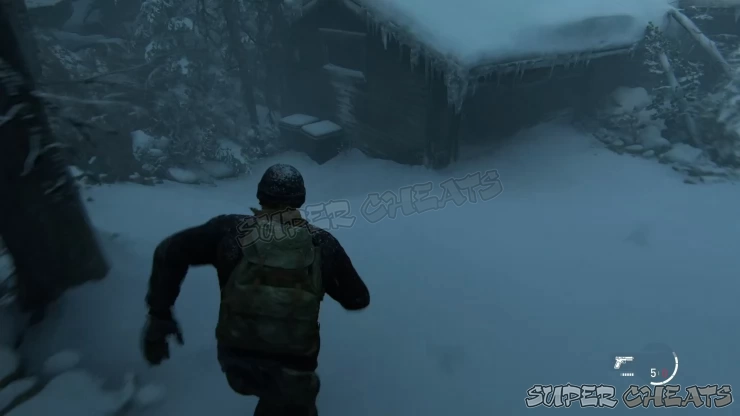
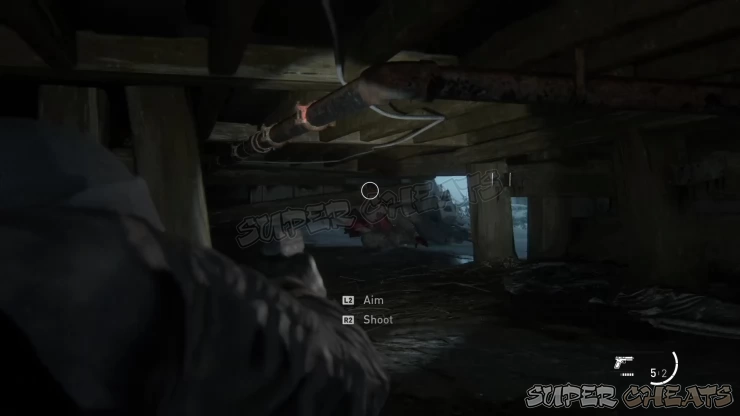
Once inside, use the health kit as instructed. There are no enemies on this floor so collect the pistol ammo on the table then go prone and crawl under the floorboards. There’s an infected at the end of the path so shoot it with your pistol before crawling out.
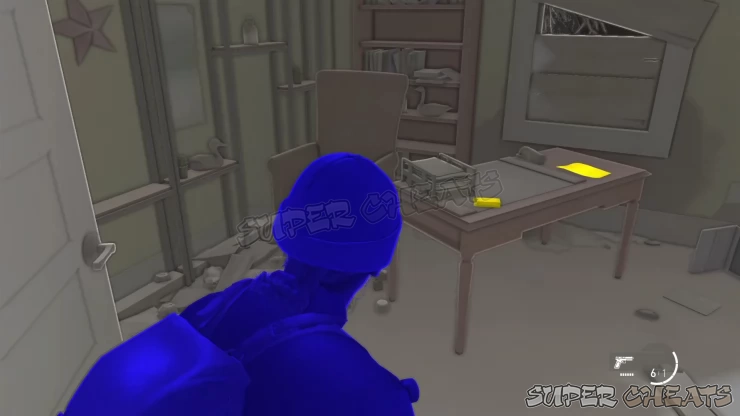
After crawling out, turn around and enter the house through the open window. Pick up the Health Kit from the luggage in the bedroom then head to the next room. Pick up the pistol ammo and the Note Artifact on the table. Leave the house and continue downhill to the next house
Leave the house and continue downhill to the next house. Squeeze inside through the gap to find an infected. Sneak behind it then finish it off with a melee kill. Check the nearby bedroom to get some pistol ammo by the drawer.
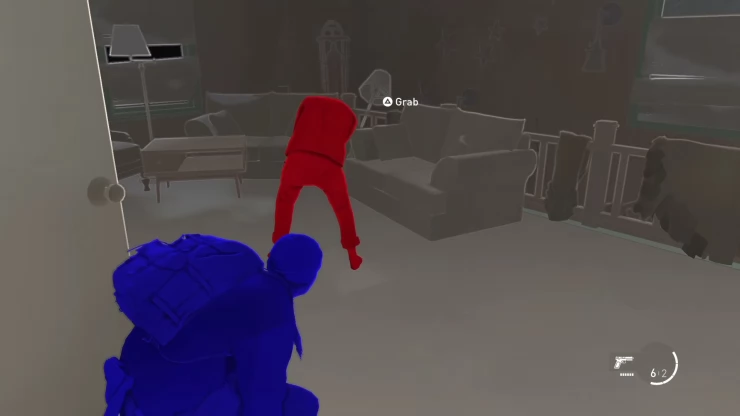
Next, carefully go downstairs. There are two infected here; wait for the other one to leave the room then sneak behind and kill the one inside. Finish off the other one then loot the ammo in this room. If you lost some HP, there’s a couple of snacks by the sink that will instantly replenish a bit of your HP.
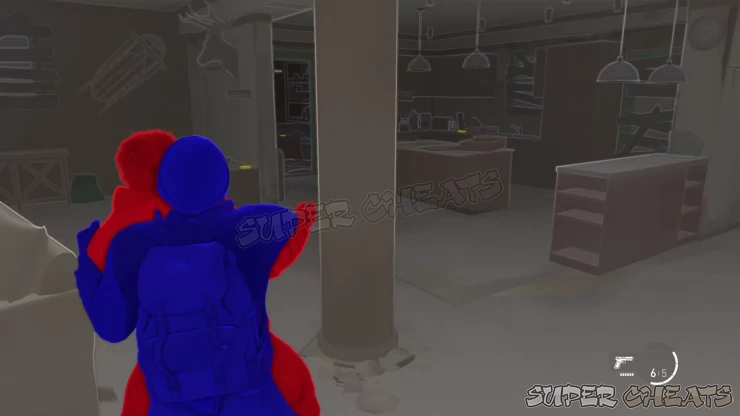
Leave the house then climb over the fence. Continue forth and take out the lone infected near the truck. There are three more infected waiting in this area so you have the option to just run past them and crawl under the vehicles or take out at least two of them so you can sneak past the last one. Whatever options you choose, crawl under either of the two vehicles blocking the path then squeeze through the last couple of vehicles to complete this sequence.

Patrol
Follow Dina until you reach the lookout. After dismounting, enter the small storage room then loot a rifle ammo from the locker. Follow Dina to the bathroom then slip through the crack on the wall. Talk to her while she’s looking at the view. After the brief scene, keep still for a few seconds, then move back a bit to have Ellie move away from the railing. Wait a few seconds more to get the prompt to log the Journal Entry.
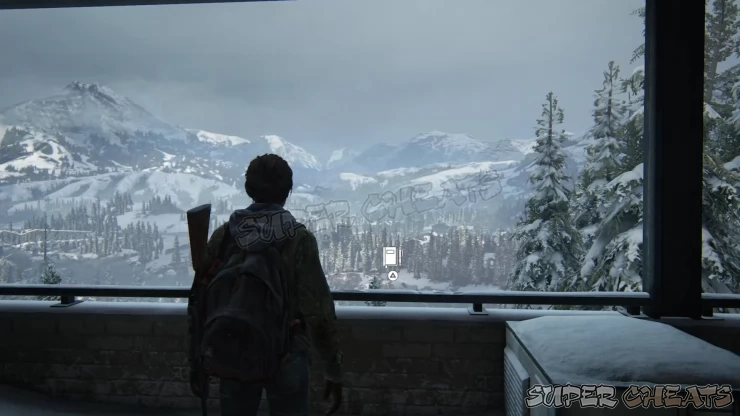
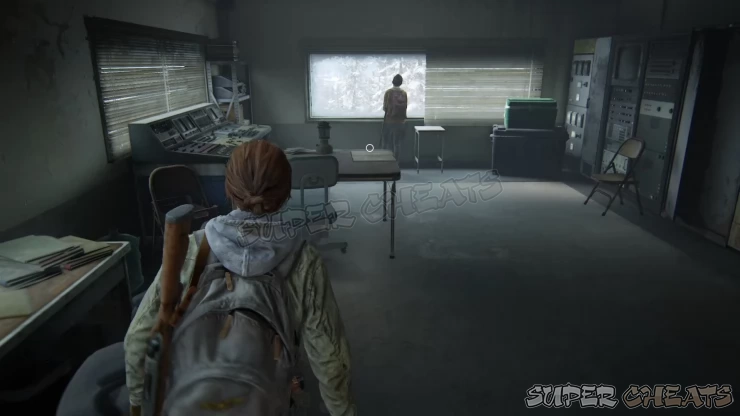
Follow Dina under the broken staircase then climb up using the rope. Enter the small office to the right then examine the bong on the small table. Loot the nearby drawer as well for parts. Leave the room then get a pistol ammo under the desk by the corner. Once done, have Ellie sign on the log sheet then talk to Dina afterward. After looking at the town a short distance away through the binoculars, follow Dina back to the horses to head out.
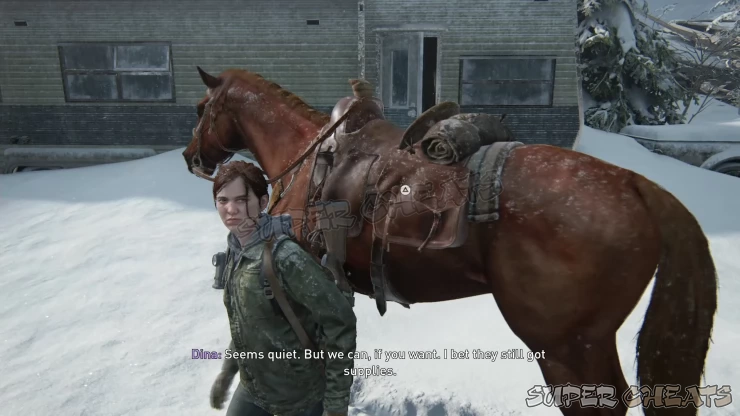
Keep following the trail until you reach a small neighborhood where Ellie suggests to check for supplies. Dismount from your horse since there’s a loot of good stuff to pick up from here. Relax as well since there are no enemies in this immediate vicinity so explore without worries. First, enter the nearby trailer home and loot the parts and supplements inside.
Next, find a blue-painted house with a pickup truck in front. You can climb on that truck and use it to reach the second floor of the house. If Dina climbed first, she’ll pick up the trading card from the shelf and hand it over to you. Obtain the Tesseracter trading card. Check the desk for some rifle ammo then pick up the supplements on the drawer. That’s all loot in this area so hop back to your horses and continue forth.
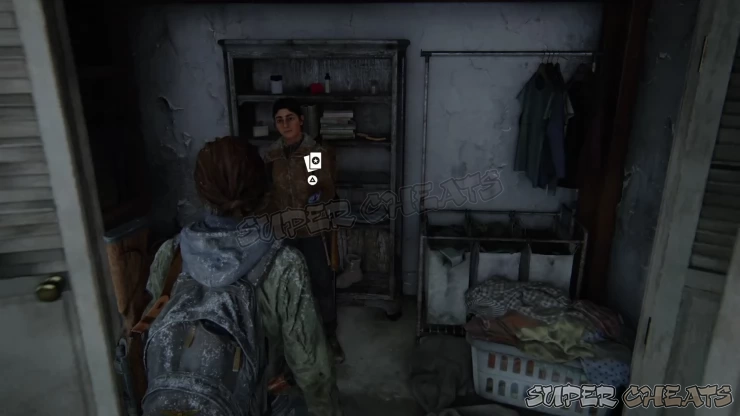
Ellie will automatically dismount after finding a disemboweled moose. Follow the blood trail to the open window and vault inside. Sneak behind the runner and kill it. Once done, don’t go through the door yet; instead, turn around to see a broken window and a locked bathroom door. Vault over the window and climb through the open window in the bathroom to loot some supplements by the sink and obtain pistol ammo from the cleaning cart. Leave the bathroom and open the door to the convenience store.
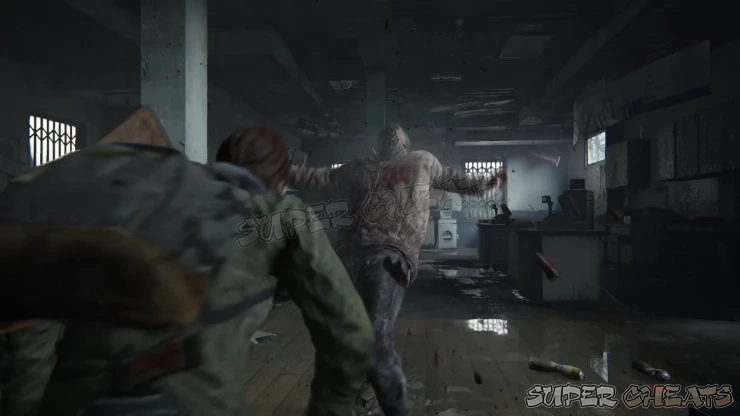
Kill the charging infected with a bottle throw and melee strike then loot the parts from one of the drawers and an ammo on a counter. Next, climb up the window with bloodstains to find a small group of runners patrolling in the immediate area.
There are four runners here. Sneak up on the two outside then finish off the other two inside. There’s a lot of bricks and bottles here that you can use to stun and rush them. Once done, boost Dina up over the postal service truck to continue.
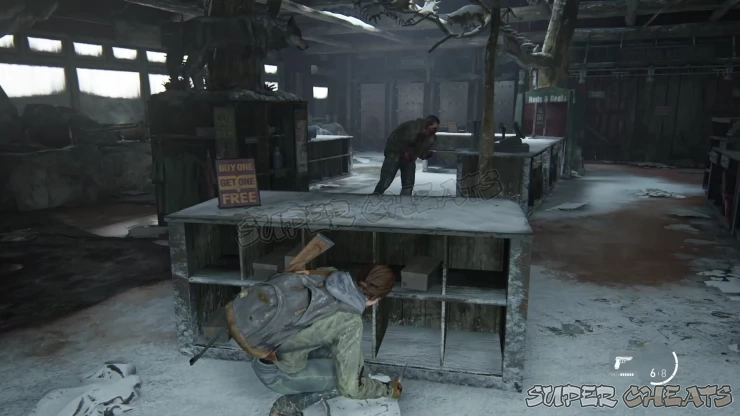
Crawl under the semi truck and an infected will pounce at you. Keep mashing the square button to struggle and prevent it from biting you. After killing it, turn to the right and enter the open door to the loading bay. Squeeze through the small gap inside the trailer to get the Supermarket Apology Artifact and some supplements.
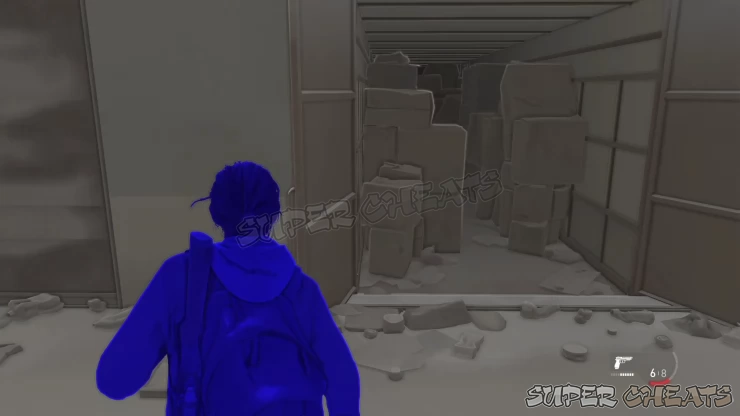
Leave the loading bay and climb up the roof of the truck. Now perform a sprint-jump to reach the trailer roof. From there, enter through the broken wall of the supermarket. Once inside, open the filing cabinet to get some pistol ammo, then loot the alcohol from the cabinet under the TV. Dina will find some rags and the Health Kit Recipe will be unlocked. Craft a health kit and use it to replenish your health. Once done, open the door.
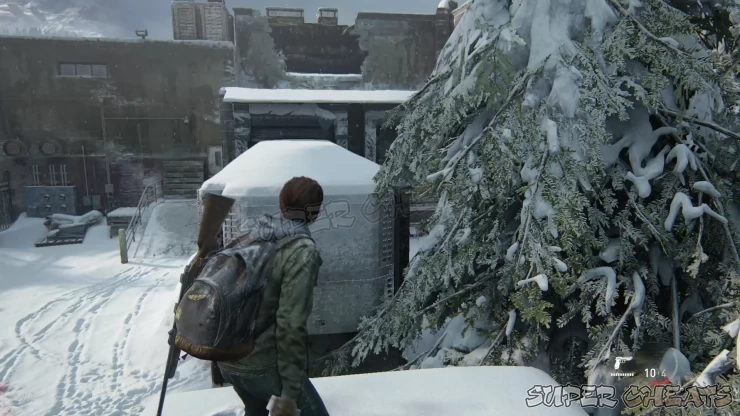
After entering the spore-filled room, check out the utilities room to the left to find some parts and alcohol. Next, squeeze through the hole in the wall. Take note of the date on the dog’s picture on the employee of the month board since that’s the clue for the nearby safe.
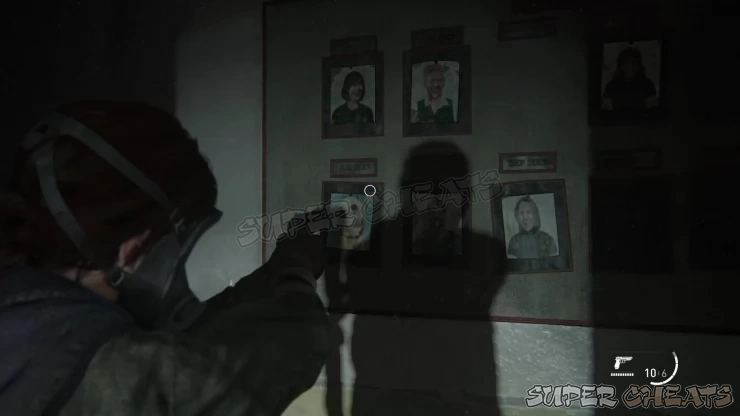
Next, open the door to the right and you’ll find the safe inside. First, pick up the note on the table to get the Goodboy Combo Artifact. Next, open the safe using the date on the dog’s picture on the employee board moments ago.
If you want to know, the code is: 07-20-13. (highlight the white text to reveal)
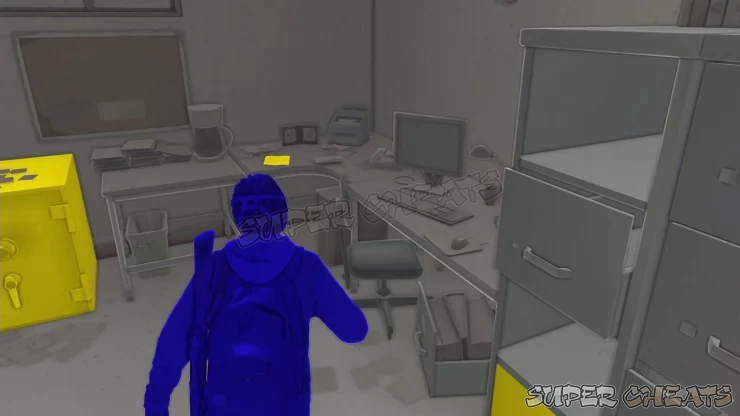
After looting the safe, check the filing cabinet inside the office then head to the break room. Loot the rag from one of the kitchen drawers and supplements from the locker. If you still need to recover some health, you can break the vending machine’s glass panel to get the food inside. Once done, slip through the crack on the wall to fall down on the pharmacy below.
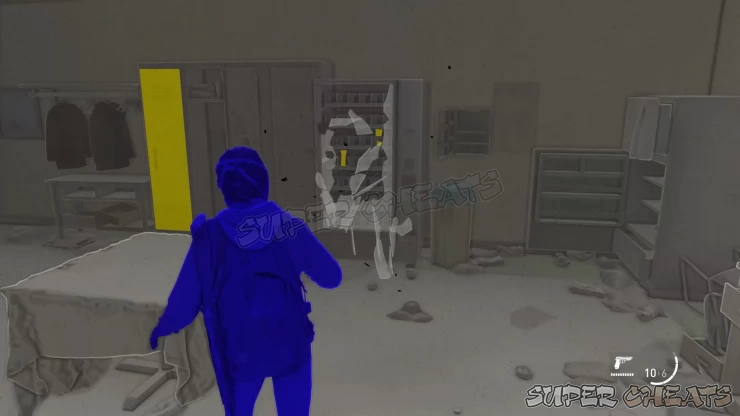
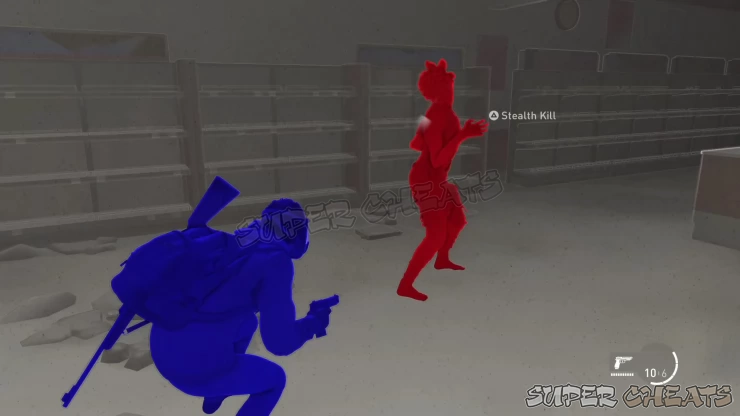
There are two clickers you have to kill on this floor. Take note that while these enemies are blind, they have an extra-sensitive hearing so if you approach one too quickly, it will detect you and kill you in one bite. In this dark environment, enabling High Contrast Mode will make it easier to track them and sneak up on them. If you also enabled the setting to see the enemies’ awareness level, you’ll also know if the clicker is about to detect you or not. You can also use bottles or bricks to distract them. After stealth-killing both clickers, get the rifle ammo from the drawer behind the counter and open the pharmacy storage room.
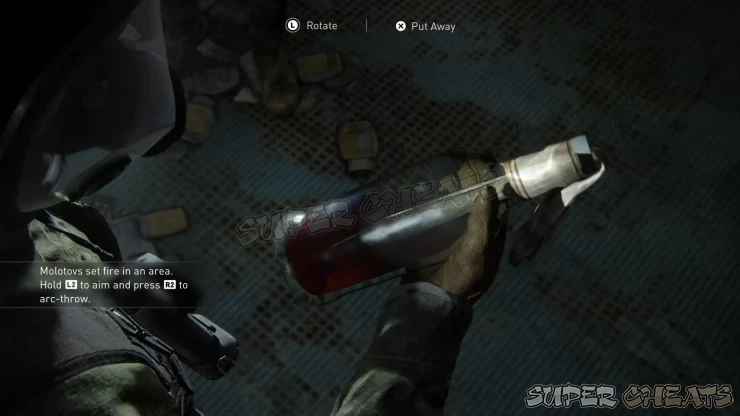
Once inside the storage room, get the alcohol and several supplements inside. Don’t forget to upgrade your Survival skill tree if you haven’t done so yet then get the molotov from Dina. The recipe for crafting this useful throwable weapon is also unlocked now. With the materials on hand, you can craft an additional molotov or health kit. Once ready, crawl through the small window to reach the supermarket floor.
On this floor, you have to kill all enemies composed of several runners and two clickers. You can use the molotov on one of the clickers, with the noise from the broken molotov bottle also attracting other infected to the noise, incidentally lighting them up on fire as well. After killing all enemies, check the area including the back room for more crafting materials and ammo.
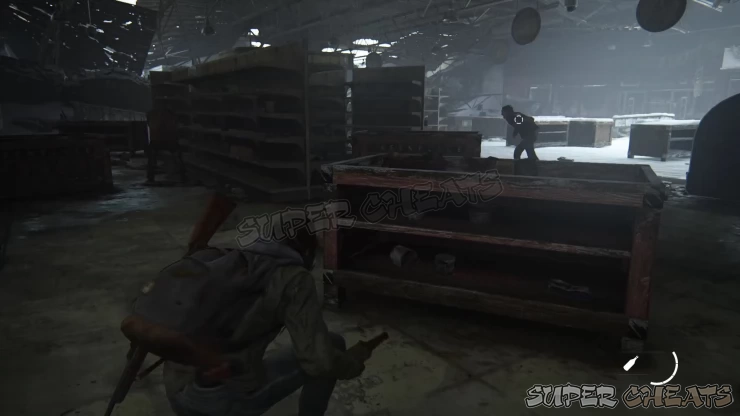
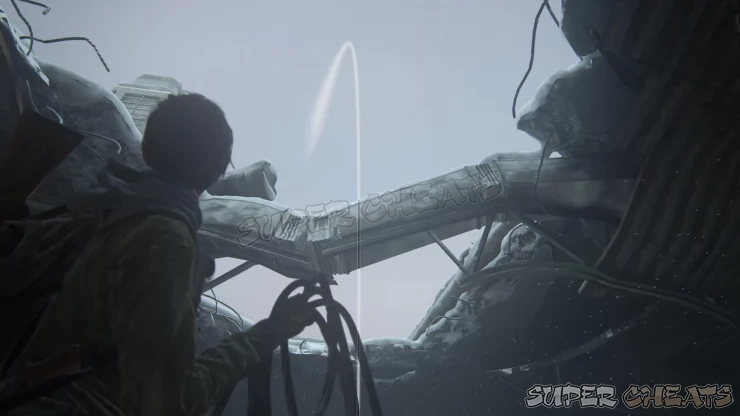
To continue, examine the shutter by the door. Since you can’t open it yet, Dina will point out to use the open roof instead. Find the nearby cable and aim at the vent overhead. Make sure that the rope will land on the other side so you can use it to climb up. If done correctly, Dina will climb up first. Follow her to the roof then slide down to leave this area. Head back to the horses and proceed.
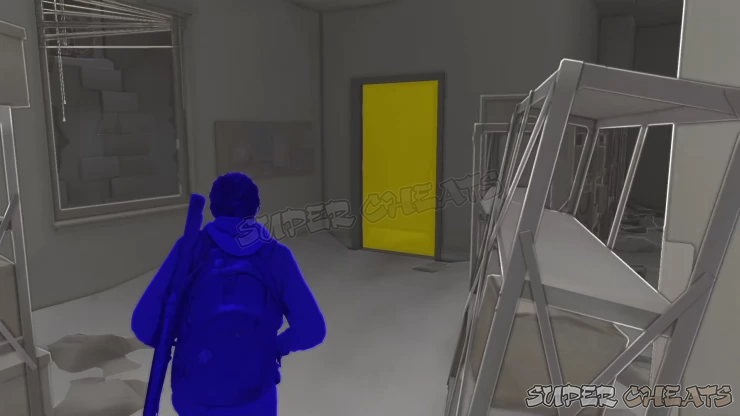
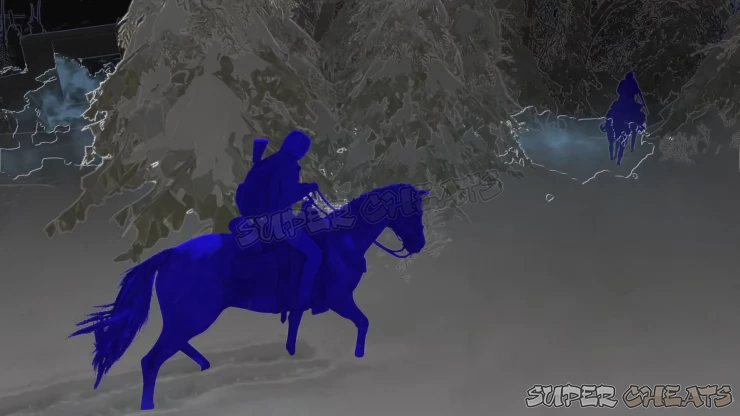
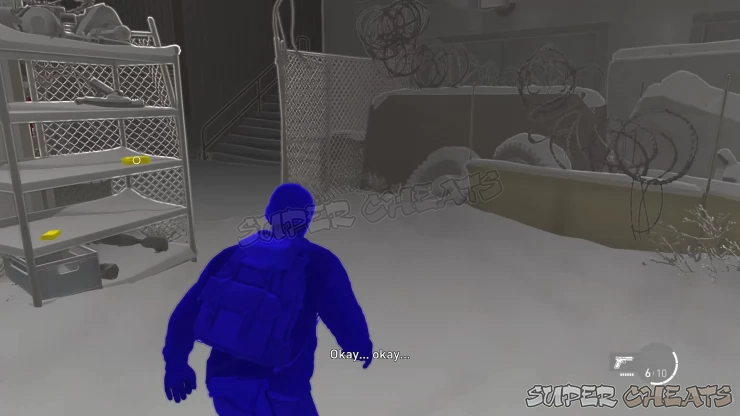
There are no collectibles on this trail so just focus on following Dina. The blizzard will pick up and you’ll eventually lose sight of Dina. Enable High Contrast Mode so you can easily spot Dina’s profile as shown below. Regroup with her then continue following her until you finally reach the Library.
The Library
After reaching the library, you’ll need to find another way in. Find a locked door with the glass window beside it in the corner of the room then smash the window so you can vault over inside. Loot the parts on the desks then open the other door. On the way out, Ellie will pick up Eugene's Firefly Pendant Artifact.
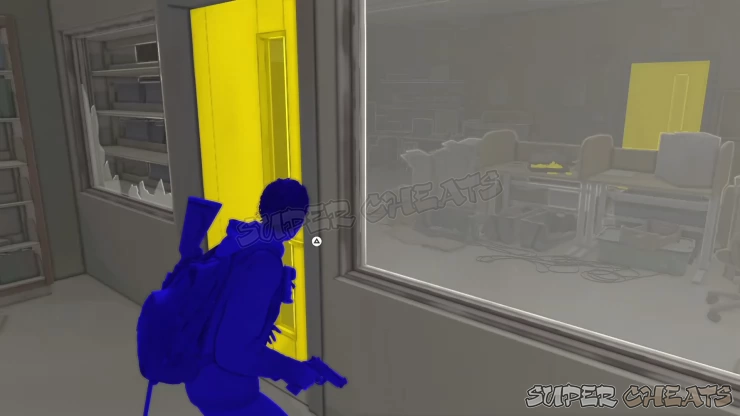
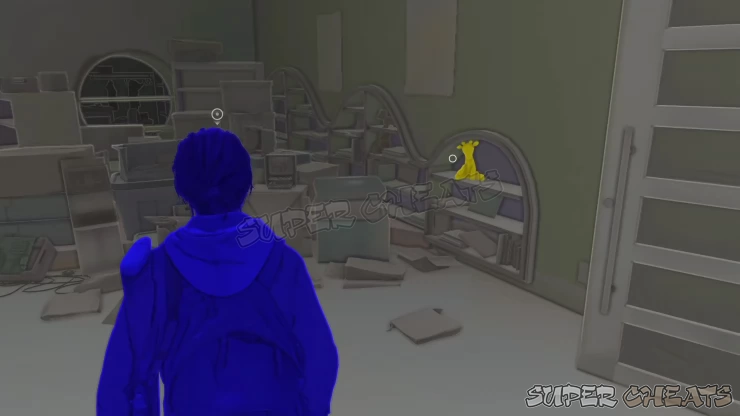
Head to the next room then turn to the right to find a giraffe stuffed toy. Examine it to log another Journal Entry.
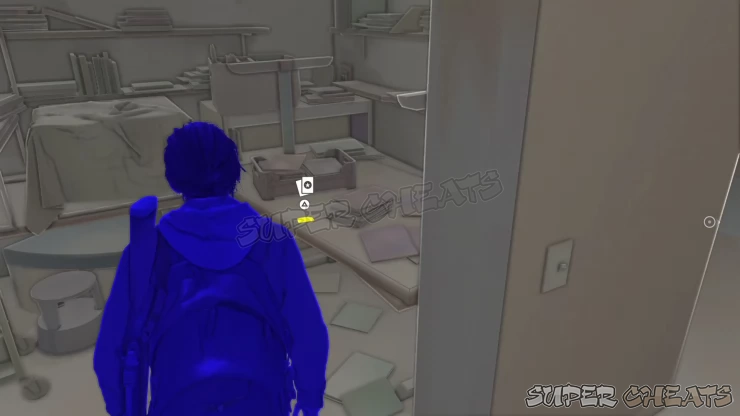
Next, find a small utility room in the corner of the room. There you’ll find the Laurent Foucault, CEO Spark trading card.
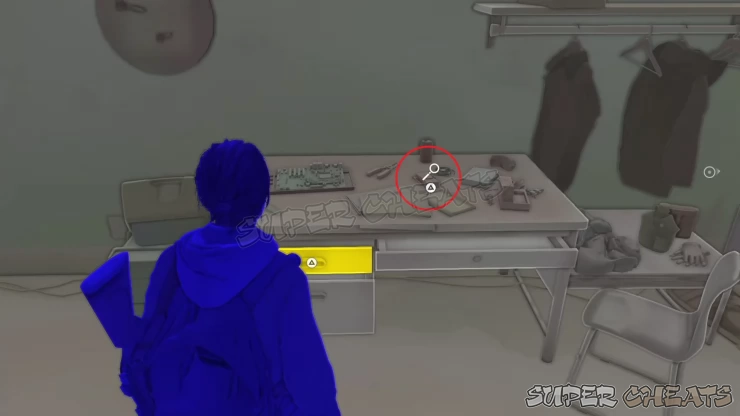
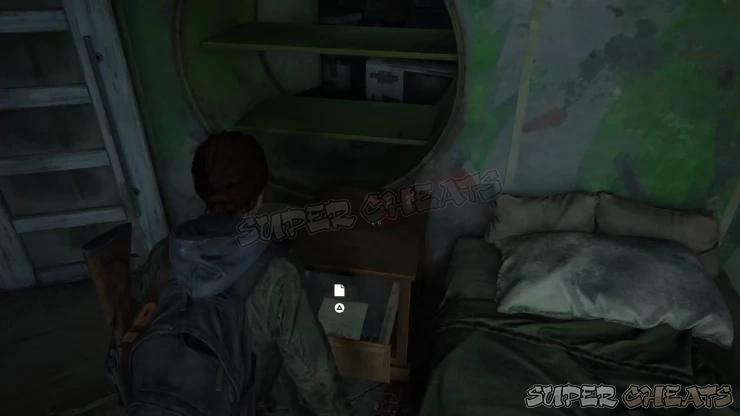
Head to the makeshift bedroom and check the top of the desk to get the Photo of Eugene and Tommy Artifact. Get some parts on the desk, then open the drawer beside the bed then pick up Eugene's Ultimatum artifact.
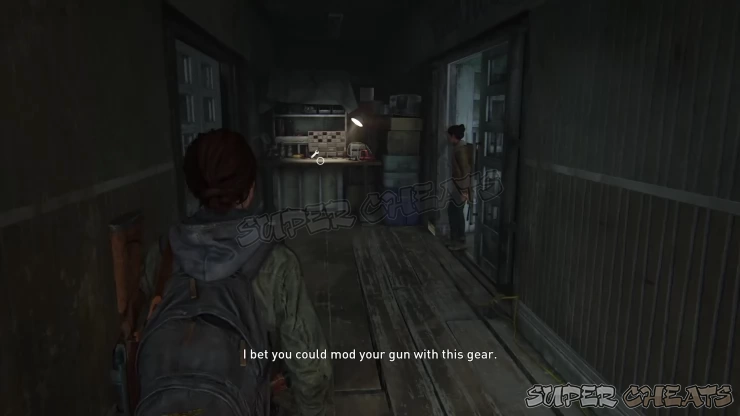
Head to the adjacent hallway to find the generator. Turn it on to power up the nearby Workbench. Use the workbench and upgrade your weapon. Since parts are scarce, you have to choose carefully which weapons and what upgrades to select first. For now, you should be able to afford the Pistol’s Stability upgrade to reduce weapon sway. If you turned off Weapon Sway in the options, then you should select Capacity for now to maximize the amount of ammo you can carry for that weapon.
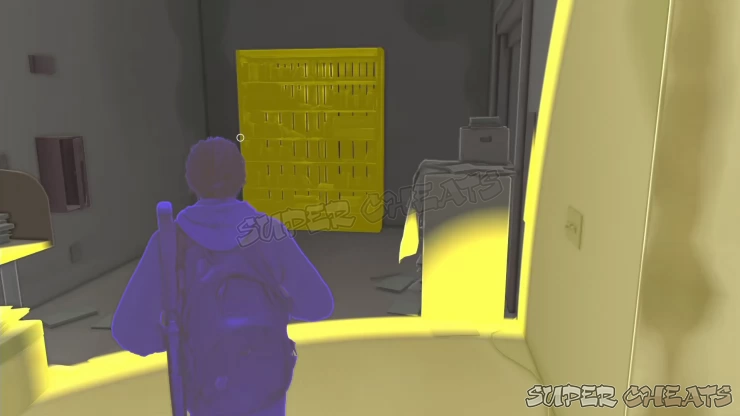
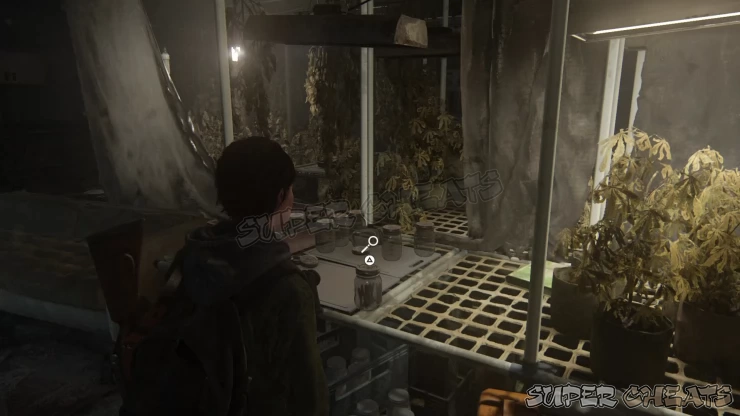
After upgrading your weapon, backtrack a bit then push the bookshelf blocking the stairwell leading to the basement. Continue downstairs and check out all objects you can interact with (use High Contrast Mode to highlight these). After picking up the jar of blunts, go through the cutscene and this portion of the story will be complete.
The Horde
The control will switch to Abby. There are no collectibles here but you have to start running since a horde of infected will appear shortly after. Keep holding L1 to spring and press X quickly to vault over obstacles. Don’t stop for anything! With High Contrast mode enabled, you’ll be able to see where the infected will come from so you’ll have an easier time finding the route away from them. Keep running until you see a fenced off building. Climb over the container to climb over the fence then slip through the narrow gap.

Grab the health kit and pistol ammo from the shelf to the left then continue upstairs. Turn to the right and continue going through the narrow space between the building and the fence. At the end, an infected will grab you. Mash the square button to break free until you’re saved.
While in the corridor, back up a bit and wait for your ally to burn the infected ahead then slip through the door to the right. Once inside, pick up the ammo and health kits. If you need more HP, you can smash the vending machines to get the snacks inside. Continue following your allies then pull the pipe on the way to the next room to get a powerful melee weapon. In the next room, some infected will be able to get in so smash them with your melee weapon to kill them quickly.
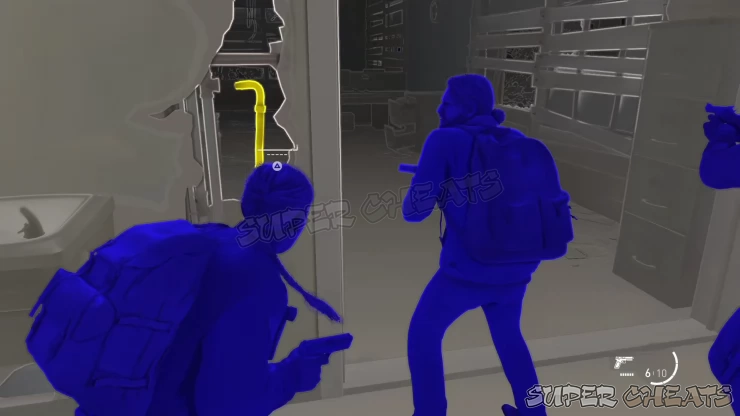
Continue to the gondola terminal and kill more infected that will appear. Next, assist your ally when he calls you to help push the broken gondola. Your ally will push the gondola near the window to aid your escape. More infected will pour in so use your gun and melee weapons to take them out quickly. Don’t forget to move around and pick up the various melee weapons and pistol ammo scattered around.
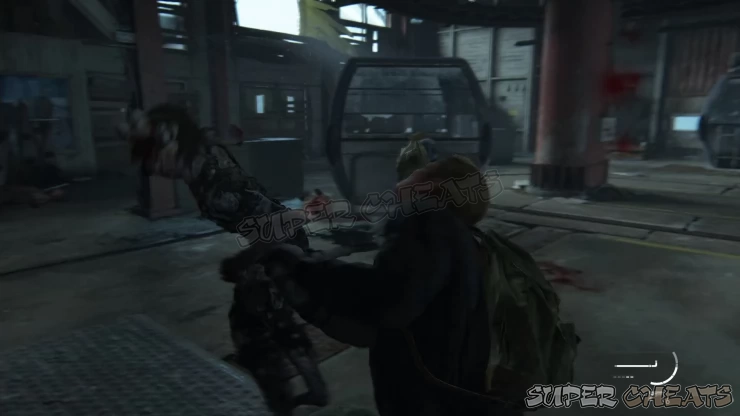
Once the gondola is properly positioned by the window, quickly head over there and climb over it and over the fence. After landing in the parking lot, stick close with your allies and keep following them - don’t stop for anything! After reaching the lodge, a cutscene will play and control will switch back to Ellie.
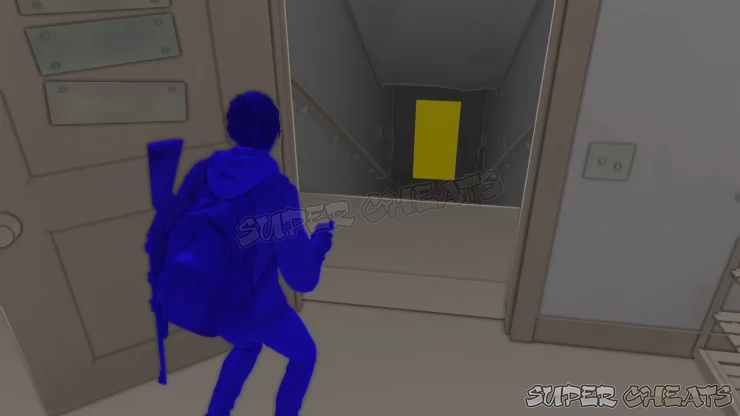
With Ellie, move downhill until you find a fence low enough to climb over. There are no collectibles or enemies to kill in this cottage so you can just head downstairs, then to the kitchen to find the stairs leading to the basement for a cutscene.
Packing Up
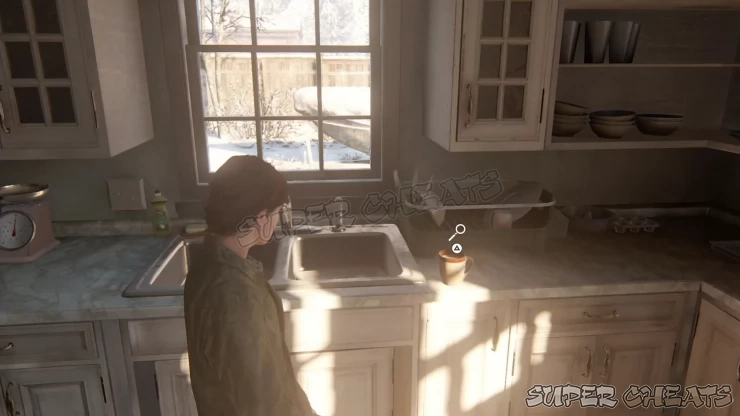
Once in control of Ellie again, head to the house. Proceed to the kitchen and examine the mug by the sink to log a Journal Entry. You can also examine other objects here if you want.
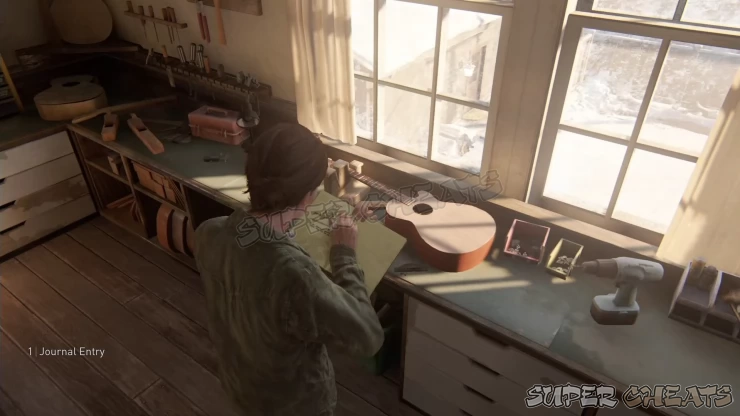
Next, go upstairs and enter the workshop. Examine the guitar on the counter to register yet another Journal Entry. Finally, head to the bedroom and examine the red box to continue with the story. Once done, go downstairs and watch a cutscene that will wrap up this chapter.
We have questions and answers related to this topic which may also help you:
 Join us on Discord
