Seattle: Day 1 (Abby) Part 3
The Forest
After the cutscene, you’ll have to fend off a wave of stalkers. You’ll only be equipped with a sturdy hammer that won’t break until this sequence ends. Actively evade and counterattack until all infected are killed. Next, follow the kids deeper into the forest where more stalkers await.
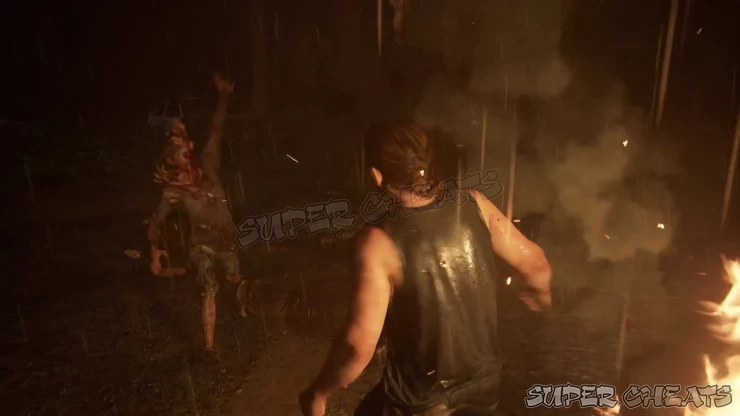
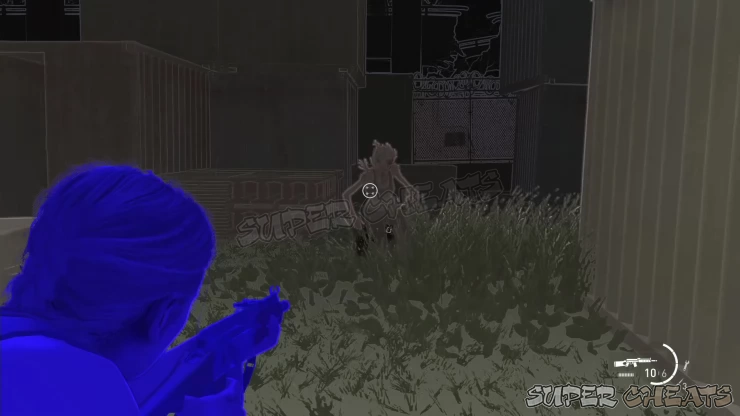
You don’t have any weapons here so pick up the bricks lying all around and throw them at the enemies to stun them, leaving them open for a melee finisher. It’s kinda challenging to spot these bricks in limited light especially if you don’t have High Contrast mode enabled. Nevertheless, keep actively evading and landing hits until all of them are defeated.
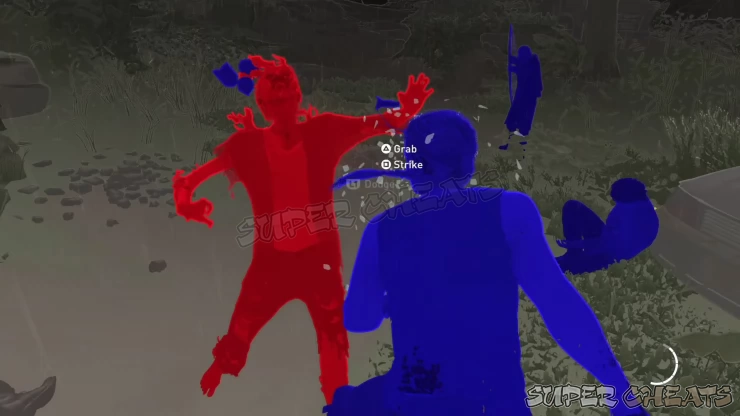
Keep running with the kids then slip through under a car park. Open the chain link fence afterward. Here, you’ll run into the female brute wearing your backpack. You have to defeat her in melee combat using only your fists. The best way to land some hits is by evading and counterattacking. Don’t be too greedy with your punches; wait for her to attack then counterattack. Once you’ve dealt some damage, she’ll change her attack pattern a bit where she’ll swing her pickaxe three times in a row. Evade these and pummel her. Repeat this process until you finally land the finishing blow on this enemy and get your weapons and items back.
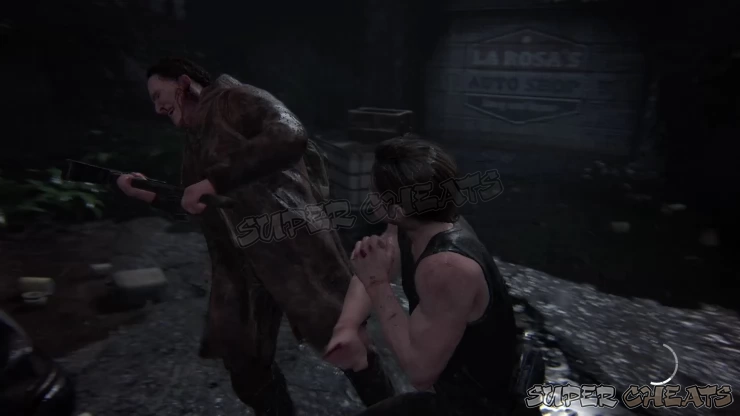
Continue to the Auto Shop where you can find a Workbench to the left. Loot the parts and crafting materials in the garage then use the workbench if you want.
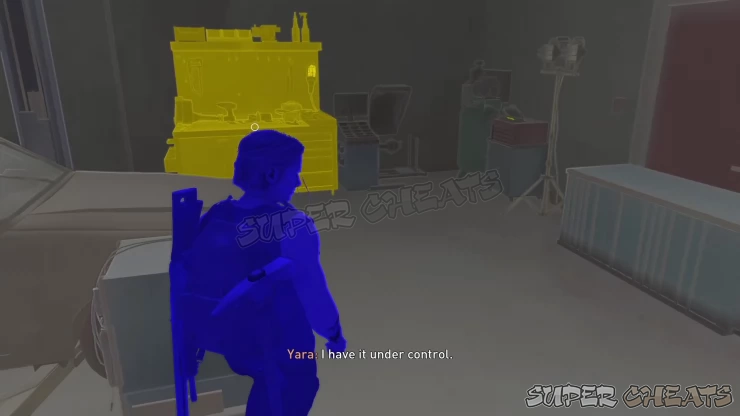
Next, head to the office then turn to the right to find the Firearms Training Manual. Loot the supplements from the drawer.
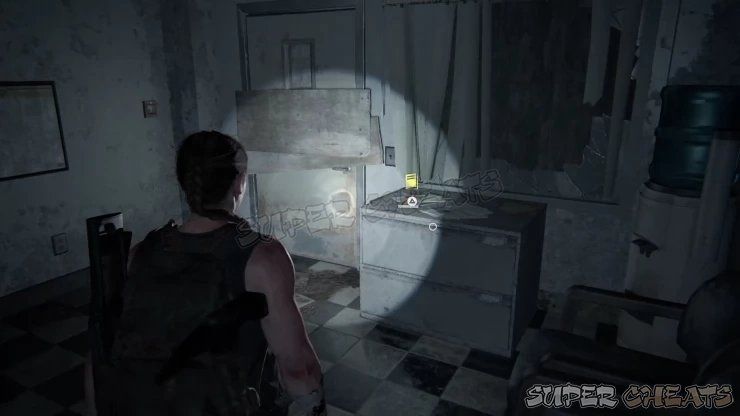
Head to the break room and pick up the Failed Truce Artifact on the table. Find some additional supplements from the closet beside the ref. This is the last collectible in this mission. Continue looting the remaining items in the room then continue to the shop front.
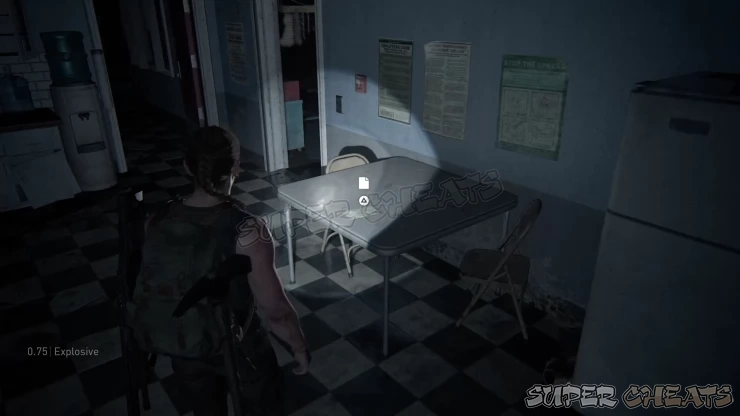
Loot more parts and crafting materials from behind the counter. Scour the area for the remaining loot then continue outside the building back to the woods. More infected will rush in from upstairs. Clear the path until you reach a ruined building where you have to climb down to the lower floor. Before going down, enter the small room to the left to find parts, supplements, and other items inside.
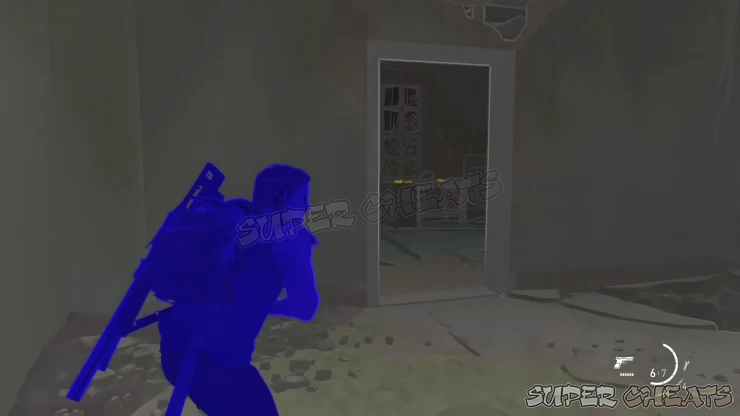
There are a lot of infected in the lower floor so you can stay in the upper floor and shoot them safely from above. After killing all enemies here, drop down and loot the crafting materials scattered around. Don’t forget to craft your throwables and consumables since you’ll be facing another wave of infected shortly.
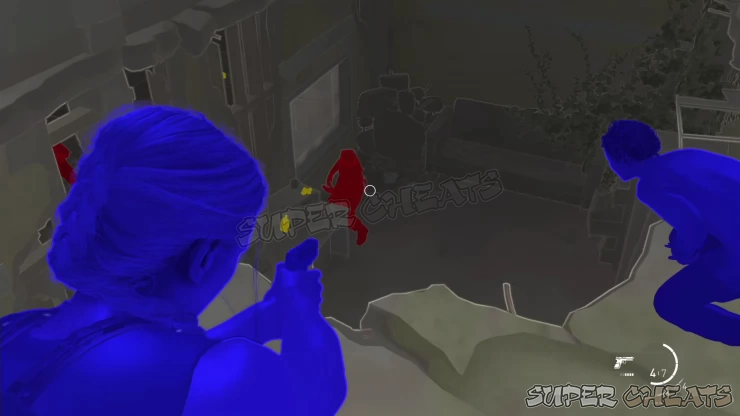
Once ready, interact with the door and the wave of runners and clickers will pour in inside. The enemies will be easier to spot in High Contrast mode; otherwise, keep your flashlight on and keep circling around through the gaps on the walls to avoid getting surrounded. There will be a brief respite after the first wave so use that time to reload your weapons, craft, and heal up. Defend yourself for another wave of infected until finally, two shamblers joins the fray. Slipping through the walls is the best method of luring them into a single spot where you can them at the same time with your shotgun. One of the kids will break the windshield of an ambulance near the main door so quickly regroup with him to finally escape the deathtrap.
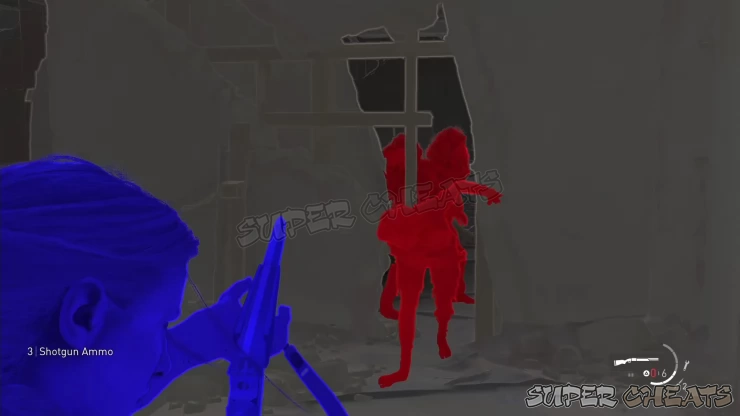
There will be no more combat from this point so just carry the girl until the other kid finds a mobile office where you can enter and lay down the wounded girl. The mission concludes after the cutscene.
The Coast
From the mobile office, climb over the chain-link fence. Before heading inside the building, look for an open container van to the right to find some pistol ammo and supplements. Head inside the building to immediately find a workbench. You can find additional parts on the shelves nearby.
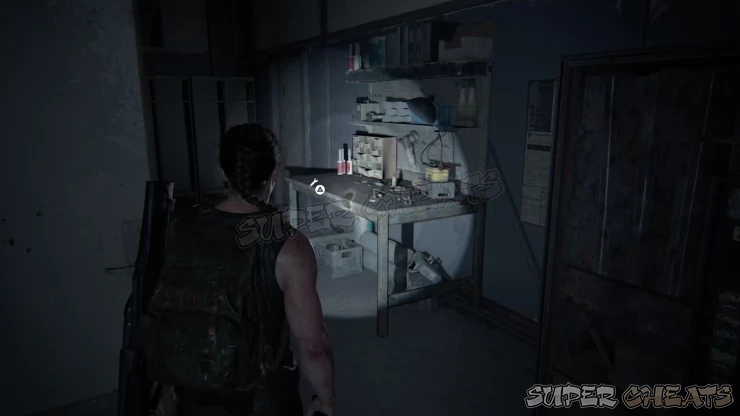
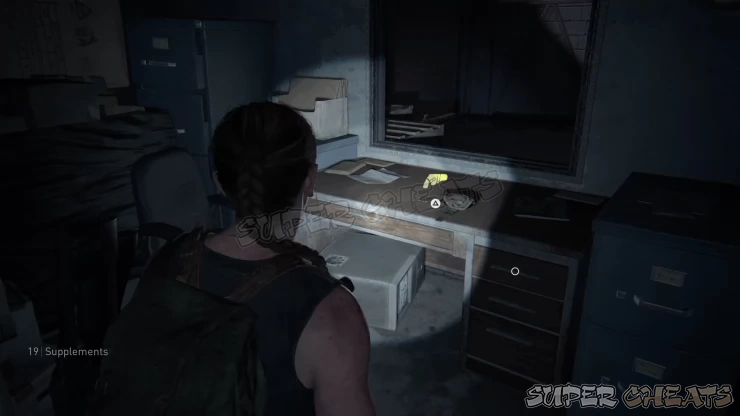
Use the Workbench if you want then go to the garage next. Enter the office there to find the Short Gun Holster and supplements on the desk. Climb up the office and pick up the hunting pistol ammo on the box to the left. Vault over the open window to reach the next area.
There are clickers, runners, and stalkers in this area so be careful and sweep the area. It’s ideal to use listen mode to keep track of the clickers then keep an eye out around corners and covers for stalkers peeking around. There are no collectibles in this area so just focus on navigating the covers and picking off/avoiding the infected until you reach the only path under the overpass bridge.
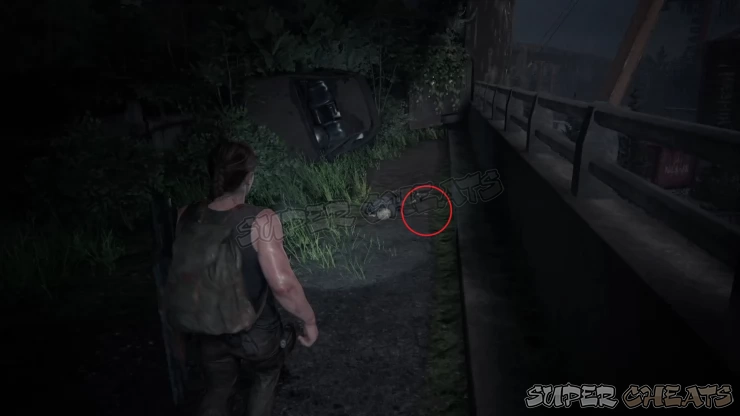
Climb up the ramp then head straight to the dead end with piled up wreckage to find a body to the right. Approach it to find the Alabama Coin. Turn around and continue along the bridge until you find a gap that you can jump across to. Do a sprint jump but the ledge will give way and you’ll plunge to the water below.
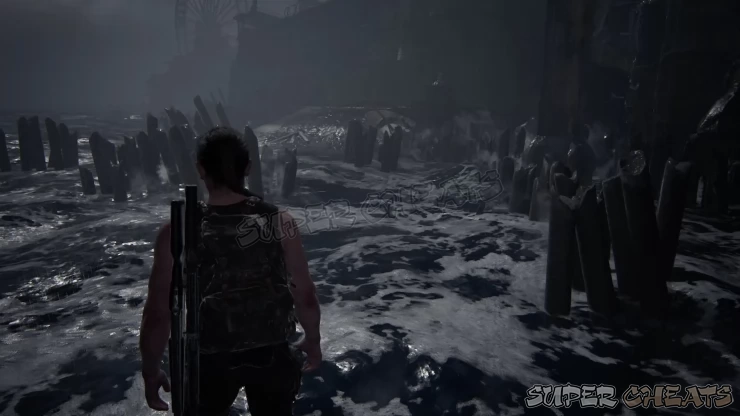
Swim towards dry land and climb inside an open delivery truck. Squeeze through the gap then swim to the rough waters towards the beached ferry. Enter the ferry through the hole on its hull. The ship has several collectibles and supplies inside, as well as a good number of infected as well.
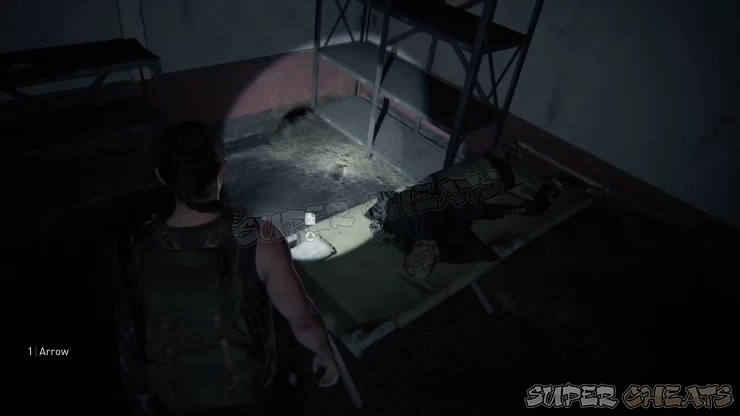
After entering, loot the parts along the way then continue to the next room with several bodies. Pick up the Infirmary Note Artifact on the bed by the doorway. Pick up the arrows on the bodies, and supplement from one of the other beds. Exit through the door then go up the spiral stairs to the second deck of the ship.
Forcibly open the door to automatically obtain the Crossbow weapon. Ignore the stairs for now then pick up the arrow on the nearby body. Use the crossbow to silently kill the two infected at the end of the corridor. Aim for the head for a chance to successfully recover an arrow.
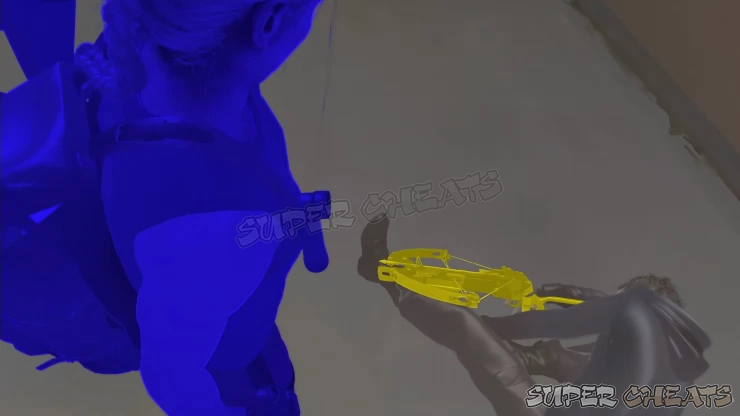
Continue to the end of the corridor and pick up supplements and hunting pistol ammo from the body to the left, then pick up the Mutiny Note Artifact on the bed at the end of the corridor. Backtrack to the stairs and go up to the next level.
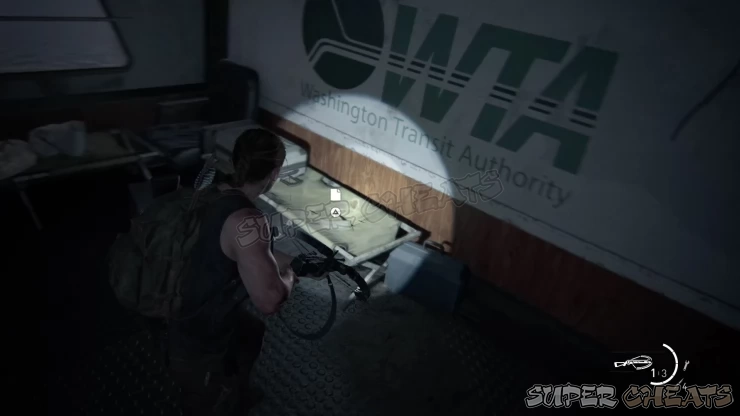
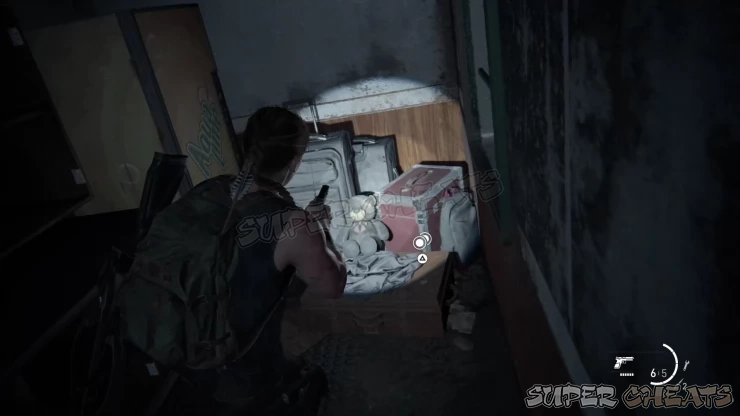
From the stairs, enter the first room ahead to find parts, supplements, medkits, and crafting materials inside. There are more enemies here so use Listening Mode to track their movements. Leave the room then take the corridor beside the stairs where you came from. Turn right around the corner to find more items. In the dead-end corner, you’ll find the West Virginia Coin among the pile of luggage, beside a teddy bear.
Next, go through the bar area and circle around to the passenger seating area and kill the infected there. Continue to the top deck of the ship but be careful since there’s a lot of infected there, including a shambler. Throw a brick or bottle to get their attention then lob a few pipe bombs to kill several of them at the same time. If you ever get discovered, fall back downstairs and have your shotgun ready to pick them off without getting surrounded.
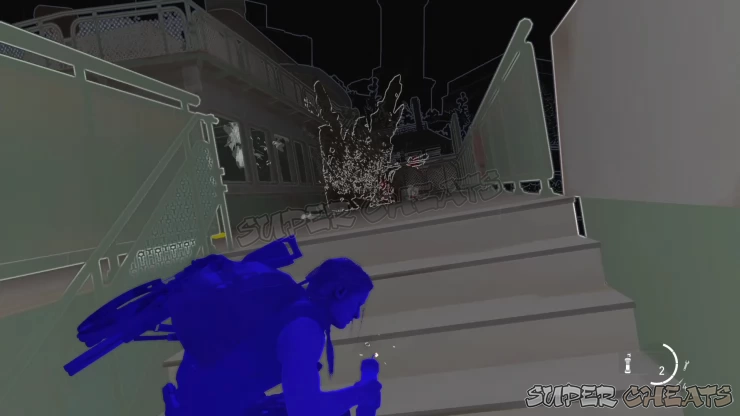
Once the area’s clear, go upstairs then turn left to find the safe. Enter the code 90-77-01 to open it; loot the parts, supplements, and the Ordnance Training Manual inside. If you haven’t missed any training manuals in the previous chapters, this should be the last training manual at this point - which will unlock the Journeyman Trophy.
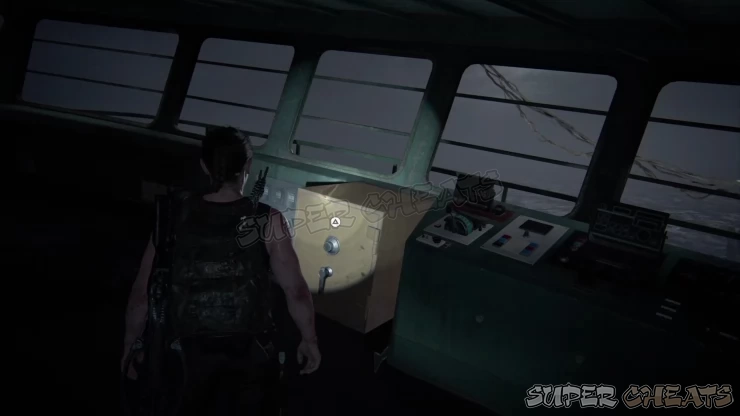
Scour the area for supplies then make your way in the other end of the ship. Forcibly open the door then pick up the Ferry Log Artifact from the captain’s body.
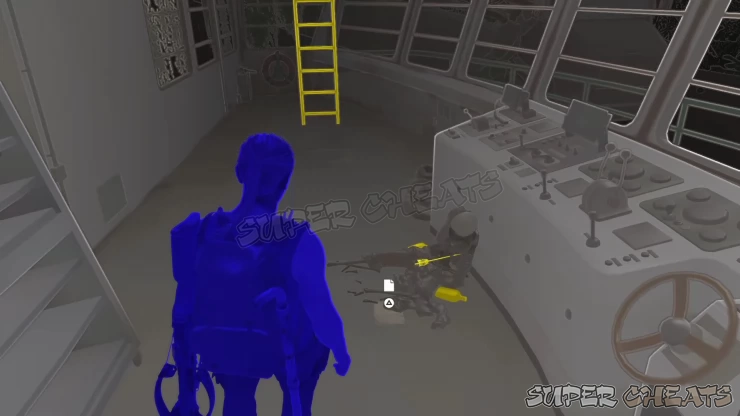
Climb up the ladder but don’t cross the walkway yet; turn around first and find the Utah Coin behind the structure as shown below.
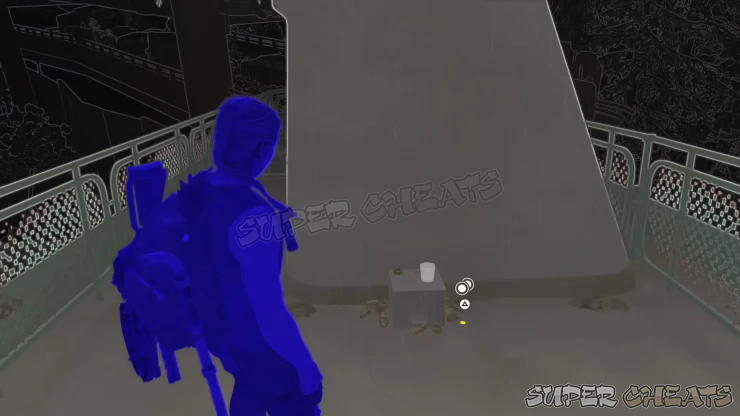
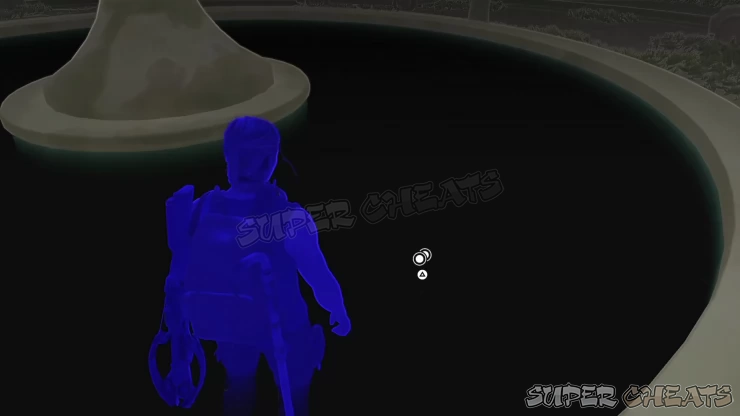
After getting it, walk off the plank down to the overpass bridge below. Follow the path until you reach a ladder. Climb up the ladder then check the dead end to the left to find a canister and alcohol. There are no more enemies from here on out so just follow the straightforward path until you reach The Aquarium’s parking lot. You’ll immediately see the only fountain there. Head to the fountain and search the water to find the last collectible of this mission, the Mississippi Coin.
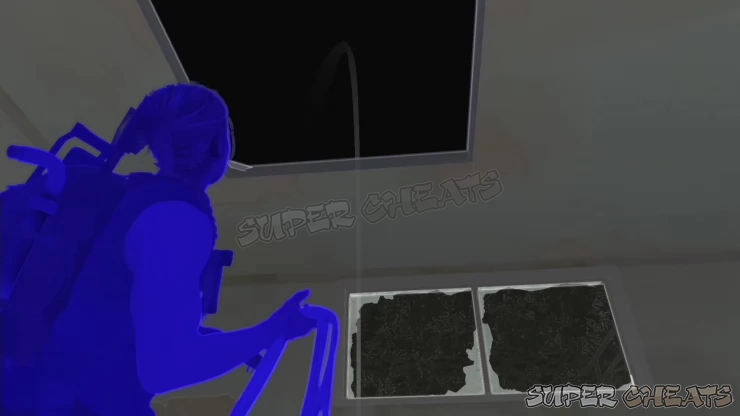
Next, you have to find a way inside The Aquarium. The front door is locked so head to the right past the walrus statue and climb over the chain-link fence then climb through an open window. The door inside is locked so look up and break the skylight. Next, pick up the rope and throw it on the side of the windows as shown below. Climb out of the window then use the rope to climb up the roof. Break the other skylight then drop down below. From there, just follow the path until you reach the dock. Head to the yacht and open the door to find Owen inside and complete this mission.
We have questions and answers related to this topic which may also help you:
 Join us on Discord
