Seattle: Day 1 (Part 3)
Channel 13
Your objective is to find a way inside the building. First, check the humvee in the parking lot to get some materials and a wrench melee weapon. Next, pick up some parts and material from the back of the TV van nearby.
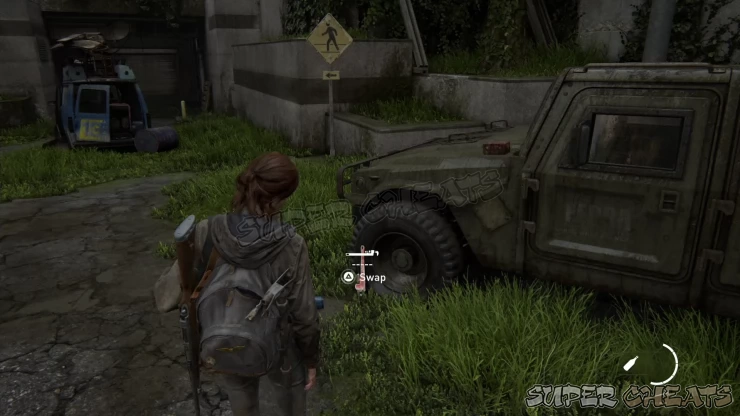
Circle around to the left to find some ledges where you can climb. Continue climbing up until you reach the balcony. Pick up the rifle ammo from the corpse then use the rope nearby to pull up to the TV station’s cafeteria. There are no collectibles here yet so just loot the crafting materials scattered here, especially those inside the glass window refs. Continue forth and you’ll find another corpse with a hatchet nearby. This is a better weapon than the wrench so you can trade it for that if you want.
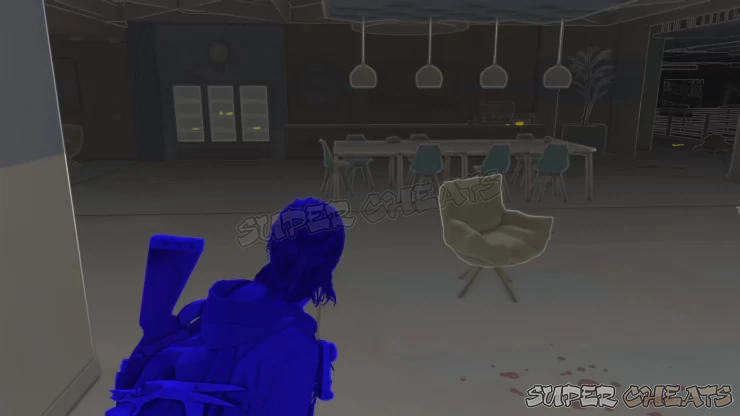
Continue to the next room and you’ll find an open vent where you can climb in. Before climbing over, make sure to open the storage room to the right to find some crafting materials.
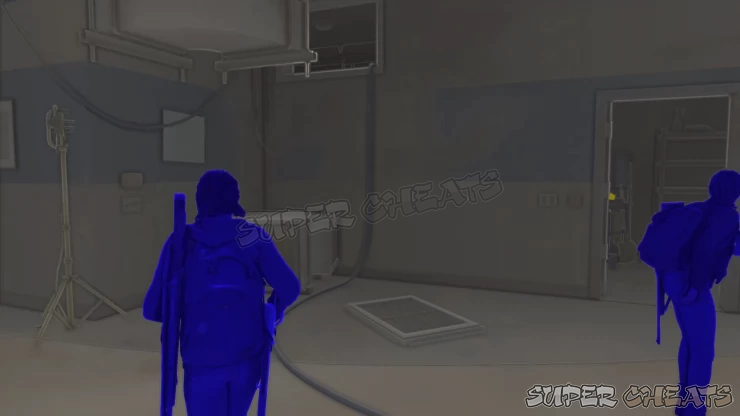
Once over the vent, you’ll be in the news studio where there are several hanging WLF corpses. Enter the room with the painted symbol beside the stairs to find parts and some crafting materials. After leaving the room, examine the painted symbol.
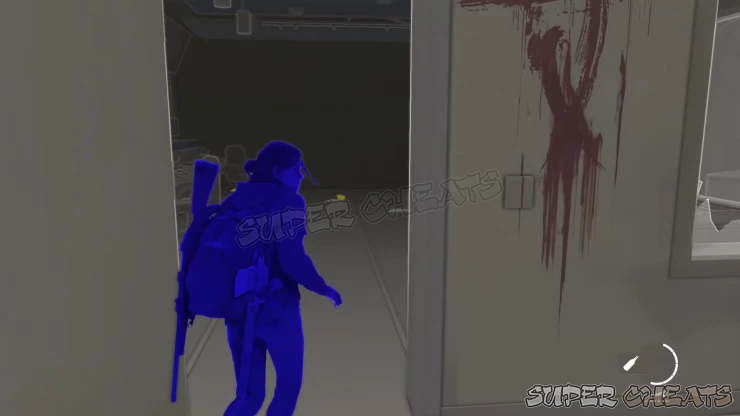
There are no enemies and collectibles here yet so explore the first and second floors to grab various ammo and crafting materials. To proceed with the story, find the open balcony on the upper floor. The door is locked so you have no choice but to shimmy along the curved metal beam to enter the broken window.
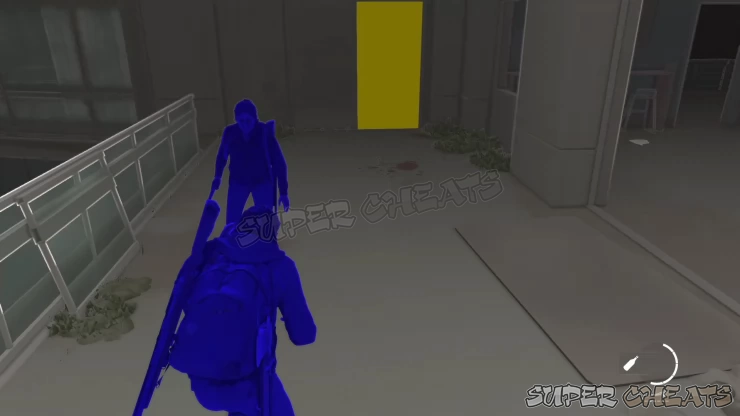
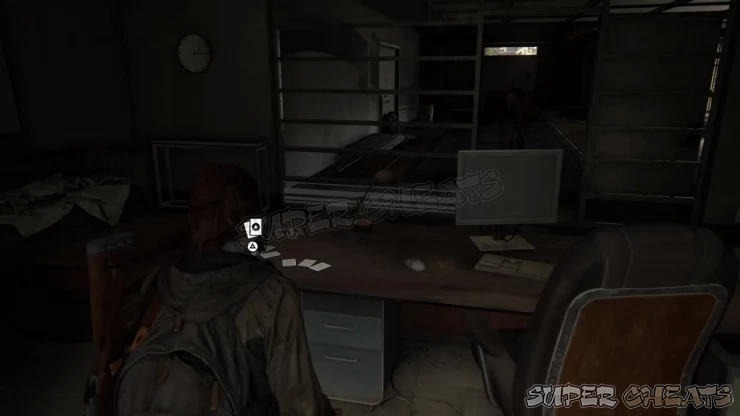
After entering through the broken window, head to the hallway and enter the small office near the elevator to find the Kimimela Trading Card on the desk.
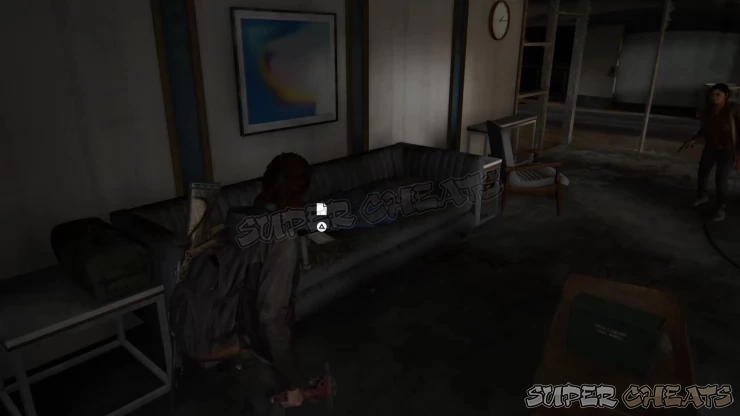
Leave the office and open the door. Continue upstairs. On the next floor, turn left towards the open doorway then enter the curved corner office to the right. Pick up the Dad's Pep Talk Artifact from the sofa. Leave the office then check the adjacent conference room to find more crafting materials, ammo, and supplements. To proceed with the story, enter the slightly-opened office to the right.
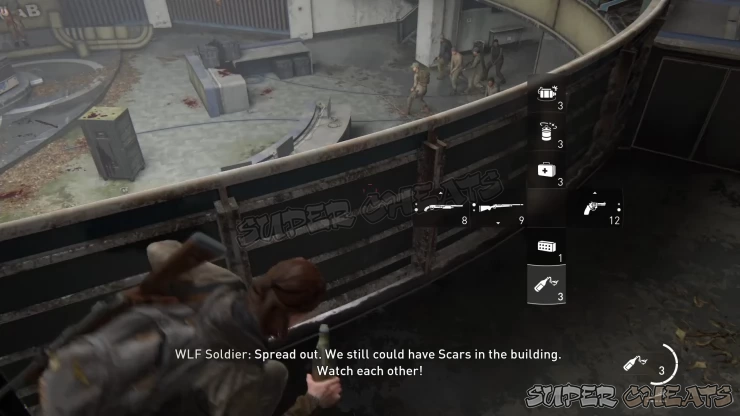
After the cutscene, leave the office and head towards the open doorway. Climb back down to the news studio where several wolves will arrive to sweep the area. You can carefully move along the railings on the second floor to have a good vantage point then throw a molotov while they’re close together. When done correctly, you can take out several of them at once; otherwise, use the various covers in the area to take out the enemies.
Once done, leave the studio through the door where the WLF came from and pass through the round floor. Continue following Dina to the next corridor where more enemies will arrive. Don’t engage them! Instead, turn to the right and jump out of the building. Keep running and ignoring the enemies until you reach the parking entrance. Open the door to the right to complete this section of the level.
The Tunnels
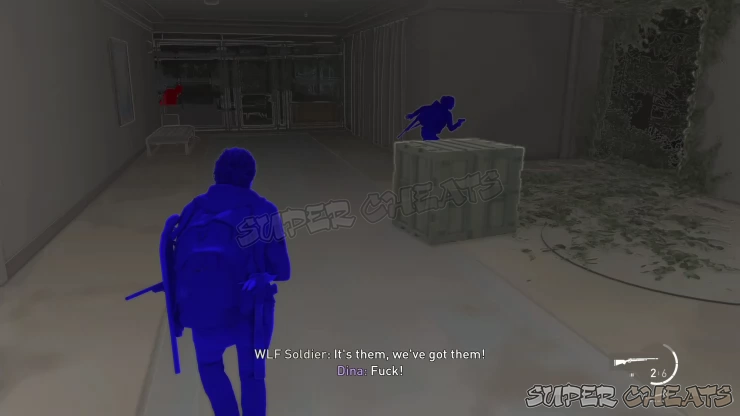
Go through the narrow tunnels until you reach the subway where there are several WLF soldiers and clickers. It will be ideal to make some noise to startle the infected and let them attack the WLF soldiers. To do this, throw a bottle, brick, or molotov near the clicker to the left. The sound should attract the clickers. Finish off any surviving enemy then loot the place of supplies. Enter the train car and grab the health kit and other materials. Proceed to the next train car to force it open.
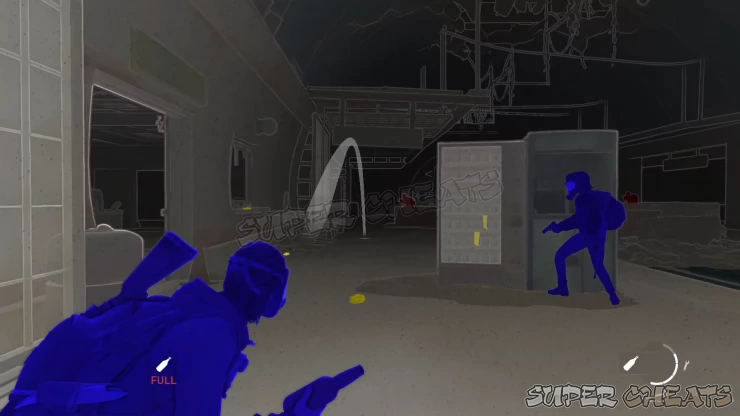
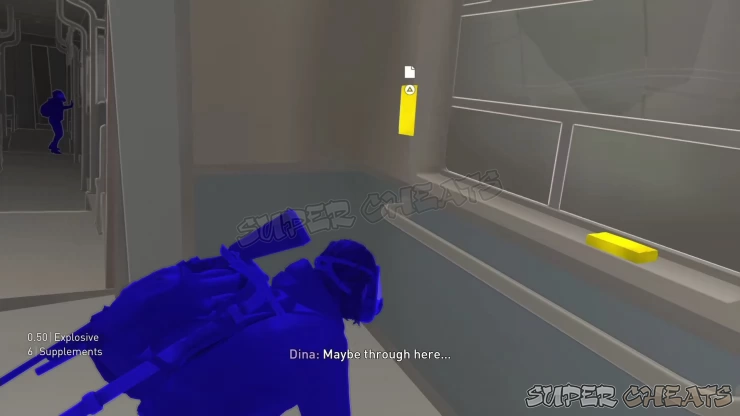
Inside this train car, continue forth and past its side door. Pick up the supplements along the way until you reach the end of the train car. Loot more supplements and ammo, then find the Subway Note Artifact taped on the wall. Regroup with Dina then exit the train car afterward.
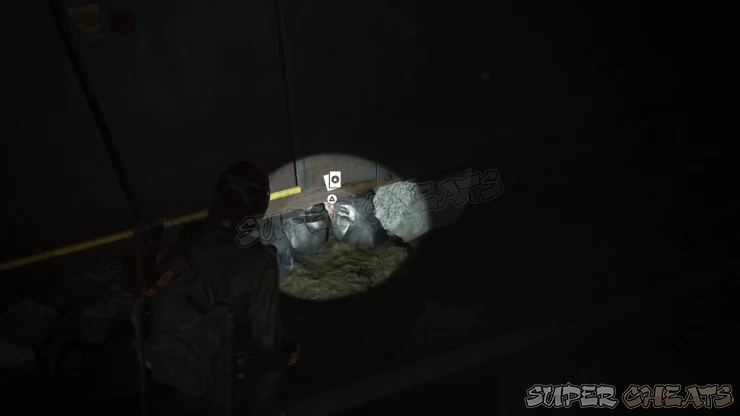
Continue along the side of the tunnel then crawl under the train car. Continue forth until you see an open doorway with red light. Go past that door and find the The Imp Trading Card lodged between the rocks under the derailed train car, as shown below.
Next, enter the red room and examine the WLF body by the grille then climb up the ladder to the right. There’s a lead pipe in front of the dead clicker and a rope to the left. Don’t grab the rope yet; enter the room to the right to find a Workbench. There are some parts and materials on the shelf to the left side.
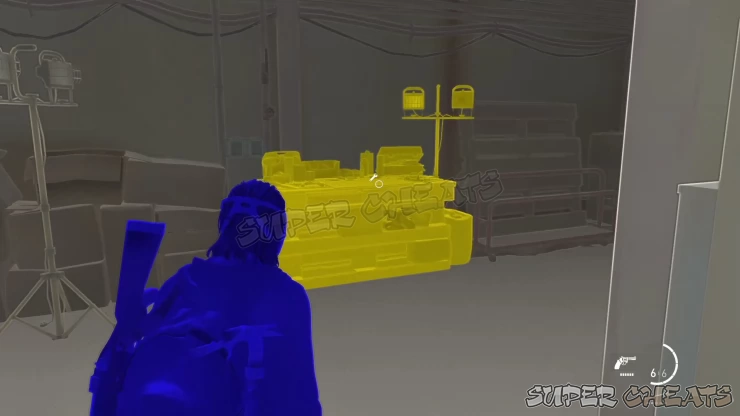
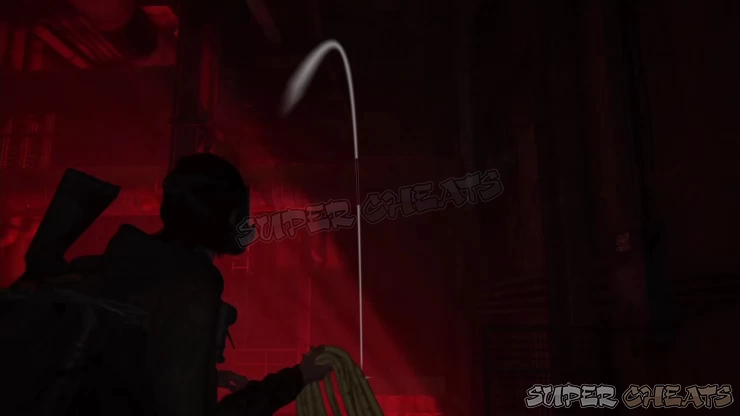
After using the Workbench, grab the rope and throw it over the large pipe above, as shown below. Once done, drop down to the floor below then climb up the rope. Swing to the next ledge afterward. Enter the next room and loot the materials, supplements, ammo, and health pack. Next, climb through the open vent and keep crawling until you find an opening where you can drop into.
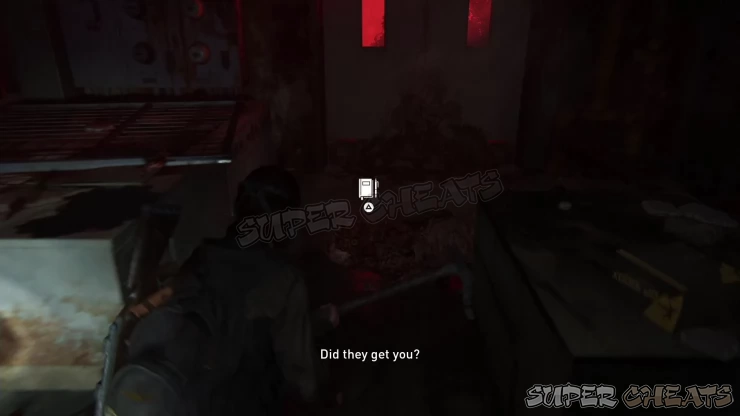
This area has several infected including shamblers. These shambling chunks of corrosive meat need serious firepower to take out and will attempt to charge towards you and explosively release a poisonous cloud that deals heavy damage and lingers in that area for a while. The easiest way to deal with them is by using Trap Mines and well-placed shotgun or rifle rounds. After killing all infected in the immediate area, approach one of the shambler corpses to log a Journal Entry. Sweep the area for more crafting materials and ammo. To proceed, find The Gate with the chain and interact with it to move to the next area.
Follow the long corridor then enter the door that you can open on the right side. Inside, you’ll find a smaller office inside a cage. The cage’s gate is locked on the other side so loot the drawers to the right then find the opening hidden behind some tables in the corner. Crawl inside the cage and loot more materials, including the Dr. Daniela Star Trading Card on the desk beside the PC. Open The Gate then open the other door to reach the break room.
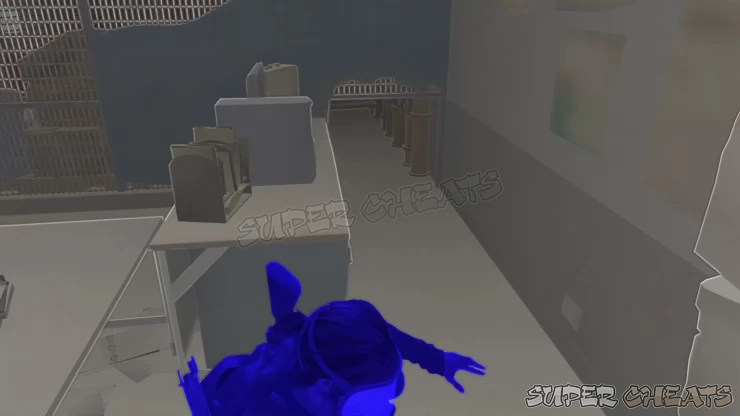
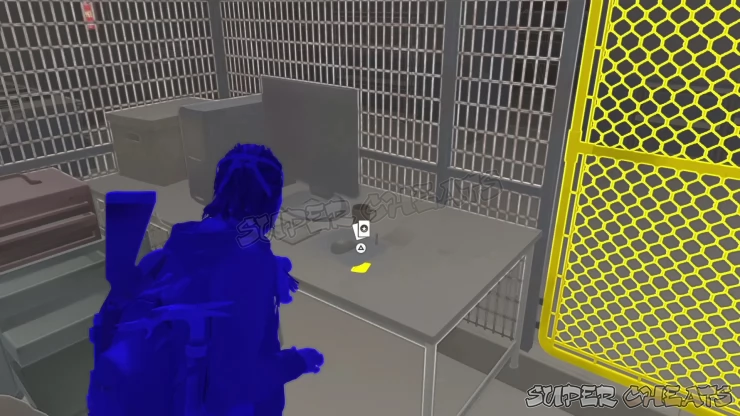
Look to the left to find the Whittled Statue Artifact on the table beside the microwave oven by the door. Turn around and look for another piece of paper on top of a table past the vending machine. Pick it up to get the Locker Room Note artifact.
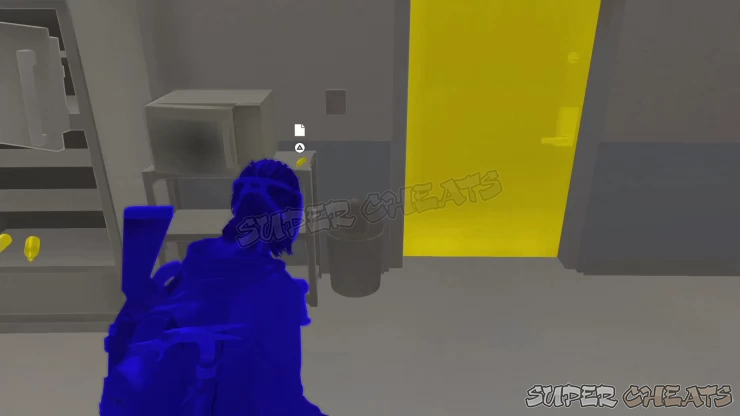
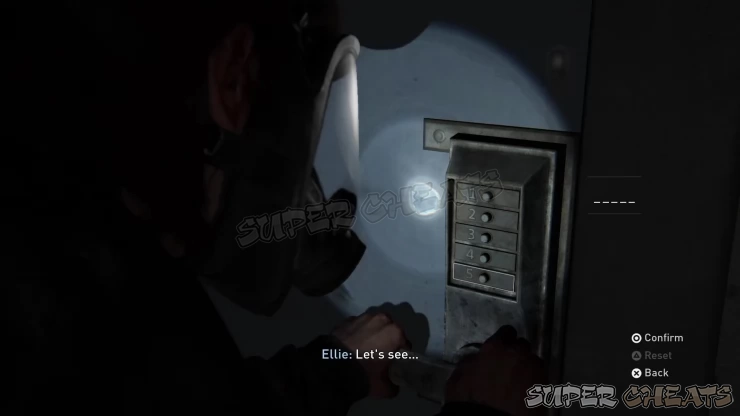
Turn around and smash the vending machine’s glass to pick up the can there. This is the Soda Can Note Artifact, which contains the code for the nearby combination-locked door. Next, find the locked door to the right then enter the code 15243. Open the lockers to get various materials and ammo. Once done, you can now leave the break room.
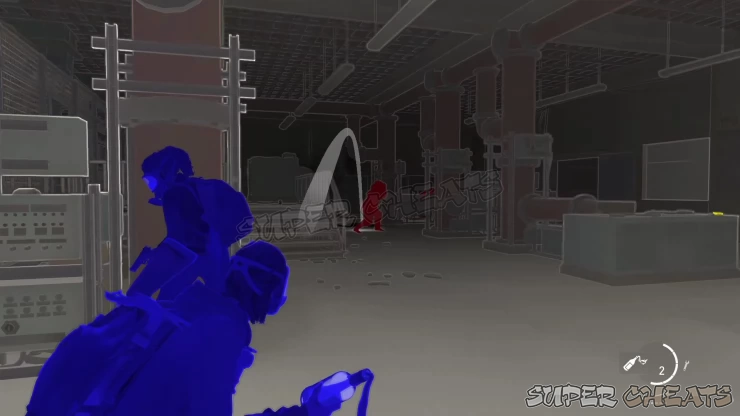
Continue along the tunnel until you reach the locked gate. Turn around to the left to find a railing where you can jump to. Climb on the next ledge afterward and quickly crouch. There are two shamblers in this area as well as several runners. Like before, it’s better to use your molotovs, trap mines, and shotgun to take out the shamblers. If you can attract their attention without getting detected, the better. After clearing the area, scour the room and pick up ammo and other materials. Make your way to the exit and reach the next area.
There are more train car wreckage here. Pass through the first train car then turn right to find some supplements by the wall.
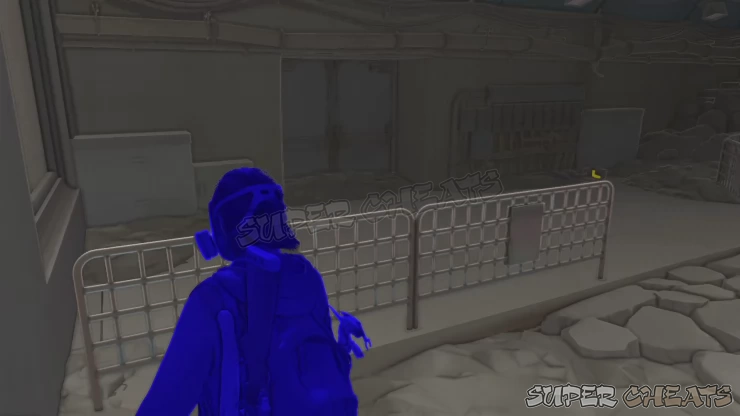
Turn around and squeeze through the narrow gap. Turn to the left and look for a train car that’s turned on its side. There should be a small gap by the water. Crawl inside the train car to find a health kit, ammo, and the Bastet Trading Card by the open luggage. Crawl out of the train car afterward.
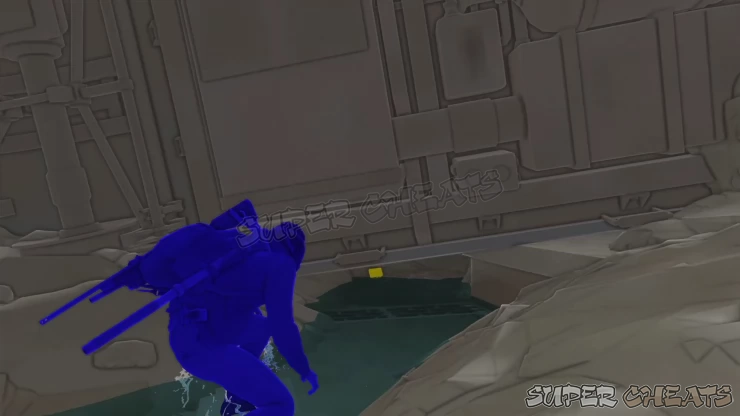
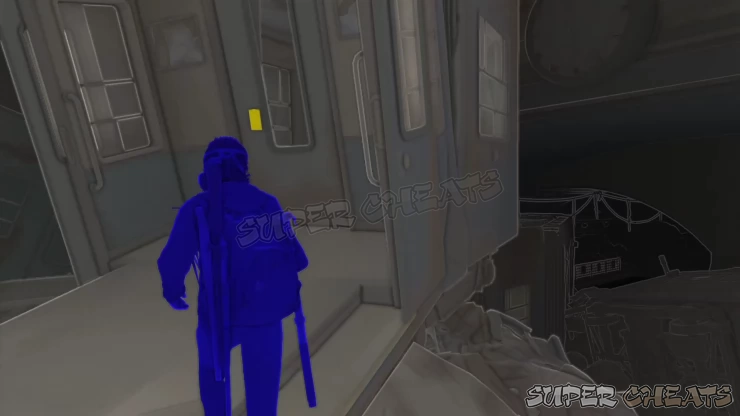
Climb up the upper ledge to the left next. Enter the next train car then look to the right to find the Subway Station Note Artifact. Exit the train car then drop head straight then drop down. Crawl inside the turned train car to loot the materials inside. Leave the car then boost Dina up to the other car. She’ll push off a piece of wreckage that you can use to climb up and regroup with her. Enter the train car and continue until the end.
After the train car collapses and ending up in the station full of infected, you’ll have to run away from the swarm. Head to the right towards the escalator then strike the infected that will grab Dina. Continue upstairs to the left where another infected will grab your leg. Break free and continue then turn right. Climb over the fence but one infected will slip through. Evade its attack then head straight towards the station’s gate. After Dina slips through, follow suit and complete the QTE to successfully escape the station. While assisting Dina, continue towards the theater across the street to move on with the story.
The Theater
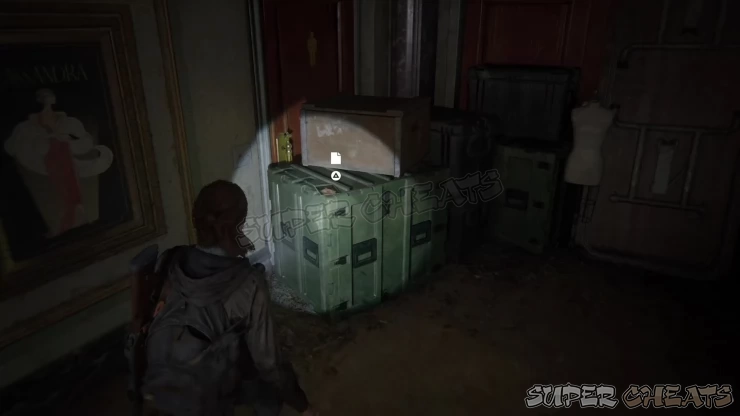
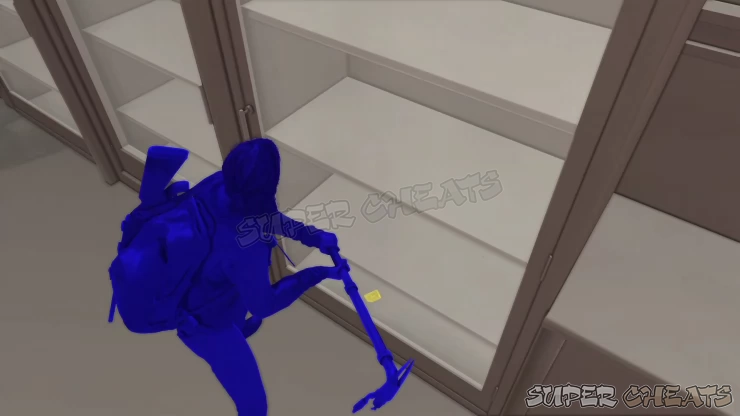
There are no enemies inside the theater so you just need to concentrate in exploring and getting all the collectibles inside. First, head towards the counter in the middle of the room. Check the crate on the left to find the Program for Cassandra Artifact. Vault over the counter and check the rightmost glass cabinet to find the Mortem Trading Card. At the bottom. Check the bathroom to the left for materials and supplements.
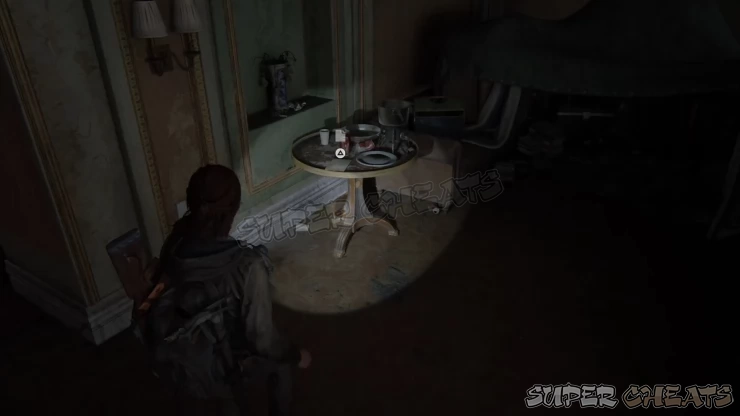
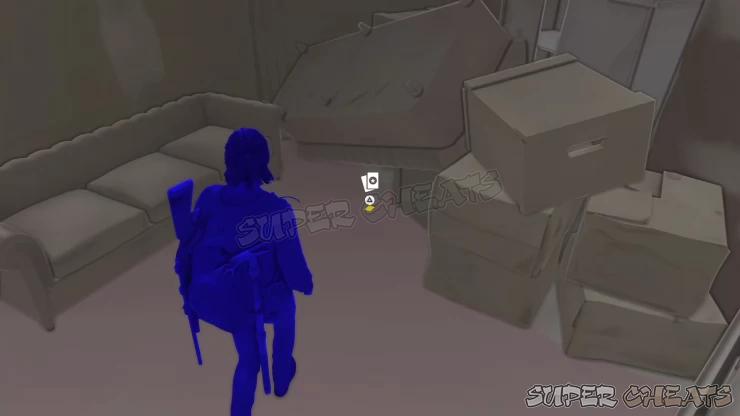
Next, go upstairs then turn left towards the balcony. Pick up the Lone FEDRA Soldier Journal #1 Artifact on the round table near the tent. Turn back towards the bar then turn left. Follow the corridor to the deadend and find the Beyond Trading Card under an overturned sofa, beside the pile of cardboard boxes.
Backtrack to the bar then open the “Employees Only” door. Open the door to the projector room then loot the parts and crafting materials. Pick up the Lone FEDRA Soldier #2 Artifact on the top of the ham radio.
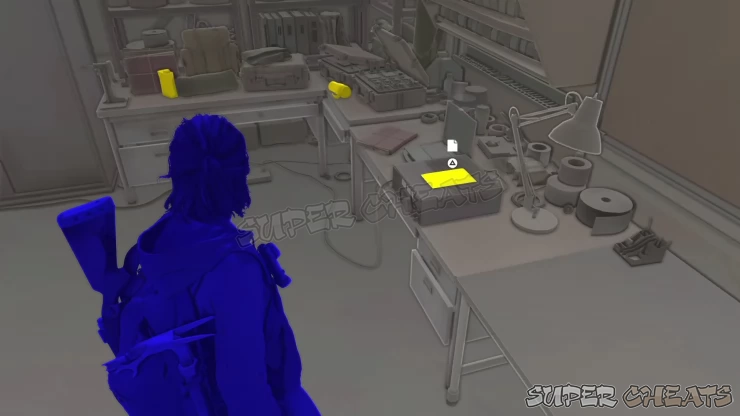
Leave the room then slide open the window to the fire exit. Climb up the ladder to the roof then follow the cable to the generator room. Examine the body near the circuit breaker then power up the generator. Backtrack to the projector room then operate the ham radio to get a key underneath it.
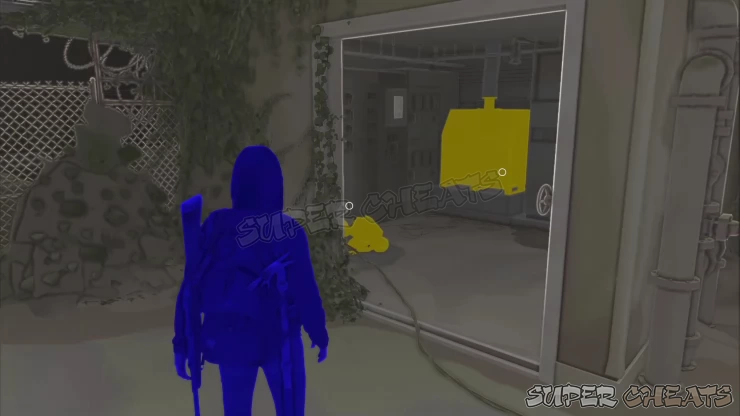
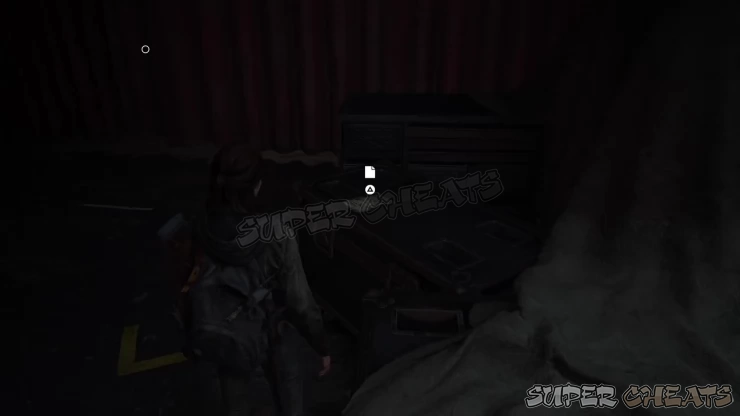
Go downstairs then open the large door to the right to reach the theater seats. Head towards the stage but before opening the curtain, pick up the The Sick Habit Flyer / Set List Artifact on top of the protective case to the right. Once done, interact with the curtain to move on with the story.
The Birthday Gift
As soon as you reached the museum entrance, approach the T-Rex and examine the signage in front of the statue for a Journal Entry.
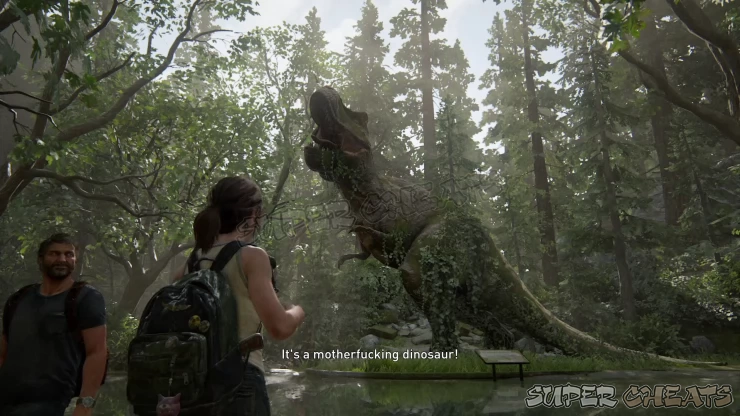
As soon as you reach the museum, look around in the lobby/entrance to find a hat by the Gifts section to the right. Don’t forget to pick it up! This is necessary to trigger the Secret Trophy in a short while.
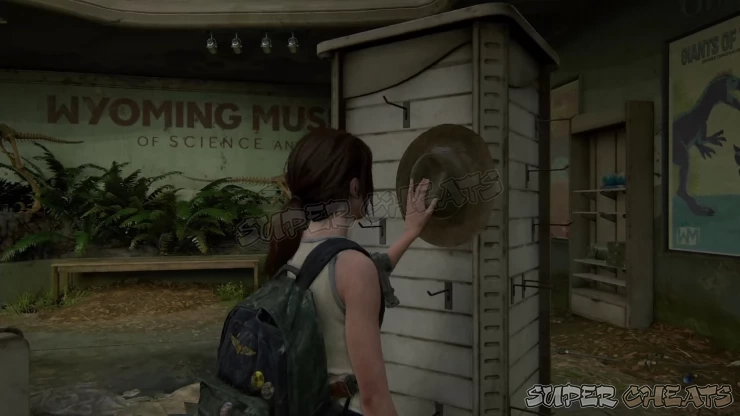
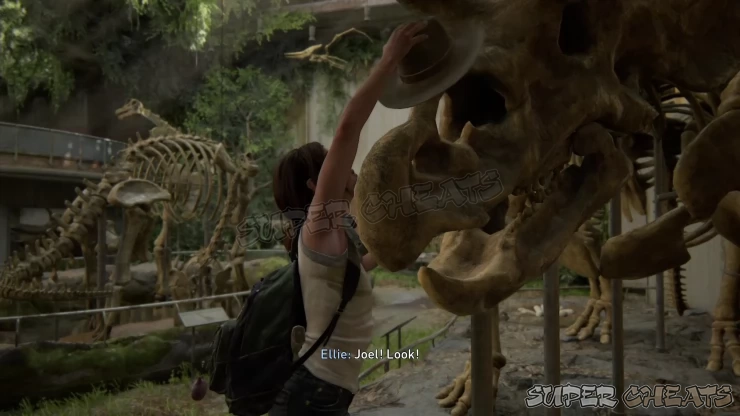
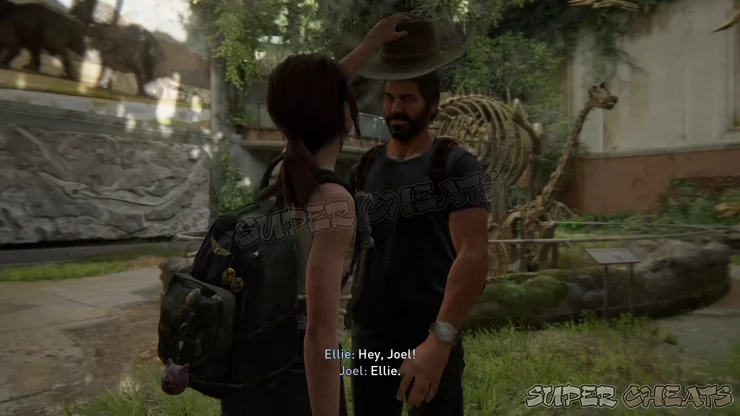
Once you’ve reached the main dinosaur exhibit (with the triceratops, stegosaurus, brontosaurus, etc), approach any of them to get a prompt for Ellie to put a hat on them. Repeat this on the other skeletons until you get a prompt to put the hat on Joel. Do so and the Trophy “Looks Good on You” will be unlocked.
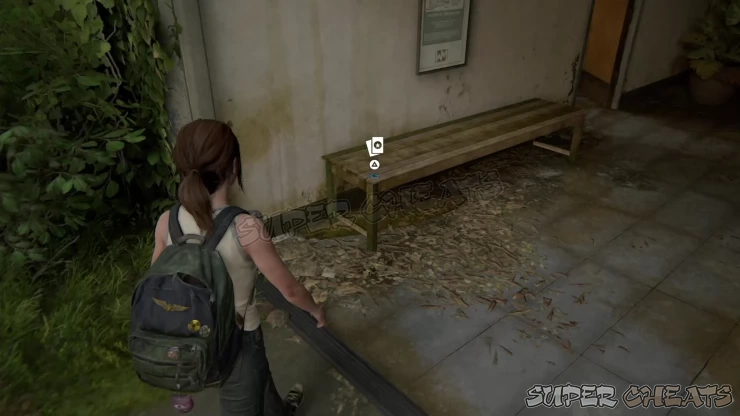
While you’re in this exhibit, head to the bathroom to the right then pick up the Nighthawk Trading Card on the bench.
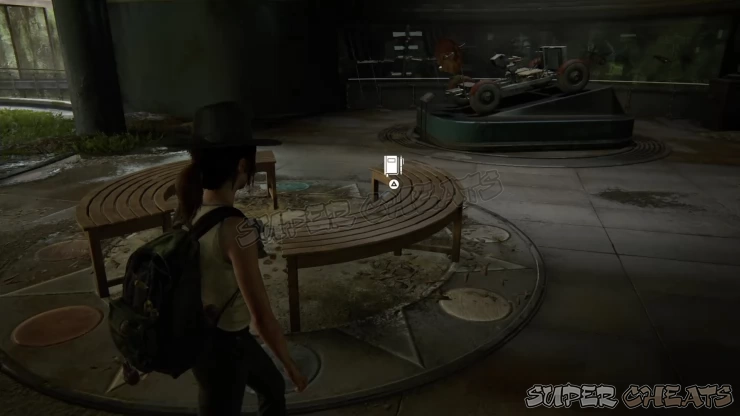
Once you’ve reached the second floor, examine the crescent bench to get a Journal Entry.
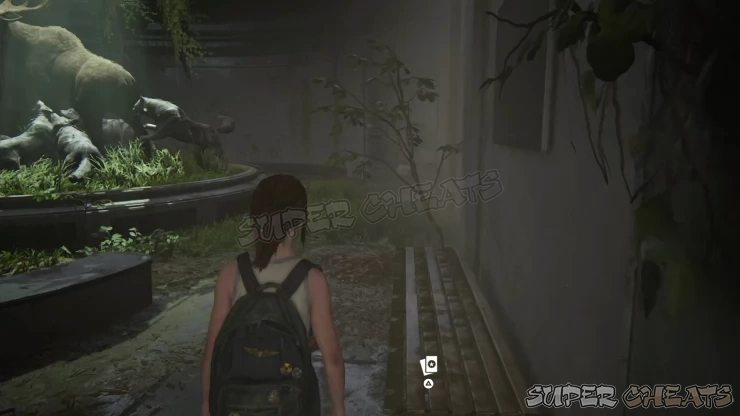
After swimming across a pool, you’ll be inside another section of the museum. Continue until you reach the statue of a moose surrounded by wolves. From there, look to the right to find the Saura Trading Card under the bench as shown below.
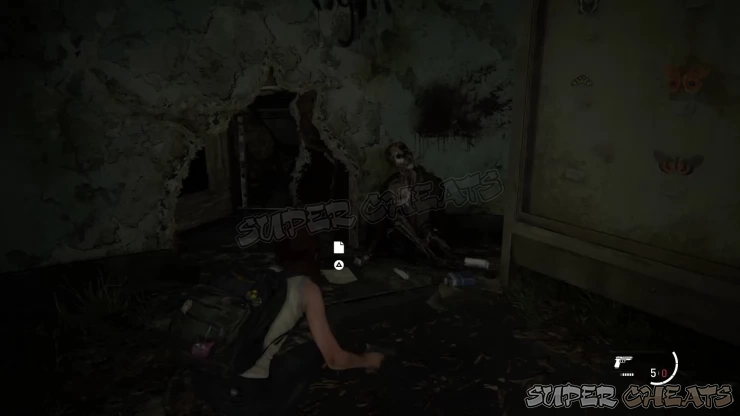
While exploring the dark, creepy portion of the museum with disturbing confessions scrawled on the walls, follow the straightforward path until you find a corpse near the hole on the wall. Pick up the Suicide Note Artifact beside it. Continue forth and the flashback and the chapter will be complete.
We have questions and answers related to this topic which may also help you:
 Join us on Discord
