Seattle: Day 1 (Abby) Part 2
Thank you for printing this page from www.SuperCheats.com.Remember to come back to check for updates to this guide and much more content for The Last of Us 2
Last Updated:
Welcome to our comprehensive, collectible-intensive, spoiler-free walkthrough. As a general note, make it a habit to manually save often especially if you’re not relying on guides when playing, so you can always go back to “point-of-no return” portions of the game to collect various collectibles. In this playthrough, we have enabled High Contrast Mode and Enhanced Listening so don’t get confused if you see different features in the screenshots we’ll feature in this guide. You can modify these settings anytime from the Options menu.
Hostile Territory
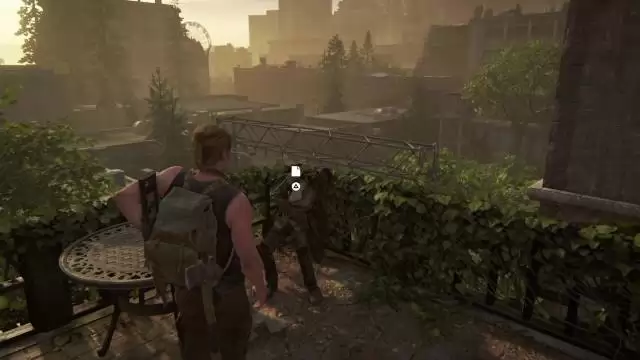
From the rooftop, follow Manny to the lower levels while looting items along the way. Before reaching the exit, you’ll be able to enter a room with a non-artifact note inside the drawer. Reading this will trigger a fun interaction between Manny and Abby.
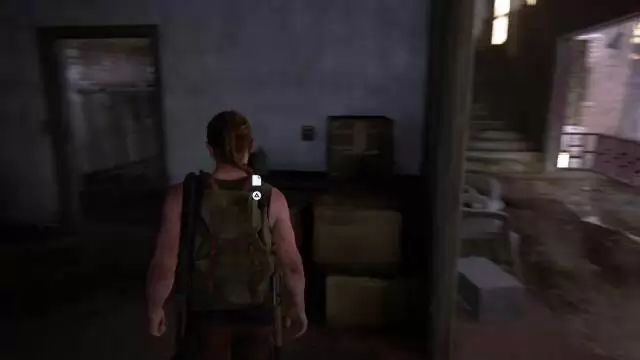
After climbing over the fence, continue through the diner then go downstairs until you see the brick building with the sign Tang Fabrics & Imports. Instead of going there, turn around the corner and Abby will comment about the smell. Look for a window to the left where you can climb into.

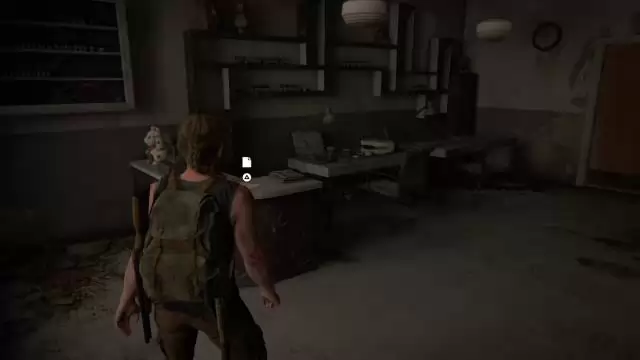
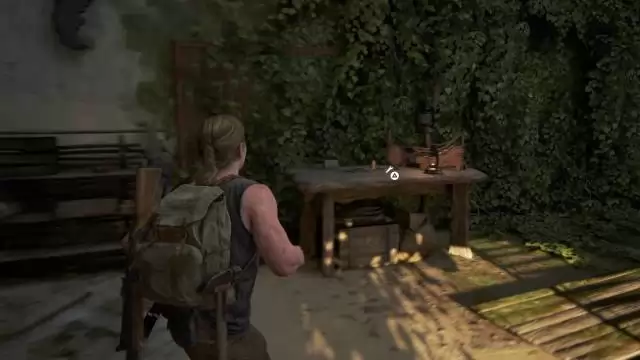
Inside, pick up the Scar Suicide Note Artifact on the body and the Close Quarters Training Manual by the sink.


Continue to the next building and climb over the window to reach the locked-out portion of the street. Climb up the RV to reach the second floor of the next building then get the North Dakota Coin from the lower drawer ahead, beside the doorway.

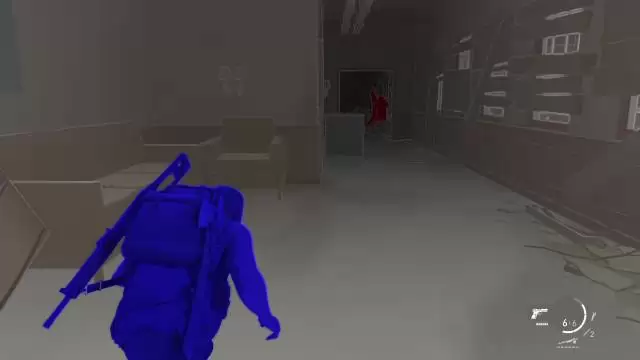
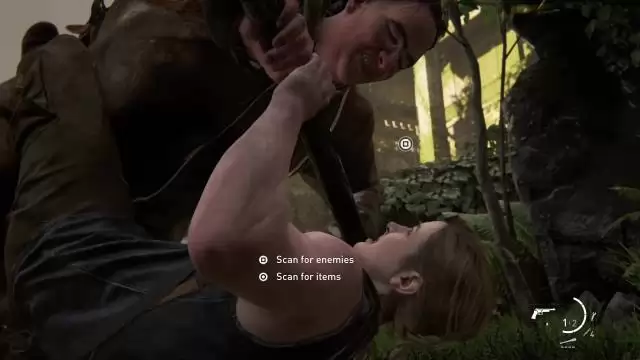
Continue through the narrow crack and slip through. A clicker will ambush you so quickly move back, break free from its grasp, and kill it. This is the only enemy in this immediate area so just slip through the narrow gap again.

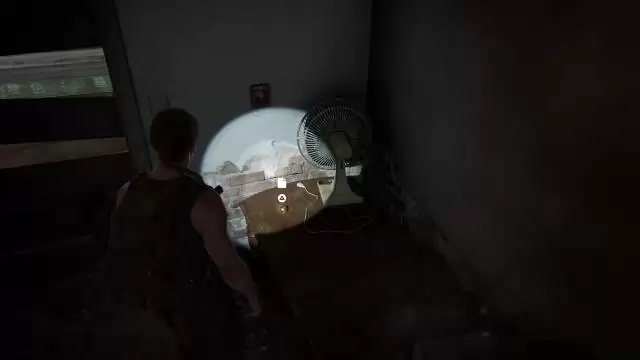
Find some materials in the bedroom and supplements in the bathroom. Jump over the gap then turn to the right and collect more supplements inside the guardhouse at the end of the walkway. From there, turn around and crawl through the narrow gap until you drop down to the next courtyard.

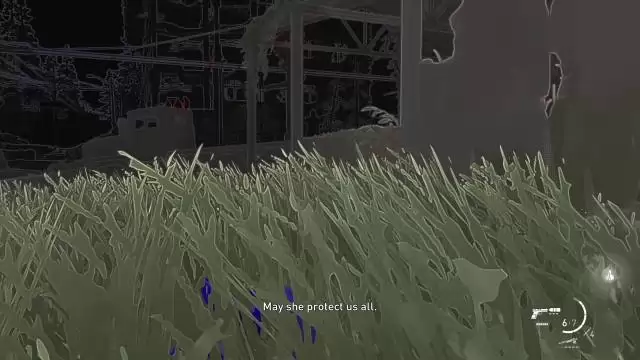
You’ll see the wall with the graffiti “May She Guide You”. Look for a broken window to the left to find more supplements and crafting materials inside the laundry room. Leave that room then enter the other open window and slip through the doorway.

There are several infected and loot on this floor so clear them out and check all nooks and cranny of this floor for materials. Leave through the open door then climb over the wall to reach the next area.
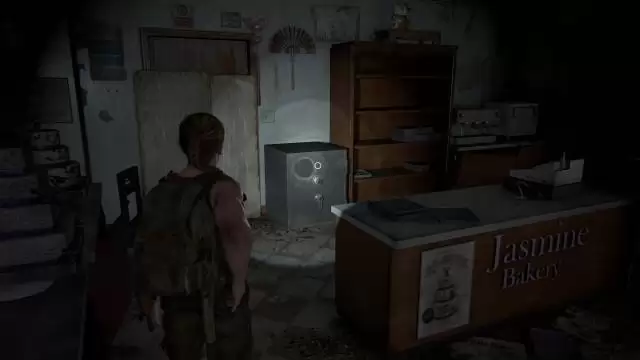
This area has a lot of loot to collect so let’s check out each of the shops. First, enter Jasmine Bakery (look at the shop’s sign) to the left by breaking a glass window. Loot the crafting materials then use the code 68-96-89 to open the safe. Loot the various supplies inside, including a lot of supplements.
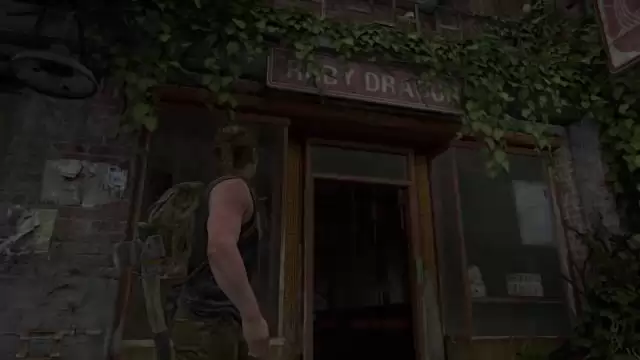
Leave the bakery and enter the traditional medicine shop beside the bakery to find more supplements and alcohol. Ignore the antique shop with the iron gates since you can’t open it from this side. Enter the Ruby Dragon bar beside the medicine shop and loot the crafting materials and parts behind the counter.
Once done, open the backdoor and head to the second floor. There is a couple of clickers inside so crawl under the table blocking the door then kill the clickers from there. After clearing the room, loot the other crafting materials then jump across to the adjacent shop to reach the balcony. Take the stairs to the right first to reach another balcony with a corpse. Loot the ammo on the table and the Plea to Seraphite Prophet Artifact from the body.
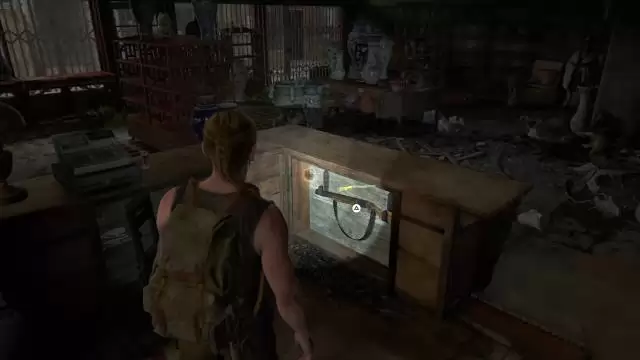
Backtrack then enter the room to immediately find the Jasmine Bakery Safe Artifact on a cardboard box.
Head to the next room but don’t drop down from the hole on the wall yet; instead, look to the right to find a small egg-shaped object on top of a drawer. Pick it up to obtain the Strange Relic Artifact which will unlock the Relic of the Sages Trophy.
Drop down to the lower floor and evade immediately since an infected will ambush you from the bathroom. Check behind the counter to find the Double Barrel Shotgun. Loot the parts, crafting materials and shotgun ammo in the back room. Be prepared since two infected will come rushing in as well - perfect targets to test your new shotgun. After clearing the shop, open The Gate from the inside to leave the shop.
Continue straight to the street until you reach Martyr’s Gate. The abandoned armored truck near The Gate has several Artifacts that you can pick up from both sides of the truck. Open the truck to pick up the Seraphite Prayer to the Prophet - Peace Artifact inside.
* Seraphite Prayer to the Prophet - Respect (Left side of the truck)
* Seraphite Prayer to the Prophet - Steed (Left side of the truck)
* Seraphite Prayer to the Prophet - Pairing (Right side of the truck)
* Seraphite Prayer to the Prophet - Prosperity (Right side of the truck)
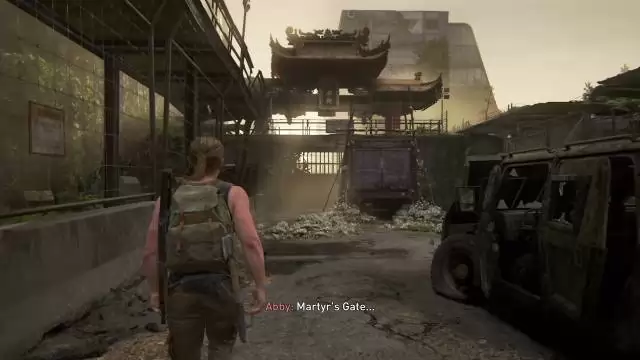
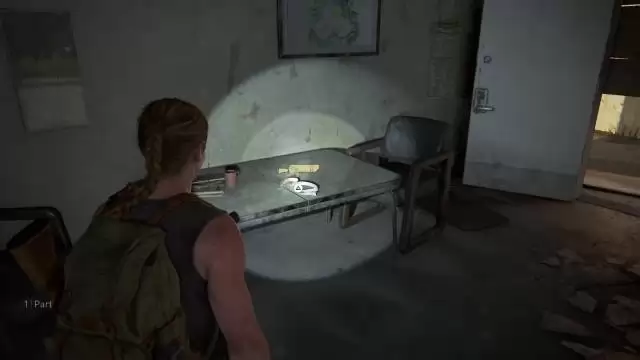
Enter the building to the right and pick up the WLF Soldier Meets Prophet Letter Artifact on the desk. Open the door and loot the crafting materials to the left. Pick up the Long Gun Holster from the desk.
Head to the left of the truck and pick up the parts there. Climb up to the metal walkway then circle around to drop down to the other side of The Gate. Crawl through the opening to reach the other side of the city where there’s a large Scar Patrol. You can sneak past them or kill them all if you want to.
After clearing the Patrol, loot the nearby buildings for crafting materials. There are no collectibles yet at this point so just head towards the destroyed building where the Scars came from and find the passage they used.
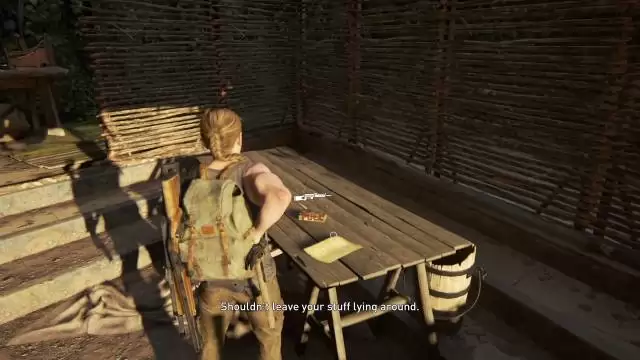
Once inside the building, check the various drawers in the abandoned offices to get valuable loot. Find the fire exit stairs and continue up through the narrow passage through the rubble. Follow the straightforward path until you reach a small Scar rest camp with several ammo, supplies, and a Workbench. On the nearby table, you can also find the Letter from Seraphite Father to Son Artifact.
After using the Workbench, slide down and continue forth. You’ll end up in another destroyed building patrolled by several Scar units. There are no more collectibles in this area so take the enemies out using any method you prefer then look around the place for ammo and crafting materials.
Once done, continue ahead until you reach the exterior of the building where more Scar patrols are located. Slide down the slope but you’ll get tackled by a female brute. Keep smashing the square button to resist her and complete this chapter.
Winter Visit
There’s no combat or collectible in this flashback mission but there’s a minigame that you can play to unlock a trophy. (See details below) This mission doesn’t require a walkthrough since you’ll just be walking around and talking to Owen.In The Aquarium, you’ll find a toy bow which you need to use to hit several cardboard targets scattered in the room before the timer runs out. It’s recommended to manually save before attempting this challenge so you can reload.
Take note that you don’t need to be a sharpshooter for this challenge; what matters is your speed in hitting the targets, regardless of what portion of the targets you hit. As preparation, it’s recommended to scan the area and spot all the targets before starting the mini-game so you can plan your course. It’s easy to run out of time in this challenge while looking for the targets you could’ve scouted before starting the minigame. Earn the high score to finally unlock the Put My Name Up Trophy, which will complete all the Secret Trophies in the game. You only have one chance to get this trophy so keep trying until you do.

We have questions and answers related to this topic which may also help you:
Anything missing from this guide?
ASK A QUESTION for The Last of Us 2Comments for Seattle: Day 1 (Abby) Part 2
No comments yet. Tell us what you think to be the first.
Table of ContentsClose
 Join us on Discord
Click to close