7 - The Ruined Zoo
Super Smash Bros Brawl Walkthrough and Guide
by SPV999
Super Smash Bros Brawl
Level 7: The Ruined Zoo
Time:
Enemies: Primid, Boom Primid, Fire Primid, Ticken, Floow.
Boss: Porky
Boxes: 5
Story Note
RUUUNNN!!!!!
 AHAHAHAHAH!! |
Just... run. If an enemy gets in your way, jump over them, or better yet, knock them into the statue. Also, this is the first level were you cant move at your own pace. You have to move in time with the camera. Move to fast and you’ll fall off the screen, move to slow and fall off the screen (well, here you’ll just run into the statue, but normally...).
After Ness comes in and pwns the statue (he is so much cooler the Lucas could ever be), it’s time to fight its maker. Ness and Lucas are pretty much the same, so it really doesn’t matter who you choose.
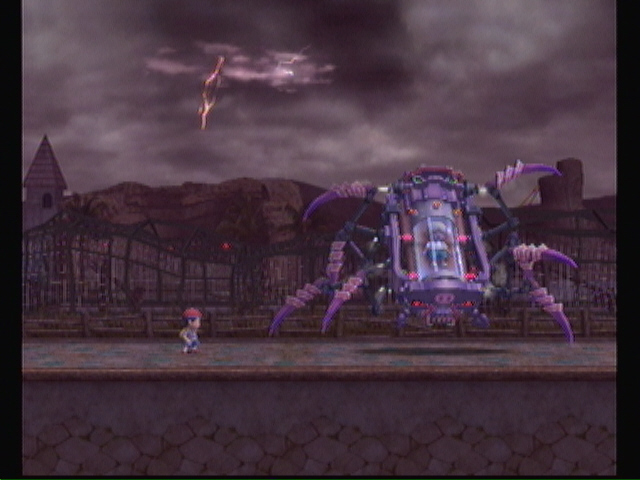 Sorry, but the giant statue was way cooler. |
--== Porky ==--
--== Porky’s attacks ==--
1) Fires a laser sideways
2) Fires a laser from the sky
3) Rapidly strikes with one of its claws
4) Sends out Porky drones
5) Jumps into the air and lands on you
6) Rushes across the stage
--== How to predict ==--
1) Creates an energy ball above its head
2) Flies up and turns on a search light
3) None, really
4) Stops moving, red light above his head
5) Crouches a bit first
6) Starts acting hyper
--== How to dodge ==--
1) Jump.
2) Stay in the light just long enough for him to charge up, then dodge
3) Hope you’re not nearby.
4) Jump up, then land carefully and jump again.
5) Dodge to the side as he jumps
6) Jump over him
--== Strategy ==--
Stay light and use ranged PK attacks. PK Fire and Thunder work well.
Story Note
Wario tries to trophy-fy Ness, but realizing Ness is far to awesome to be caught, he tries for the easier Lucas. Ness sacrifices himself to save Lucas. Wario proceeds to collect the trophy. In escaping, Lucas runs into Pokemon Trainer, who also saves Lucas from a Primid army.
(Lucas is pretty useless like that).
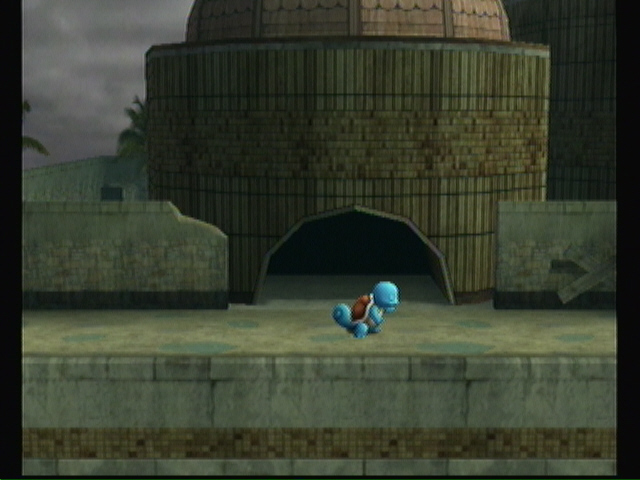
Note before you make your character choice, Pokemon Trainer only has Squirtle. Either one of them can do this level alone though.
Take out the few Primid here, followed by the Boom Primid. Carefully jump over the spikes and avoid the Auroros and Primid. Just keep heading right, not worrying about anything. Your main goal is surviving, and there are too many Auroros in this area to make it easy.
 I have a splitting headache all the sudden. |
After the water, you find a new enemy. The Floow. Floow cant attack until their health reaches max. It will slow regenerage just floating there, and if you hit it, it will regenerate even faster. Take it out BEFORE its health reaches full. Continue right to fight three more Floow.
 Get away from me! |
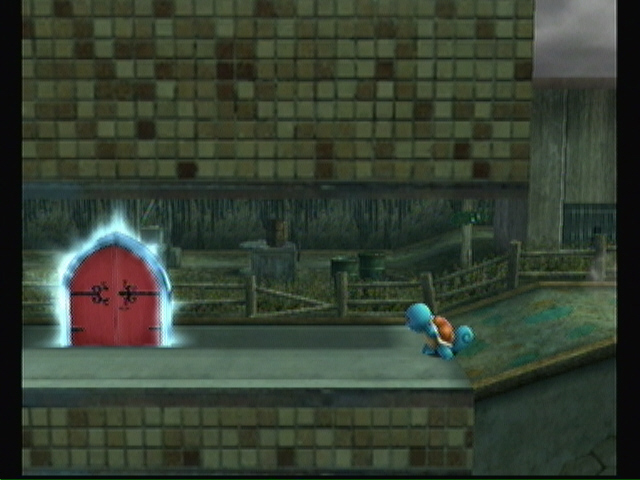
Carefully jump over the two sets of spikes. Upon landing, you’ll be attacked by a wave of Primid and Boom Primid, followed by a wave of Floow. Jump over the spikes and continue until you reach a building with a hole in it. The hole acts as a door.
Door. |
Jump up and hit the switch. On the center platform you face an army of Bytan. Well, its only four to start, but since they replicate themselves, it very quickly turns into an army. Use crowd clearers to take the majority of them down, while slowly sweeping from one side to the other.
Once that’s over, use the floating platform to jump to the higher ledge. Watch out for the Glunder. Grab your item (1) and continue down the ramp. Once at the bottom, I wouldn’t bother with the Glunder spawner. Just jump up and enter the door.
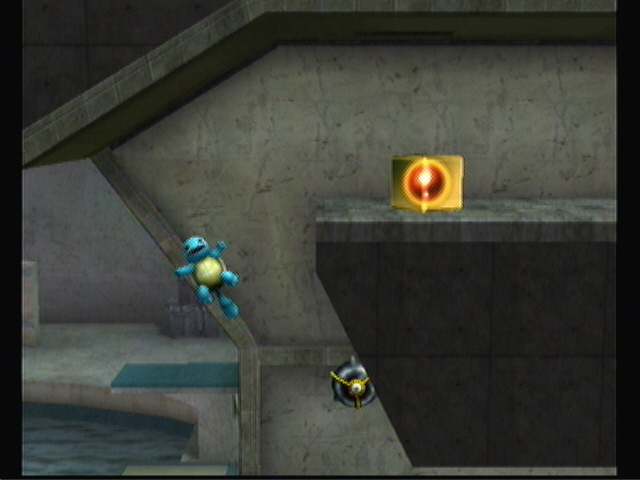 Yellow Box #9 |
Watch for the Boom Primid. Use the spring to reach the high ledge.
Take out the three Ticken and Boom Primid and move on. Fall straight down and to the left. enter the door.
 Yellow Box #10 |
Secret time. Two boxes (2) (3), gotta catch’em all. Exit. You’ll want to keep on the high ground to avoid most of the Fire Primid, but the Floow will still get in the way. There’s also and item box (4) that you cant miss. After, use the spring to get over the spikes.
A hoard of Ticken, Boom Primid, and Fire Primid attack. After the fight, fall straight down and to the left for another item (5). Use the springs to get over the spikes and kill the Ticken. Walk into the light.
 Box. |
End of Level!
Story Note
Pokemon Trainer waves goodbye, and intends to follow his own path. Lucas makes up his resolve to become stronger and save Ness. To do this, he decides to follow Pokemon Trainer. Will this pay off in the end?
Cheats, hints, walkthrough index
How get to this spot in the Great Maze?