12 - The Path to the Ruins
Super Smash Bros Brawl Walkthrough and Guide
by SPV999
Super Smash Bros Brawl
Level 12: The Path to the Ruins
Enemies: Shellpod, Primid, Puppit, Boom Primid, Borboras, Gamyga, Fire Primid, Armight, Glire.
Boss: Wario.
Boxes: 5
Story Note
We see Kirby watching the Halberd hover over Bowser’s Castle. Ganondorf appears in a control room and, not really “orders” so much as “informs” Bowser on where to find is long lost Princess. Ganondorf obviously knows more of whats going on at this point, as evident by his smirk.
Pokemon Trainer enters the scene again. We now know his motives for all of this: to capture more Pokemon.
I still like Pokemon Trainer.
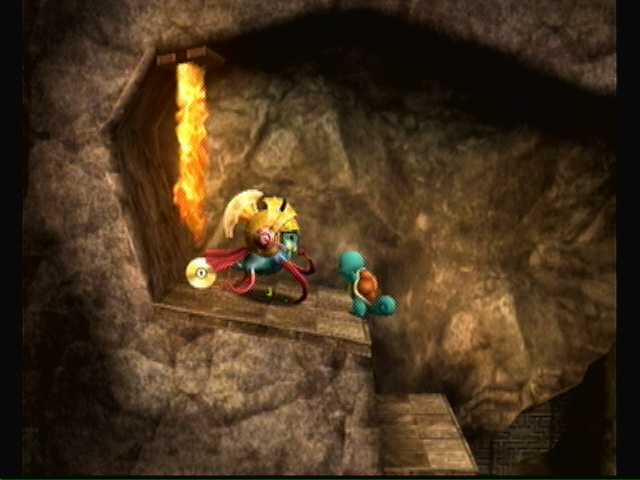
Onward! A Shellpod greets you into the level, followed by a Boom Primid. Carefully jump over the Jyk, and the spikes. Now you’ll be forced to battle a Shellpod and some Puppits. Take out the Puppits first. As long as you stay on the upper platform, the Shellpod wont attack.
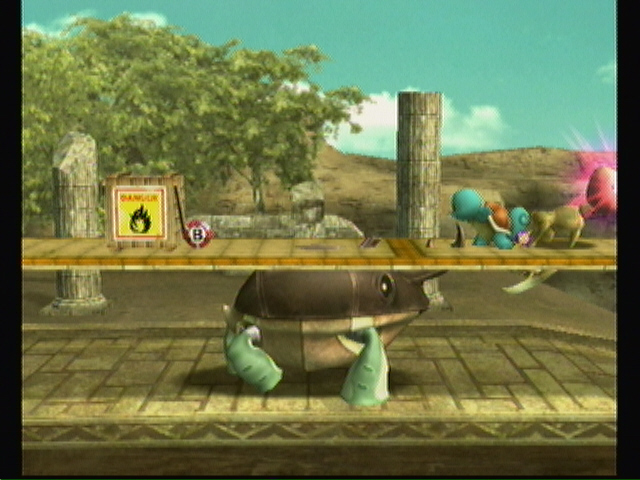 Na na! |
Fall down to fight three Primid. Blast your way though the stones to find the first item box (1). Continue up the elevator. On either side is a Gamyga. Focus on one, attacking the head (attacking the base does nothing by lower it.) You really only have to kill the one on the right to continue.
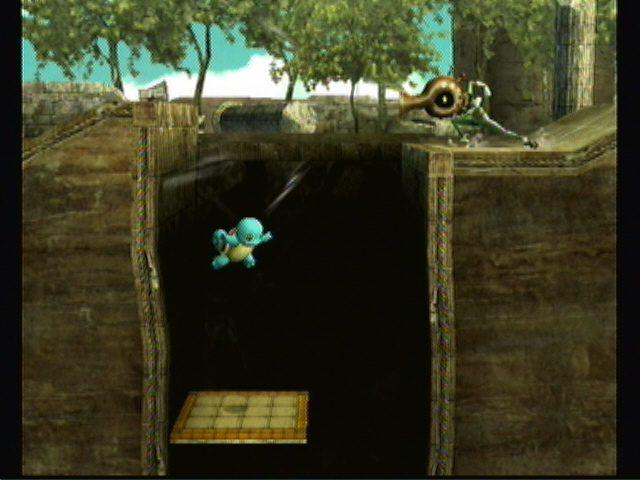 Secret. |
It’s that time again: Secret time! Blast away at the blocks, working from the top down. You should find three trophies hidden amongst the blocks. None of them are actually IN a block, just resting in little nooks. Go back out and up.
Over the next pit to the right. Now you’ll want to touch off the falling blocks and land on the platform with the item box (2). Grab it and carefully jump across the rest of the blocks.
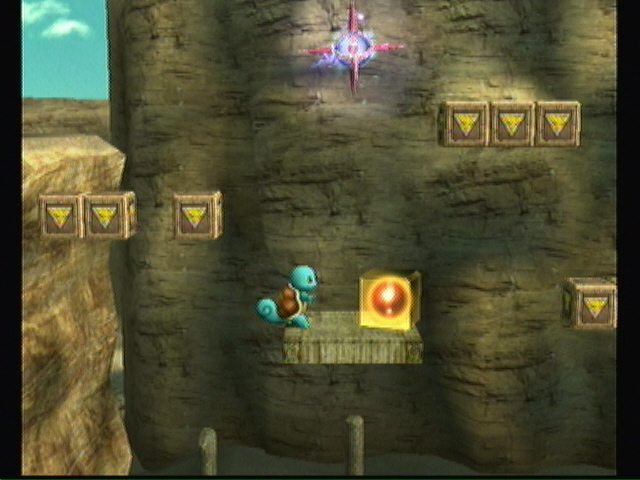 Yellow Box #21 |
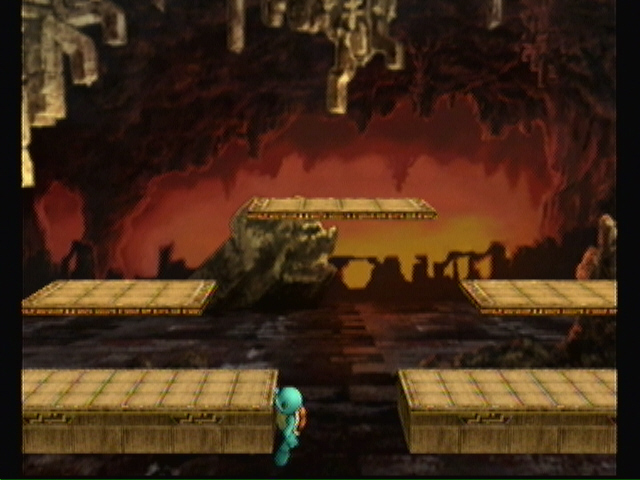
Ooo, lava. Navigate the lake, watching out for fireballs. On the other side is a Fire Primid. Take him out and wait for the flames to go down. Quickly get across and kill the next fire Primid. Hit the button overhead to lower the flames for a few seconds. Use that time to get to the block before the next switch overhead.
This one is hard with Squirtle, but easy as Lucas as you can use his PK Thunder. In one motion, jump over the flames and hit the switch. If you miss, you’ll hit the flames and become invincible for a second. Use that time to hit the switch and continue, ignoring the Fire Primid.
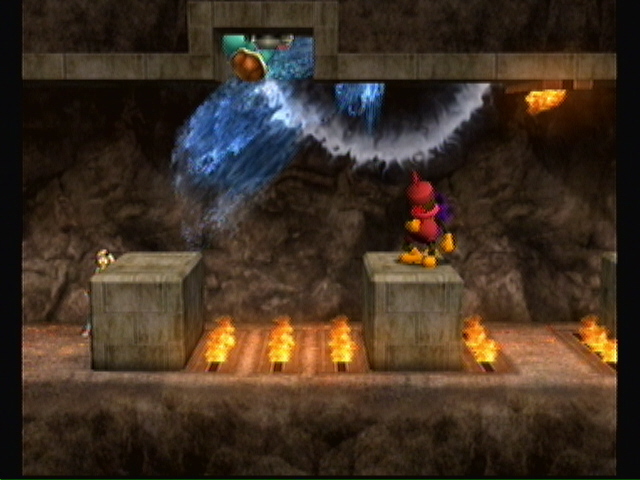 Surf works well also. |
Do the same thing at the gap. This time you should be able to make it past the next switch before the fire comes back on. Wait for the flames on the stairs to recede and jump up both of them. Two Armights attack. Don’t let them push you off either side!! Your goal is to jump across the gap and upwards to get an item (3).
 Yellow Box #22.. I hit it with Surf on accident. |
Now fall down like the arrow says. Jump over the spikes on the left to fight a Puppit and get a spare life (4). Now right. You’ll be attacked by several Glire, Primid, and Sword Primid. Use area attacks and continue.
Now you’re attacked by three Nagagog. The rails work best for destroying them. Across the gap and another fight. Scope Primid on the right, Fire on the left, and Glire all around. Enjoy.
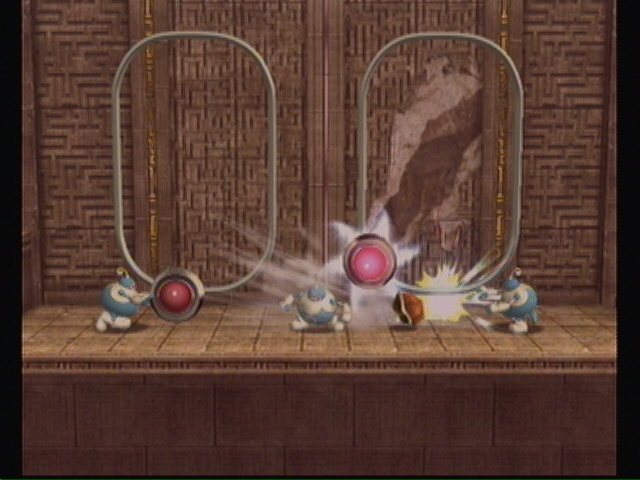 Behold the destructive power of a Rail! |
Go down the ramp. At the bottom, jump on one of the raised platforms. The entire thing will lift into the air, and no, you cant just jump over it to avoid it. A fight with Glire and Armight ensues. Squirtles Up A attack works well.
 I do this EVERY time... |
Continue to the right and take the elevator up. Item box (5) on the left, door on the right.
Story Note
Wario appears. Lucas strengthens his resolve to fight.
Choose a character and fight. It’s just Wario. The walls make it hard to send him to the side, so focus on juggling him.
 He never did like to take baths... |
Story Note
Since Wario got his cart stolen earlier, it’s no surprise to us that Ness’s trophy isn’t with him. Lucas takes it hard though. An ominous growl his heard from the cave in the background...
End of Level!
Cheats, hints, walkthrough index
No comments yet. Tell us what you think to be the first.