11 - The Lake Shore
Super Smash Bros Brawl Walkthrough and Guide
by SPV999
Super Smash Bros Brawl
Level 11: The Lake Shore
Enemies: Ticken, Bombed, Greap, Bucculus, Shaydas, Feyesh.
Boss: None.
Boxes: 6
Story Note
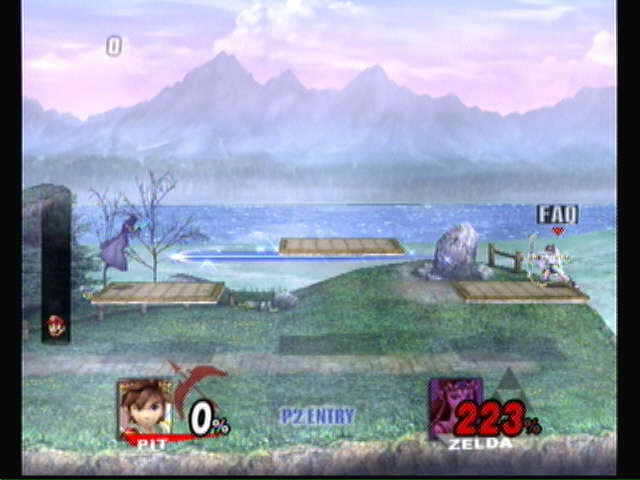
Kirby runs off for an unknown reason (it doesn’t appear that he sensed danger) leaving the other character (Zelda or Peach) behind to get turned into a statue. Her then gets taken over by the Primid. That Primid (Zelda or Peach) tries to trophy-fy Link and Yoshi, but Pit and Mario save them. Pit and Mario now know that Link and Yoshi aren’t with the Primid. The same cant be said for Link and Yoshi....
Choose a character to face off with either Peach or Zelda.
 So cheap. |
Story Note
Link mistakes the situation. Now two teams must face off, each fighting for the same cause.
Pit works good, as you can just sit back and lob arrows.
Story Note
Dedede takes advantage of the situation and runs in to scarf Yoshi and Links trophies. But it turns out Kirby didn’t go as far as we had thought. Kirby turns them back to normal and Link proceeds to disable Dedede’s hover cart. Now that they all know they are on the same team, the unify to take on Dedede together.
Yoshi and Kirby are poor choices. But whatever works.
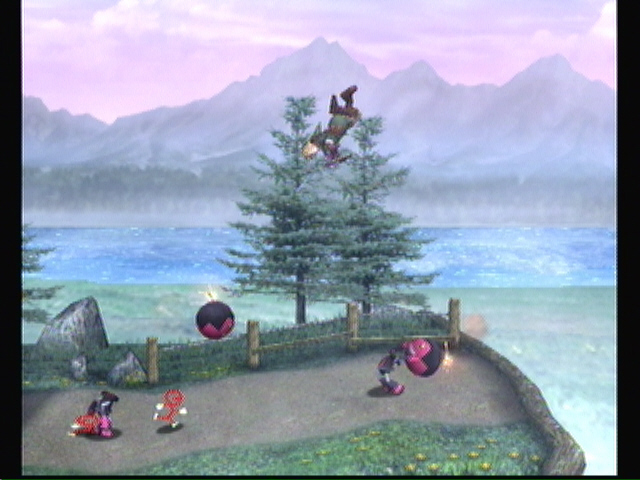
Heading right, look out for the Bombed. Dodge their attack and just run past them. Red Mites also come to annoy you. Jump the gap and get the drop on the next Bombed as a couple Ticken get the drop on you. Grab the item (1) and be on your way.
 Don’t have much aerial range. |
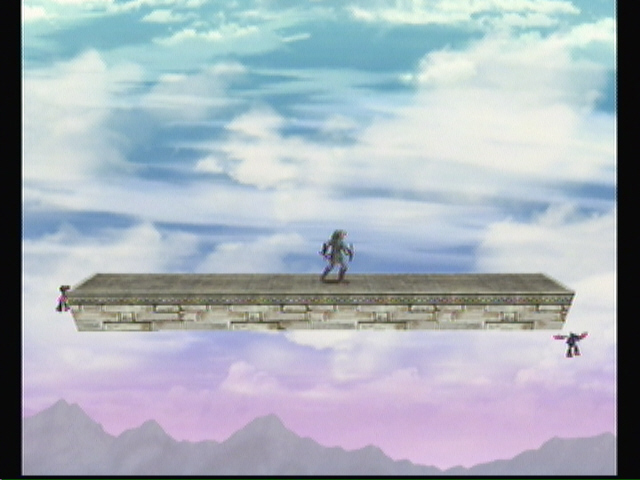
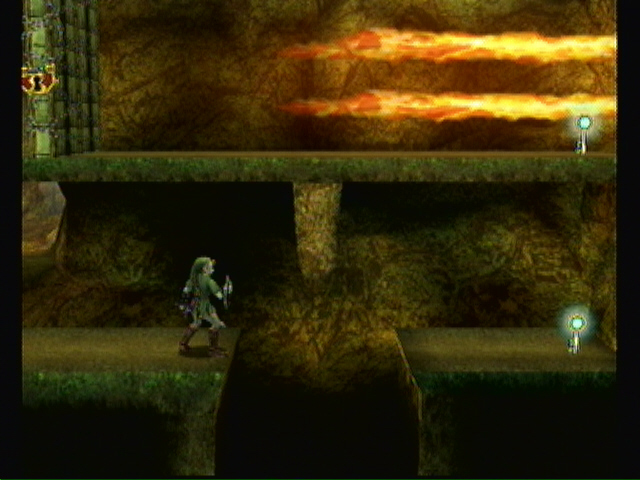
The next stone platform will move up. You’ll have to fight waves of Bombed. Use your shield or aerial abilities to dodge their first attack, then they’ll normally jump off the side on their own. After the Bombed come two Spaak and a Greap. Equally annoying. Focus on the Greap first, this being a small area. Finally, some Bullet Bill will come flying by. They don’t really pose a threat after what you went though. When the platform ends, head right, dodging the two Bombed. Enter the door.
 Link forgot to wear deodorant today. |
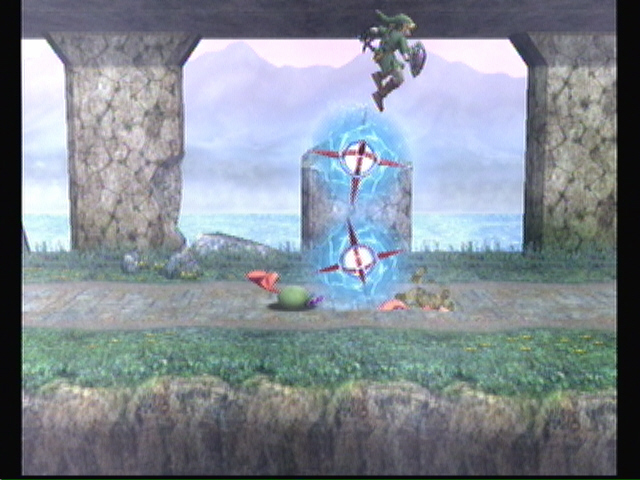
The camera moves on its own again. Watch the Bucculus right off, and the Jyk later. Now the pillars should start moving up and down. Under one is a Bucculus and above the next is a Jyk, so time your steps carefully. Over the gap. There are platforms that come out of the ceiling that may hinder your jump, so time it right.
Jump over the Jyk and Bucculus. DON’T jump on the launch thing. Get across the moving platforms and dodge the Red Mite within reason. One final set of falling platforms, across the gap and over the Bucculus.
 If only they had the budget for one more Jyk... |
Across the gap (you don’t really have time to time it, just pray you make it) and don’t miss your item box! (1). Keep moving till the camera stops and enter the cave.
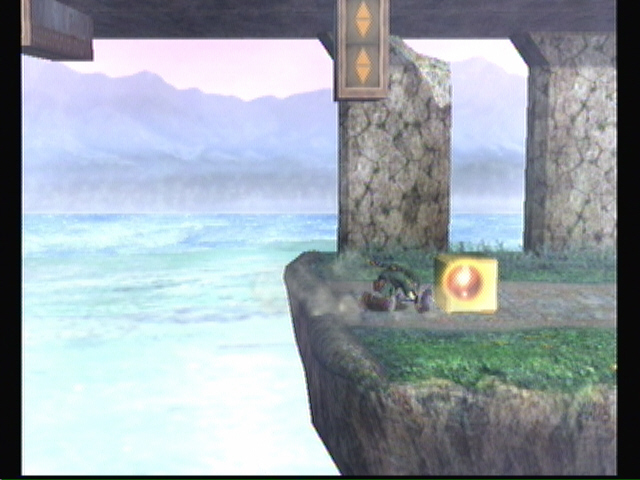 Bow before the power of Yellow Box #17 |
Story Note
Dedede’s cart is parked outside (no, he’s not smart enough to hide it), so he is definitely in there. Now they just have to smoke him out.
Drop down to fight your first Shaydas. These are extremely hard to kill and do a ton of damage, so you should avoid them at all costs, though you cant here.
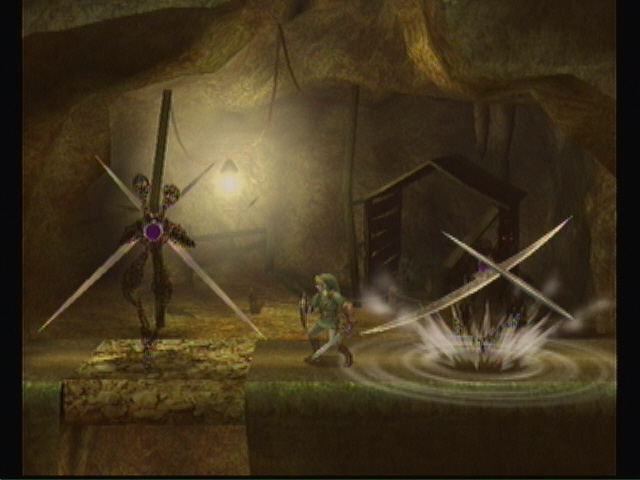 No fair! You have bigger swords! |
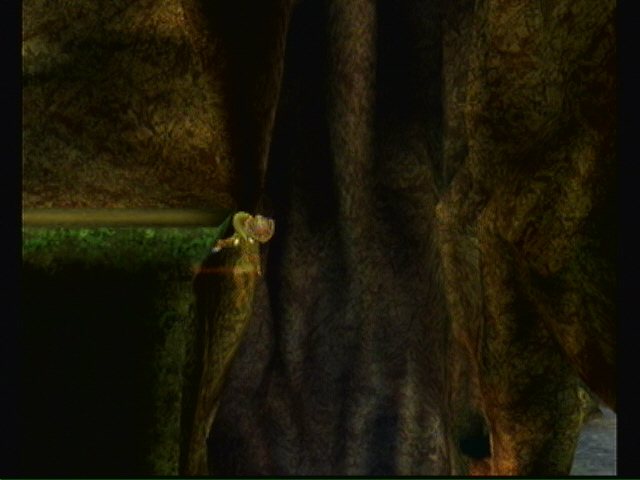
Once they are gone, a hole in the floor appears. Drop down to the mine cart below. Jump out on the warning sign. There’s an item box (2) above the tunnel you just came out of, and a Feyesh in this tunnel. Keep moving up. At the top, triple jump to the left to reach a hidden platform. Ignore the Shaydas and destroy the blocks to enter a door.
 Secret, Yellow Box #18 | 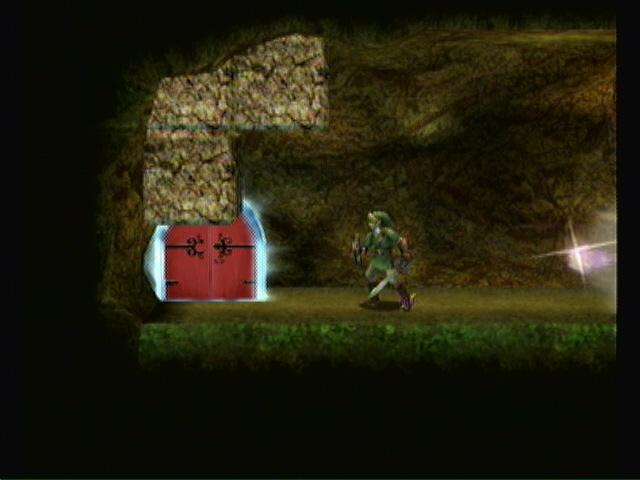 A closer look. |
Everyones favorite: secret time! Jump across the water to get your boxes (3) (4)
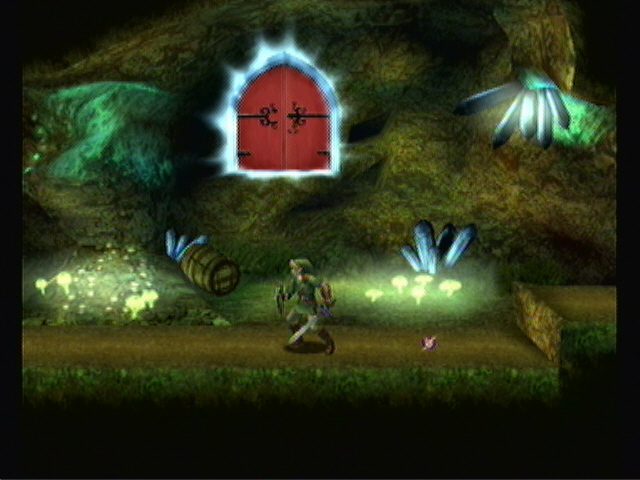
Move quickly through the red hot pillars in this tunnel. But be careful, contact of any kind will damage you. Grab the key at the end and use it on the top door (the other two are just traps).
 Traps 1 and 2. |
Down the hall and kill the Shaydas. A door will appear.
 Secret, Yellow Box #19 |
Secret again. One directly across from you and one in the top right.
(5) (6).
Ignore the Shaydas this time and move right, blowing up the blocks as you go. Drop down and destroy the next set. One last time, only now move quickly so as to not fall on the spikes.
Now you are pressed into combat with some Feyesh and Ticken. In the end three Shaydas appear. Attack them hard and fast at the same time. Don’t let them separate, as they will attack you from multiple angles at once. Enter the door. Grab your boxes (5) (6) and finish the level.
 Yellow Box #20 |
End of Level!
Cheats, hints, walkthrough index
No comments yet. Tell us what you think to be the first.