2 - SkyWorld
Super Smash Bros Brawl Walkthrough and Guide
by SPV999
Super Smash Bros Walkthrough
Level 2: SkyWorld
Enemies: Primid, Spaak, Boom Primid, Glunder.
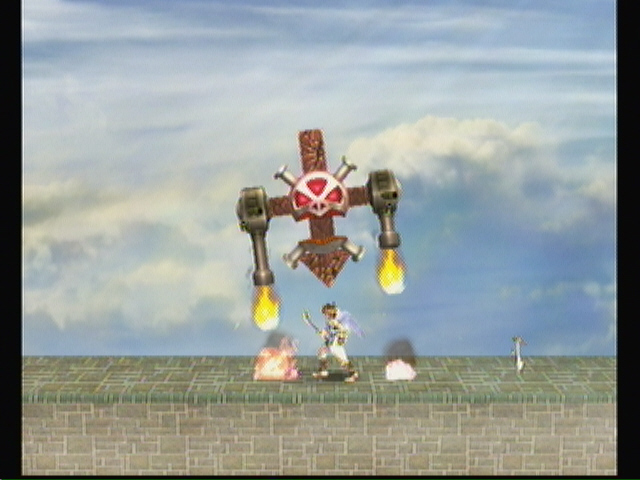
Boss: Roturret.
Boxes: 6
Story Note
Palutena gives Pit her bow, and her blessing to go help.
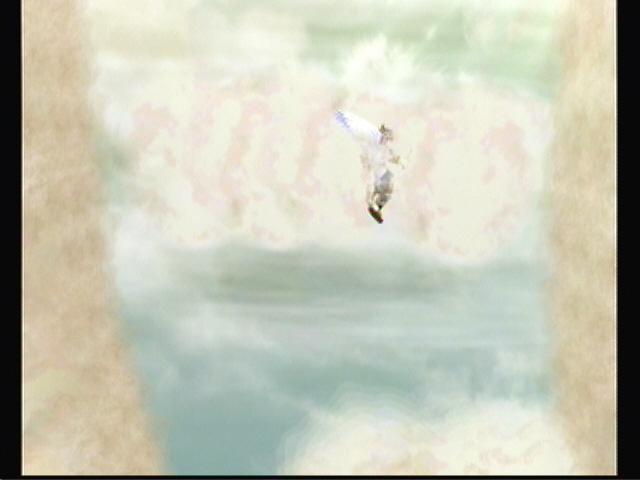
Wheeee~
You have one stock as Pit, make the most of it. Nothing to worry about on the way down. When you hit ground, there is an item box (1) under you, and one just to your left (2). Go down till you hit solid cloud. Down the road and jump to the ledge. Open the item box to advance. Go through the door.
Story Note
Pit sees the Halberd, and the Halberd sees him, greeting Pit with a fresh batch of Primid (just like Grandma used to make).
Fight a small wave of Primid to open a platform on the right. Advance to find a Spaak. Just above the second Spaak is a box (3). One final Spaak and a Primid await in this area. Keep it up right and trample a Boom Primid.
Two more Primid along the path. A Cycmle guards an item box. Carefully fly under it and grab the box (4). Keep going till you find your first Greap. Greaps are easier then they may seem. Just attack them from one side, then just as they turn to face you, dodge to the other side. A door appears after the fight.
Not good...
Story Note
Pit finds Mario, turns him back to normal, and relays all that’s happened since he was knocked out.
Choose your character. Pit has an advantage, being his home turf, but it really doesn’t matter. You now have three lives.
Six glunders patrol this area, so keep a sharp eye out. Drop down till you’re on the purple platform.
Here you’ll find you first Jyk. Since you cant kill them, you’ll just have to go over. Cross the moving platforms. There is a Spaak, Boom Primid, and Glunder on the top platform. More to the right, there is a Jyk blocking the upper path, as well as three Spaaks. A Boom Primid, Primid, and Glunder on the lower path.
Payback.
Across the gap sits a Boom Primid on a platform, and a Spaak on the other side. Take them out with one motion. There are some pillars that will raise and lower in this section. Keep an eye on the third one and wait for it to lower. This gives you access to a secret area.
Secret, Yellow Box #1
In here, grab the first item box (5), then move up with the camera for your second (6). Drop back and exit.
They set up quite the trap ahead. A Spaak in the air, two Glunders on the platform, and a Boom Primid on the other side. Looks like they didn’t anticipate you having a projectile attack. Use it to take out Glunders. The other two fall quickly.
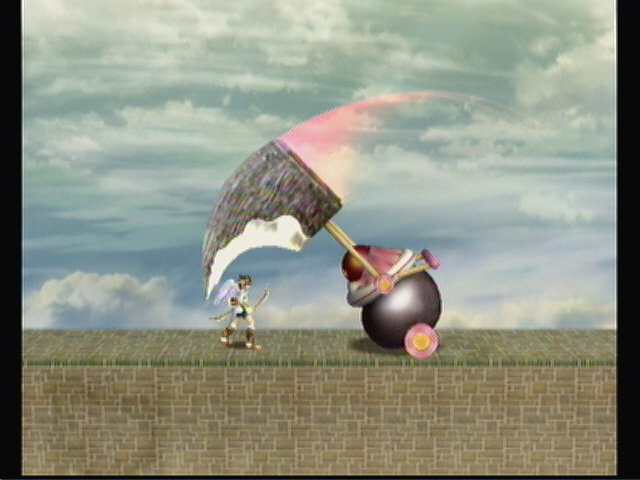
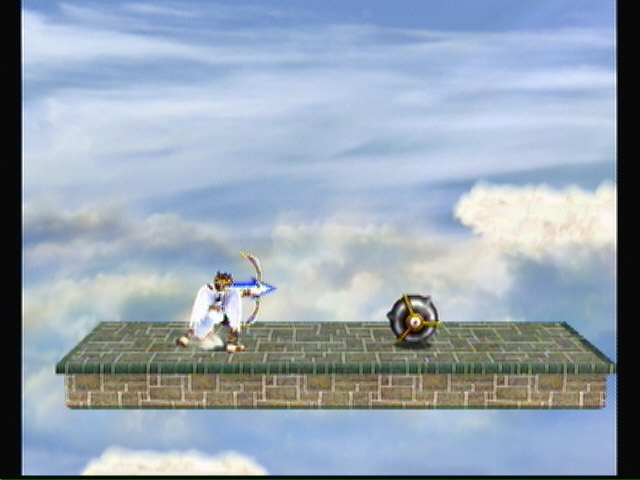
You’ll get caught in a battle with some Primids, Boom Primids, and a Spaak. After they are gone, you’re first Roturret appears. Constantly attack the Roturret to keep it from firing.
Ha ha.
Just up ahead is your first launch pad. Get in the habit of dodging these, as later they only bring trouble (launching you into spikes, pits, back the way you came, ect.). You can use this one to quickly reach the door, however.
End of Level!
Cheats, hints, walkthrough index
How do i get past the first door?!?!?! Its not workin ARGH
How do I get past the first door
LOL a fresh batch of primid just like grandma used to make xD
how do I get past the first door