Enemy Bios (A-K)
Super Smash Bros Brawl Walkthrough and Guide
by SPV999
Super Smash Bros Brawl
Enemy Bios (A-K)
 The Ancient Minister wants YOU! Join the Subspace Army today! |
Knowing is half the battle. Here you will find detailed descriptions of enemies, where to find them, and how to beat them! Bosses are not listed, however.
Where the Subspace Army came from, we don't know. How they where drafted to fight, we also don't know. The above picture is the Subspace Army's symbol. Slight variations in color are present in different enemies, however all Subspace minions wear this symbol somewhere. The exceptions again are the boss, or I guess they could be seen as “Generals”.
Most of the Subspace Army is also taken from out of left field. Most of them have never been seen in any game before. You'll recognize a few though.
When increasing difficulty levels in Adventure mode, the number, size, power, ect., of enemies doesn't increase, the difference is the launch percentage. When playing on Easy, you can walk around with 200% damage and not have to worry. On Intense, you'd be lucky to make it to even 20% damage before losing a life.
Also, I'll get this out of the way so I don't have to repeat it in all the sections: ALL OF THE ENEMIES ARE EXTREAMALLY ANNOYING! NO EXCEPTIONS! There, I said it. It's true, and you know it.
Layout is pretty simple:
(name)
[pictue]
Threat level: (1-10, ten being instant kill)
Damage level: (1-10, 1 being hardly any damage done per attack)
Launch level: (1-10, 10 being sends you flying instantly)
Attacks:
(Description of attacks)
Weak point: (A place where, if it, they take extra damage)
Overview and strategy:
(General overview of the enemy, and how to defeat them)
Well then, lets get started. They are listed in alphabetical order.
Armight
 Armight |
Threat level: 7
Damage level: 6
Launch level: 6
Attacks:
Throws both of it's swords
Double slash with both swords
Weak point: None.
Overview and strategy:
They'll fly around, making them hard to hit, and their swords generally reach farther then most other characters weapons. Since they can throw their swords as well, it makes them deadly even when not on screen. They are too strong to use projectiles to take them out, so you'll just have to rush them and hope for the best.
Name is a mashing together of “Armored Knight”.
Armtank
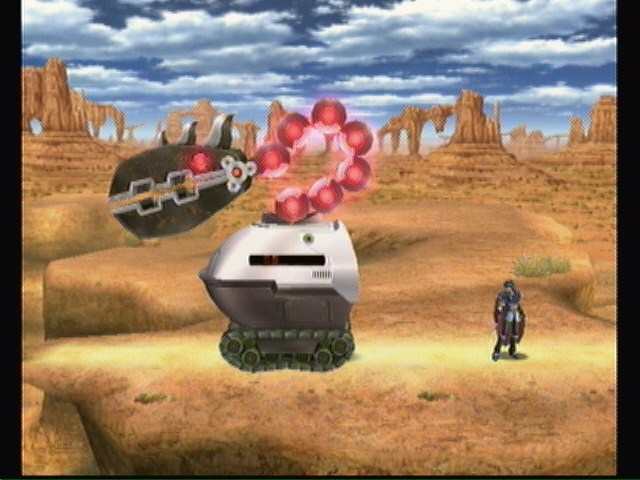 Armtank |
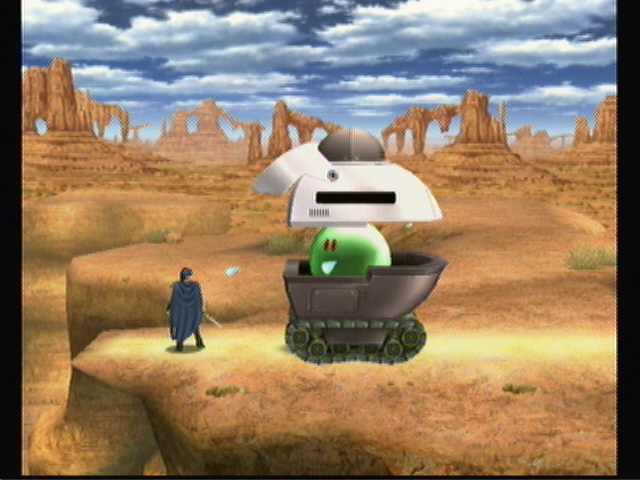 Armtank pilot |
Threat level: 3
Damage level: 7
Launch level: 7
Attacks:
Thrashes its arm about
Can ram you
Weak point: The pilot
Overview and strategy:
An Armtank is invulnerable when the top is down. However, take out the flaming arm to open the top and get at the pilot on the inside. Once the top is open, don't let anything distract you for attacking the inside. He'll fall after just a few strikes. The arm can be hard to hit, however, and if you're near it for too long you may get burned. If you stay on the ground, it will have trouble hitting you, though you'll also have trouble hitting it.
Auroros
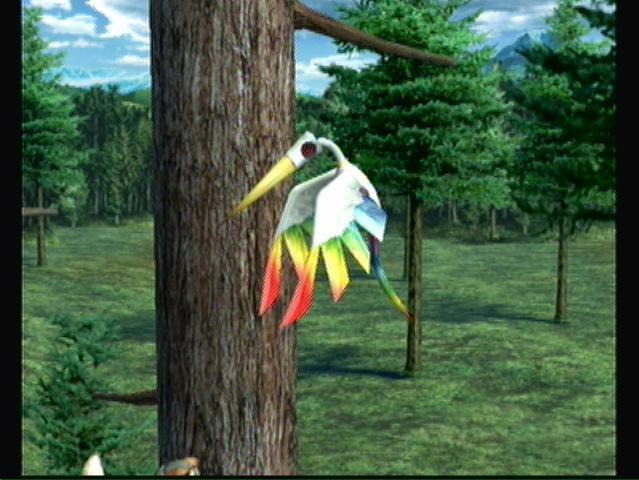 Auroros |
Threat level: 4
Damage level: 3
Launch level: 5
Dive bombs you from above
Found in:
Weak point: You can pick them up and throw them when their beak is stuck in the ground.
Overview and strategy:
They rarely lead to a KO, but they are placed ever so perfectly as to hit you when you aren't looking. Often they'll hover just out of site. If you can get up high enough, take them out when they are in the air. If not, dodge it's beak attack then pick it up and throw it at another enemy.
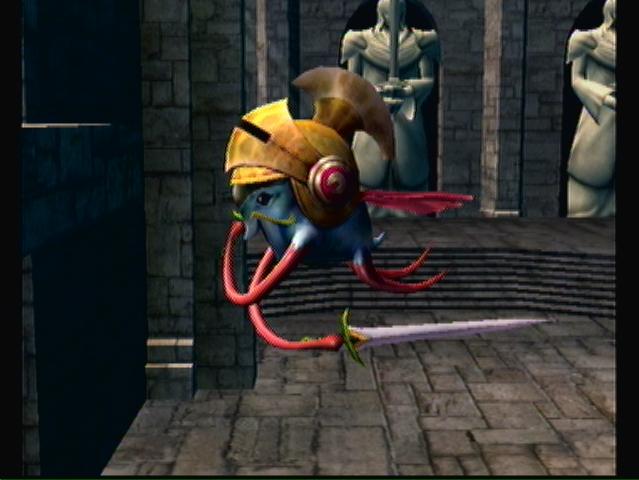
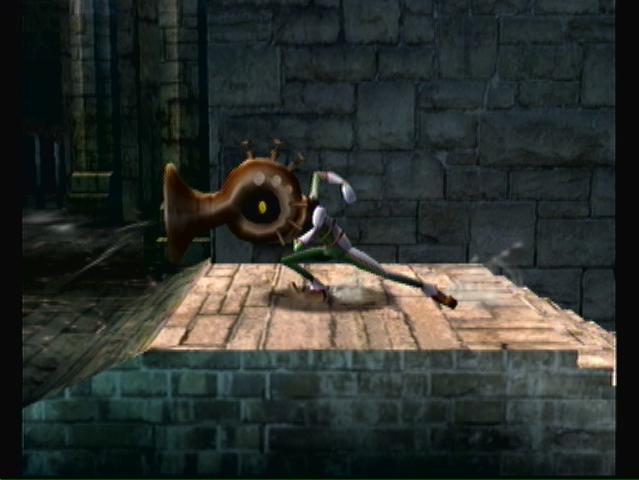
Autolance
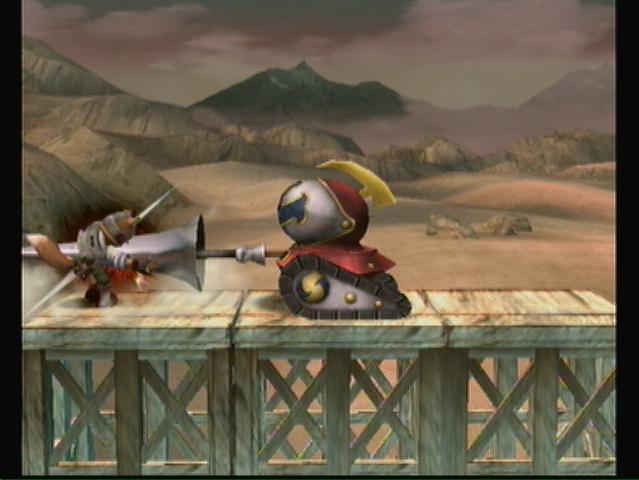 Autolance |
Threat level: 7
Damage level: 8
Launch level: 7
Attacks:
A large lance comes out of the front and is either thrusted upward or thrown at you
Weak point: The yellow light under it's helmet.
Overview and strategy:
It's pretty slow moving, but it's lance has a large range. Use an upward attack or a downward aerial attack to take off it's helmet, revealing it's only weak point: The bright yellow light.
Big Primid
 Big Primid |
Threat level: 6
Damage level: 9
Launch level: 9
Attacks:
A rapid series of bunches (like Kirby)
A massive punch (like Captain Falcon)
Weak point: None.
Overview and strategy:
Don't let his size and damage/launch levels fool you, they are quite easy. It's punches take a long time to wind up, and often overshoot their target. Now, if it DOES manage to land a blow, they hurt! Stay in close and wail on it till it goes down.
Bombed
 Bombed |
Threat level: 7
Damage level: 8
Launch level: 3
Attacks:
Takes off it's head and throws it at you.
Weak point: none.
Overview and strategy:
It's head is a bomb that grows back in a few seconds. Don't attack them when they have their head on, or else the bomb will blow up in your face. Wait for them to throw it, dodge the throw, then rush them. They will run away till their head grows back, which can be a good thing as they often run off into pits.
Boom Primid
 Boom Primid |
Threat level: 5
Damage level: 5
Launch level: 4
Attacks:
Throws it's boomerang at you.
Bashes you up close with the boomerang
Weak point: None.
Overview and strategy:
Dodge the boomerang and get in close to attack. Neither of it's attacks do much damage, so don't worry about them too much. Remember that boomerangs return to the sender, so dodge the comeback as well. If you kill them before the boomerang comes back, it will disappear as well.
“Boom” is obviously short for “Boomerang”.
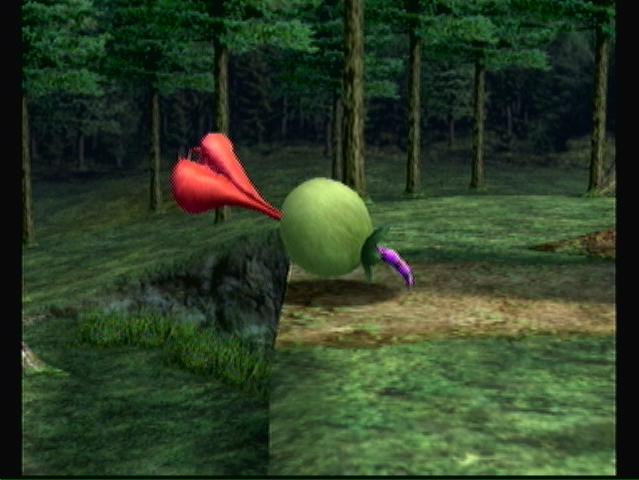
Borboras
 Borboras |
Threat level: 1
Damage level: 1
Launch level: 1
Attacks:
Blows jets of wind, forcing you away.
Head butts you up close.
Weak point: None.
Overview and strategy:
Not an offensive enemy, it's goal is normally just to slow you down or push you into a trap. It can hit you up close, but that's rare. Jumping over them avoids the jet stream they create, and opens them for an aerial attack. They also love music, and are often found dancing before you interrupt.
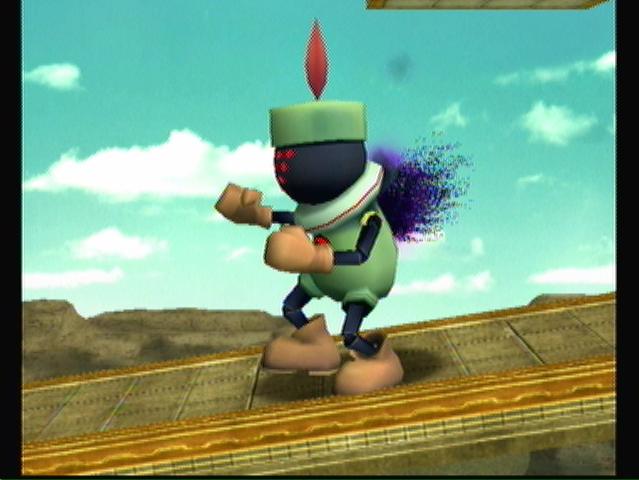
Bucculus
 Bucculus in hiding |
 Bucculus above ground |
Threat level: 3
Damage level: 7
Launch level: 1
Attacks:
Jumps up from the ground and sucks out your energy.
Weak point: None.
Overview and strategy:
Watch for it's lips on the ground. Get to close and it will jump up and suck out some energy. The good thing here is, once it sucks some out, it will detach and flail around on the ground a bit. If you can kill it before it re-buries itself, you get a tomato, healing the damage it did and then some!
Buckot
 Buckot |
Threat level: 3
Damage level: 6
Launch level: 1
Attacks:
Dumps molten shaft on you.
Weak point: None.
Overview and strategy:
They will fly overhead, usually just off screen, and dump molten metal on you. Very painful, but not life threatening. Don't attack them from underneath, they'll simply unload on you when you jump up. Instead, take them from the side. Beware, if you don't take them out, they will follow you to the next door.
It's name is a misspelling of Bucket.
Bullet Bill
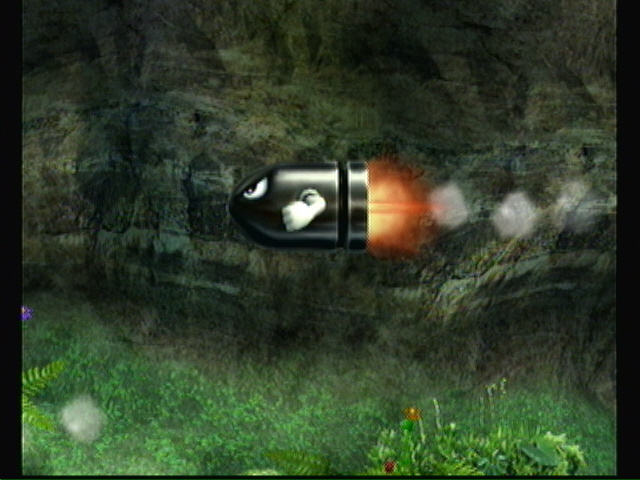 Bullet Bill |
Threat level: 5
Damage level: 6
Launch level: 3
Attacks:
Flies in and rams you
Weak point: The back of it.
Overview and strategy:
Fired in from across the stage, they act like missiles with eyes. If you see one spinning, that one will hone in on you, so watch out. Reflectors work well against them. Other then that, just dodge them as they come. They blow up on impact, causing impact and fire damage.
Strangely, you never see a Bullet Bill Launcher throughout the game, which begs the question, where are these coming from?
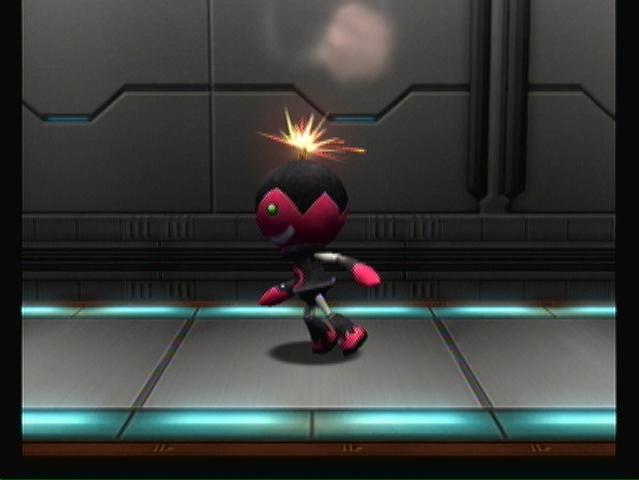
Bytan
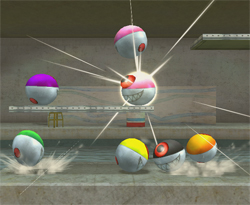 Bytan |
Threat level: 3
Damage level: 3
Launch level: 4
Attacks:
Rams you
Duplicates itself
Weak point: None.
Overview and strategy:
Found in many colors and often in groups, on their own they aren't much of a threat, but once they start multiplying they can become deadly in hurry. They will start to glow when they are ready to duplicate, so take them out before then. When they ram you they'll jump up into the air.
Watch out for the giant sized Bytan as well. They share the same traits, but are less likely to duplicate.
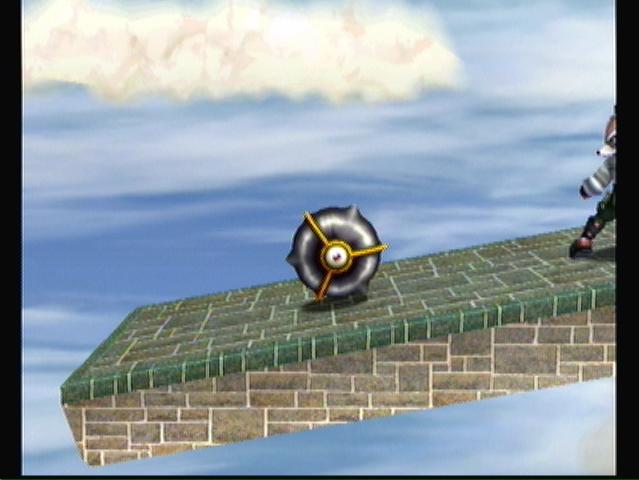
Cymul
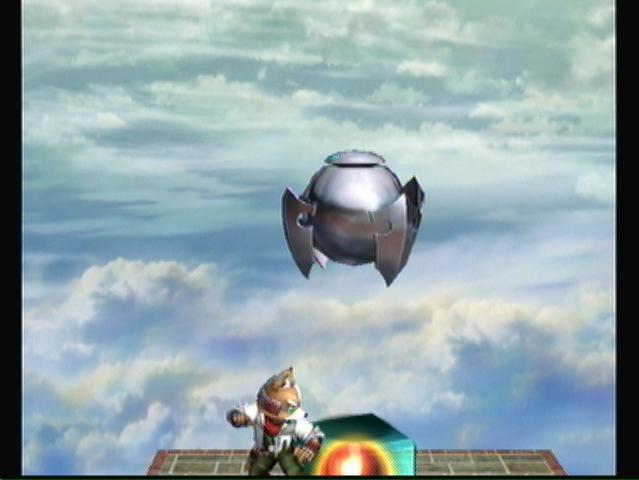 Cymul |
Threat level: 7
Damage level: 8
Launch level: 6
Attacks:
Extends it's blades and spins rapidly
Weak point: Underside or top.
Overview and strategy:
Cymuls aren't offensive, they normally just guard things and get in your way. If you get too close, they will extent four razor sharp blades and start spinning them rapidly, causing massive damage and can send you flying at the end. They also have a special coating that reflects projectiles, so either just dodge them or hit them from underneath.
Feyesh
 Feyesh |
Threat level: 6
Damage level: 5
Launch level: 5
Attacks:
Swings its tentacles, causes electrical damage.
Weak point: None.
Overview and strategy:
Another flying enemy. They often attack in groups. They aren't that fast, but they can disable you for a moment with their electrified tentacles, making you easy pray for anther enemy.
Name is pronounced like “Fish”.
Fire Primid
 Fire Primid |
Threat level: 5
Damage level: 7
Launch level: 4
Attacks:
Spits fireballs
Belches flames
Weak point: None.
Overview and strategy:
Fire Primid are an all-round primid. They can attack from a distance with fireballs or if you get in close can belch flames for massive damage. The later is rare though, so rush in and take them out as soon as possible. The fireballs wont travel far either, and they are slow and easy to dodge.
Floow
 Floow |
Threat level: 8
Damage level: 10
Launch level: 3
Attacks:
Screeches and unleashes evil spirit like things.
Weak point: None
Overview and strategy:
Floow cant attack till their HP reaches it's max. It will slowly rise on its own, but if you hit them it will rise faster. When you hit them, they will be stunned till their HP reaches max. Take that opportunity to finish them off. Alone they are harmless, but they often travel in groups.
When they attack, they screech and release this strange fog with eyes. If you get caught in this, you'll take MASSIVE damage, and they will release it without warning and very quickly. If you get caught up in three or four Floow, they can easily cause 200 damage in no time.
Gagogog
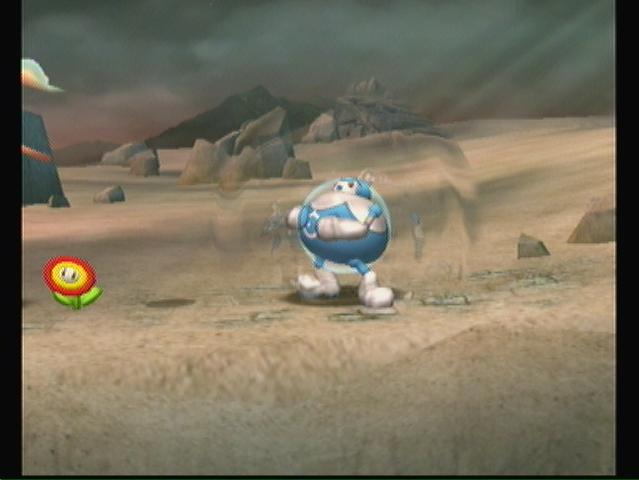 Blue |
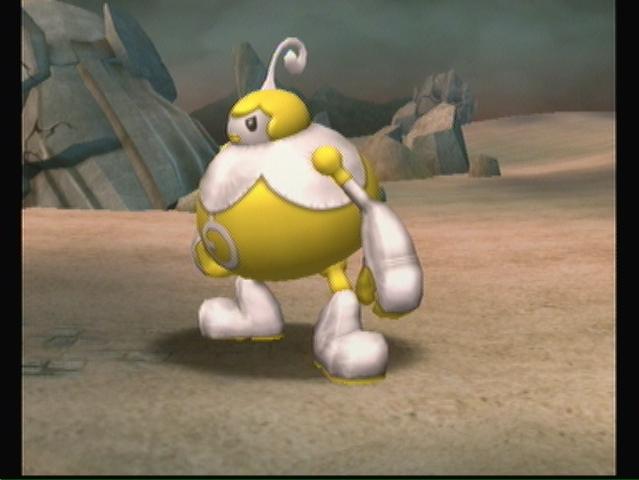 Yellow |
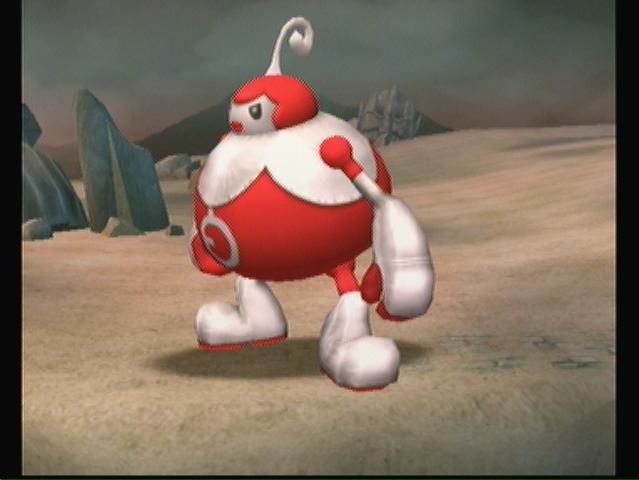 Red |
Threat level: 8
Damage level: 8
Launch level: 8
Attacks:
Slams it's fists into the ground
Body slams you
Weak point: None.
Overview and strategy:
When attacked, if you don't follow up quickly, it will growl and emit waves for a second, then grow to it's next state (blue to yellow, then to red). While this is happening, it's invincible. Try to take it out while it's blue. If you cant, prepare for a hurting because its red form is very deadly. All its forms are slow though, so use some speed and get behind it.
“Gagogog” is the sound it makes when changing forms.
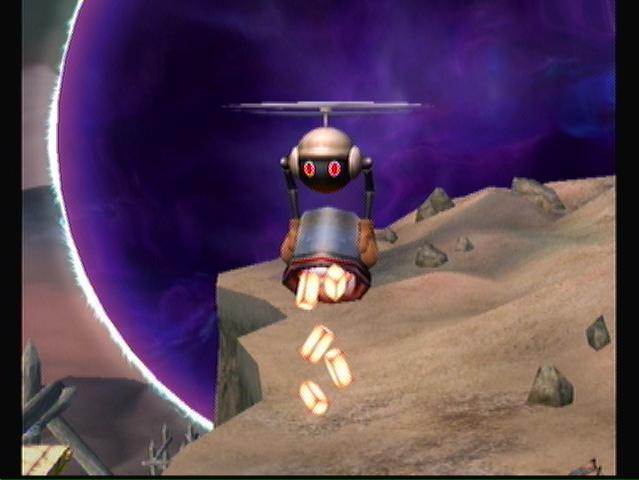
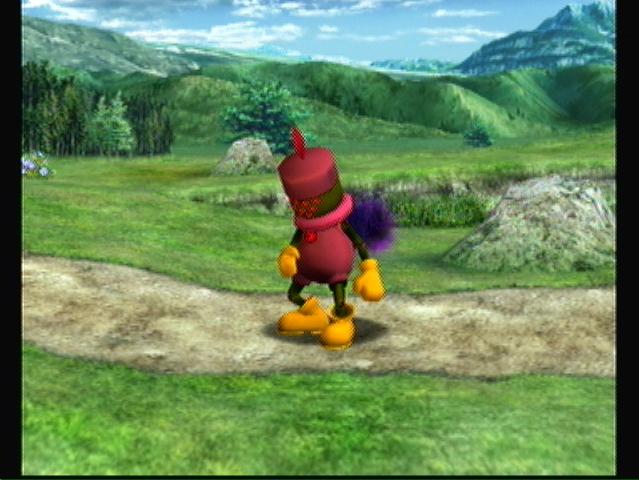
Gamyga
 Gamyga |
Threat level: 4
Damage level: 6
Launch level: 3
Attacks:
Fires lasers at you
Weak point: Head
Overview and strategy:
Don't bother attaching the base, that will only lower it down a bit. Focus your attacks on it's head. Watch for the lasers it fires from it's eyes, they often come without much warning. Not much of a threat, but there are only a few characters that can easily get over it to continue their journey.
Glice, Glire, Glunder
 Glice |
 Glire |
 Glunder |
Threat level: 7
Damage level: 7
Launch level: 5
Attacks:
Opens up and releases an elemental surge around it
Weak point: None.
Overview and strategy:
They stick to wall and roll around them. If you get too close, they will open their shell and release either ice (Glice) freezing you, fire (Glire) burning you, or electricity (Glunder) shocking and paralyzing you. Pretty much just don't get too close to them, or destroy them before they open.
Glice adds a “Gl” in front of the element, Glire replaces the first letter of the element with “Gl” and Glunder replaces the first two letters with “Gl”
Goomba
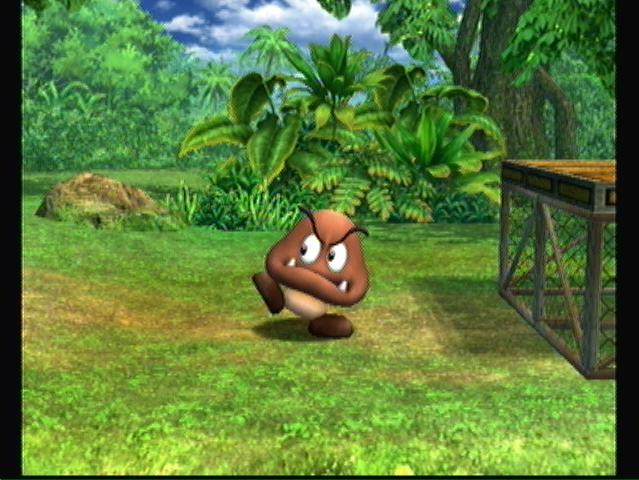 Goomba |
Threat level: 1
Damage level: 1
Launch level: 1
Attacks:
Rams you
Weak point: Jumping on it.
Overview and strategy:
Typical Goomba. One shot will kill it, don't let it run into you, and jumping on it will also kill it.
Greap
 Greap |
Threat level: 6
Damage level: 9
Launch level: 9
Attacks:
Jumps up and spins it's blades in a circle
Slams it's blades down on you
Weak point: Head
Overview and strategy:
If it hits you, it will hurt... a lot. But it is very slow. Just wait for it to get right up next to you, then dodge to the other side. It's blades will get stuck in the ground, then alls you have to do is jump up and hits its head a few times.
“Greap” is probably based on “Reap” or “Reaper,” “reaping” the fields used to be done with huge scythes, like the ones he carries.
Hammer Bro.
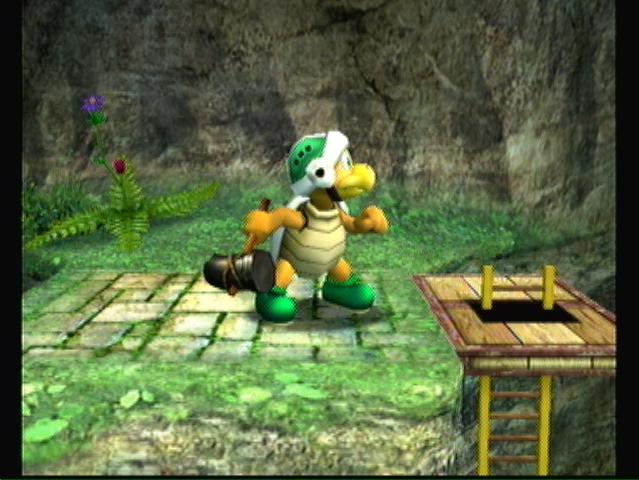 Hammer Bro. |
Threat level: 6
Damage level: 6
Launch level: 3
Attacks:
Throws hammers
Weak point: None.
Overview and strategy:
Throws hammers in random arcs, aiming for you. The hammers can be reflected. Dodge the hammers and get in close for quick strike. Just like in the old games, you cant kill it by jumping on it.
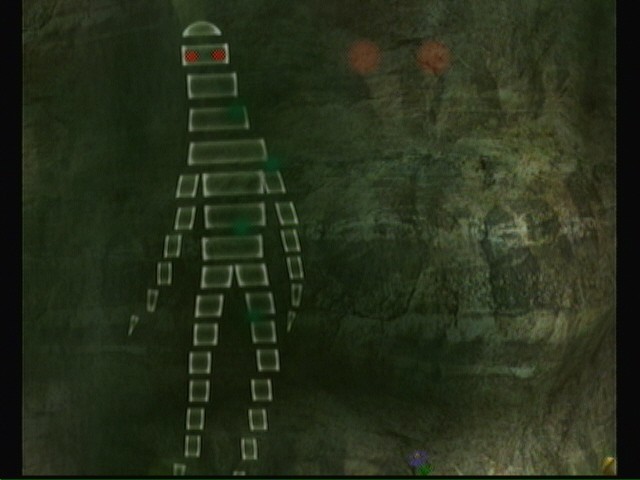
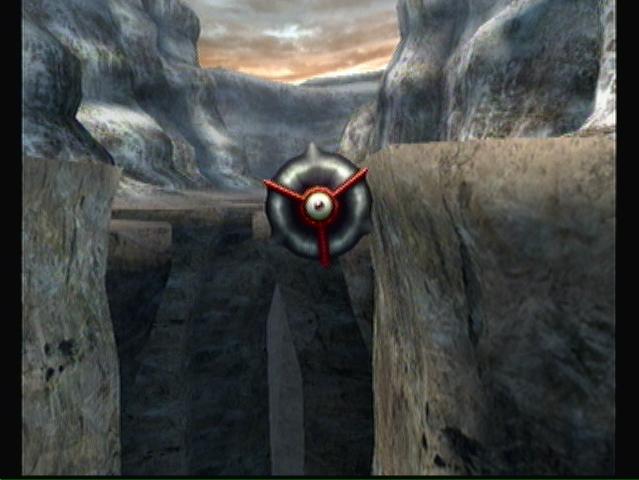
Jyk
 Jyk |
Threat level: 1
Damage level: 1
Launch level: 1
Attacks:
Nothing.
Weak point: None.
Overview and strategy:
Jyks are invulnerable to attack and can reflect projectiles. They're more of a moving obstacle then an enemy. They don't target you move in pre-determined patterns. They come in two varieties: Electrical and Flaming.
Cheats, hints, walkthrough index
Im just saying if you do this add mare and puttets poppants ewhich have the big pants mites robs spaaks roturetts beta enemies and other jazz like thats so add those
It's funny, 'cause you guys are all forgetting that this is A-K. M-Z is the VERY NEXT google result. :/
You also forgot those mines that explode when you go near them
or that weird penguin that runs away from you and drops things on you.
Also that metal chicken ticker, those shadow guys with blades,
Those shelled beetles that run at you, or the ram that gets angry when woken up,
Or the metal pyrmid, or the mites, or those rotationg stationary guns that shoot fireballs at you,
Or those creepy floating puppets, or all the ROB's.
Whoever wrote this enemy guide did a crap job
you forgot koopa troopa and im pretty sure they had glover as an enemy
These are the enemies A-K. robs and spaaks aren't here.
You forgot the Spaak, A cloud with a face and one hit on it and it turns black and its angry! You forgot that!
you forgot some robs