Robot Wars: Man Vs. Machine

Like Minds
Head to the marked location to meet up with Ray. After the scene, the mission will be complete.
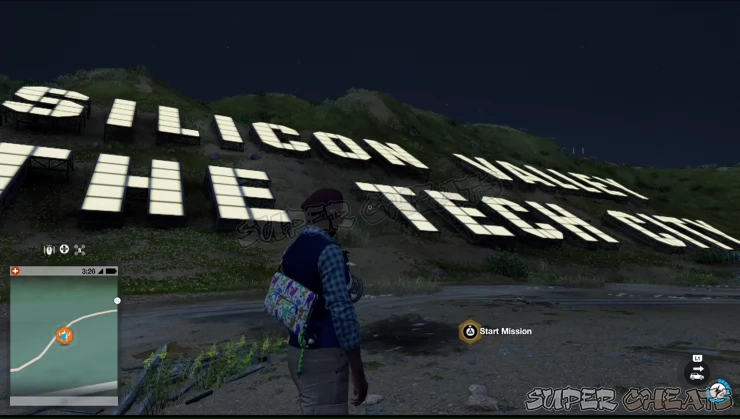

Man Vs. Machine
+464000 Followers
Head to the marked location to start the mission. You’ll be remotely controlling Wrench Jr. It doesn’t have a jump function or access the stairs so you’ll have to control it along the assembly line. There will be obstacles along the path so you have to remotely toggle the assembly line controls to open up the path for Wrench Jr. You need to open NetHack to find the controls connected to the assembly blockades. For the first blockade, the controls is found in the ledge above the assembly line ahead. You have to hack the camera in the corner of the room to get a view of the controls. Activate it then move forward.
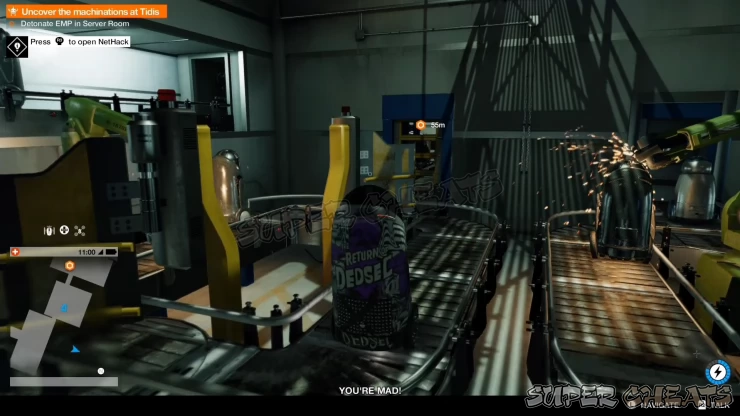
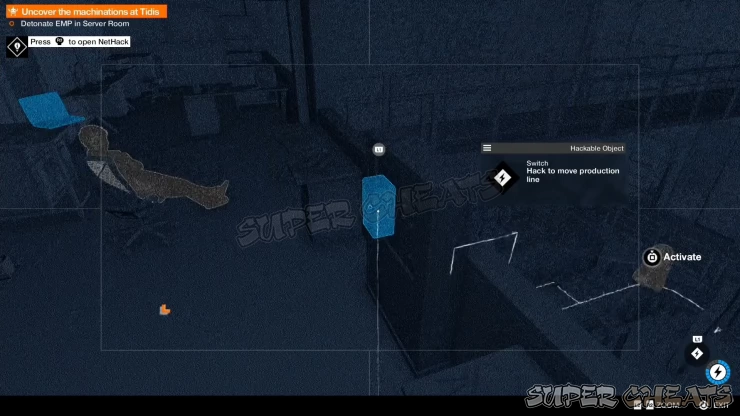
Continue along the line and you’ll encounter the first blocked ramp. The controls you have to access is found in the northern platform of the room. Enter NetHack view and find the camera in that direction to find the controls. Return to Wrench Jr then go up the ramp and stay in the rotating plate. Now activate the control nearby to rotate the same plate.
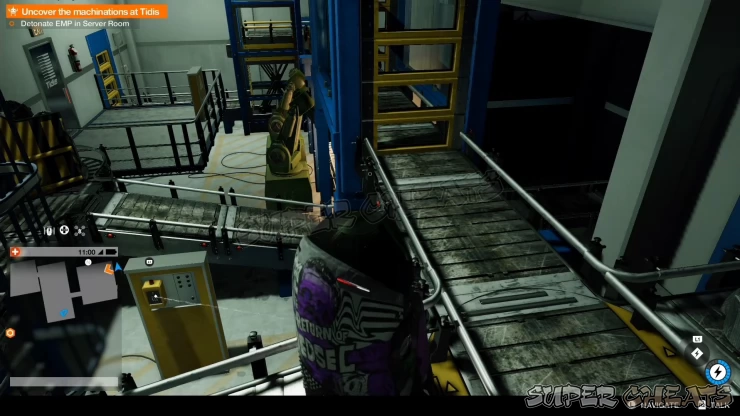
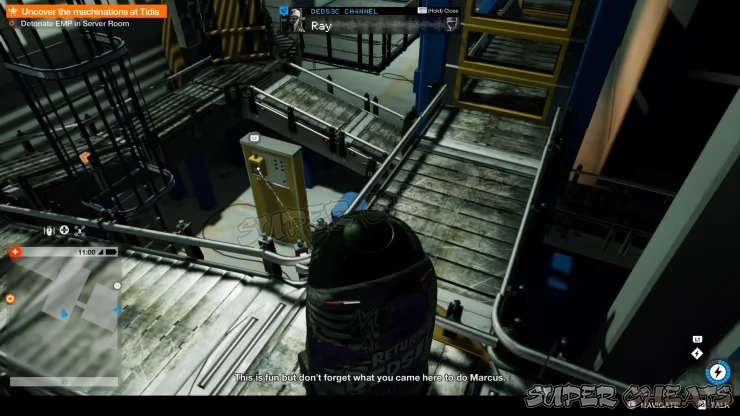
Continue through the next two assembly gates then drop down. Continue forth and follow the path until you reach another rotating plate. Activate the controls to the left then continue forth but don’t stop on the same plate as the blockade ahead of you. Activate the same controls you used seconds ago to clear the path.
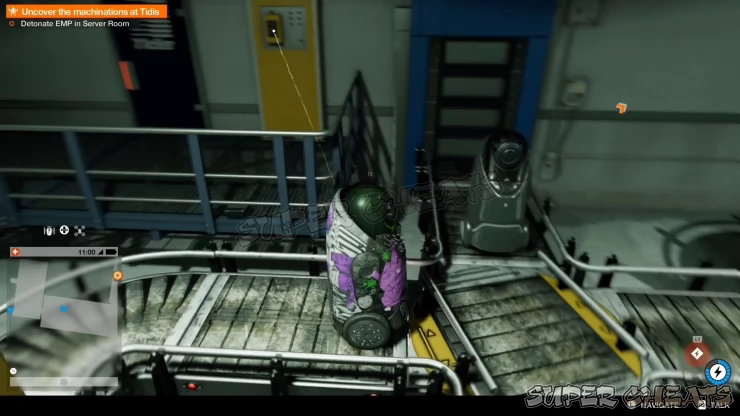
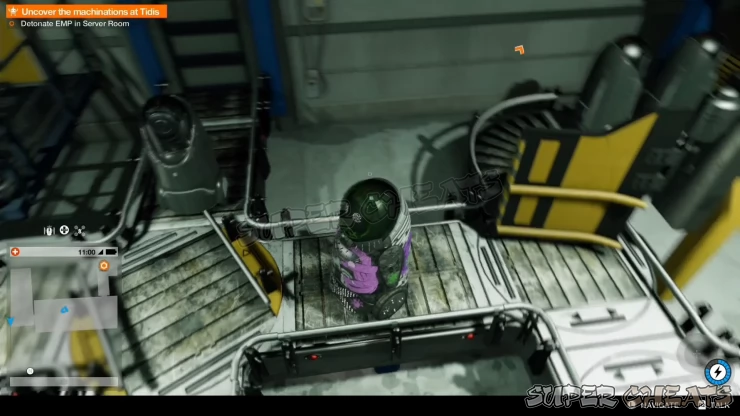
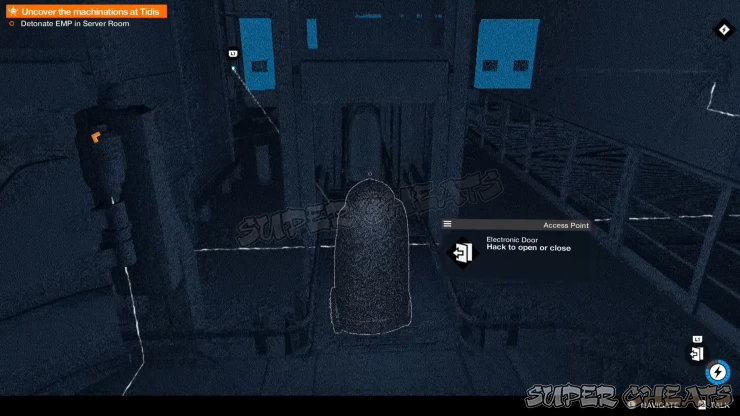
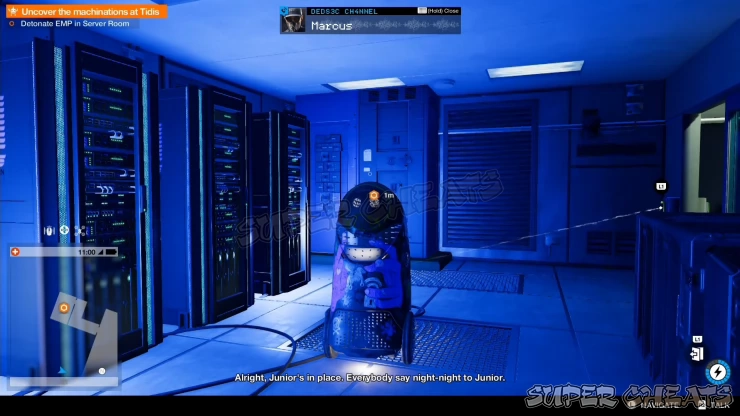
Continue forth to the end of the assembly line and step on the lift. Activate the controls to the right to raise the lift with Wrench Jr on board then drop on the floor. Open the electronic door and proceed to the server room. Once inside, activate the EMP to complete the objective.
Next, you have to infiltrate the Tidis building and download the project files from the server. The lobby is already restricted so it will be better to scout with your quadcopter inside to tag the guards. There’s at least two roving guards at a time and the path leading to the server room is through a doorway with a stationary guard. There’s a nearby junction box that you can activate so you can either draw the attention of the guard standing by the door or knock out one of the roving guards to get his attention. The stairs leading to the corridor is also part of one of the other roving guards’ route so you can sneak behind the counter and take him out while he’s on the ground.
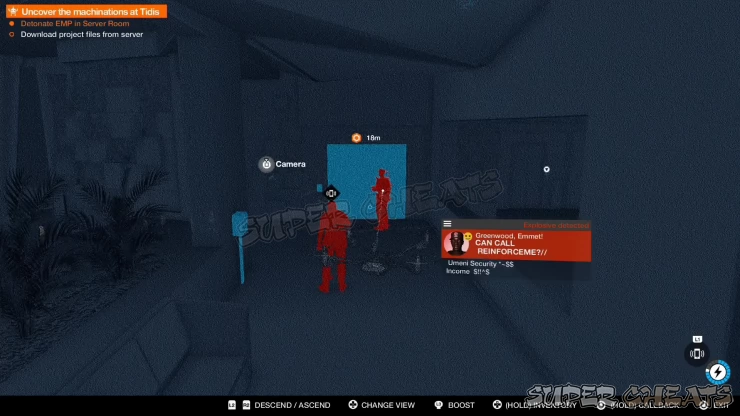
Another alternate route is by hacking the CCT in the corner of the lobby and climbing the planters beside it. This will give you access to the small office in the second floor where you’ll have good cover and approach to perform stealth takedowns on the guards by the corridor. Whatever methods you decide use at this point, you’ll have to take care of the guards one way or another.
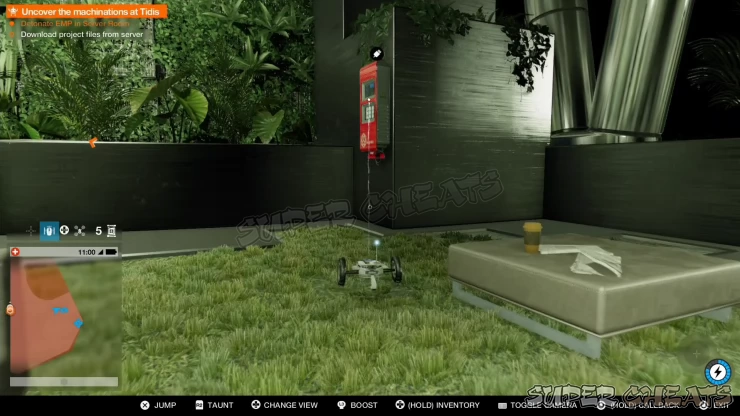
After clearing the first set of guards, enter the door and go upstairs. There’s a short narrow passageway leading to the Technology Wing building where the servers are located. Carefully head there and take cover while deploying your jumper or quadcopter to scout the new area.
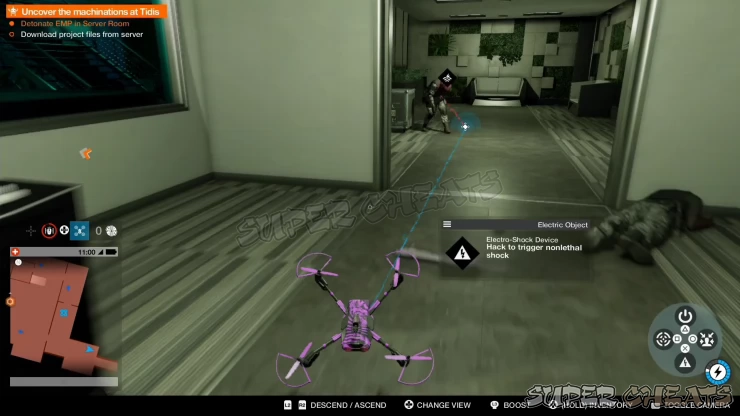
Once you have tagged the hostiles, you can now start wrecking havoc. If you have the skill to hack the sentry bot, you can have it ram nearby guards which will prompt them to destroy it, not after taking down a guard or two.The best path to take is the stairs leading to the second floor.
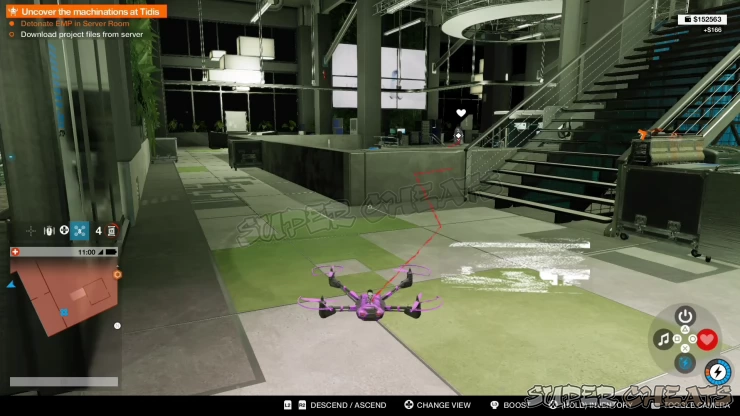
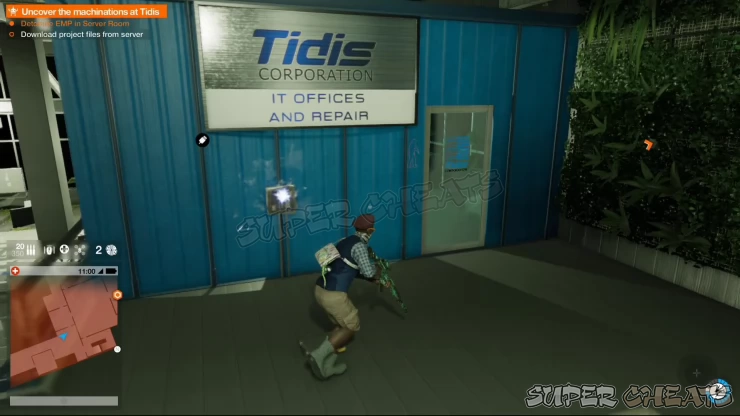
There are three doorways leading to the server room. The ones on both sides have motion sensors so unless you have the skill to turn them off temporarily, you’ll have to go through the middle. Locate the CCT inside the small room called IT Offices and Repair in the second floor. The CCT will unlock the electronic doors in the server room.
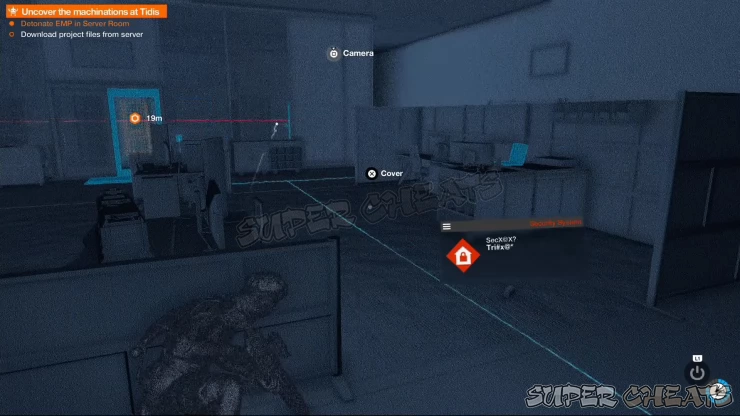
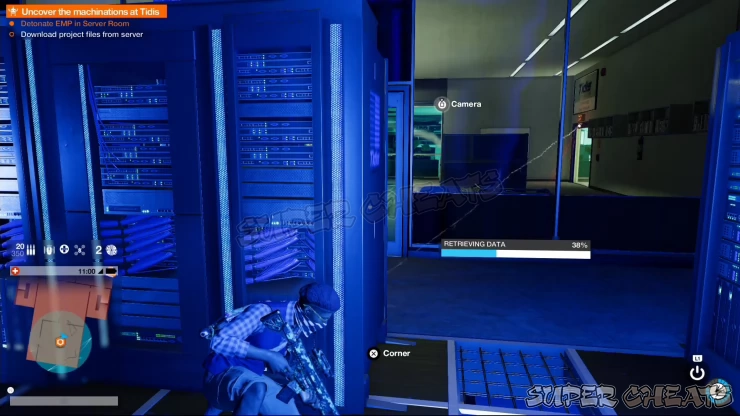
Head there and enter NetHack view to see the moving laser tripwires in the server room. They’re just moving up and down so you just need to get the proper timing of your entry. Interact with the server console and hold your position while the data is being downloaded. If you have eliminated all the guards in the room, then you don’t have to worry about them checking up your position while the download is in progress. The download speed is quite fast as well so you don’t have to wait for long.
Next, you have to find the elevator to reach the prototype labs. You can use any of the stairs on both sides of the server room to reach the main office where the elevator is located. Interact with the control pad. After reaching the prototype labs in Sublevel 6, you have to perform a network bypass first.
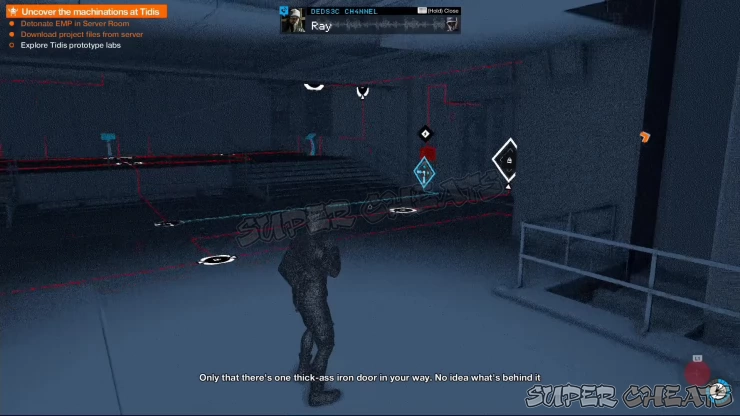
There are three viewing windows in the room that you have to open (using Marcus) in order to view the various prototypes and access the network nodes that are part of the local network you’re trying to solve. Refer to the video below for the network bypass solution.
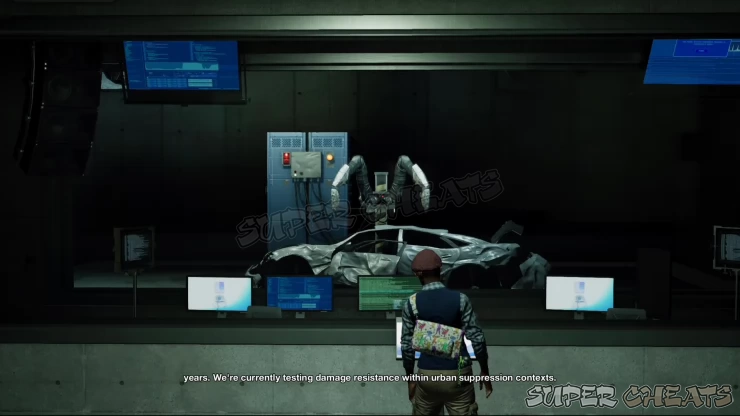

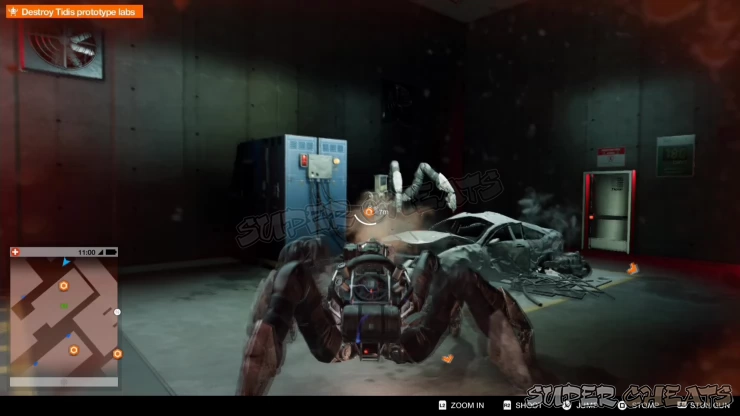
After completing the network bypass, you can now open the door where the completed prototype is located. Enter the control room to the right to take control of the heavily armed, spider-like drone prototype. Enter the testing area and start wrecking some havoc. You have to destroy the fire suppression pipes inside the red-marked ceiling and wall vents.
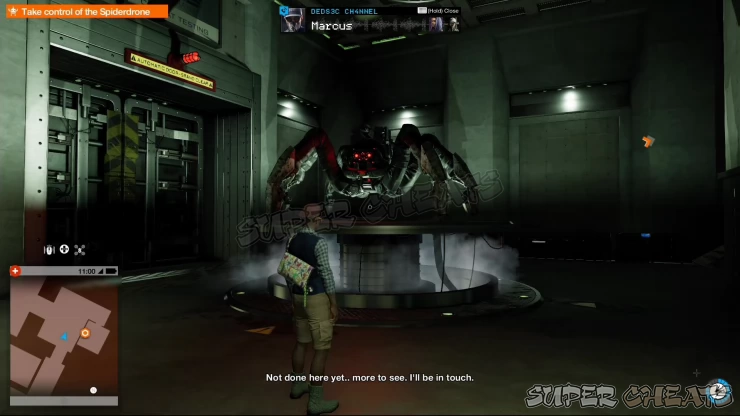
The spider drone can jump and climb on walls and ceilings with ease though it will surely induce headaches and motion sickness in the long run. To get a clear shot of the ceiling suppression systems, you may need to cling on the pillars near them. Tidis security will attempt to stop you and the drone will surely take damage. However, being armed with thick armor and a heavy machine gun will allow you to mow them down easily but they’ll just keep coming so don’t focus on getting rid of them all. Concentrate in getting rid of the marked targets in the testing area.
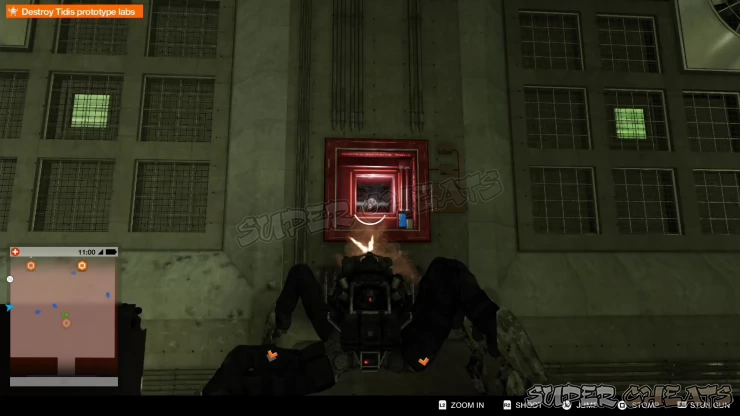
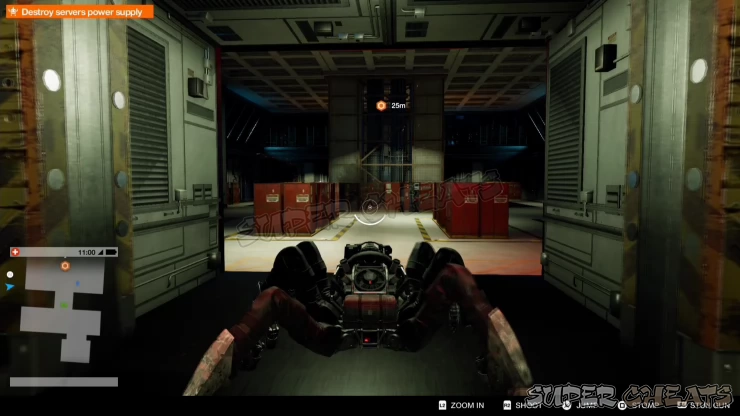
Once the fire suppression system is destroyed, follow the next markers which will take you to the prototype demo models. Follow the markers which will take you to a small corridor leading to the models' individual rooms. Destroy them all then follow the next mission marker to reach the servers power supply room. Head inside and shoot all of the red power supply cabinets until your mission objective gets updated. After accomplishing this mission, you’ll lose control of the drone and you’ll have to make your escape. Leave the area to complete the mission.

Anything missing from this guide?
ASK A QUESTION for Watch Dogs 2
Comments for Robot Wars: Man Vs. Machine
Add a comment
Please log in above or sign up for free to post comments- Basics
- Main Operations
- Side Operations
- ./Research App Upgrades
- Key Data Locations
- Scout X Locations
- Other Collectibles
- Online Operations
- Activities: Drive SF
- Trophies
 Join us on Discord
