Beginner's Guide (Part 1)
You’ve packed your bags and left the city, heading your way to escape the hustle and bustle. You have inherited the farm that your grandfather has pioneered in the past, and you must now bring it back to its glory. In Story of Seasons: Pioneers of Olive Town, you’ll start your journey as the new Resident and farmer.
There are a lot of things that you can do, so knowing which things to focus on when starting your farm life can be helpful. In this beginner’s guide, we’ll provide you with some tips and suggestions so you’ll know what you can focus on when starting out. In this first part of our guide, we’ll provide you the features and activities that you can do on your initial and second day.
Clear your Land
Upon arrival at Olive Town, you’ll notice that your motorcycle will end up damaged. Victor, the Mayor of Olive Town, comes to greet you and have it sent for repairs. Upon recognizing that you’re the grandchild of the former farmer, you’ll then be introduced to your farm. You’ll notice that the farm is in shambles since nature has reclaimed it after time has passed. On your first day, Victor will be providing your first set of tools that can help you clear your land.
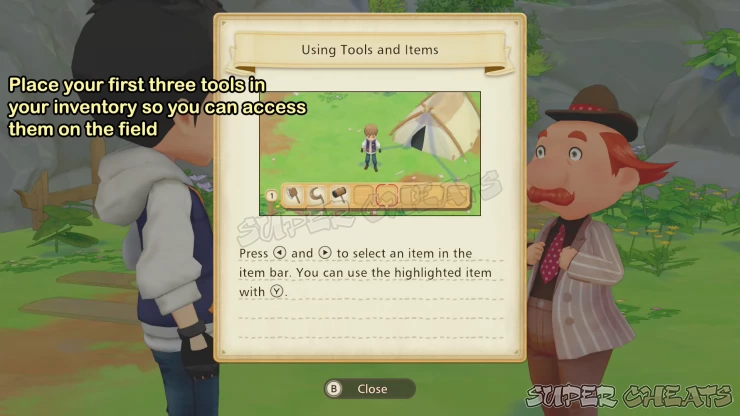
In order to use the tools, open your inventory and check the tool bag button. This is a mini pocket that you can place your tools so they do not take up space of your regular inventory all the time. You’ll be provided with three tools at the beginning so you can clear your land.
Use these tools to make space for your Crops to grow. It would be best for you to make a small clearing nearby your tent first by removing any Trees, stones, and grass that’s in the way. Be mindful of your stamina however, and always check the heart icons. You wouldn’t want to get too exhausted. It would be best for you to avoid clearing everything on the first day as well, since you’ll be needing some of them later.
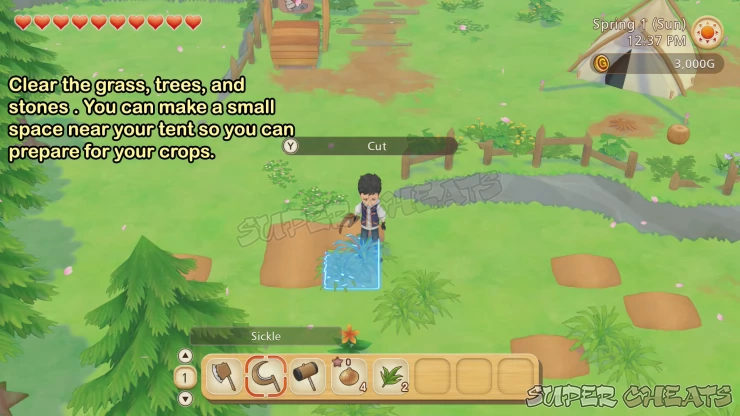
There will be instances as well where you’ll find wild Crops in your farm. Make sure to harvest them since you’ll need initial Income that you can put in your shipping bin. Items that are placed there get sold, and you’ll get your Money at the end of the day.
Plant your Crops
On your second day on the farm, Victor will come by once more in order to provide you with more tools. You’ll get your Hoe, a Watering Can, some seeds, and a well. These are all items that you’ll use in order to start planting and growing Crops. Most of your crops will be your basic source of Income by placing them in the shipping bin as well. Here are the tools that you can get, as well as their functions:
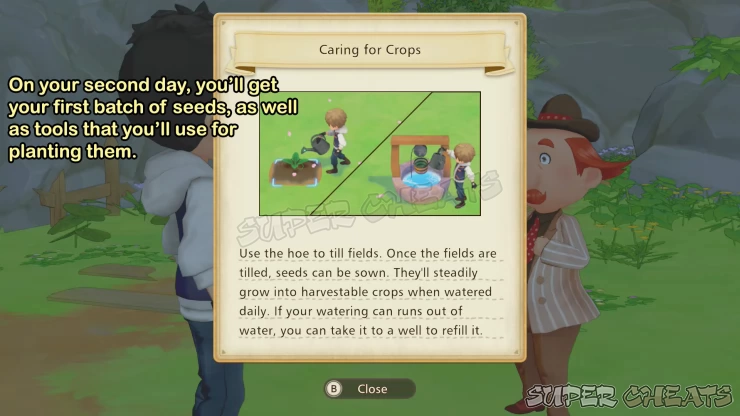
Place the Well on a Location that’s going to be near your Crops, this way you’ll be able to refill your Watering Can faster. You will then use your Hoe to till some land, so make a patch that can hold each seed that you have acquired. Take note that seedlings will need to be planted directly on the ground instead of tilled soil.
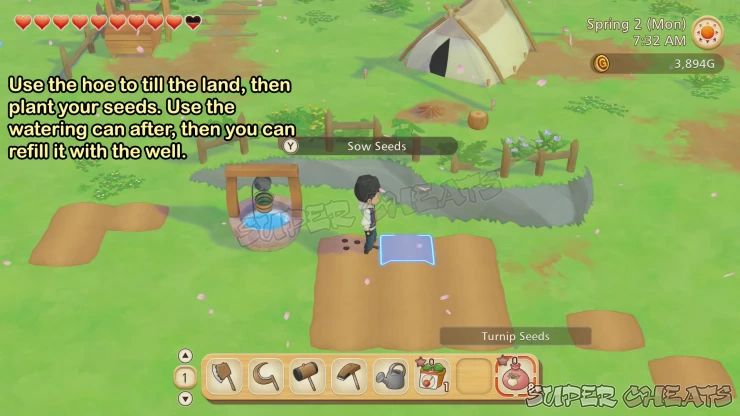
Once the seeds have been placed, you’ll have to water each of them using your Watering Can. There’s a counter on the lower right side of the screen which shows how much water is in it. You can then refill it by using the well. Your plants will need to be watered each day, unless it rains since this automatically waters them.
You can check your radio inside the tent to see the upcoming weather forecast. This way you’ll know if you will require days where you need to water or not. This will let you manage your inventory better by placing the required tools.
Check the Mines
On the upper left side of your farm, you’ll find a cave that’s blocked by some stones. Break them with your Hammer, and you’ll be able to access the mines. Here, you’ll be able to find different stones that you can collect items from.
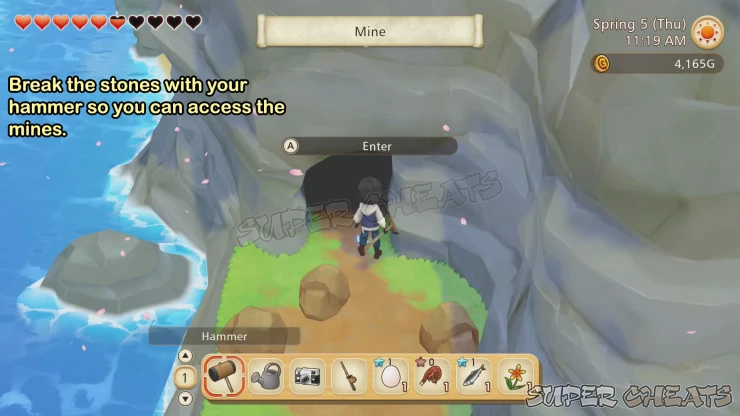
The mines will let you descend to different levels underground. There will be instances where you’ll find shiny objects on the wall and on the ground. Use the Hammer on the wall and you’ll be able to get items like Ores, while shiny objects on the ground will require you to use your Hoe.
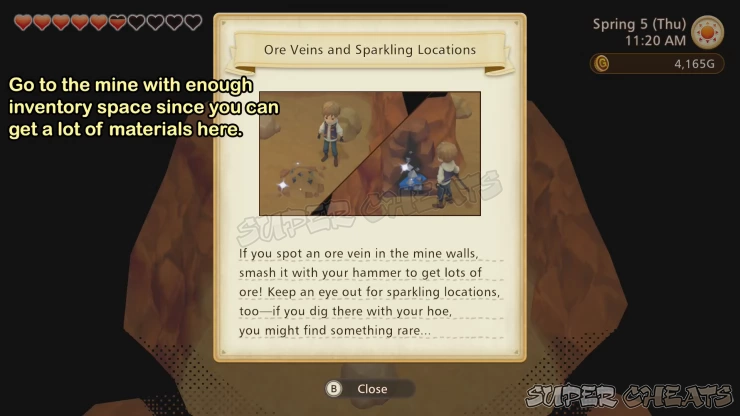
Using the ladder to go back up will bring you to the very top, so you don’t have to worry climbing up the levels multiple times. Try to reach the bottom of the mine, and you’ll find a small surprise there!
Talk to all the Residents
Once you’re able to clear some land and plant your Crops, you’ll eventually run low on stamina. The day might still be long however, so you can start talking to the Residents in Olive Town. Go to the north side of your farm, and you’ll be there immediately. Check your Town Map to see the locations of residents, and start talking to them.
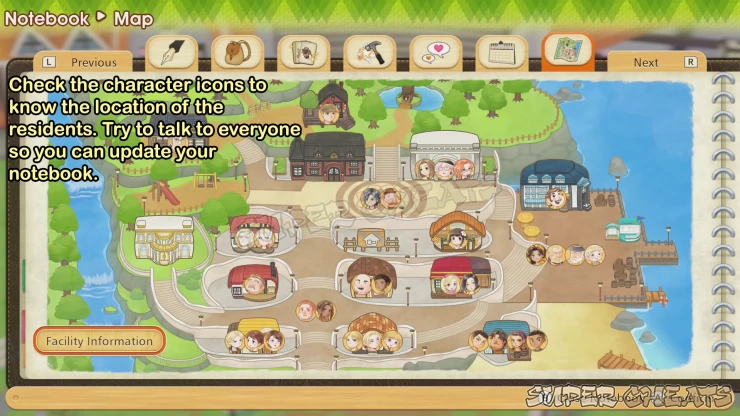
You will realize that you’ll be able to form relationships with the Residents, be it friends or if you’ll want something more than that. By befriending the residents, you’ll be able to unlock heart events, and even get some tools that will be useful such as the following:
Going to each house in the town will provide you the facility functions and their opening hours. Residents can also be provided with Gifts each day; this will raise their heart levels with you. You can check our Gift guide for more information about their favorite items, even their Birthdays.
Repair the Dilapidated Coop
Upon working on your farm, you’ll notice that there’s an old house there that looks worn out. You’ll then be introduced to repairing facilities, and in this case, you’ll find the dilapidated coop. In order to raise chickens, they’ll need a home. There’s one chicken roaming your farm at the beginning, and you can only tame them once you have repaired the facility. In order to repair the coop, you’ll have to provide the following items:
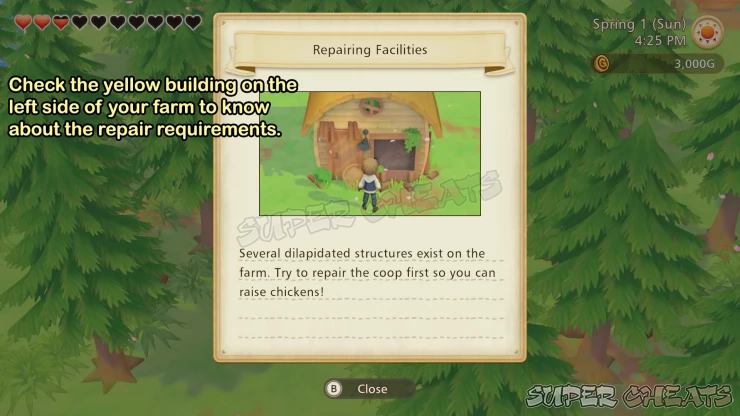
All of these materials can be obtained using your tools. Chop Trees, break stones with your Hammer, and cut grass using your Sickle in order to get them. Once you have these items, you can repair the coop and tame the chicken. They can provide you with eggs each day, and you can let them outside of the coop so they can graze and eat the grass.
The first two days in the game can pass by quite fast, but there are a lot of activities that you can do within given that time period. Since the day goes quickly compared to real time, you’ll want to make the most out of your routine. Make sure to use the shipping bin in order to make Money, you can place harvestable Crops as well as Fish when starting out for your Income.
In our second part of the guide, we’ll provide you with the activities you can do on the third day onward. We hope that Part 1 of our beginner’s guide has helped you. We will also have other pages available that provide you with the other features of the game, so please make sure to check them out.
 Join us on Discord
