The Thin White Line (Part 1)
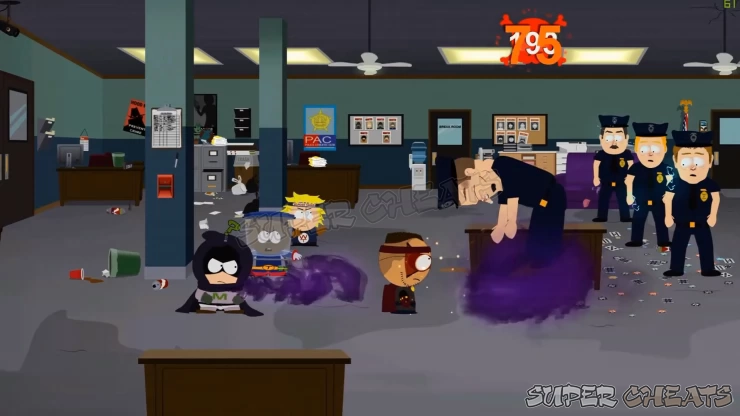
The front door isn’t locked anymore so just go downstairs and exit to join Mysterion. Head to the police station to meet up with the others. Look through the window with Mysterion to find the coke-snorting cops. After the diversion started, head through the police station’s main door. Once inside, you’ll find more high cops that you can engage so stun them from a distance using the ranged snap and pop or by igniting the dynamite case by the couch, then land a hit to gain the battle advantage.
You’ll have Mysterion, Wonder Tweek, and Tupperware as your combat party members. They have limited movement but can attack from long range so try to get your allies close together so they can easily chain up their attacks. Use Mysterion’s Dark Whisper to pull these cops towards your party while also dealing damage. If you have a similar power (like the Cyborg’s Fatal Attraction), then you’ll be able to single out targets and focus your attacks without getting on the enemies’ attack range. At the start of the second turn, a couple more cops will join in as reinforcements. Focus your attacks on one target at a time and use AoE and/or status ailments whenever you can to overpower the enemies and win the battle.
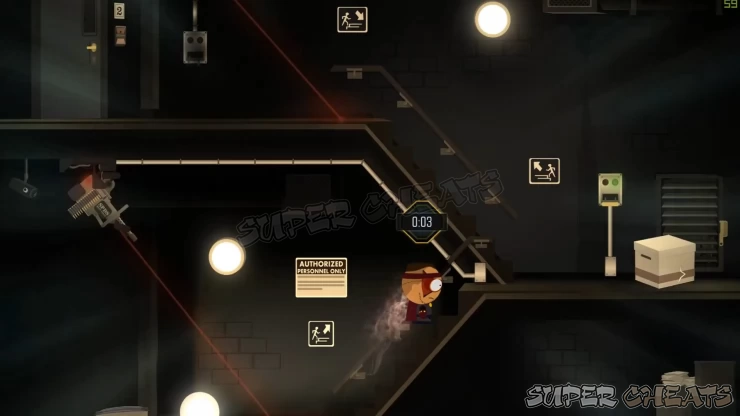
After the battle, enter the door for a cutscene. Enter the room to the right to find the stairs protected by an auto-turret. Use your TimeFart Pause to safely get past the turret and reach the power switch upstairs.
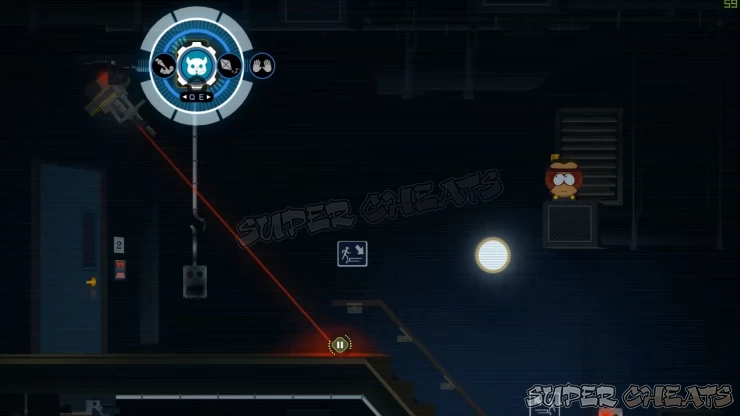
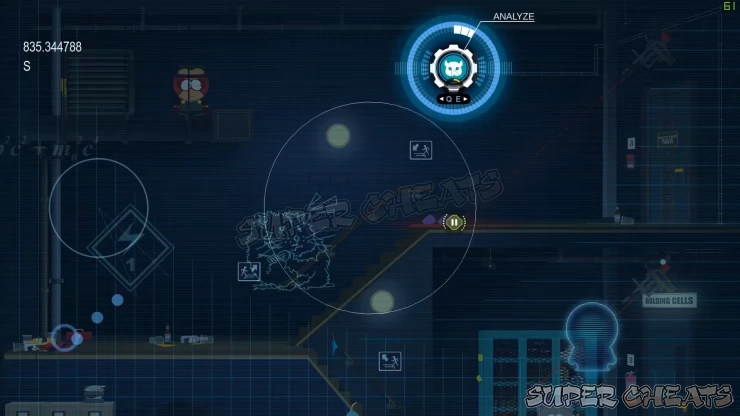
The next set of stairs has another auto-turret but this time with a busted switch. Destroy the box beside the first switch first then enter through the vent. Loot the container inside then go up the ladder to reach the upper vent. Exit there then destroy the electrical panel near the auto-turret. Scan it using inspection mode and use the Haywire buddy power to short the panel and power down the auto-turret. Backtrack to the vent and continue upstairs to reach the next floor.
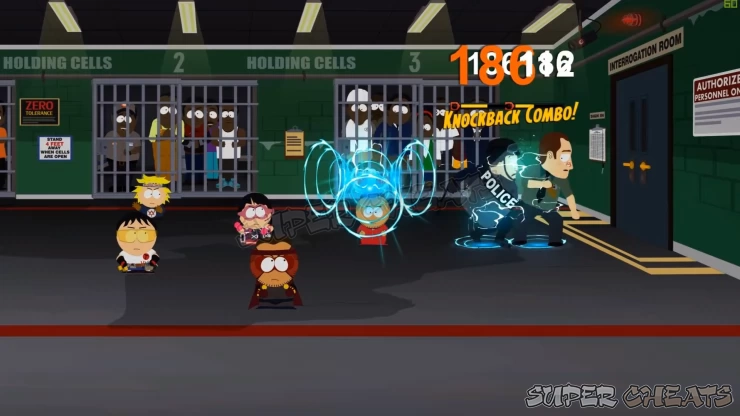
Loot the Tantrum Accelerator from the police bag in the lower left. Craft it already if the necessary materials. When ready, open the double doors in the middle to reach the holding cells. Go to the left and press the yellow button to trigger the alarm and face another batch of corrupt cops. When the battle starts, you’ll be flanked from two sides. Since they’ll have the initiative, use your timefart, preferably your Summon to interrupt the enemies’ turn and to summon another ally to your side. It’s recommended to focus your attacks on one side to get rid of the threats quickly. There will be no enemy reinforcements so winning this battle should be easy enough. After the battle, you’ll get a Hyper Glass, $5.31, and 120 EXP.
After the battle, loot the Holding Cells Access Card from the unconscious cop’s body then press the yellow button again to release the prisoners. Before leaving the room, enter the interrogation room to the right and loot all containers inside to get some additional materials. Exit through the left door once done.
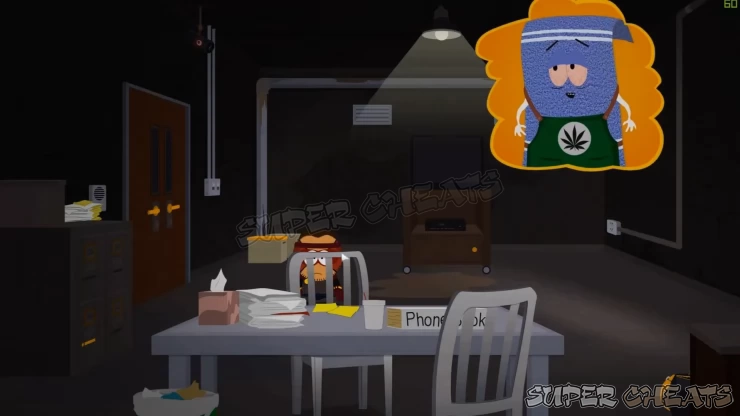

Upon leaving the holding cells, your next objective is to get to the Exit. However, don’t go there yet. Enter through the vent on the lower right of the screen instead. Continue to the other end of the ventilation shaft to reach the locked evidence room earlier. Move the ladder to get the Song of Drunk Knight artifact and Defender Mask from the chest on the shelf. You can move the same ladder to loot the bag in the middle of the shelves to the left as well.
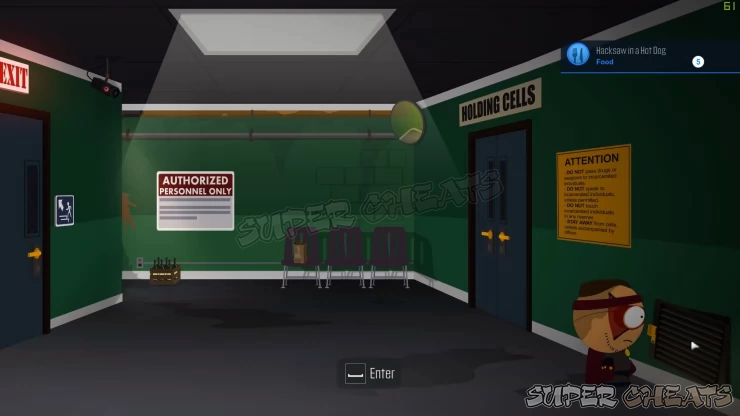
Backtrack to the previous corridor but this time, exit to the upper left where you can find the “Drunk Tank” holding cells. Stand near the broken barrel holding the malfunctioning automatic door (don’t attempt to get past it since you’ll be crushed to death) and try to freeze time as soon as the door slides to the right. This will take proper timing so keep pressing T until you get it right. Pause the time and loot the bag inside to get an Infectious Encryptor artifact.
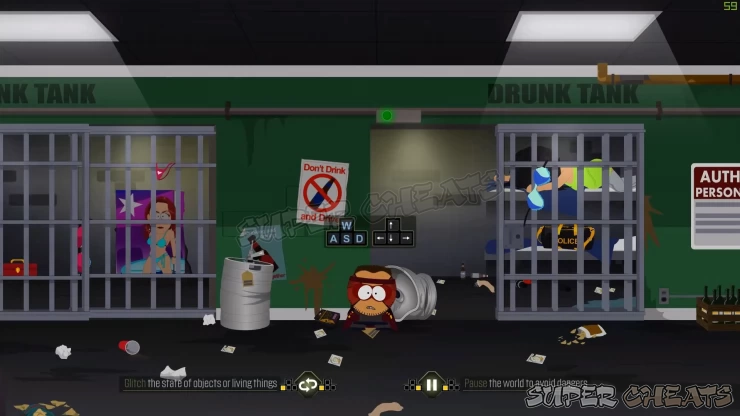
Leave the drunk tank and regroup with Tupperware in the fire exit. Use Timefart Pause to safely retrieve the gas tank near the base of the stairs then move it to the cracked wall to the left. Ignite it with snap n pop, then detonate it with your ranged fart. Enter through the blown up portion of the wall head to the right. This will bring you to the other cell in the Drunk Tank. Loot the Prison Tat costume from the red container then head back to the previous area.
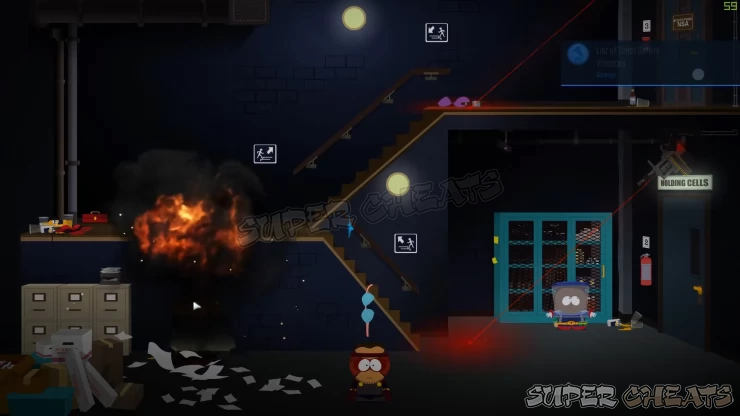
Next, activate the Fartkour buddy power by examining the spinning fan to the left. Use it to get to the upper level. Exit through the vent then use Haywire buddy power to short the cracked electrical panel powering the auto-turrets below. You can’t jump from there so head back to the vent then use Fartkour again to return to ground level. Exit and use the stairs.
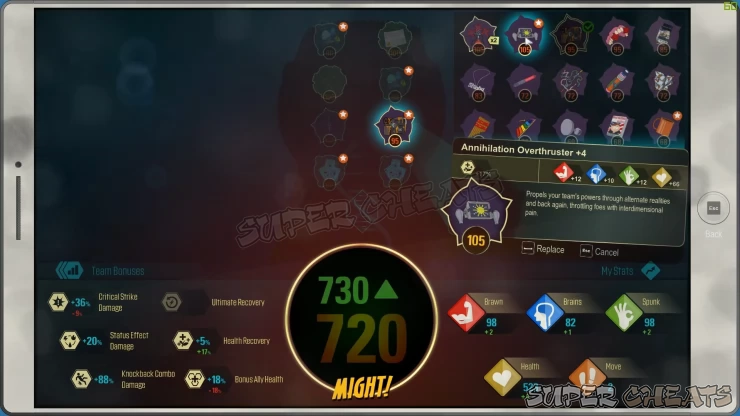
Don’t forget to loot the Annihilation Overthruster Recipe from the container along the way. You should have enough materials at this point to create it so make sure to create it and replace one of your currently equipped artifacts to get a Might Boost. Continue upstairs to reach the next floor once done.
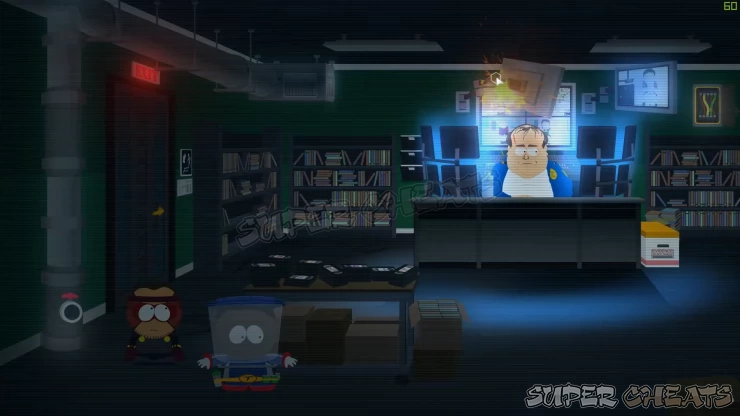
In this room, you’ll be killed if the guard spots you so you’ll have to solve a minor puzzle to get past him. First, use the Sandblaster buddy power on the pipe opening to move the upper left monitor over the head of the guard. Now use Snap and Pop to destroy the bracket and make the monitor fall over the guard’s head, knocking him out. Next, destroy the electrical panel cover then use the Haywire buddy power to unlock the electronic door to the right. Enter through the door to trigger another cutscene and a boss battle afterward.
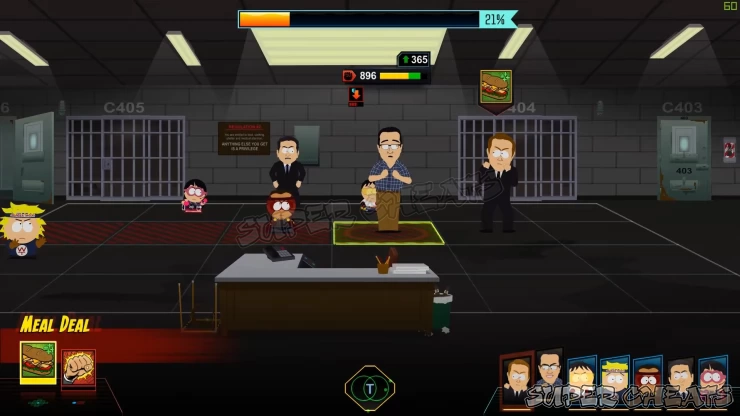
In this battle, you’ll have to face Jared Fogle alone. He will have telegraphed ranged attacks so make sure that you attack and end your turn away from the red tiles. He’s capable of instantly knocking out any of your party members if he gets hold of them. In the second turn, Jared will call in his aides. Ignore his aides since the battle will conclude as long as you defeat Jared first. One of his aides will heal him up so make sure to interrupt him with a timefart. Jared isn’t that hard to defeat as long as you focus your attacks. After defeating him, you’ll receive a Tumbler of Erupting Youth artifact, tech scraps, $6.34, and 190 EXP. During the scene, you’ll also get a chance to finish Jared off with a fart or spare him completely.

Anything missing from this guide?
ASK A QUESTION for South Park: The Fractured But Whole
Comments for The Thin White Line (Part 1)
Add a comment
Please log in above or sign up for free to post comments- Walkthrough - 1st Day
- Walkthrough - 2nd Day
- Walkthrough - 3rd Day
- Walkthrough - 4th Day
- Side Quests
- Extras
- Collectibles
 Join us on Discord
