Leading the Charge
Monster Hunter Tri Walkthrough and Guide
Leading the Charge
Hunting Quest: Hunt a Barroth
Unlock: Complete 'Save Our Boat'
Reward: 2600z
Contract: 250z
Time: 50 min.
Area: Sandy Plains
Subquest A: Sever Barroth's tail
Reward: 500z
Subquest B: Destroy 2 desert anthills
Reward: 500z
A brute wyvern with a rock-hard noggin, Barroth may prove to be a considerable challenge to the beginning hunter. He hits hard and his tough exterior can makes dealing damage difficult. As such, it is important to prepare well. Don't just jump into this one; ensure you have the right equipment to get the job done first. This may require replaying past quests to gather supplies and materials.
The best armour available to you at this point is the Ludroth Blademaster set. The materials needed to craft this set are easily obtainable, likely requiring slaying or capturing the Royal Ludroth only a few times to gather the materials for the whole thing. You can also use Armor Spheres to upgrade each piece of the set. Speak to the Wyvern Artisan and select “Upgrade Armor” under the Armorcraft section. Upgrading a piece of armour to level two requires one Armor Sphere and a bit of zenni. You can boost each piece in the Ludroth Blademaster armour set from 13 to 15 defence points this way.
As for a weapon, a Lance or a Sword & Shield is the best choice here. Both of these weapon types have a shield, which is useful against Barroth because most of his attacks deal heavy damage and can be difficult to avoid with a roll or a side step. Barroth is weak against the Water element, so if you're looking for a good Sword & Shield, craft Ludroth's Nail and upgrade it to Royal Claw. If you've been playing solely offline, the Knight Lance (from Iron Lance line) is the strongest Lance available to you at this point, since you need two Monster Bone Ls to make the Spiral Lance. The Knight Lance has very little green sharpness, however it can still pierce Barroth's torso with yellow sharpness. If you're trying to decide between one or the other, a Lance seems the superior choice.
 Barroth is a highly aggressive brute wyvern and may be your first real challenge in the game. |
Because Barroth's attacks deal heavy damage, you will undoubtedly need to restore health during this quest. Try to set out with ten Mega Potions in your inventory. To produce a Mega Potion, first combine a Herb with a Blue Mushroom to make a Potion and then combine the Potion with Honey to make the Mega Potion.
Consider bringing a trap with you as well. You can make a basic Pitfall Trap by combining a Spider Web with Ivy to make a Net and then combining the Net with a Trap Tool (buyable at the market) to make the trap. You can make a Shock Trap by combining a Thunderbug with a Trap Tool. Though you can only hold a single trap in your inventory, you can also carry with you the materials to make two more traps and combine those materials in the field.
This monster's ability to burrow in the ground and tunnel into adjacent areas can make tracking him difficult, so equip Cha-Cha with the Fluffy Mask if you haven't already. This mask allows Cha-Cha to track boss monsters for you when you give him the signal. To give Cha-Chas the signal, press the Select button to bring up the Hunter menu and then press the Start button. The monster's location will appear on the map for a couple of seconds. If you don't have Cha-Cha's Fluffy Mask yet, speak to Junior in Moga Village and see the Villager Requests section of the Stockpile menu. The Fluffy Mask will be there for 400 Resource Points, two Qurupeco Feathers, two Warm Pelts and two Velvety Hides. If you don't have those materials and aren't up to collecting them, hitting Barroth with a Paintball will do.
Barroth is in Area 3 to start. If this is your first time attempting this quest, Barroth will remain in Area 3 until you enter. If you have attempted this quest before, he may go into Area 4 if you wait around too long. Be sure to take the Cleansers from the Supply Box before setting out, as well as the Map, Rations, First-aid Meds and Paintballs.
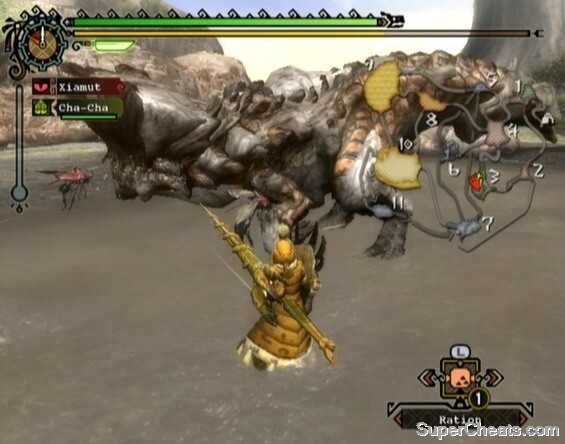
While in Area 3, Barroth will most likely be swimming in the mud at the southwest end of the area. You should be able to see the top of his crested forehead poking out of the mud. Don't stand too close to Barroth while he is underground, because after detecting you he will soon rise up to ground level, which can send your hunter flying.
 Don't bother attacking Barroth's head because your weapon will just bounce off. |
Barroth's roar can stun your hunter momentarily. You can block Barroth's roar with your shield or weapon; just be ready to block after he scratches the ground twice with his hind legs. Avoid attacking Barroth's head because your weapon will just bounce off, leaving you vulnerable. Instead, concentrate your attacks on his arms, torso and tail. When Barroth is covered with hardened mud, if you are not wielding a weapon that has green sharpness, your attacks will bounce off of the mud. Thus, if you are using a weapon with very little green sharpness such as the Knight Lance, it is best to focus your attacks on Barroth's stomach to avoid having your weapon bounce.
As with the Royal Ludroth, Barroth's tail can be cut off if you damage it enough (unless you're using a Hammer, of course). Chopping off a monster's tail has several advantages. Most importantly, shortening a monster's tail will lessen the effectiveness of attacks in which they use their tail, such as the standard tail whip. Secondly, you can carve one item from a cut tail. Carving a monster's tail is the only way to obtain certain materials; just be sure the monster has left the area before you get to carving! Lastly, in some cases, such as with this quest, cutting the monster's tail is a subquest.
Cutting Barroth's tail requires a lot of effort at this point in the game. For one, his tail is frequently caked in mud, causing most attacks to bounce off. He also tends to hold his tail high off the ground, making it difficult to reach with most weapon types. Removing Barroth's tail also requires quite a few hits, so taking the time to complete Subquest A can lengthen this fight.
Barroth hits hard, but most of his attacks are easy to anticipate. Evading his attacks can be difficult, however, which is why using a weapon that can block, such as the Sword & Shield or Lance, is best against Barroth.
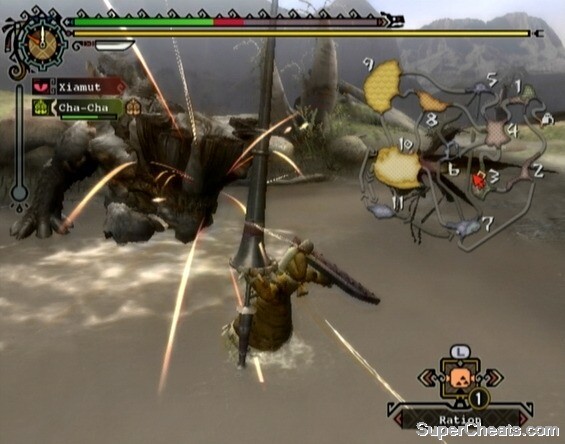
Perhaps the most necessary of Barroth's attacks to block is his charge. His charge is easy to dodge with a roll or a step if he charges at you from a distance, however it is easy to be caught off guard because he can cover a lot ground quickly. When Barroth points his forehead to the ground, either block or get out of the way! Being hit by Barroth's charge can halve your hunter's health bar depending on your armour, so watch out for that one.
 Barroth's charge is his most damaging attack. |
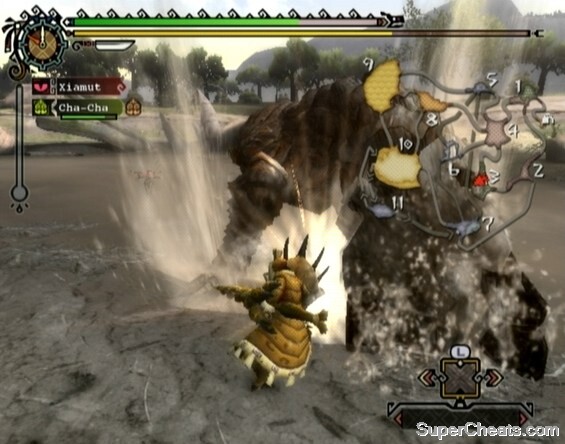
Another of Barroth's attacks involves the hardened mud covering his body. When his target is close, Barroth can shake some of the mud off of his body, sending it splattering to the ground in all directions. If your hunter is hit by one of these mud splatters the mud will quickly harden, encasing him or her in a round ball of hardened mud. While suffering from the Muddy status ailment, your hunter moves more slowly and is unable to attack or use items. To be rid of this status ailment, either rapidly rotate the Left Stick to break free or use one of the Cleansers included in the Supply Box for this quest. Muddy will disappear normally over time, but rotating the Left Stick speeds up the process and Cleanser will dissipate the mud immediately. Be careful when using Cleanser, however, as your hunter will perform a brief animation afterwards. Ensure Barroth isn't staring you down before using it.
The mud Barroth shakes off will land all around him. For this reason, it is best to simply remain blocking until he is finished. If you're guarding, the mud will be blocked no matter how it hits your hunter. If you have Cleansers in your inventory, it may be worth taking a chance and attacking Barroth while he is shaking off mud. Sometimes it is possible to avoid the mud by standing under him or directly behind his left leg.
Avoid being near Barroth's head at all times during this fight since there is no use attacking it. As well, Barroth has a forehead ground slam attack that sends several mud splatters in front of him. To avoid this move, simply stick to hitting Barroth from behind or from the side.
Like most other large monsters, Barroth has a tail whip attack. He slowly swings his tail twice in a row in a clockwise direction. Be ready for this move when attacking Barroth from behind. When you see him begin to swing his tail, block the first swing and then you can either wait to block the second or move under him where his tail won't reach you. Barroth may use his tail whip two or more times in a row, especially if he is in rage mode.
Hit a section of hardened mud on Barroth's body enough and the mud will eventually break away. You can break the mud on Barroth's head, tail, legs and arms. Doing so is a largely futile effort, however, as Barroth can (and will) cover himself up again by rolling in the mud in Area 3. Barroth is weakest to the Water element when his body is covered in mud, however, so this can be beneficial if you're using a weapon that deals water damage.
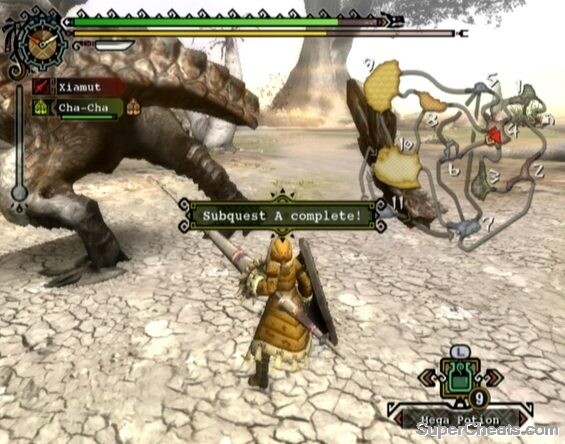 Cut Barroth's tail to complete Subquest A. |
Barroth tends to remain in Area 3 and will enter either Area 4 or Area 2 when changing areas. Barroth will burrow in the ground and tunnel to enter another area. If you look closely after he burrows, you should be able to see puffs of dust leading to one of the adjacent areas. If you hit Barroth with a Paintball or Cha-Cha is equipped with the Fluffy Mask, tracking him once he has left the area is easy. Otherwise, just enter one of the adjacent areas (if in Area 4, start with Areas 1 or 3) and hope he is there.
Completing Subquest B requires destroying two desert anthills. The anthills are where Altaroth spawn and where Barroth feeds to recover stamina. Only Barroth can destroy these anthills, so to complete this subquest, you must trick him into attacking the two anthills. Just position yourself so the anthill is between you and Barroth and he will hit the anthill while attempting to attack you. It will take a couple of charges or tail whips to destroy an anthill.
There is one anthill at the west end of Area 4. One of the nests in this area is a Jaggi den, so don't get confused. There are two more anthills in Area 8. The anthills in Area 8 are the two tall pillars in the middle of the area. Barroth very rarely enters Area 8, so it isn't worth going out of your way to complete this subquest. If you get Barroth into Areas 4 and 8 you may as well go for it, otherwise the 500z and the extra Bnahabra materials you would earn at the reward screen are not worth the trouble.
You may see Barroth limp when he is about to die. Continue attacking Barroth until he falls. You can then carve his corpse three times.
Hunting Barroth
More Monster Hunter Tri Stuff
Wow! This really helped! I couldn't get the Barroth Greaves, but now, I'm back in business, and ready to fight the Lagiacrus!
beat it gotta get the royal claw deals water dammege and it is very power full i just kept getting attakd by him lol
man this was supposed to be a walk in the park it totally was not tho i just don't get i have the jaggi armor and i have been using the royal claw (upgraded from ludroth nail) and i just cant do it suggestions anyone?
ur site has helped me heaps this the best site ever
I play online now and my Lagia Blade great sword flattens this guy!
i found the best way not to get hit was standing under him between his legs while useing the sword/axe switchblade thing the only problem is that it is very hard to dodge his attacks since your guy does not dodge very far and this monster has a very long range of attack
Good Guide. The only thing i would suggest is to attack te legs with an SNS and roll then slash 2 more times. this is an efficient way of maximising hits and avoiding getting hit yourself. All you need to do is stay behind him and you will be fine!!!
barroth is easy i use S
OMG IM HR 18 AND THAT THING STILL MURDERS ME EVEN IN A GROUP!!!! ITS EVIL!!!!!!
MH3 Name: Seth
MH3 ID Code: ELPARE
thx 4 info
looks evil