Illium
Mass Effect 2 Walkthrough and Guide
Illium
On the Galaxy Map head into the Mass Relay and then into the Crescent Nebula. Land at Illium. Like Omega, Illium has bars, shops and side-quests galore. Plus, someone from your past has a high-ranking job here. Choose a balanced squad when you land.
There are a number of main story quests and side-quests to explore on Illium, all of which are listed below.
Recruit the Assassin
Investigate the Assassin
You will be met by a concierge with some mechs. They pose no threat, so ask her any questions you want to know, specifically regarding Liara – a friend of Shepard from the first game. Liara has waived your docking fee, which was generous, and wants you to go and see her in her office. You may want to talk about slavery on Illium as well, before heading out.
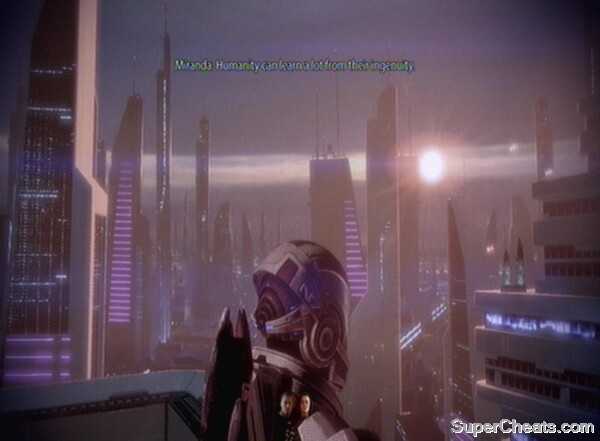 Illium is a beautiful place |
Move through the reception hall and out onto the trading floor. As you move along speak to the Asari standing to the right of the trading floor, as she will fill some of the gaps surrounding the Rachni from the first game. Head up the stairs to Administration and open the door to find yourself in Liara's office. Liara is busy bullying an associate over the phone, and has clearly changed her character somewhat since the first game. Liara has a job as an Information Broker, and as such knows pretty much everything you could want to know. Catch up on her current life and recent history before asking about your two potential recruits. You can also take this opportunity to initiate the Liara side-quest, The Observer. You have to start this before taking on the second-recruit or will be forced to return to Illium later in the game, so bear that in mind.
When talking about the assassin you will learn that his name is Thane and is currently working to target a corporate executive. He has a contact in the cargo area. You may also want to talk to Liara's assistant on your way out.
Discover Thane's Location
Head for the cargo area using the door below Liara's office, aiming for Shipping.
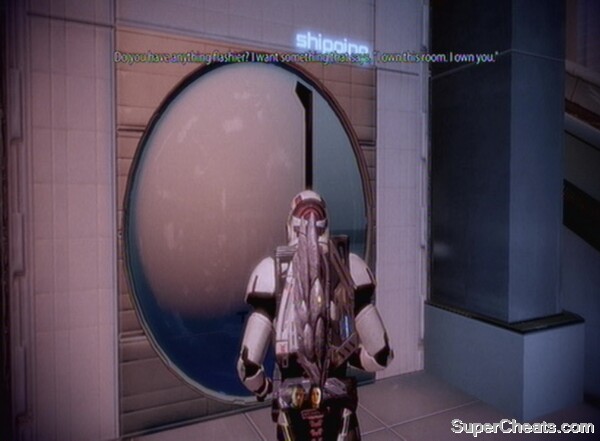 Meet Seryna in the Shipping area. |
Speak to Seryna in her partitioned office. Seryna takes you aside when you ask about Thane. You learn that his target, Nassana Dantius has a nasty way of doing business, and that Thane is working his way to the Penthouse of Dantius Tower One. You (and Thane) can access the top of the tower via Tower Two, still under construction.
Dantius has a mercenary army, but Seryna can get us inside the tower – it's up to us to work our way to the top. Tell Seryna that you are ready to go and you will be transported to outside Tower Two.
Find Thane
When you arrive you will see some of Dantius' unorthodox methods in action, namely in gunning down a group of workers trying to flee the tower. Her mercs then turn their attention to you.
Focus on the FENRIS variety to stop them from getting too close. Use biotic powers if they overwhelm you, then deal with the LOKI mechs behind them. Inside the tower, go to the left and hack the Secure Terminal and pick up the Medi-gel from the Medical Station. Go back into the main lobby and through the other door. Talk to the injured Salarian on the floor. Help him using the Paragon prompt to give him some Medi-gel and get him to talk some more.
At the end of the conversation the door opens and you can proceed towards the elevator. Once the corridor opens up into a larger room you need to deal with the mercenaries and some more FENRIS dogs. You will also encounter some Eclipse Vanguards, complete with Barriers. Move through the room taking them out and more enemies will come in as part of a second wave. Watch out you don't get ambushed by the FENRIS mechs and push through the door when you are done.
Take the Med Kit at the top of the slope and take cover in the centre of the next room. Pick off the mechs and mercs that come your way.
 Clear the path ahead. |
The corridor to the left is packed with enemies, so use attacks that damage many at once if possible. Be careful you don't miss any hiding in the corners as you press forward as they can be lethal when flanking. The next room is also pretty full with targets, but there is more space to move around. Stay in cover and pick off one enemy at a time, again watching for flankers. Ignore the elevator door for now, as there is another door to the left that you can bypass.
There is a group of Salarian workers hiding inside. Interrogate them for information and then release them. The room also has a Med Kit and Secure Locker inside. Back in the main room and to the left of the one we were just in is a long corridor. There is a very good sniper rifle at the end with a high rate of fire, as well as a Secure Terminal to hack and some Power Cells. When you've done all this, head back to the elevator door.
As you may have guessed, some mercenaries will ride the lift down to you. The main threat is the Bounty Hunter, who will be in the middle of the three mercenaries. Position your team members behind the cover to the left and right, then call the lift. Use Overload on the Bounty Hunter if possible, and focus all your fire on him (your team should keep the other two mercs busy).
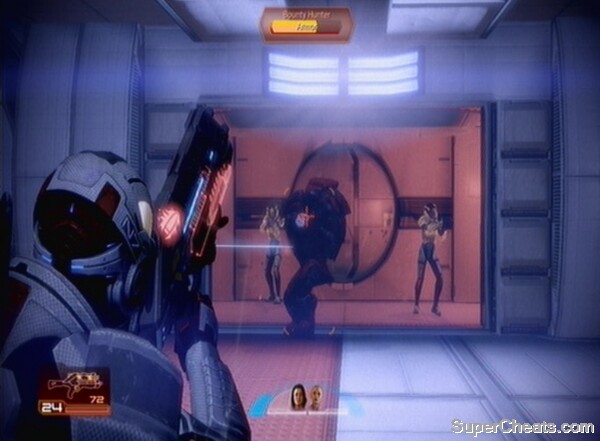 Eliminate the Bounty Hunter. |
Once his armour's down, use Pull or something similar to take him out of the equation. His two cronies also have shields, but can be destroyed pretty quickly. Get in the lift once you have dealt with this problem. At the top you'll find an Eclipse Trooper preoccupied with a communication. He's not being very helpful, so you can use a Renegade manoeuvre to throw him off the tower, but he does have information if you persuade him in conversation.
We now need to get to the bridge between the towers. Collect the datapad up ahead (required for the completion of a side-quest) and proceed through the door. Take cover as you enter and destroy the mechs before they wake up. This will get the attention of the nearby Eclipse mercenaries.
Clear the area and bypass the door on the left-hand side of the room. There is a jumpy Salarian inside with his brother, and you can return his aggressiveness in kind with a Renegade option. Or, you can use conversation options to get information from him. Apparently the assassin saved these workers from one of Nassana's goons. Take the Med Kit from this room and hack the PDA on the mercenary's corpse. Back in the main room grab the Power Cells at the bottom of the ramp leading out. You can also use the terminal to speak to Nassana.
At the top of the ramp are some LOKI mechs and Eclipse mercenaries, so deal with them before moving on.
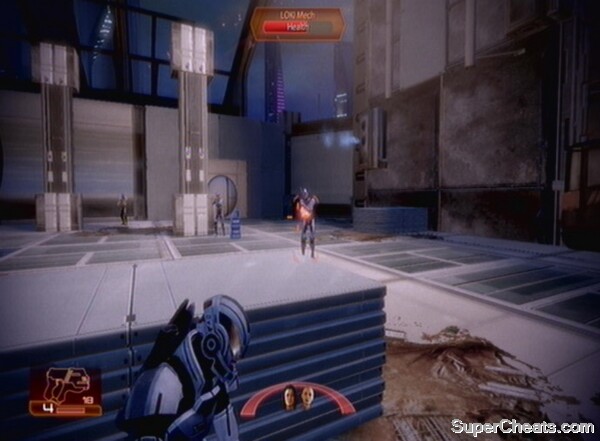 The enemy resistance is hotting up. |
More enemies will come into view as you round the corner. At the end of this section there is a Weapons Locker should you want to change your loadout. Collect the Med Kit next to it and the Refined Element Zero at the edge of the precipice opposite.
Take cover round the next corner and use a sniper rifle to take out as many targets as you can see if such a weapon is in our armoury. Watch out for the Eclipse Vanguards whose barriers will make the rifle less effective. You will also encounter an Eclipse Commando who not only sports a barrier but armour and health as well. Get his defences down and then use biotics to finish the job. Push on as you near the bridge.
Just before dropping down onto the bridge, hack the PDA of a dead merc (suggesting Thane went this way) and more importantly, scan his submachine-gun for a damage upgrade.
Down the slope get into cover as there are lots of enemies ahead. Use a sniper rifle if possible to take out as many as you can before pushing up. Use biotics to blast and throw the mercs off the bridge – the wind should help out here. Once you get to about half-way across, turrets in the windows above the bridge will fire rockets at you. Again, try to pick them off from range.
At the end of the bridge some Eclipse Troopers and Vanguards will engage you in close quarters, so watch out for that and back off rather than taking them on up close. Nearly there now, and around the final corner at the top of the stairs is an Eclipse Commando. Get his Barrier and Armour down and finish the job. Watch out for his shotgun, and head through the door.
Cross the bridge.
You will now meet Thane, who completes his mission. He is no longer an ordinary assassin, however, as he only has a short time to live and is trying to do good with his final months to redress the balance of his life. As such, a mission to save Humanity is also a good way to do this. With that, you will return to the Normandy.
Party Member Acquired: Thane Krios
You can pay Thane a visit to learn more about him, or return to Illium to pursue the Justicar.
Recruit the Justicar
Talk to Liara on Illium who will tell you that Samara the Justicar is currently investigating a murder. To get to her you need to speak to Officer Dara at the Transport Hub (take the door to Shipping underneath Liara's office and follow the corridors). Dara tells you about the Justicar and how to get to her. You can either summon a taxi by pressing the button when prompted, choose the appropriate conversation option, or seek out the taxi stand on your own, in the centre of this area – access the taxis via a terminal overlooking Illium. Dara also gives you details on the Justicars' strict code of conduct.
Squad Selection: Plenty of mercenaries will stand in your way on this mission, so be sure to have someone with Overload and a suitable biotic or grunt.
In the cut-scene you will be introduced to Detective Ayala. She is an Asari who feels threatened by the imposition of the Justicar. You will also meet Pitne For, a trader whose partner was the one murdered by mercenaries. He is under investigation.
Locate the Justicar
Speak to Pitne For, the Volus at the side of this area. He will tell you about his dealings with the Detective, his fears about the Justicar and the Eclipse Mercenaries in this area. The best course of action is to speak to the Detective running this operation. You can find her inside the police station. There is also a Medi-gel station inside and a Weapons Locker.
Detective Anaya can't wait for you to get rid of the Justicar, so she will give you access to the crime scene. Anaya also has another problem. Her bosses want her to take the Justicar into custody, but under the Justicar code she will be killed for getting in the way.
 Enter the crime scene. |
Head for the crime scene, making sure that you pick up the Shipping Details to your right as you enter (this is necessary for a side-quest later). Salvage the Circuit Boards at the end of the corridor and then head back up the stairs. There will be a group of mercenaries unaware of your presence, so use a grenade launcher blast or your favourite group-biotic power to kill them all in one. Enter the door to the left surrounded by police 'tape'.
Inside you'll find the Justicar terrorising some Eclipse Mercs. You can criticise her methods, but your main goal should be to convince her to join your squad. After some persuasion from Detective Anaya, she'll agree, provided you help her get the name of the ship that the fugitive left Illium on. It is suggested that you ask Pitne For if he can get you into the Eclipse base to discover the ship's designation.
Infiltrate the Eclipse Base
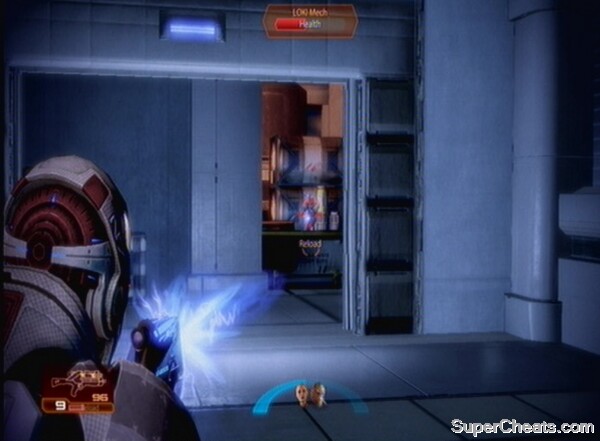
Back to reality and you should speak to Pitne For. You can use a Renegade interrupt to move things along, but it's easy to convince him merely using conversation. Apparently, Pitne For smuggled a dangerous chemical onto Illium. He told the mercenaries that it boosted biotic powers, which it does, but he forgot to add that it is also toxic. As such, the Eclipse Mercenaries are after him. Luckily the Volus has a pass key to the mercenary base, so agree to help him and you've got yourself a way in. You can then access the previously sealed elevator in this area. As soon as it opens at the top there is a LOKI Mech to destroy.
Use the windows in this area to look out to the left and snipe some mercenaries. When you can see no more, head through the door and mop up the rest of them (watch for Eclipse Vanguards with their barriers).
 Fight your way through the Eclipse base. |
More enemies will come in pretty quickly. Some will target the toxic barrels. The red mist which forms does indeed boost your biotic powers, but you also have a meter that will appear – if it is full then you are too deep into the gas and should fall back or suffer health loss. You will also come up against some Sisterhood Initiates here – each of whom has already committed one murder to earn their stripes.
Push on into the next room, where there is a Weapons Locker and a Scimitar Automatic Shotgun – the first new weapon for some time. Get your team kitted out with their new armaments and enter the door on the lower level. Inside is a nervous Asari who has tried to join the Eclipse Mercenaries – but doesn't have the stomach for it. You can interrupt her worrying with a Renegade action. Find out what you can from her, but the ship name remains elusive. Don't leave this room as soon as the conversation is finished, but first collect the Biotic Damage Upgrade from the Sample Analysis machine in the corner, and the Power Cells nearby.
After this, head up the stairs. LOKI Mechs and Sisterhood Initiates will come at you from around the next corner. Once you leave the corridor look to the right to engage some Eclipse Vanguards.
 Close your net on the mercenaries. |
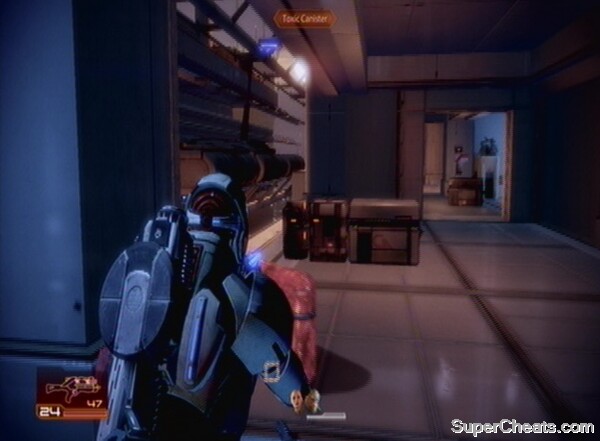
Clear the next room and collect supplies from the Medical Station, hack the Eclipse Terminal, then head upstairs. The room to the right is another one sprawling with Eclipse soldiers and toxic canisters. Move through with care, hanging back to let the dust settle should any chemicals leak out. Head left and access the Eclipse Terminal for lots of credits. There is also a Medical Station to use, just before going up the stairs.
Deal with the Eclipse Vanguard to the right at the top of the stairs. In the background you may notice a Gunship. You can deal damage to it from here, and it is not a bad idea, as it will soon fly off out of range. As you move closer, more Eclipse will engage you. Collect the Refined Platinum to the left, then snipe the mercenaries visible in the distance, or move closer and take them out with biotics or from cover. Still on the left hand side, go up the stairs on the left and use the height to keep the mercenaries at bay.
With the hangar clear, collect the Power Cells in the next room (you'll need them for your heavy weapons against the gunship) and make use of the Medical Station. You should also read the Data File in here, as it makes your reaction to what we thought was a cowardly mercenary earlier hard to justify.
 Push forward towards a showdown with a gunship. |
Once you go through the next corridor you should begin to get ready for a gunship fight. Eliminate the mercenaries who initially engage you. Collect the Power Cells in front of you and then move across to the other side of the area. The gunship will then attack. Equip your heavy weapon and let it have it. You should have no more infantry to deal with, so just throw everything you have at the main target. If you run out of ammo, just use your next most powerful weapon.
TIP: The grenade launcher is perfect for this due to its homing-ammunition
Use the stairs as cover from the gunship's rocket attacks and return fire when it stops firing. It will begin to fall back, but you can still deal damage at range, so finish it off.
Defeat the gunship.
Pick up the Med Kit near the door exiting this area, and head through after bypassing its circuits. Be sure to read the Shipping Manifest inside to open up a new side-quest, as well as accessing the Eclipse Terminal nearby. In the next corridor you will meet another Volus. This one is high on the biotic chemical Pitne For was selling. Use a Paragon interrupt to prove that he is not in fact a god, ask any questions you want to, then move on. Raid the Weapons Locker in the next section and use the Medical Station, before heading through the final door.
Defeat Captain Wasea
A cut scene will play introducing the mercenaries' leader, Captain Wasea. Take down her Barrier with Overload or constant gunfire, then concentrate on her armour and health. As long as you attack from range you should be able to take the Captain out without too much intervention from the Sisterhood soldiers or any mercenaries.
With Wasea down, mop up the rest of her cronies. We still need to find the name of the ship, however, so access Wasea's datapad on her desk. Opt to look around some more and hack into the Eclipse Terminal, before exiting the quest and returning to the Police Station.
Show Wasea who's boss.
Talk to the Justicar when you get back. Ask whatever you feel necessary, but opt to remain on Illus for the moment, rather than heading back to the Normandy. Tell the Detective that you discovered who the murderer was. There is also a side-quest to complete here, so see the Smuggling Evidence quest below. You can then return to the Normandy by talking to the Justicar.
Party Member Acquired: Samara
Catch up with your crew as normal, specifically the Justicar. You should then tie up any business on Illium. After this, you can choose to pursue the last recruit from the Illusive Man's dossiers, or skip ahead to the next section of the game.
No comments yet. Tell us what you think to be the first.