Chapter 9: Nohrian Princess
Ebony Volcano
Time Limit: 60:00
Victory Conditions: Defeat Camilla and Wyvern Riders.
Defeat Conditions: The Allied Base falls.
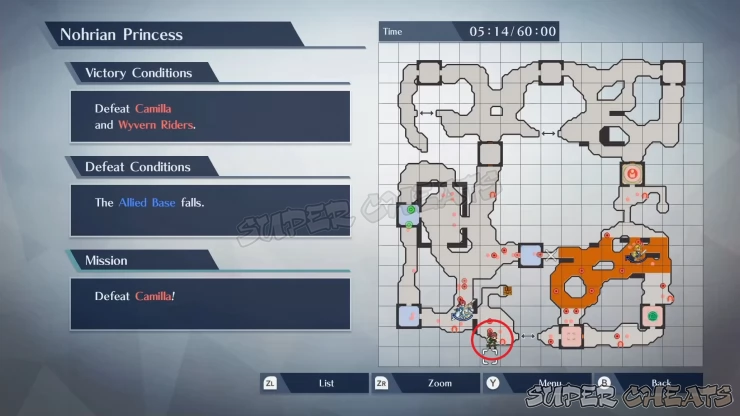
Anna’s Condition: Defeat 1,000 enemies.

Lianna will be a required character here while Rowan and Chrom will be unplayable for this mission for the first time. Furthermore, you’ll only have three controllable characters: Lianna, Lissa, and Cordelia. The characters you can use are fixed when attempting this chapter for the first time, even if you have finished the Hoshidan mission branch before and you should already have Takumi and Sakura.
The terrain in this Map has lava which will deal continuous damage to your units on foot. It will be better to pair up Lianna or Lissa with Cordelia so she can act as the transport and safely traverse the fiery ground. Remember that you can still fight enemies while standing on lava but your HP will gradually deplete while you’re standing on it. To cool down the lava terrain and transform it to an ordinary ground, you have to activate the dragon veins located in the southwest and southeast corner forts.
As soon as the battle starts, the wyvern riders hovering outside the outer walls of the allied base will advance towards Elise. Move a solo unit or a paired to engage them then send someone to attack the fort directly to the south of the allied base. You must activate this vein as fast as you can to make a safe passage for your ground unit(s). Alternatively, you can also be aggressive and just run towards Midlava fort to capture it and have a healing spot where you can safely fall back to while you take out several enemy units surrounding the fort.
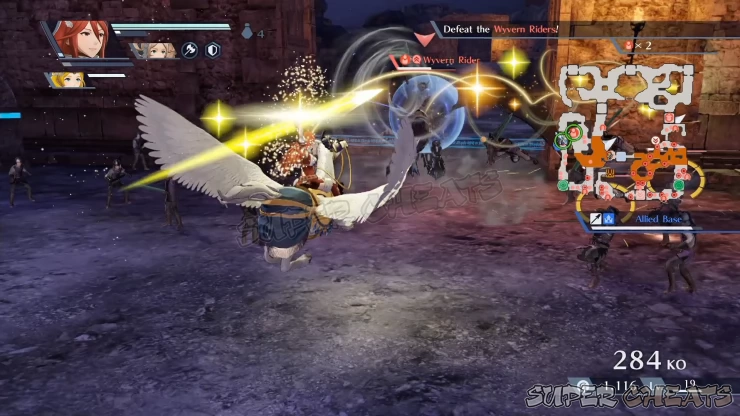
After activating the dragon vein in the SW Geyser fort, the lava near the allied base should be cooled down. Activating the vein will also increase Lissa’s bond. From there, defeat the enemies in the field east of the fort to get the chest key from one of the officers there and use it to loot the nearby treasure chest which should be visible from the Map. Cordelia can also cross the path leading to the S Mount Fort but beware of the archers guarding the fort’s perimeter. Switch over to her partner before engaging it; if she’s going solo, have her target other safer targets instead.
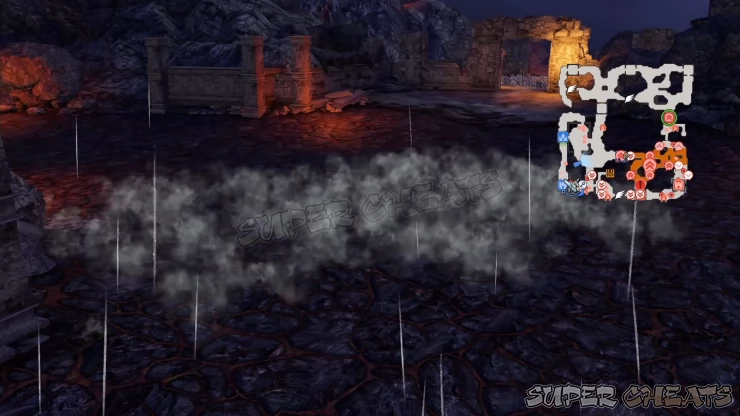
While you’re busy keeping the allied base safe from enemy advance as well as keeping the offensive, a sub mission involving escorting an allied Myrmidon may trigger as you approach the eastern side of the Map. Even when the myrmidon is technically a combat unit, the sheer number of enemies surrounding him as well as the lava field he’ll cross to reach Midlava Fort will be enough to quickly whittle down his HP. Quickly go to his aid; fortunately, Lianna, Lissa, and Cordelia can use healing staves to recover his HP. Cordelia will be a good candidate to escort him since she’s immune from lava damage while also possessing the ability to heal and control the crowd significantly. Otherwise, you’ll have to wing it with Lianna or Lissa. Make sure to eliminate ALL enemies along the myrmidon’s path since he’ll annoyingly stop and engage them if there are hostiles nearby. Once the myrmidon reaches the midlava fort, he’ll retreat and leave an HP Tonic. Completing this sub mission will also boost Cordelia’s bond.
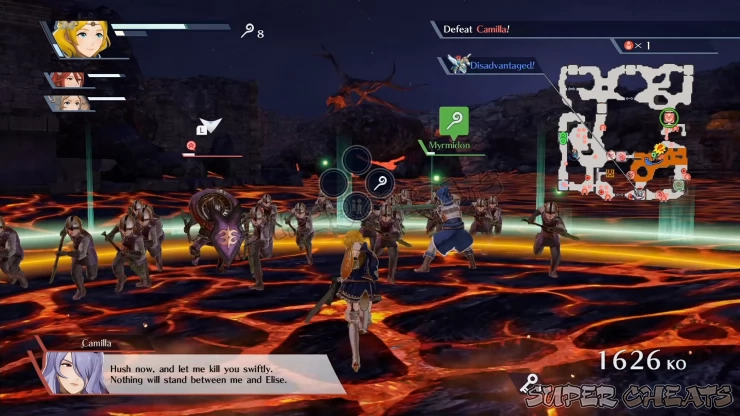
While everything else is happening, Camilla will regularly send units to take over the allied base so keep an eye out of the notifications and react quickly. Cordelia will be your key character here since she can use her mobility to reach places in a short span of time. Continue capturing the remaining forts and take out any officers you encounter. Make sure that you don’t forget to open the treasure chest as well containing a new medicine.
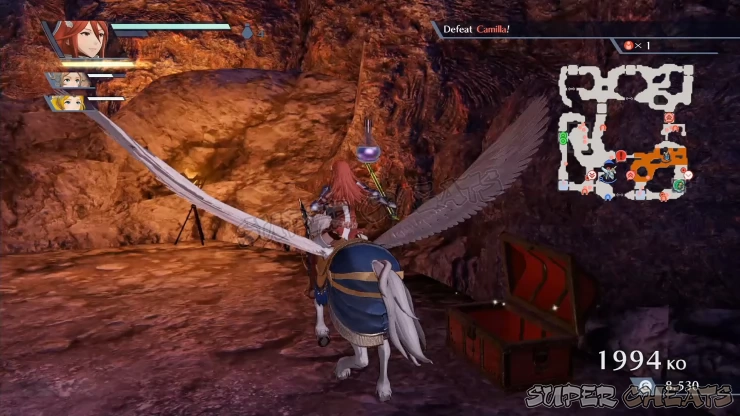
Once you’re done capturing all forts, it’s now time to head over Camilla’s base and confront her. Make sure to heal up and order your units to converge there to gang up on her. Camilla has exceptional strength and damage but not something that you can’t handle at this point, especially when you’re paired up. Use awakening and dual specials to weaken her and deal burst damage against her.
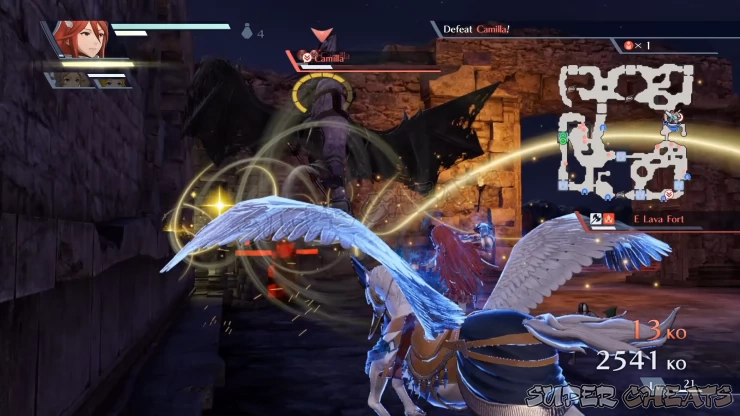
Completing this mission will unlock the following:
- If you’ve been collecting all Anna’s Mementos whenever you can, you should already have 5 by now which should be enough to level up your Camp’s Temple menu, unlocking more blessings.
- Elise and Camilla as playable characters

First Memento
After reaching 1,000 kills, Anna will appear in the field across the flight bridge west of S Mount Fort as shown below.
Second Memento
This will become available after finishing the main story once, and obtainable only by replaying the mission in Hard or Lunatic difficulties.
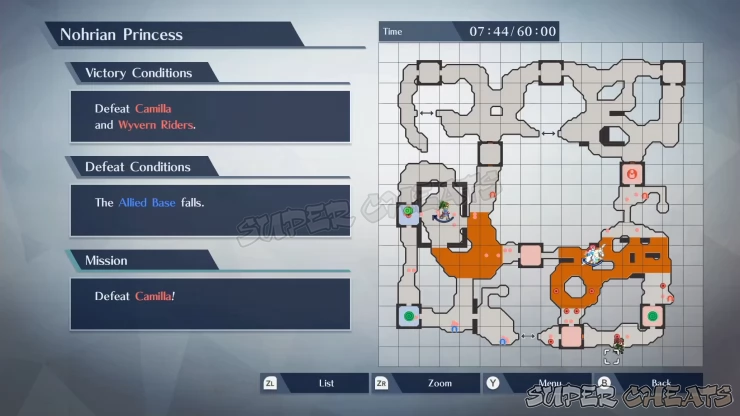
Anna’s Condition: Rescue Myrmidon without cooling any lava.
Continue with the mission normally and capture forts but don’t activate any dragon vein yet. Wait until the Myrmidon appears and the related sub mission starts. Once it does, have a dedicated healer escort him, preferably Cordelia since she’ll be immune to lava damage for being a flying unit. Defeat any enemy blocking his path (including ordinary foot soldiers) and heal him as needed.
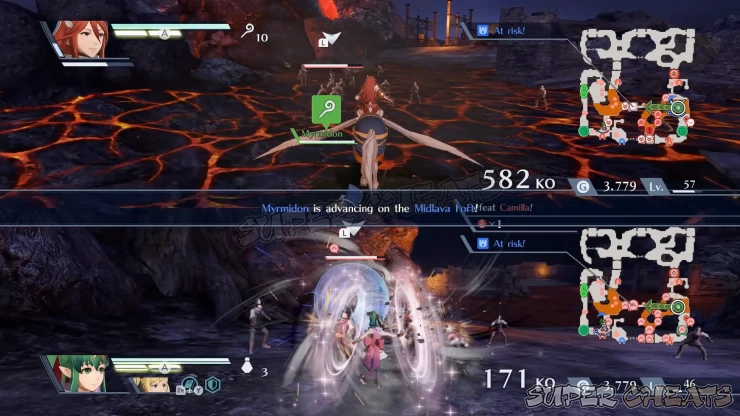
Once he reaches the Midlava Fort, the sub mission will be complete and Anna will appear in the path connecting the SE Geyser Fort and S Mount Fort.

Anything missing from this guide?
ASK A QUESTION for Fire Emblem Warriors
Comments for Chapter 9: Nohrian Princess
Add a comment
Please log in above or sign up for free to post comments- Basics - System
- Basics - Combat
- Basics - Battlefield
- Basics - Camp
- Story Mode
- History Mode
 Join us on Discord
