Chapter 5: The Dragon’s Table
(Master Seal present)
Dragon Valley
Time Limit: 60:00
Victory Conditions: Defeat Mages and Validar
Defeat Conditions: Chrom falls in battle.
Anna’s Condition: Defeat 1,000 enemies.
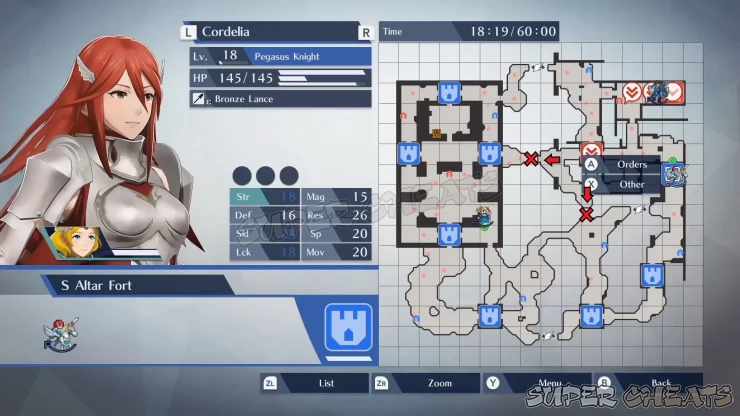
You’ll be able to use Cordelia now. At the same time, you’ll be introduced to paths that can only be crossed by flying units. Start off by dividing your force into two teams. You can have Lissa and Frederick pair up (or send them individually) to take over the E Wood Ruins fort and move along the east since they have the weapon advantage over the strong enemies there.
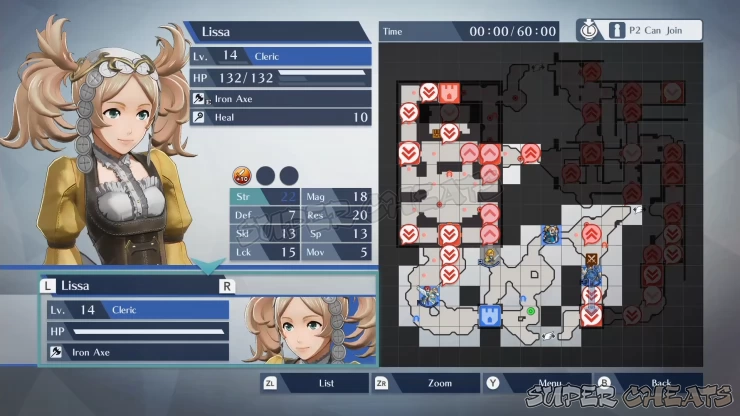
Next, have Lianna/Rowan to enter the shrine complex from the southeast entrance while Cordelia heads off to the S Shrine Fort where several enemy officers are located. Keep defeating them as fast as you can until the sub mission appears. For this sub mission, you have to rescue a Curate being attacked in the W Shrine Fort. Make sure to prioritize rescuing the Curate first since he’s unarmed and will go down easily. If possible, it will be better to meet up with Lianna/Rowan and pair up on the way there. A Dual Special should be powerful enough to take out the enemy officers occupying it and clear the fort of enemies, rescuing the curate in the process. Once rescued, the Curate will give you a valuable intel about the mage controlling a poison fog by the altar. This will also increase the bond with Cordelia and the other characters currently deployed in battle.
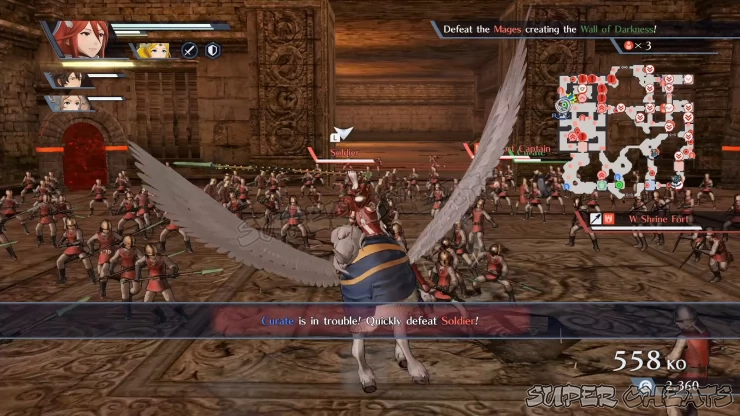
At this point, Frederick and Lissa should be able to break through the E Wood Ruins and head to the next gate. Don’t forget that Lissa has Heal which you can use by controlling her or ordering her from the Map menu. Cordelia can also use staves and rods but you don’t have one in your inventory yet at this point; just remember to give her one when you get an extra while you tackle the story mode. Be careful of the red circles with black exclamation points in the map when using Cordelia; these are markers for archers which she’s extremely vulnerable to. Avoid attacking them or ordering Cordelia to take care of them. If she’s paired up, you can just switch to her partner to safely engage and take out the archers.
Continue occupying enemy forts as you make your way to the mages. The mage inside the shrine is hanging around in a closed chamber guarded by a plate-armored gatekeeper. There’s also a chest in the southwest corner of that chamber. This chest is locked and the key is held by an enemy officer inside the Temple to the northeast. Take note of its location for now and work on eliminating all hostile forces inside the shrine, including the two enemy units waiting by the drawbridge and the pegasus path, east and northeast of the shrine respectively.
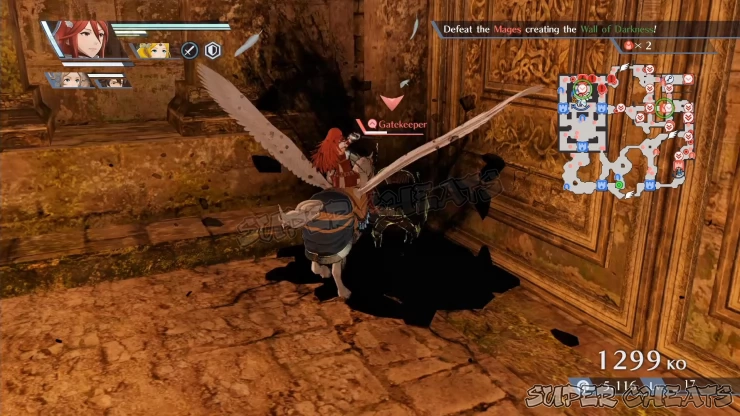
If your eastern team haven’t made any progress yet, you can consider taking control of them and continue taking over the forts there. Since you’ve been warned by the rescued curate earlier, you’ll get a new sub mission where you have to take out the mage controlling the Poison Fog as you make your way to the altar forts. The mage is located further north. Complete this sub mission to boost the bond with Frederick.


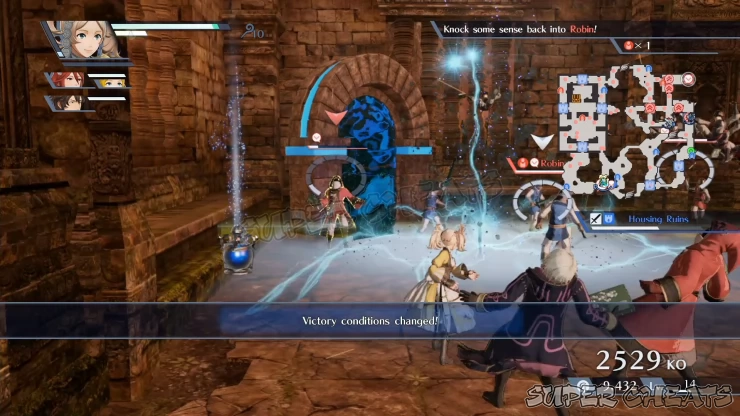
At this point, you should be able to defeat the last mage in the middle of the altar area. While you’re working on this, make sure to order Lissa to head back to Chrom’s position. Defeating the last mage will take down the dark barrier protecting the Temple Validar’s in. At the same time, a mind-controlled Robin with mages will appear as reinforcements, instantly taking over the fort Chrom’s located, cutting him off from the benefits of allied fort healing. If you sent Lissa here earlier, then you don’t have to worry at all. Marth will also appear as an unplayable ally. Take out the fort captain first to recapture the fort and give your team access to fort healing. Next, take out the mages then defeat Robin to force him to retreat. Mop up the remaining forces inside the fort then switch over to your main attack force to storm the temple and face Validar.
If you want to have Lissa regroup and help taking on Validar, you can lower the two drawbridges (from the altar side) to make it easier for your ground units to traverse the Map. After getting the chest key from the Myrmidon inside the Temple, have one of your units return to the temple chamber and loot the new staff inside.
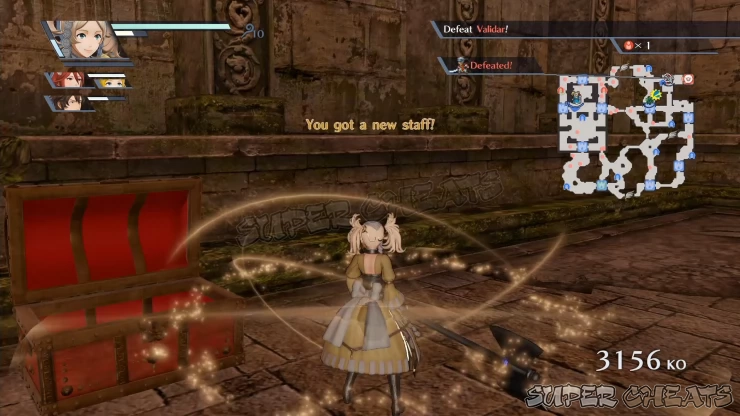
Like before, don’t send Frederick to take on Validar. Cordelia and Lianna/Rowan should be enough to resist his attacks considerably. A dual special should be enough to take him out in one blow or at least heavily damage him. If you have an Awakening Gauge full, you can activate that as well to finish him off. If you’re still having a hard time dealing with him, consider taking out the fort captain first to take over the fort and prevent Validar from getting healed. The mission will be complete as soon as he falls.


Completing this mission will unlock the following:
- Rowan or Lianna (depending on your chosen hero), Robin, and Lucina
- The Temple option will become available in your Camp menu.
- History Mode now playable. Invisible Ties Map/chapter added.
First Memento
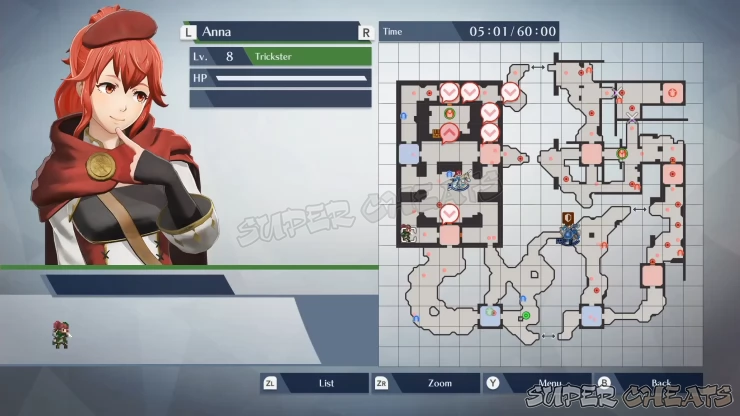
After reaching 1,000 kills, Anna wil appear in the southwest corner of the Temple interior as shown below:
Second Memento
This will become available after finishing the main story once, and obtainable only by replaying the mission in Hard or Lunatic difficulties.
Anna’s Condition: Defeat Validar before ??? (Robin) is defeated and without Chrom's HP falling below 60%.
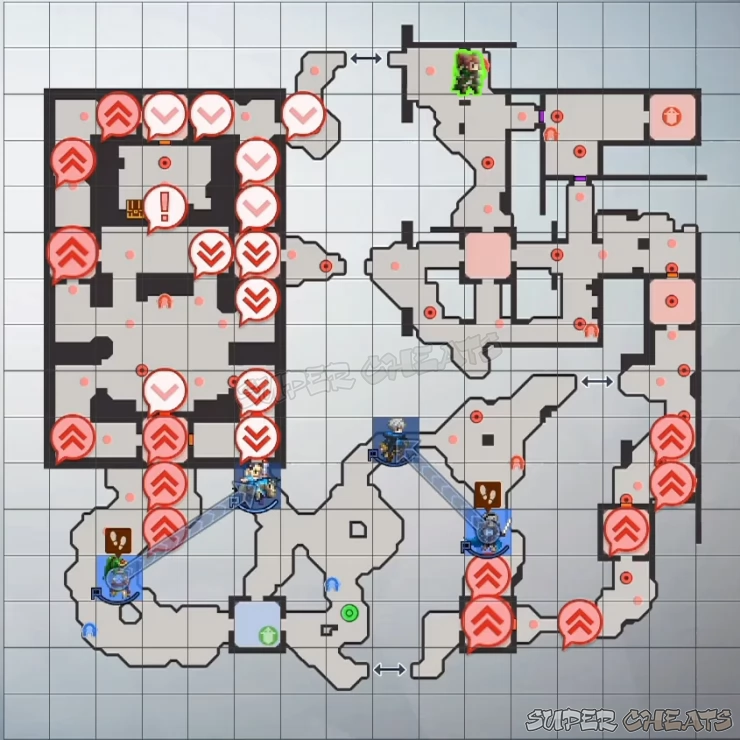
To meet this specific requirement, you have to prioritize taking out the mages that control the dark barrier protecting the Temple Validar is in. Refer to their positions below.
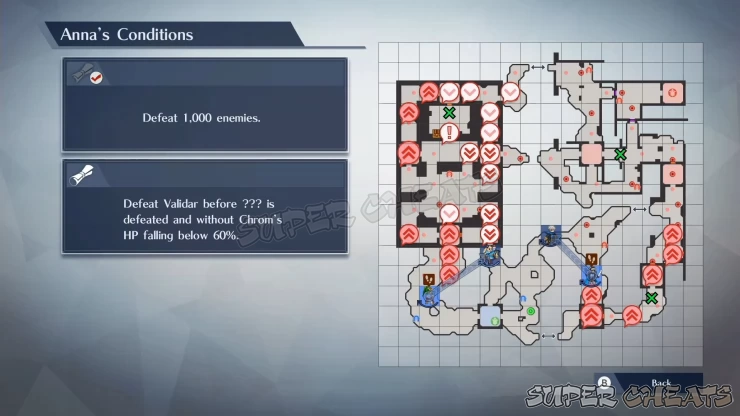
If you’re replaying this Map in two-player mode, then it will be easier since you can split your main attackers and head for the mages. After defeating the mages, Robin will appear with some mages inside the fort Chrom is staying. Since the fort will fall instantly when they appear, Chrom will lose access to fort healing. One of you should head to Validar’s position while the other heads back to Chrom’s position to engage Robin. Take note that Validar must be defeated first; the player engaging Chrom should take out the mages then keep Robin busy by luring him while the other player attacks Validar.
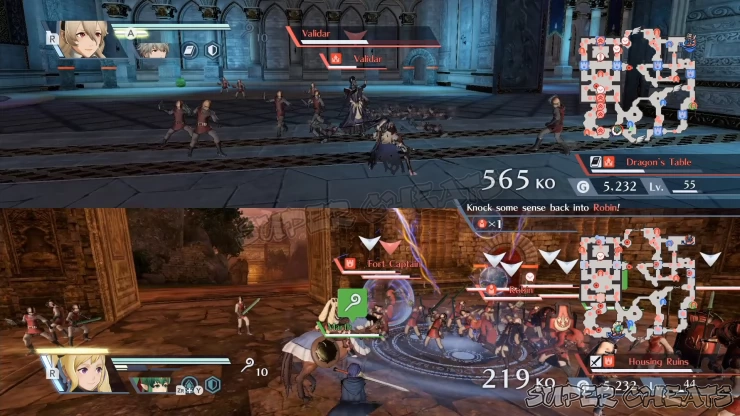
If you’re playing solo, you have to prioritize defeating Validar as fast as you can; otherwise, you can head over to Chrom to recapture the fort and defeat the mages. This should buy you some time while you head over to Validar since Chrom will have access to allied fort healing. After defeating Validar, Anna should appear near the outpost west of Dragon’s Table as marked below:

Anything missing from this guide?
ASK A QUESTION for Fire Emblem Warriors
Comments for Chapter 5: The Dragon’s Table
Add a comment
Please log in above or sign up for free to post comments- Basics - System
- Basics - Combat
- Basics - Battlefield
- Basics - Camp
- Story Mode
- History Mode
 Join us on Discord
