Tenuous Footing
Gears of War 2 Walkthrough and Guide
Gears of War 2 Guide - Act 5: Aftermath
Chapter 4: Tenuous Footing
Pick up the Longshot before making your way over to the crane. Move the platform down and over to the left so Dom can get on, and then shift it over to the building on the right. When Dom steps off, head over to the left. The crane on the other side soon collapses, creating a bridge for you to cross. Before crossing, however, use the Hammer of Dawn to clear the rooftops of Locust.
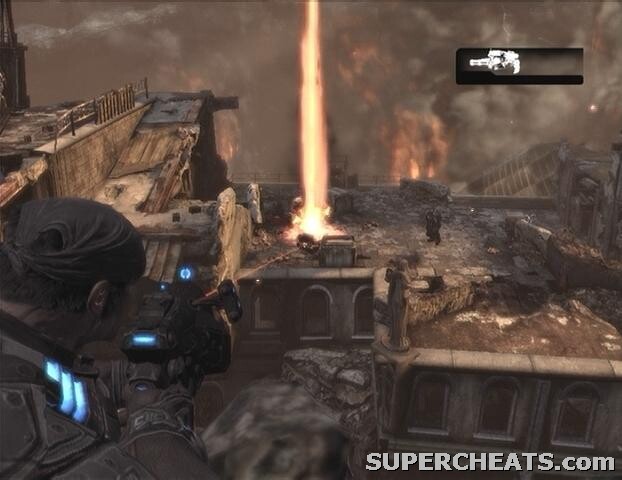 |
When the roof appears to be clear, cross over the bridge, but don't head down the ramp just yet. Use the Hammer of Dawn to kill the grapplers below, and then walk down the ramp to face a Mauler. Retreat back up the ramp and use the Hammer of Dawn to eliminate the Mauler. A Reaver will then appear at the other end of the rooftop, so hit it with the Hammer.
Head down the ramp and walk along the building. Kill the Tickers, Flamer, and Drone that appear around the corner, and then proceed through the two doorways. Blast the Tickers along the way and proceed down the wooden ramp connected to the nearby rooftop. Take cover behind the pipes to the right and use the Hammer to fry the grapplers as they come.
Collectible (1/1): After the roof collapses, jump through one of the windows and look in the top-right corner of the floor. The collectible (Stranded's Journal) is on the ground here. That's the last one!
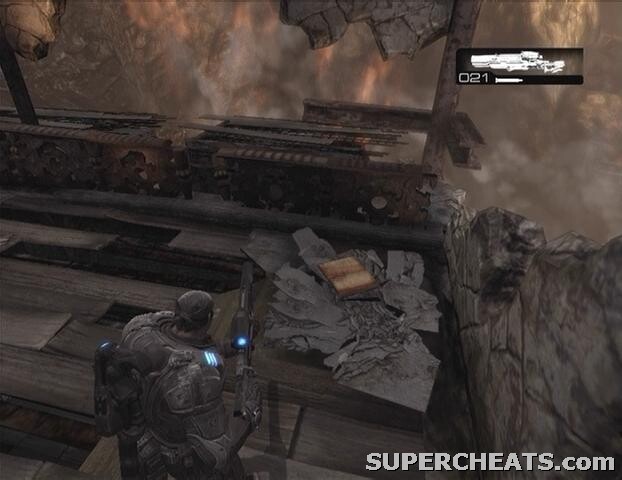 Collectible 1/1 | 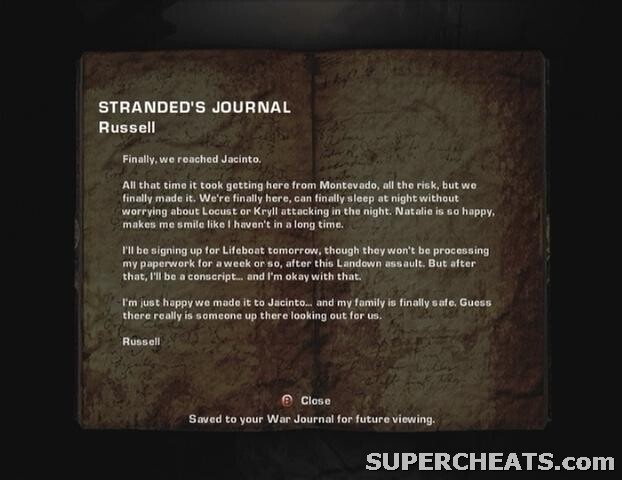 Stranded's Journal |
When you have the collectible, look over the railing and use the Hammer to blast the enemies down below before heading down the stairs. Use the Lancer's chainsaw bayonet to cut the cables on the roof below. If you aren't carrying a Lancer, a few regular melee attacks will also do the trick.
Start through the cage bridge and it will promptly collapse.
Use the Hammer to take out the Kantus and Drone up ahead, and then go through one of the windows of the nearby building. You can't do anything right now, but you may as well use the Hammer to rack up some kills on the approaching Locust army outside.
After the building collapses, hop over the columns and hit elevator door switch to escape. When the elevator comes to a stop, jump out and roadie run through the gunfire. Then, move over to the window frame and blast the Brumak pilot.
GoW 2 Cheats, Hints and Walkthroughs
No comments yet. Tell us what you think to be the first.