Indigenous Creatures
Gears of War 2 Walkthrough and Guide
Gears of War 2 Guide - Act 2: Denizens
Chapter 2: Indigenous Creatures
The Rock Worm here acts as a moveable cover, though it's not exactly reliable. It feeds on the glowing red bulbs that are strewn throughout the cave. Blasting one of these bulbs, thus dropping it to the ground, will lure the Rock Worm over to it, allowing you to take cover along its solid shell. Shoot the hanging fruit in this area to send the worm over to it.
Collectible (1/2): After crossing a narrow rock bridge over a small body of water, keep an eye out for a vine wall to your left. Use the Lancer's chainsaw bayonet or some normal melee attacks to cut through the vines. The collectible (Gears Journal) is on the ground in front of the Grindlift here.
 Collectible 1/2 | 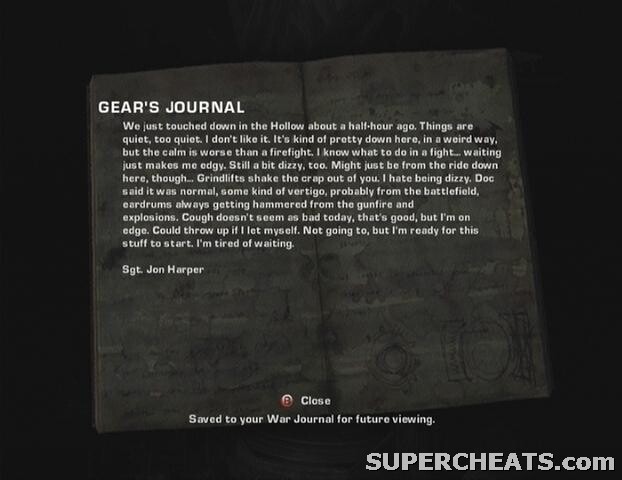 Gear's Journal |
Steer clear of that Rock Worm's mouth, as it won't hesitate to chomp on you if you get too close. Keep an eye out for more hanging, glowing fruit and shoot them down to send the Rock Worm towards them. Start down the path and pick up the ammo box and Frag Grenades by the Grindlift you come to.
Take the high road on the left and grab some cover along the ridge. There is a Troika gunner and some Drones in the small encampment below; try to land a Frag by the Troika gunner to take him, otherwise your AI allies should be able to hold his attention while you gun him down from afar. When the Troika gunner falls, move down to the area below and take cover behind the sandbags. More Drones will soon enter the area using the ladder behind the Troika, so gun them down quickly before they can get behind cover.
After the fight, pick up the two ammo boxes and climb one of the ladders to reach higher ground. There are some Frag Grenades and another ammo box to your left when you reach the top of the ladder. Start down the path across from the ammo and grab some cover behind the Rock Worm when it enters the area. Toss a Frag behind the cover up ahead to hopefully take out the Drones hiding there.
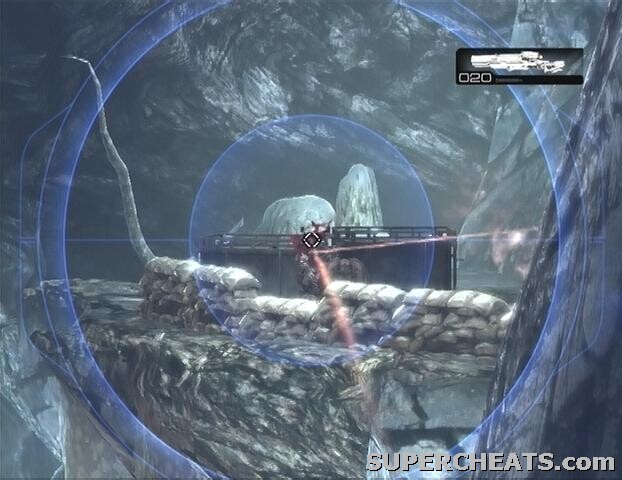
When the way is clear, head towards the Grindlift in the distance. There are a couple of Longshots by the Grindlift further ahead, so swap it with one of your weapons and use it to take out the snipers and Troika gunner on the platform to the right. When using the Longshot, always aim for your target's head for an instant kill against most of the Drone-type enemies. This is a powerful weapon, so keep it in your possession for as long as possible.
 |
A number of snipers will position themselves on the same platform, so continue killing them until they cease. Afterwards, follow the Rock Worm when it enters the area. When you reach the split, take the path to the right. Don't waste any ammo on the Locust patrol group below and instead climb up the ladder here to reach higher ground. Grab some cover behind the trailer once up top and use a Frag Grenade to take out the first Troika gunner behind the sandbags.
With the first gunner down, use your Longshot to pick off the remaining grubs in the encampment. There is another Troika at the right end of the encampment, so switch over to the sandbags to the right of the trailer and pick him off with a headshot if he's preoccupied with your allies. Use your Longshot to take out the remaining Drones, but stay where you are.
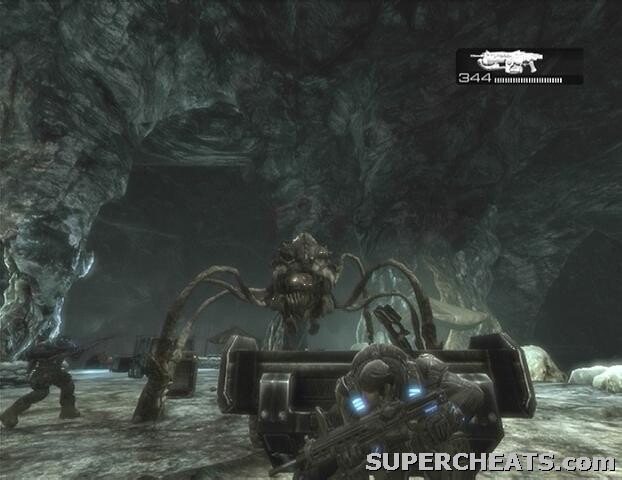 |
Once the camp is clear a Reaver will enter the fray. Remain behind the sandbags and hit the Reaver with Lancer fire, but fallback to a further piece of cover if the beast gets too close. A single pound from one of those claws will turn Marcus to mush, so be careful. Its body will explode once it falls, so make sure you're a safe distance away when the time comes.
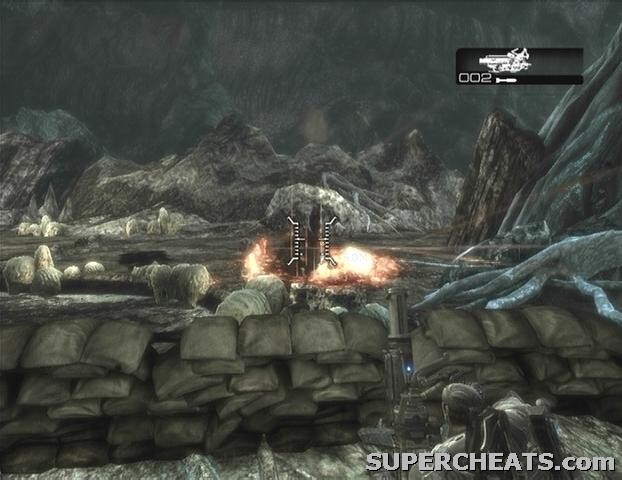
Right after the Reaver ordeal, get on the Troika across from the door because a pair of Boomers and some Wretches will enter through the door across from the encampment. Using the Troika here may not work out as planned, since it does leave you open to their Boomshot fire, and one of those to the chest will spell the end for you. However you should have hit a checkpoint after downing the Reaver, so there's no risk in trying for an easy kill.
Collectible (2/2): The collectible (Kantus Scroll) is in the corner across from the Troika emplacement closest to the door.
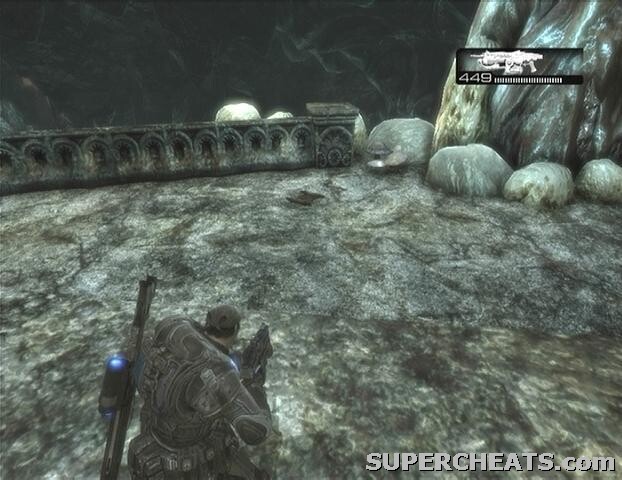 Collectible 2/2 | 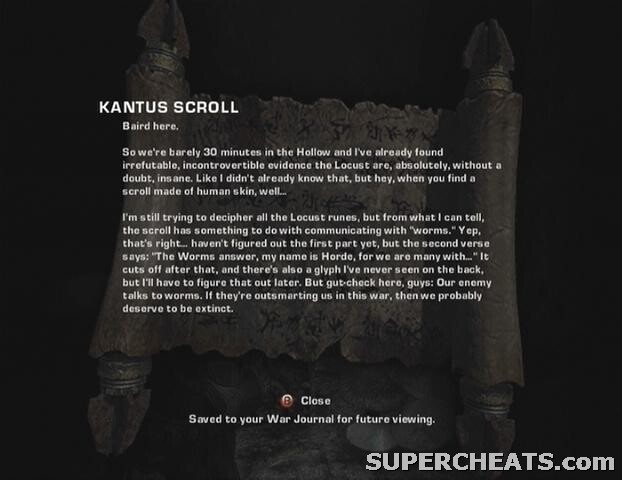 Kantus Scroll |
Pick up the collectible and ammo boxes in this area before proceeding through the door that the Boomers came through. Roadie run down the slope to trigger a brief cutscene. Continue down the winding slope and use you Longshot to eliminate the Locust Mortar squad and Troika gunner that has Alpha pinned down. If you're out of Longshot ammo, move up and take them out from up close using one of the sandbags as cover.
With the Mortar squad taken care of, move up and take one of the Mortars they left behind. Use the Mortar to kill the enemy squad at the right end of the area below. There should be white markers to signify how far you have to aim to reach them. A brief cutscene is triggered when the last enemy falls. Follow your allies down the path to complete the chapter.
 |
GoW 2 Cheats, Hints and Walkthroughs
No comments yet. Tell us what you think to be the first.