Dirty Little Secret
Gears of War 2 Walkthrough and Guide
Gears of War 2 Guide - Act 3: Gathering Storm
Chapter 1: Dirty Little Secret
Walk down the path and eventually you'll come to the abandoned facility. Kick in the front door and step inside. Proceed through the doorway at the other end of the room and walk to the end of the hall to trigger a cutscene. After the cutscene, head through the doorway around the corner and start down the hall. Move through the next few rooms and you'll eventually come across a Flamethrower. If you wish to pick up this weapon (it isn't really necessary here), be sure to keep your Lancer because you'll be needing it soon, and swap out your secondary weapon for it. Flip the switch in the next room to restore power to the warehouse.
Head to the other end of the storage room and hit the switch to the right of the door to open it. Go up the stairs to reach the catwalk and a bunch of Wretches will spawn. Now's the time to put that Flamethrower to good use if you picked it up. Of course if you didn't pick it up you can also take them out with a normal melee hit or shotgun blast. There are a lot of them though, so if you are getting overwhelmed it might be a good idea to pick up the Flamethrower on the catwalk at the top of the stairs. Step off of the catwalk just before the stairs and melee or scorch the Wretches as they come towards you. If Dom is incapacitated, don't bother reviving him until you hear the battle end sound effect.
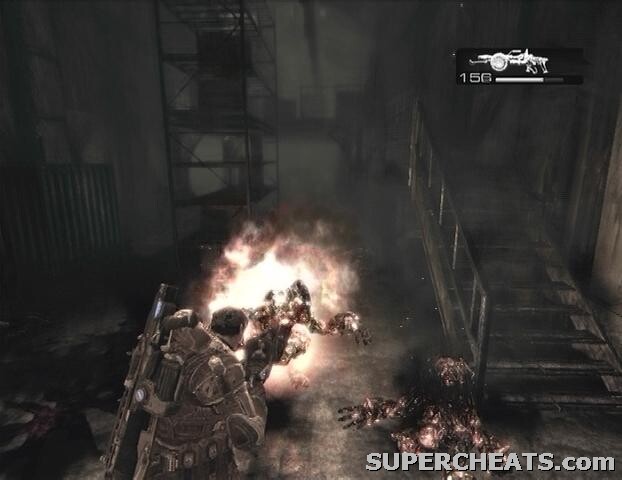 |
After the Wretch onslaught, make your way to the other end of the room and use the handwheel to open the roll-up door. After the cutscene, carry the explosive charge over to the lift in front of the open roll-up door and wait for it to rise. Step into the room and wait for the Wretches to appear. If either you or Dom is incapacitated, you're toast, so you'll have to keep these Wretches off of you.
You're able to wield a pistol while carrying the bomb, so use it to either shoot the Wretches before they can get too close, or use it to beat them down while they're right next to you. When the door at the other end of the room opens up, stay put because more Wretches will come through. When the way seems relatively clear, proceed through the open doorway.
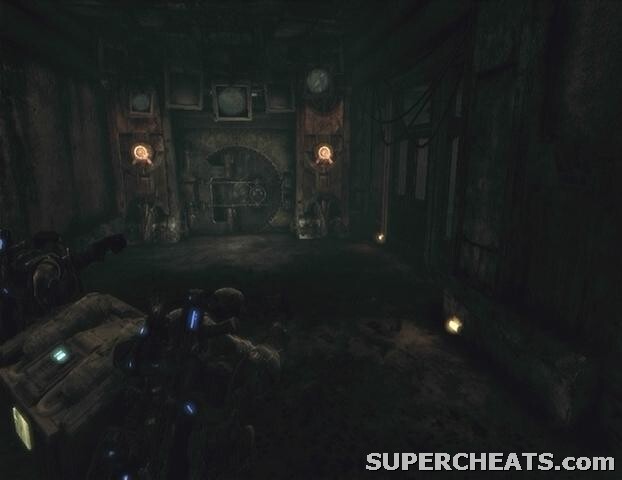
Once you're past the doorway, turn right and start down the hall. More Wretches will come down from the ceiling, so don't move too quickly. Continue down the hall until you reach the vault door.
 |
GoW 2 Cheats, Hints and Walkthroughs
Thanks me and a friend couldent find out where to bring the bomb