Act 5 Collectibles
Gears of War 2 Walkthrough and Guide
Gears of War 2 Guide
Act 5 Collectibles
Chapter 2: Desperate Stand
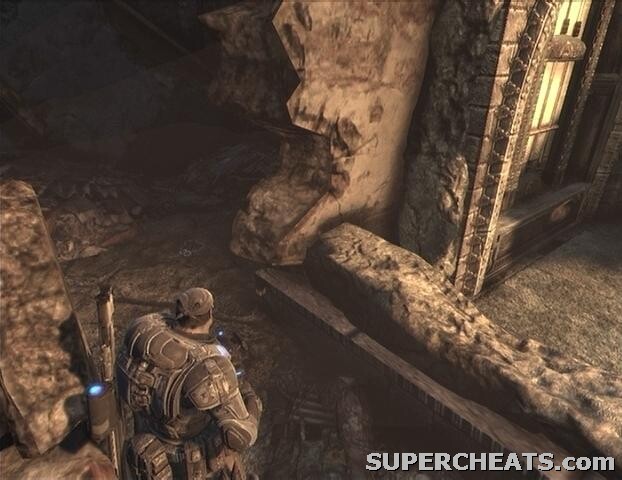
Collectible (1/2): After the KR-36 helicopter blasts the Reaver on the landing platform, head through the arched doorway to the right and down the steps there. Move around to the front of the gate where the ammo container is and look for the collectible (COG Recon Report) on the ground here.
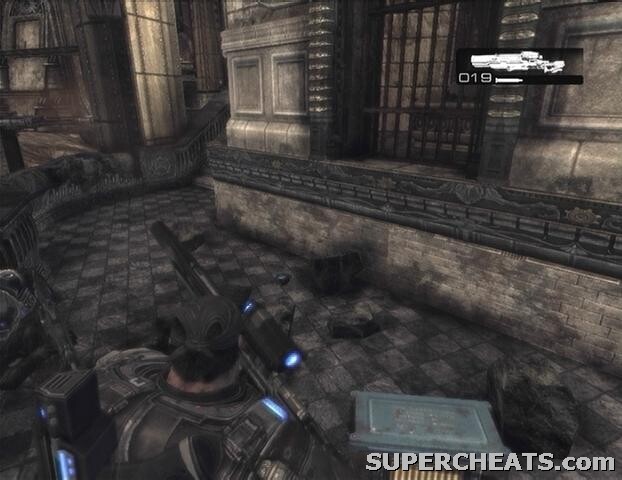 Collectible 1/2 | 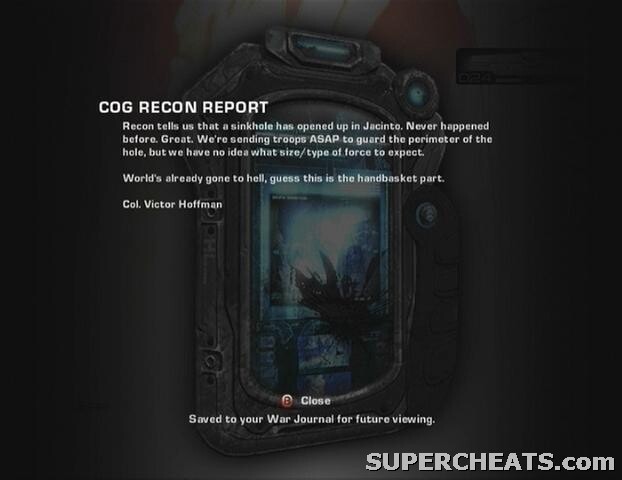 COG Recon Report |
Collectible (2/2): This one is found after you have to defended the Comm-Sat Array from the Reavers. When you reach the large, open area through the gate that Hoffman opens, walk through the arched doorway at the end of the walkway and go down the steps to the left. The collectible (COG Tag) is at the end of this platform, on the ground by the ammo container.
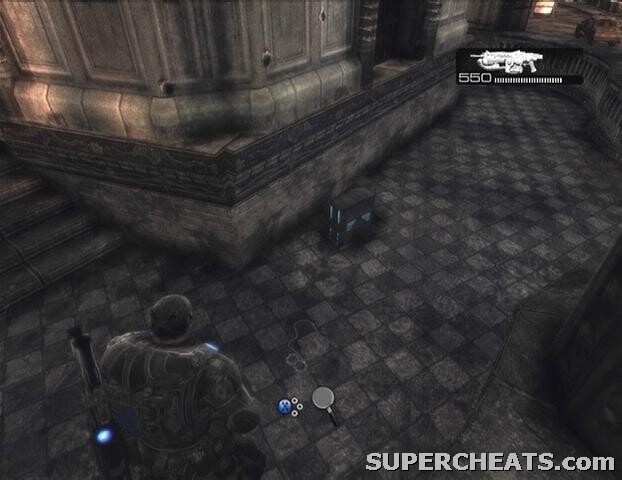 Collectible 2/2 |  COG Tag |
Chapter 3: Free Parking
Collectible (1/2): After securing the courtyard, open the gate by turning the handwheels and clear the next area. When the Grinder and Drones have been dealt with, move past the wall off to the right where the Grinder was and turn right once you pass by the columns. The collectible (Jacinto Sentinel Newspaper) is on the ground by the rusted car, covered by some leaves.
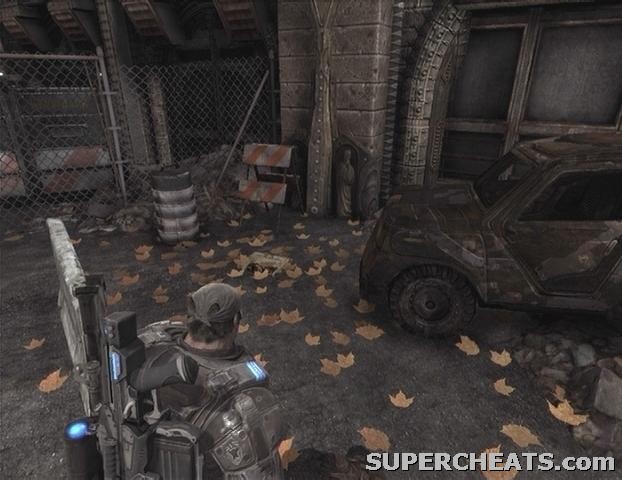 Collectible 1/2 | 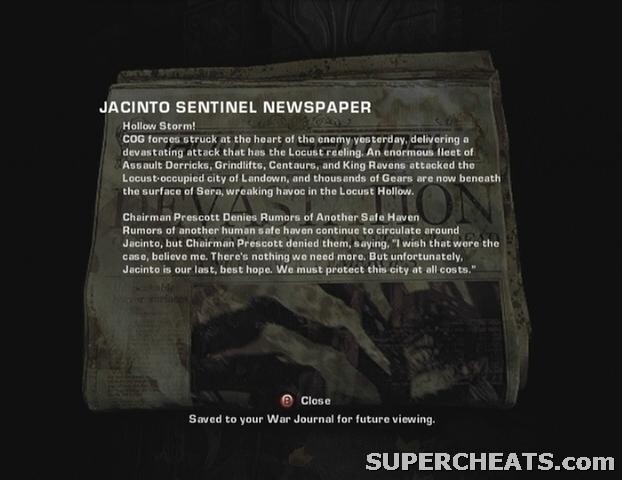 Jacinto Sentinel Newspaper |
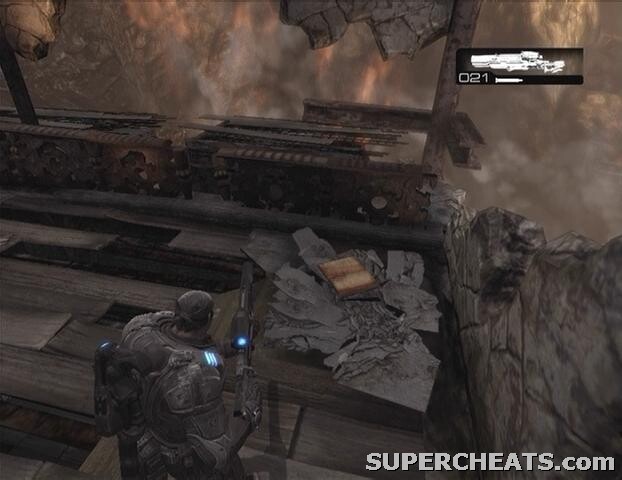
Collectible (2/2): Shortly after you collect the Hammer of Dawn, a building in the distance will collapse. Kill the enemies that appear before moving on. Just beyond the collapsed tower, look for a hole in the first building on the left side of the street. The collectible (COG Tag) is on the ground through this hole.
 Collectible 2/2 | 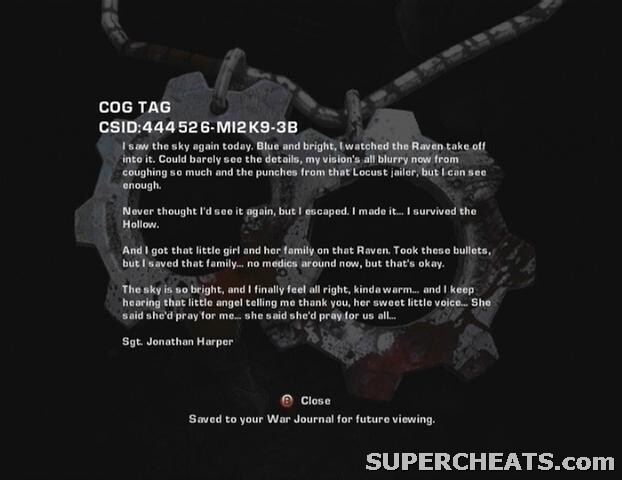 COG Tag |
Chapter 4: Tenuous Footing
Collectible (1/1): After the roof collapses, jump through one of the windows and look in the top-right corner of the floor. The collectible (Stranded's Journal) is on the ground here. That's the last one!
 Collectible 1/1 | 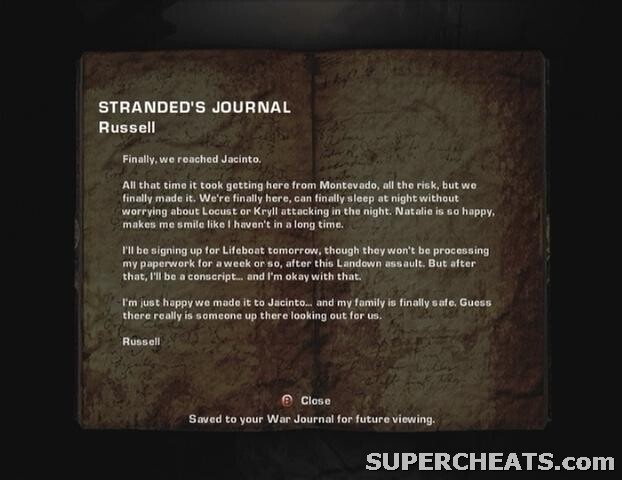 Stranded's Journal |
GoW 2 Cheats, Hints and Walkthroughs
No comments yet. Tell us what you think to be the first.