Answers
Gears of War 2 Walkthrough and Guide
Gears of War 2 Guide - Act 4: Hive
Chapter 2: Answers
Move up and activate the first terminal you come to. A bit further up you'll meet a Locust patrol group. You can either engage them, or remain behind cover and let them pass by. There's a Theron Guard among them, so it would probably be best to just let them pass unhindered.
Collectible (1/1): Once the Locust patrol group is out of the way, activate the second terminal and then look to the left of the large transport vehicle. The collectible (Prisoner's Journal) is on the ground here.
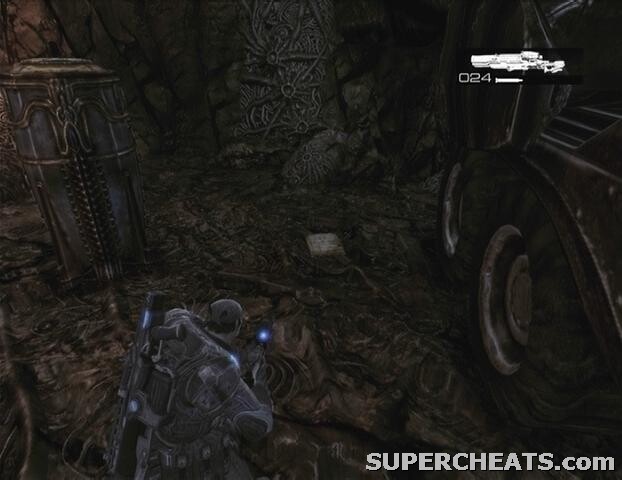 Collectible 1/1 | 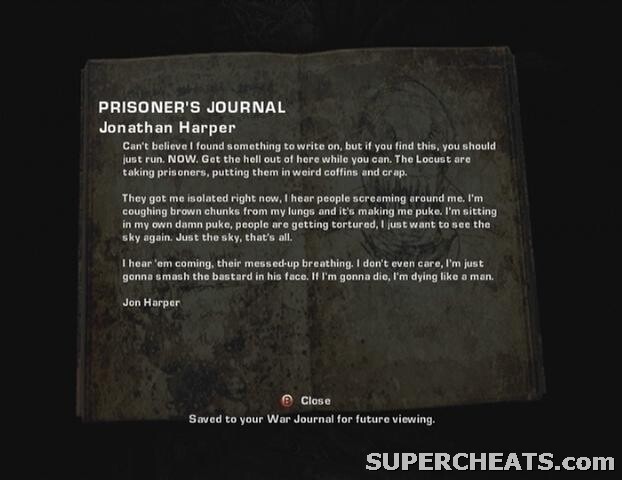 Prisoner's Journal |
After picking up the collectible, move on to the next terminal and activate it. There are more enemies up ahead; again, you can either take cover and let them be or you can kill them. When the patrol group is out of the way, move up to the next terminal and activate it. Once again, there are more enemies up ahead, so either take cover and wait for them to leave or fight them off.
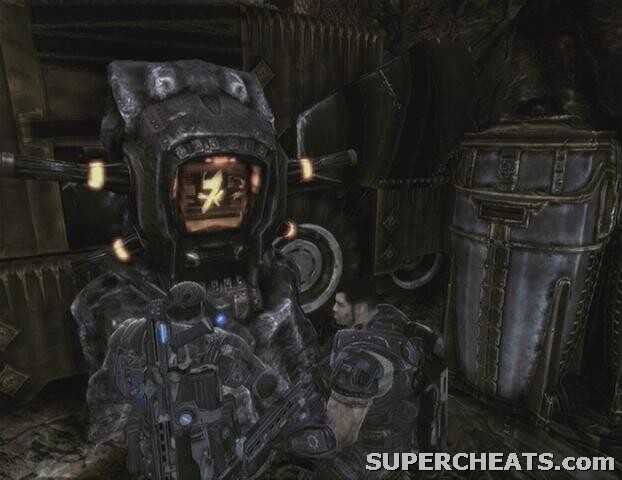 |
The next terminal is the one you're looking for. Upon activating this terminal, a Bloodmount and some Wretches will appear. After the first batch of enemies, some more will appear off to the left. Once they have been dealt with, a Grinder and some Drones will come from the right. Finally, a pair of Theron and some more Drones will hit you from the left. Remember to keep your head down when you spot a Theron charging a shot.
GoW 2 Cheats, Hints and Walkthroughs
No comments yet. Tell us what you think to be the first.