Rude Awakening
Gears of War 2 Walkthrough and Guide
Gears of War 2 Guide - Act 3: Gathering Storm
Chapter 3: Rude Awakening
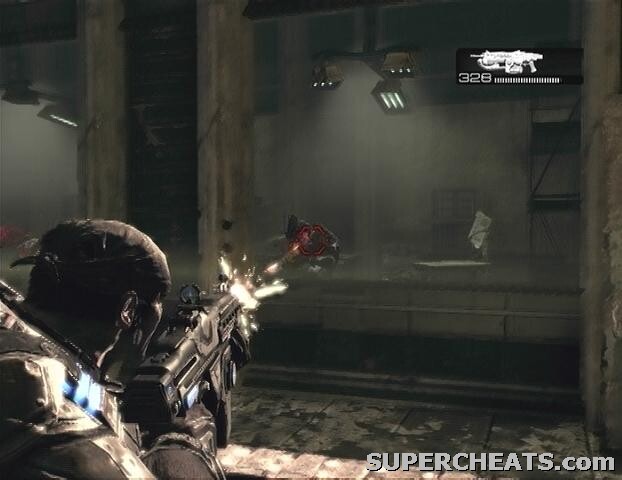
The Sires in the laboratory downstairs have been awakened. If you still have a Lancer Assault Rifle with you, fighting off these creatures will be a cinch since the chainsaw bayonet can easily cut through them. Best of all, while cutting through one Sire you'll be immune to damage any others around you.
When you're ready, head back down to the lab and walk off to the right to trigger a brief cutscene. Ready your Lancer and slice through the first Sire. Move deeper into the lab to trigger more. Make your way into the next room and continue to walk around the cells and chainsaw the Sires as they pop up.
 |
Move on to the final section of the lab and make your way over to the gate. There is a handwheel on either side of this gate, both of which must be turned at once to open it. Wait until the way is clear before grabbing one of the wheels. If you notice a Sire coming up from behind while you're turning the wheel, tap the X button to get off so you can chainsaw the creature. When the gate opens, go down the steps in this room and look for the terminal and lever off to the left. Switch the lever to shut down the facility's security system.
Afterwards, proceed through the doorway and head down the hall to enter the next area. A group of Locust burst through the wall here. Toss a Frag Grenade over if you have one to spare. Shooting at the tanks on a Flamer's back will cause it to explode. You'll know you've done enough damage to the tank once fire is shooting out from it. Just steer clear of the Flamer to avoid taking damage from the explosion that ensues.
Continue on through the hole in the wall once the first batch of enemies has been dealt with. There is another auto-turret down this hall, so after stepping through the work area doorway, turn left and go through the doorway there to reach the switch that deactivates it. Hitting this switch brings up the turret in the work space across the way, likely wiping out the enemies covering there.
 |
Walk down to the end of the hall and grab the ammo box in the storage room on the left. Continue on into the next area to encounter even more Drones. Finish them off and then kick in the double door to reach a circular room with a large skylight. Just sit behind cover and wait for the razorhail to break through the skylight and kill the Grinder and Drones in the center.
As has just been demonstrated, standing in razorhail will get you killed. You're about to head outside, so you'll have to find a way to get to where you need to go while avoiding the hail. Walk around the area below the skylight to avoid the falling hail and head out the door at the other end of the room.
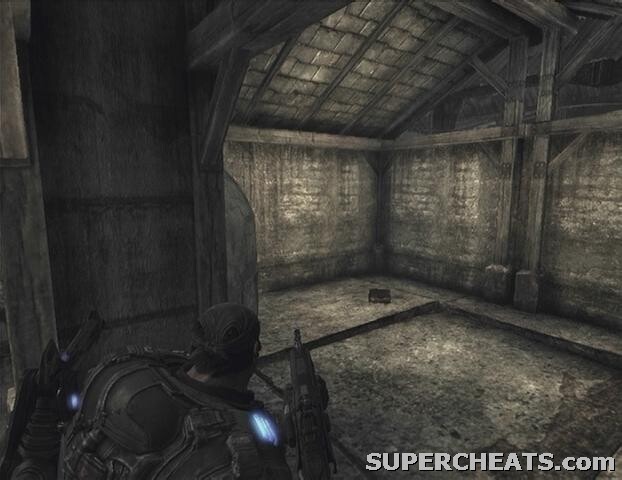
Collectible (1/2): Once you're outside, turn right and roadie run and roll over to the building there. You'll take a bit of damage from the razorhail, but it won't kill you. The collectible (Doctor's Journal) is in the corner at the far end of the building's interior.
 Collectible 1/2 | 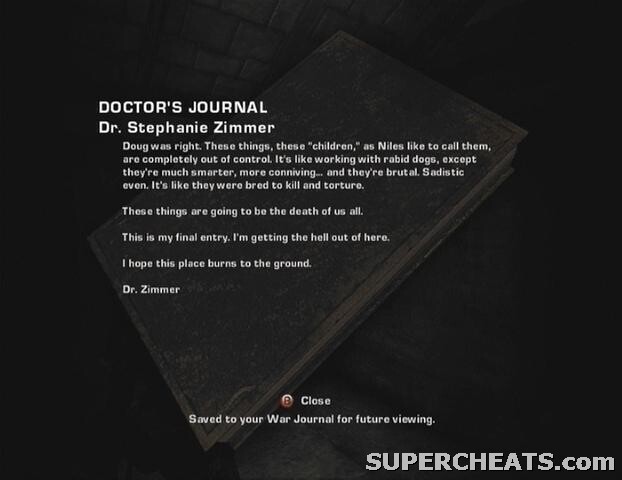 Doctor's Journal |
When you have the collectible, roll back over to Dom and then over to the building on the left. Next, roadie run over to the train car, tap the cover button to slide over to it, and then climb up onto it. If there's a Drone on the train car, use the Lancer's chainsaw bayonet to kill him. Once you're safely on the train car, pull the lever on the left to start it down the track. Stay behind cover and don't waste your ammo on the enemies along the way.
Once the car comes to a stop, step off and board the next train car at the other end of the area. Head out the other side and take cover behind one of the cement slabs here. Try to toss a Frag Grenade into the emergence hole at the end of the way if you have one to spare. Kill off the Drones up ahead and pick up the Longshot and ammo left by the snipers if you wish. When the way is clear, follow the marquee roof over to a doorway and enter. Immediately take cover behind the low wall and move over to the handwheel and roll-up door.
 |
Kill all nearby Drones in the area first, and then turn the handwheel once to block the razorhail with the roll-up door. Hug the wall, cross over to the next section, and hop over the low wall. Use the handwheel to open the roll-up door here all the way. There are a few locusts on the covered platform across from the roll-up door; use the Longshot to take them out if you're carrying one. Once the locusts on the platform have been dealt with, head outside and hop over the low wall to your right. Use the handwheel to open the roll-up door here and go through.
Stand in front of the doorway at the end of this area and roll over to the concrete slab cover.
Collectible (2/2): The collectible (Captivity Marks) is in the building across from the train car door. Roadie run and roll through the razorhail to avoid taking severe damage. When you enter, turn left and look along this wall for the carving.
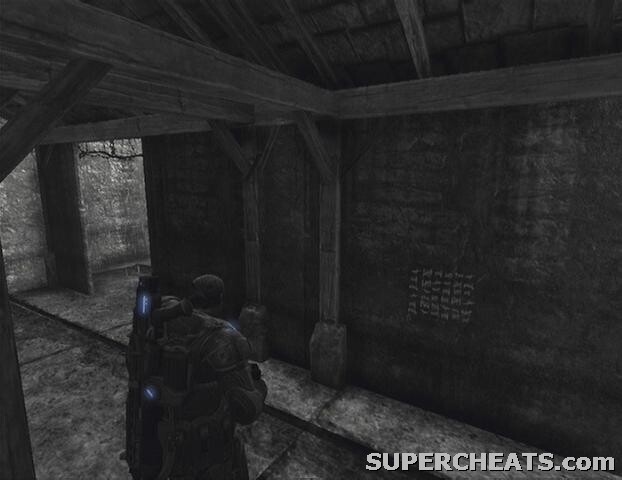 Collectible 2/2 | 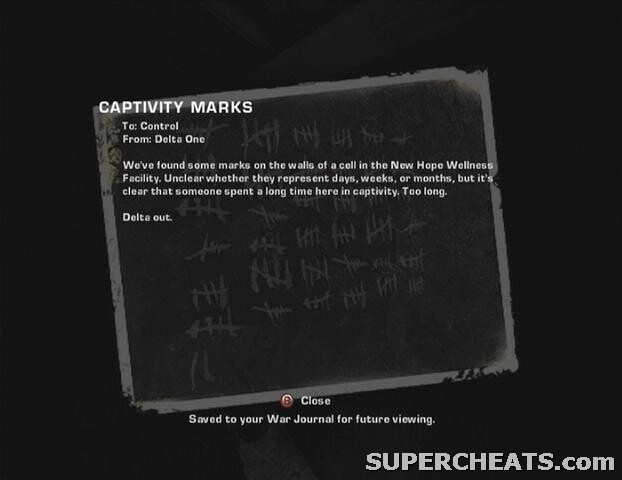 Captivity Marks |
Get in the train car after Dom and pull the brake release to start moving. There's a Boomer on the platform that you probably won't be able to ignore since he can easily gib you through the train car's windows. You can try to hide at the far right end of the car, however just killing might be your best bet.
When the train reaches the end of the track, get out and climb up the ladder in front of it. At the end of the walkway, roll through the patch of razorhail to the other shelter. Roadie run and roll past the next patch and grab some cover behind the cement slab at the front of the shelter. An emergence hole will open up by the wrecked car up ahead, so use a Frag Grenade to plug it up if you have one to spare. If not, you'll just have to fight off the Drones that climb up until they stop spawning.
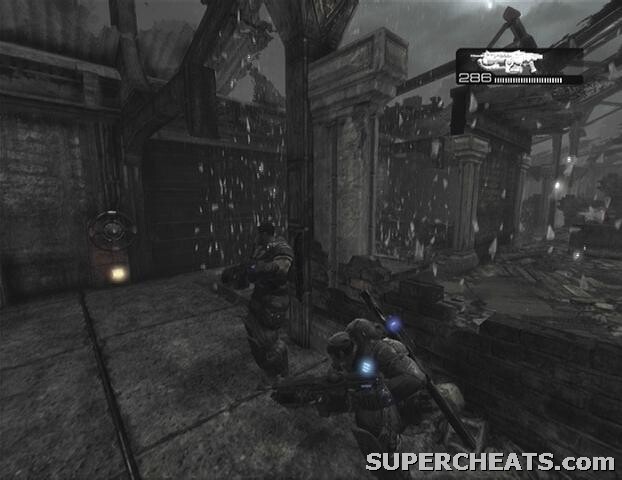
After downing the first few enemies, roadie run past the wrecked cars to the next shelter.. Do the same when the enemies under the shelter up ahead have been taken care of. You'll encounter a couple of Mauler Boomers while underneath the next shelter. These guys are really dangerous up close, so be sure to stay behind the railing in the middle of the shelter. The Mauler Boomer wields a flail that can down you with one blow, and carries a deployable shield that can protect him from gunfire. Sit back behind the fence and unload your Lancer into the brutes. If your target crouches down and deploys his shield, shift around until you can get a bead on him.
 |
Once the two Maulers have been dealt with, start roadie running over to the next shelter and the razorhail should cease. Another emergence hole opens up ahead, but you just need to kill a few more Drones to complete the objective. Continue down the path until you reach the Centaur. A couple of Reavers will appear and attack the squad, so be ready. Kill the two Reavers to complete the chapter.
GoW 2 Cheats, Hints and Walkthroughs
you can shoot the mauler boomer's feet when he deploys his sheild