Free Parking
Gears of War 2 Walkthrough and Guide
Gears of War 2 Guide - Act 5: Aftermath
Chapter 3: Free Parking
Take cover behind the sandbags and wait for the Drones coming out of the archive building at the other end of the area to near. If you have a Longshot, start by taking out the snipers on the balcony, then stay where you are and start picking off the other enemies in the area. If you don't have a Longshot, there's one by the barricade off to the right of the statue.
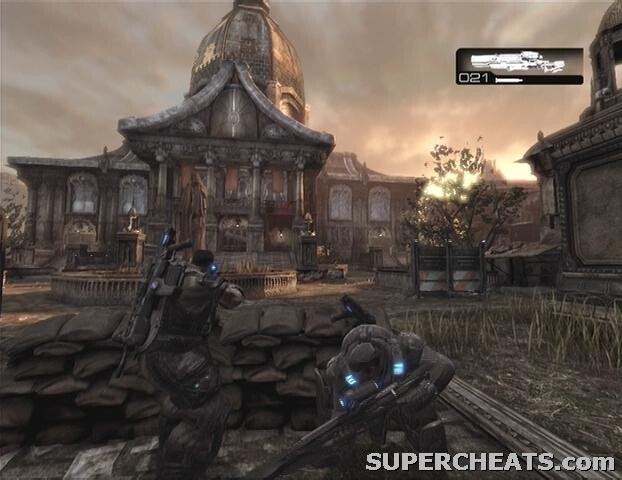 |
When the first batch of enemies has been taken care of, Flame Boomers and Drones will enter the area through the two doors on the left and right side of the archive building. One or more of the Drones may be carrying a Lancer Assault Rifle; they can use the Lancer's chainsaw bayonet to score an easy kill if you aren't careful, so keep an eye out for rushing enemies to prevent this from happening.
Once the outside is clear, enter the archive building through the door to the right of the main entrance. Clear the first floor and then take the stairs up onto the walkway. There's a Kantus up here, so be ready to dodge if it throws an Ink Grenade your way. There may also be Tickers up here. When the way is clear, turn the corner up ahead and be ready for a rush of Grenadiers. When you spot the Grenadiers running up the steps, fallback to avoid being blasted apart by their Gnashers.
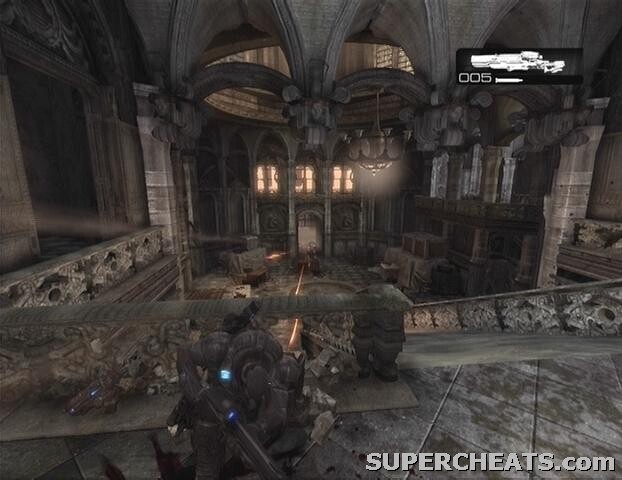 |
After the Grenadier rush, a Grinder will enter through the door on the first floor. Take cover behind the railing and kill the Grinder, then head down the stairs and through the front door. Be sure to grab that Grinder's Mulcher on your way out.
In the courtyard, position yourself behind one of the statues by the stairs. If you have a Longshot, use it to pick off the Troika gunner in the center. There are some Drones, Tickers, and Kantus to deal with initially. Afterwards, some Wretches and a couple of Maulers will spawn. Remain on the platform and fight off the Wretches when they climb the stairs, and then prepare for the Maulers.
A couple of Bloodmounts spawn once the Maulers and Wretches have been dealt with. Take cover behind the crates in front of the door and use the Grinder's Mulcher to quickly down the Bloodmounts when they come up the stairs. If you're out of Mulcher ammo, switch to your Lancer or Gnasher, but don't hesitate to retreat if the Bloodmounts get too close. Kill the two Bloodmounts and their handlers to secure the courtyard.
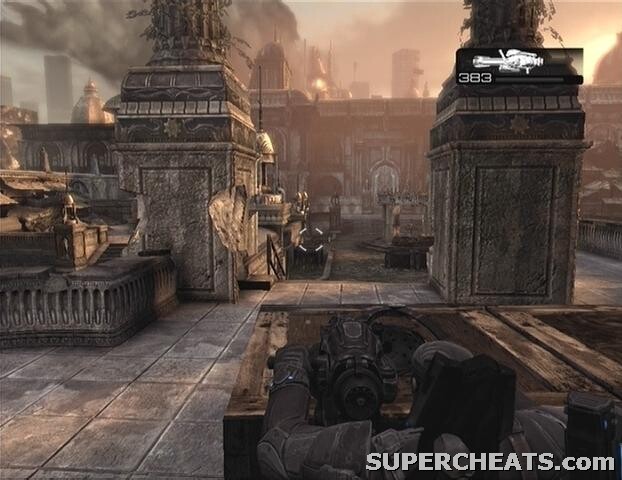 |
Head up the steps at the other end of the courtyard and get on one of the handwheels in front of the gate. Turn the handwheel to raise the gate, and then move up to the cover in the street. There's a Grinder to your right, and a bunch of Drones scattered about.
Collectible (1/2): When the street is clear, move past the wall off to the right where the Grinder was and turn right once you pass by the columns. The collectible (Jacinto Sentinel Newspaper) is on the ground by the rusted car, covered by some leaves.
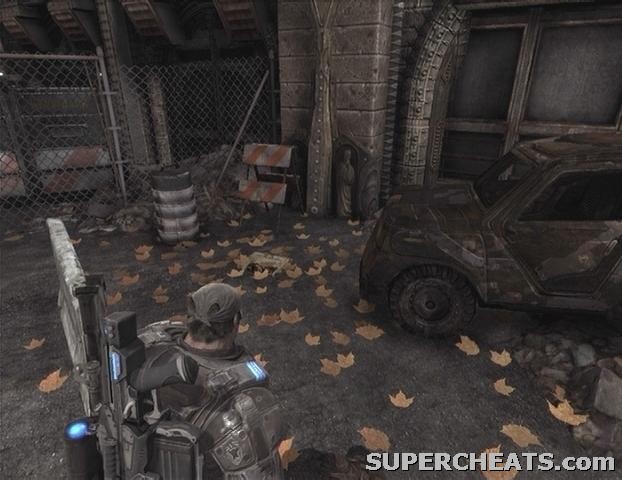 Collectible 1/2 |  Jacinto Sentinel Newspaper |
Once you have the collectible, continue down the alley and you'll come to a split. For the sake of following this walkthrough, choose the “Garage” path.
Garage Path: Head up the steps and kill the sniper by the window if he hasn't been taken care of already. Be sure to pick up the sniper's Longshot for ammo, or swap out one of your other weapons for it if you aren't already carrying one. There's an ammo container in the corner across from the window as well. When you're ready to move on, head down the hall and you'll reach the parking garage.
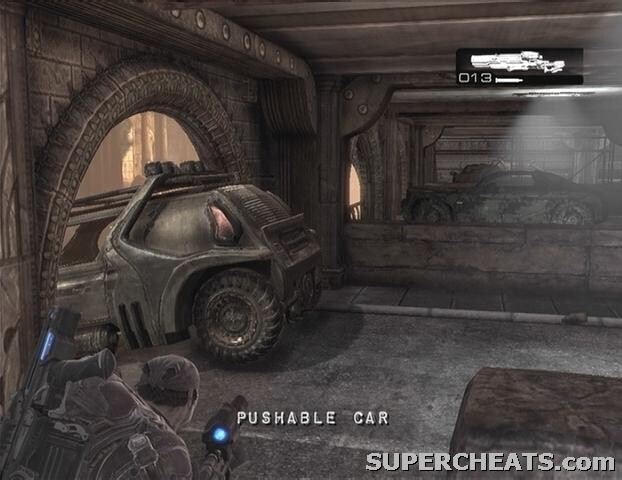
A few Drones and a Flamer will appear on the opposite side of the fence. Try to shoot one of tanks on the Flamer's back if you can to set him off. When the garage is clear, move towards the teetering car by the window and give it a kick to send it down to the street below. Hop over the low wall and make your way to the other end of the garage. Head down the ramp to return to the street and meet up with Dom.
 |
You'll encounter a Grinder at street level, so duck down behind one of the cars to avoid being shredded. Look for a COG soldier corpse by a car on the left side of the street. There's a Hammer of Dawn by this corpse, so swap out one of your weapons for it and continue on your way. Use the Hammer to obliterate the Reaver and Mauler that soon appear.
Collectible (2/2): Just beyond the collapsed tower, look for a hole in the first building on the left side of the street. The collectible (COG Tag) is on the ground through this hole.
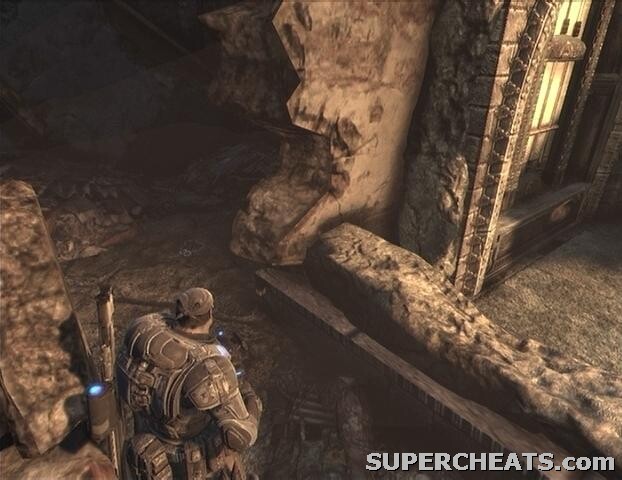 Collectible 2/2 | 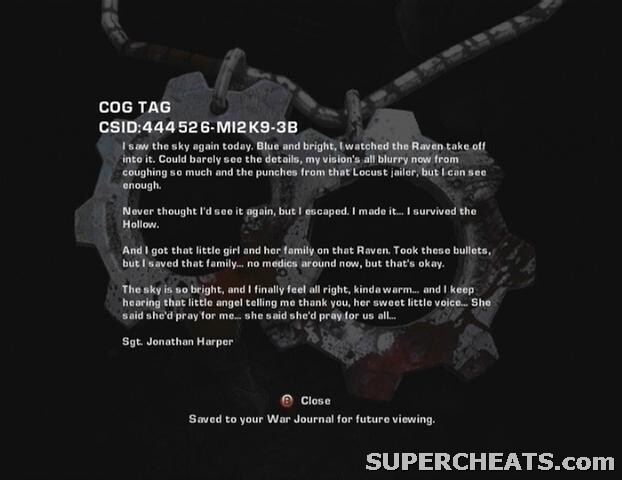 COG Tag |
Continue down Cooper Street to complete the chapter.
GoW 2 Cheats, Hints and Walkthroughs
No comments yet. Tell us what you think to be the first.