Scattered
Gears of War 2 Walkthrough and Guide
Gears of War 2 Guide - Act 2: Denizens
Chapter 1: Scattered
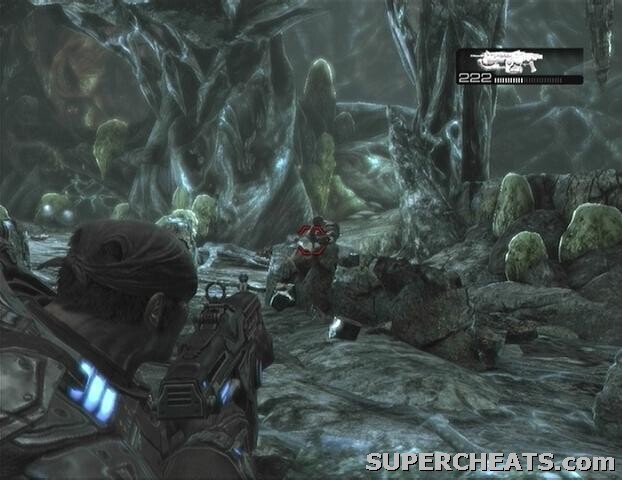
At the start of this chapter, you can either climb up the ladder behind you or go down the trail to the right of it. Both paths eventually converge, so go whichever way you like. When you spot the falling Grindlifts continue down the path to the left. Continue moving towards the skirmish and use the Lancer's chainsaw bayonet to cut down the vine wall that you come to. Grab some cover behind one of the rocks in the next area and gun down the Drones in the distance.
 |
Once you hear the battle end sound effect, start up the slope in the distance towards the two Grindlifts to meet up with Carmine. Pick up the Frag Grenades here and then quickly take cover along the ridgeline. A large number of Drones, and eventually some Tickers, will appear in the area below. Be especially careful of the Tickers, as they tend to dart up behind cover and detonate themselves. Remember to melee them if you aren't using your Lancer, otherwise fallback or roll to avoid taking damage. Switch to your Gnasher if more than one Ticker manages to get up the ramp, then roll away and blast them. Also watch for enemy Frag Grenades landing behind your cover.
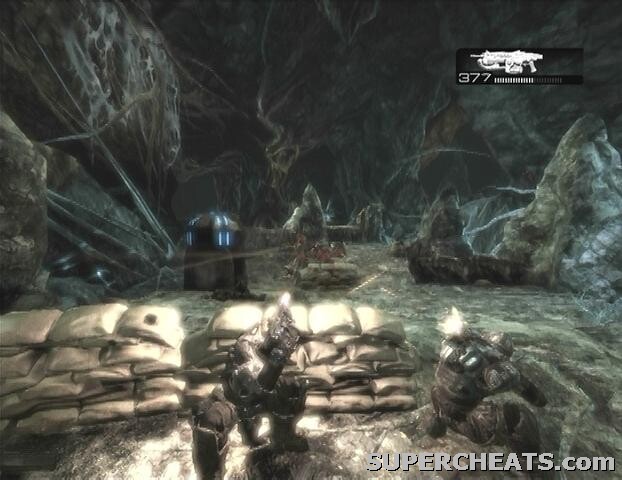
When the last Drone falls, move towards the overturned Grindlift by the rock wall and hit the switch on its side to start it up. Afterwards, go through the tunnel that the Grindlift created and start down the path to the area below to assist your comrades. Pick up the two ammo containers strewn about, take cover behind the sandbags up ahead, and then start firing at the enemies in the distance. There are Tickers here too, so keep an eye out and roll away if one manages to gets close to you. Two Boomers will enter the area near the end of the fight; just make sure you duck back down behind cover if one sends a Frag your way. It would be a good idea to pick up those Boomshots after the battle.
 |
Head through the rock archway after the battle and start down the lit path. There are Wretches along here, so switch to your pistol and use that beat them down when they get close. You'll eventually come to another vine wall. If you swapped your Lancer out for another weapon and don't wish to pick up another one, a few normal melee hits will cut through the vine wall too.
GoW 2 Cheats, Hints and Walkthroughs
No comments yet. Tell us what you think to be the first.