Act 3 Collectibles
Gears of War 2 Walkthrough and Guide
Gears of War 2 Guide
Act 3 Collectibles
Chapter 2: Origins
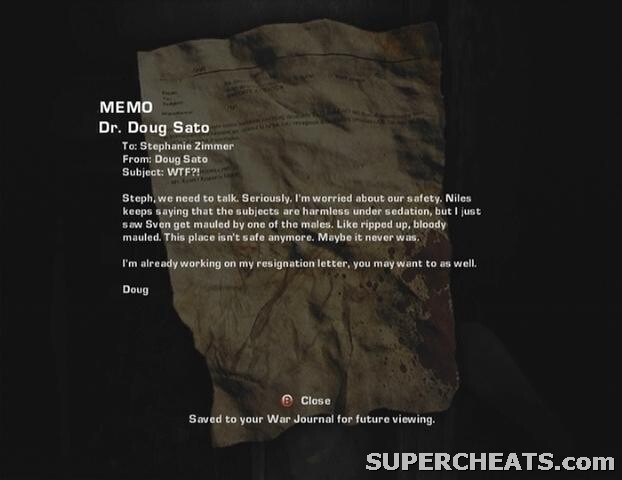
Collectible (1/3): At the start of the level, go through the blasted door, head up the stairs and turn into the small office on the right. The collectible (Interoffice Memo) is in the corner on the right as you enter.
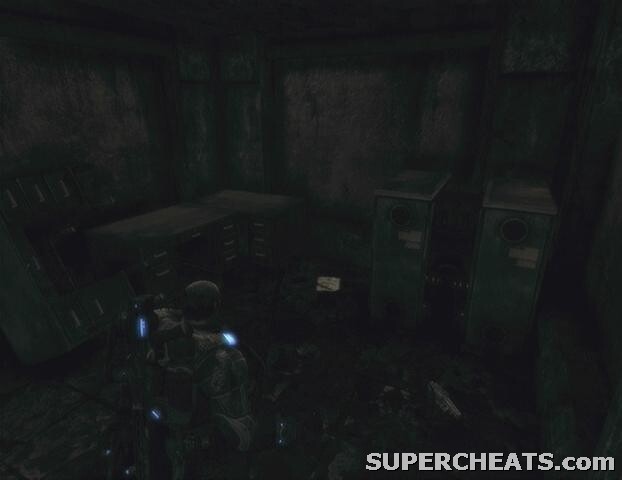 Collectible 1/3 |  Interoffice Memo |
Collectible (2/3): After moving through the room that contained the Wretches that could be killed using the security system, head through the pair of double doors at the other end of the room. Turn right and walk down the hall until you come to an open door on your right. Head through here and kick in the door you come to. The collectible (Memo) is on the ground by the blocked door in this room.
 Collectible 2/3 | 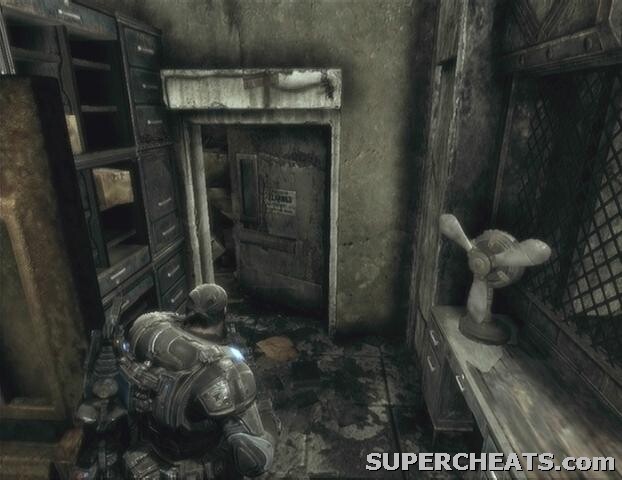 Memo |
Collectible (3/3): This collectible is found in the second turret room after you've passed through the courtyard. You'll reach it shortly after talking to Baird over the radio. Head through the doorway next to the switch that deactivates the turrets in the room. The collectible (New Hope Medical File) is on the ground at the end of this small room.
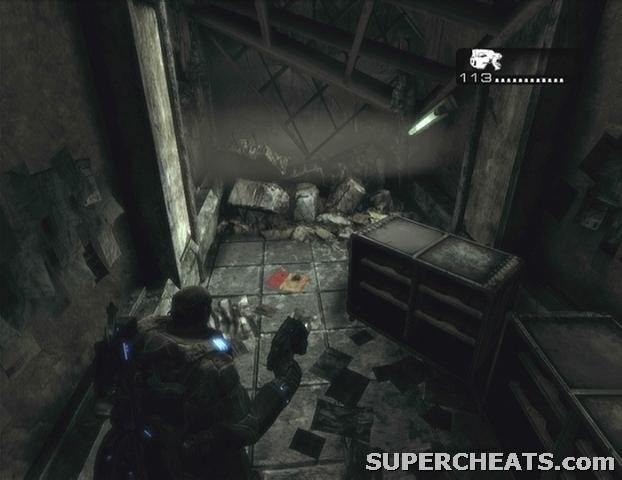 Collectible 3/3 | 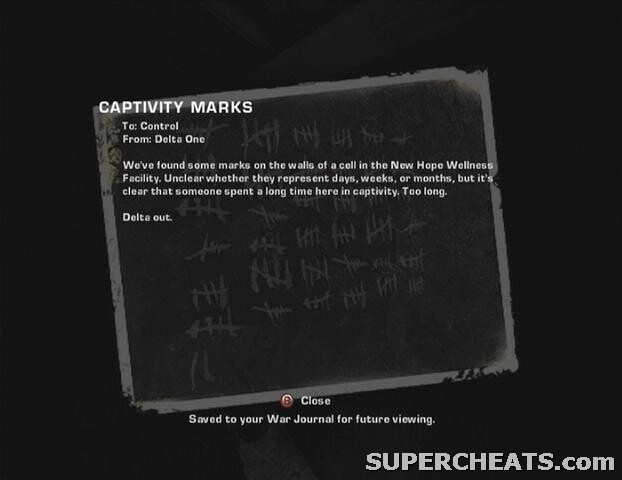 New Hope Medical File |
Chapter 3: Rude Awakenings
Collectible (1/2): Once you're outside, turn right and roadie run and roll over to the building there. You'll take a bit of damage from the razorhail, but it won't kill you. The collectible (Doctor's Journal) is in the corner at the far end of the building's interior.
 Collectible 1/2 | Doctor's Journal |
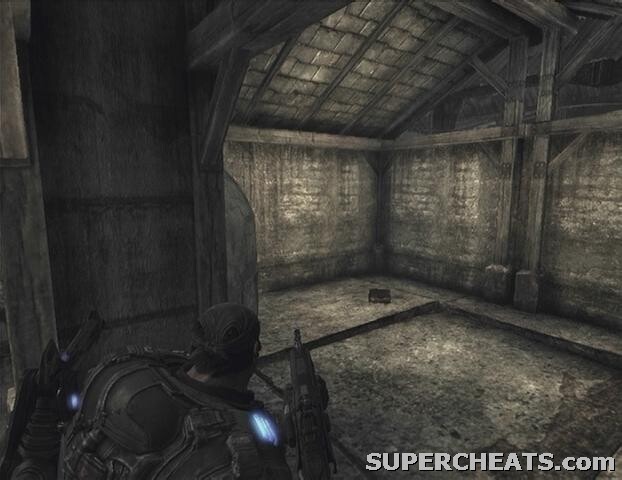
Collectible (2/2): This one is found shortly after the building in which you must use the handwheels to open the roll-up doors to be used as shelter from the razorhail. The collectible (Captivity Marks) is in the building across from the train car door in the next area. Roadie run and roll through the razorhail to avoid taking severe damage. When you enter, turn left and look along this wall for the carving.
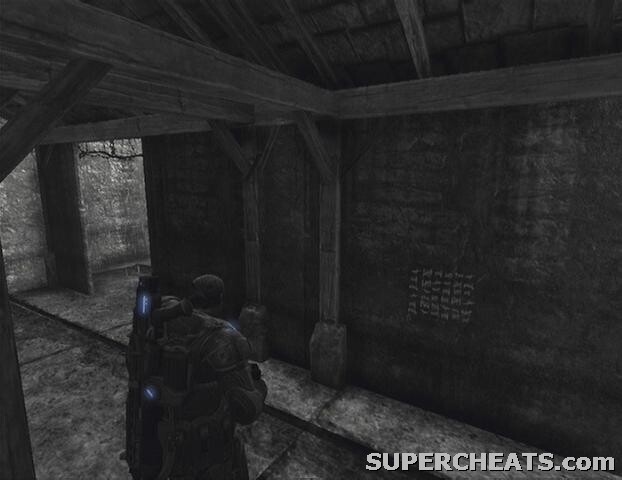 Collectible 2/2 | Captivity Marks |
Chapter 5: Displacement
Collectible (1/1): After destroying the Locust gunboat, look around the area for some steps. Climb to the top of these steps and you'll come to a bench. The collectible (Stranded's Journal) is on the ground below this bench.
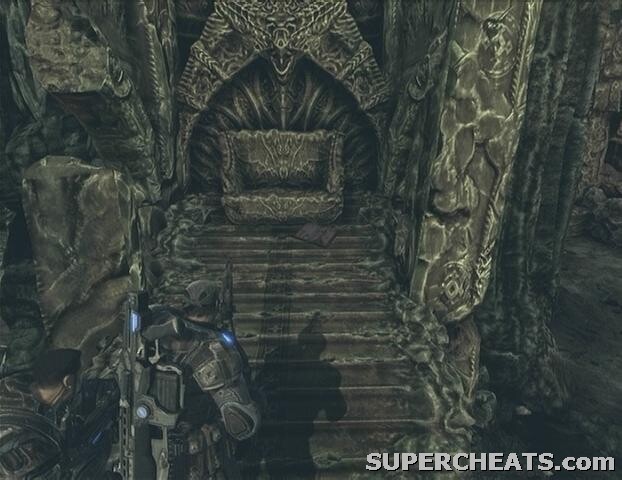 Collectible 1/1 | 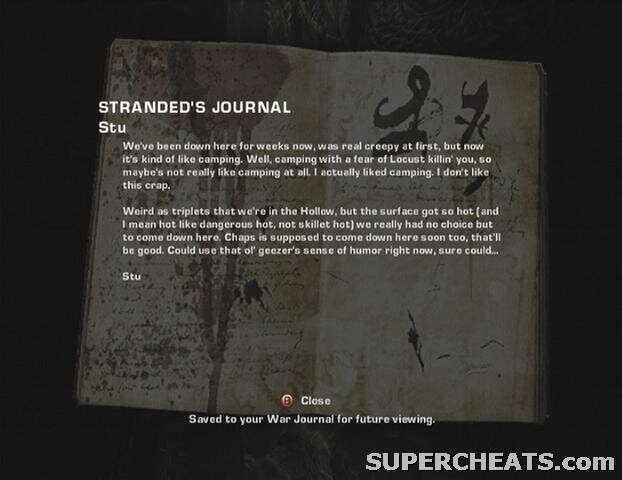 Stranded's Journal |
GoW 2 Cheats, Hints and Walkthroughs
No comments yet. Tell us what you think to be the first.