Sinking Feeling
Gears of War 2 Walkthrough and Guide
Gears of War 2 Guide - Act 2: Denizens
Chapter 4: Sinking Feeling
Walk through the wreckage and pick up any ammo along the way. Take cover behind the broken wall on the right when you spot the first Bloodmount. These guys are tough; you don't want to let one get too close as they can deal a considerable amount of melee damage. Stay where you are and start picking off the first few Drones until the Bloodmount comes closer. Unload your Lancer—or another weapon suitable for this range—into the Bloodmount and rider while it is preoccupied with your teammates. There's a Hammerburst and some Frag Grenades behind the overturned car on the right, so swap a weapon out for that Hammerburst if you lack a long-range weapon.
Move on and eventually you will encounter another Bloodmount. Take him out in the same fashion.
Collectible (1/2): Kill the remaining Drones and keep an eye on the right side of the street for a small area that holds an ammo box (it's just before the ash-covered sports car). Hop over the low wall here and you'll come to an area with an upside-down car, some ammo, and a Gorgon Pistol. There are a couple of snipers in the distance, so be careful. The collectible (Ilima City Help-Wanted Ad) is on the ground next to the upside-down car.
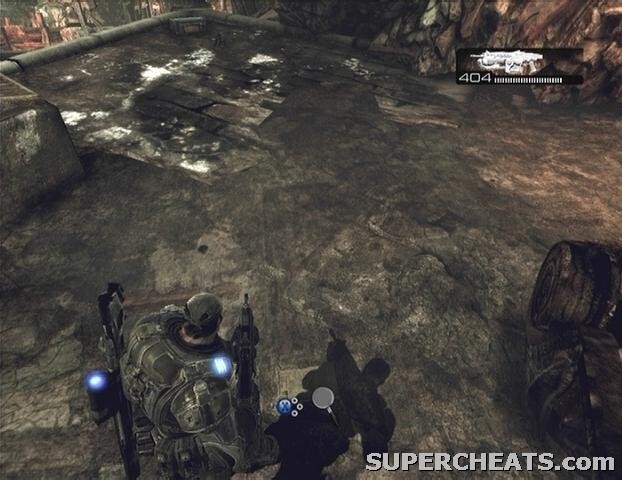 Collectible 1/2 |
 Ilima City Help-Wanted Ad |
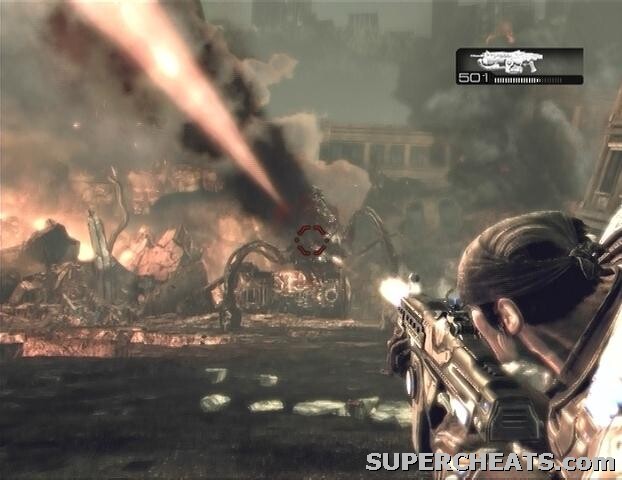
Once you have the collectible, start towards the low road and brace yourself for a Reaver attack. Fall back if it appears too close to you, as its melee attacks can bring you down quickly. Unload your Lancer into the Reaver and handler, and remember to steer clear of its body when it falls.
Afterwards, start down the low road and continue towards the smoke flare. Take cover behind the railing when the Corpser appears and fire at the Drones coming down the bridge in the distance. There's a Longshot at the far left corner of the railing, so pick it up if you need ammo or swap it with one of your other weapons. Yet another Reaver will soon enter the fray, so if you haven't dealt with the Drones yet, divert your fire in an effort to bring down the Reaver quickly. With the Reaver out of the way, return to firing at the Drones in the ruined building across the street. The building will collapse when the final enemy falls.
 |
Go down the slope, pick up the ammo box in the left corner of this area, and then cross the shoddy bridge over into the next building. Hop over the low wall and enter the mansion on the other side of the street. Some enemies immediately appear on the second floor, so roadie run through the doorway across from the desk and take cover by its side to avoid taking damage. Fight off the Locust here until a cutscene is triggered.
Collectible (2/2): After the cutscene, before leaving the building, go on the other side of the wall to the left of the exit and look for a COG soldier corpse. The collectible (COG Tag) is on the ground next to this corpse.
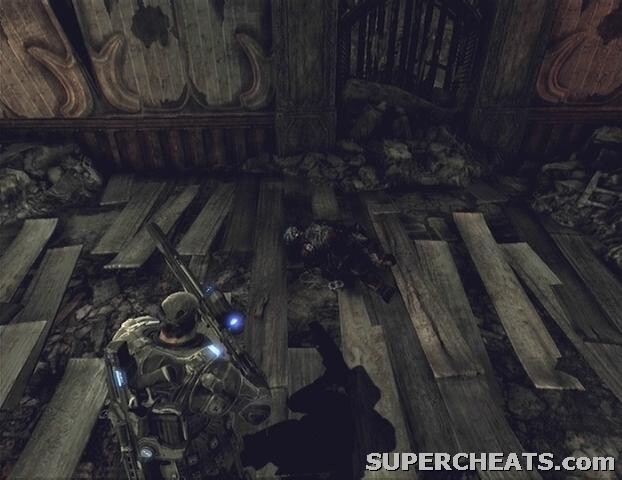 Collectible 2/2 |
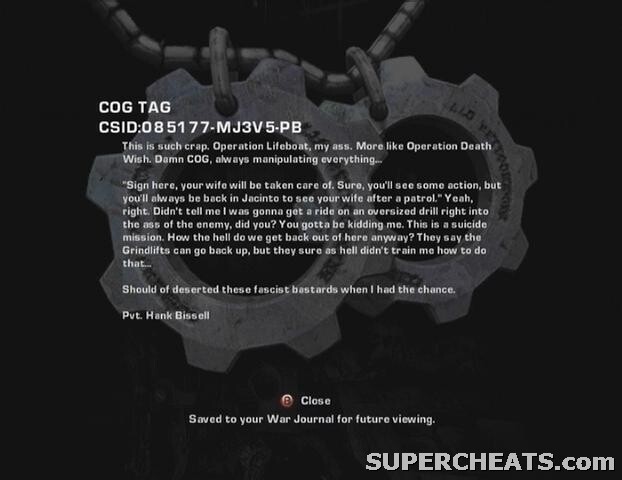 COG Tag |
Grab the ammo box by the doorway and exit the building when you're ready to move on. You'll encounter another Reaver in the gravesite through the arched gateway, so quickly take cover behind one of the gravestones and fire at it with your Lancer. Shortly after, some Drones and Tickers will appear on the bridge, so move up and take them out from behind cover. When the way is clear, cross the bridge to complete the chapter.
GoW 2 Cheats, Hints and Walkthroughs
No comments yet. Tell us what you think to be the first.