Act 4 Collectibles
Gears of War 2 Walkthrough and Guide
Gears of War 2 Guide
Act 4 Collectibles
Chapter 1: Priorities
Collectible (1/1): This collectible is at the very end of the chapter. After crossing the bridge with the Troika gunner, Drones, and Theron on it, do not activate either of the terminals beyond the archway. One of them serves as a collectible, and if you activate the wrong terminal you'll have to restart the chapter to get it. After passing through the archway, activate the Locust Terminal to your RIGHT. You'll know it's the collectible because the icon at the bottom of the screen will be a magnifying glass rather than a switch.
 Collectible 1/1 | 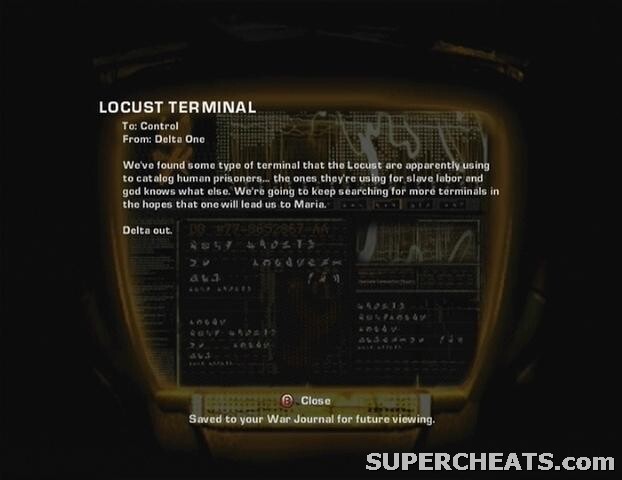 Locust Terminal |
Chapter 2: Answers
Collectible (1/1): At the start of the chapter, after the Locust patrol group passes by, activate the second terminal and then look to the left of the large transport vehicle behind it. The collectible (Prisoner's Journal) is on the ground here.
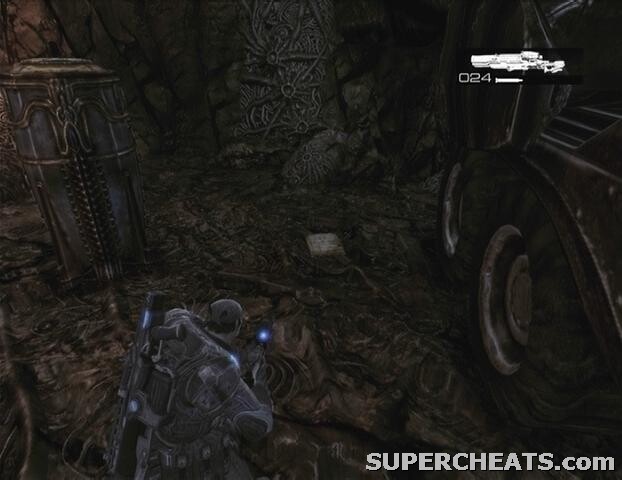 Collectible 1/1 | 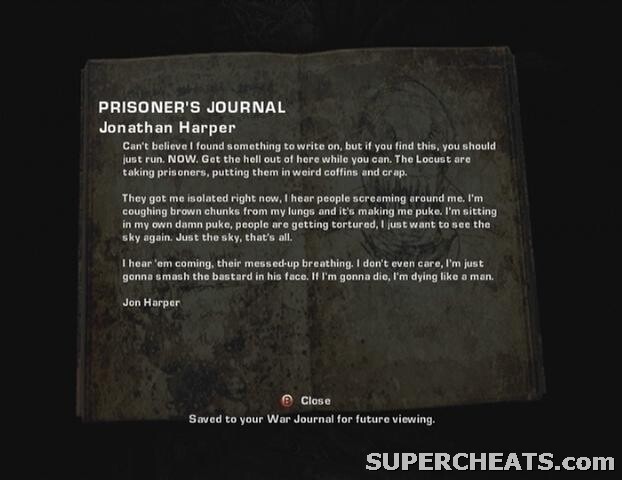 Prisoner's Journal |
Chapter 3: Hornet's Nest
Collectible (1/2): At the start of the chapter, move to the end of the first room and head down the steps there. After climbing down the steps, turn right and follow this corridor to its end. The collectible (Locust Jailer Document) is on the ground around the corner.
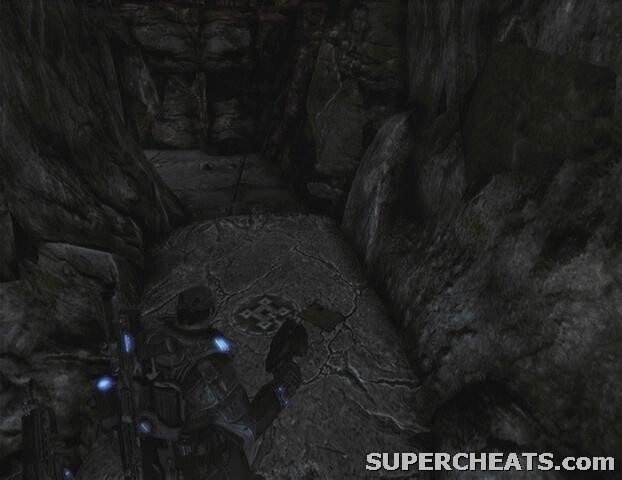 Collectible 1/2 | Locust Jailer Document |
Collectible (2/2): This one is in the area beyond the giant door that two Grinders come through. After killing the Grinders and passing through the giant door, roadie run up the steps, turn right, and then continue up the steps there to spot another lowering door. Roadie run and roll to make it past this door before it closes. The collectible (Human Finger Necklace) is on the floor just beyond this door.
You should have hit a checkpoint just before this area, so if you don't make it past the door, pause the game, reload from the last checkpoint, and try again.
 Collectible 2/2 |  Human Finger Necklace |
Chapter 4: No Turning Back
Collectible (1/2): Shortly after the draglift reaches its destination, you'll watch a brief cutscene and then come to a winding stairway. At the top of these stairs, turn left and approach the object in the distance. This object serves as the collectible (Locust Calendar).
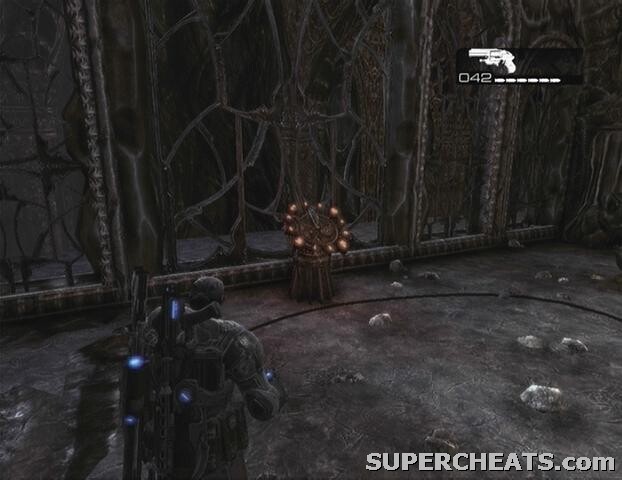 Collectible 1/2 | 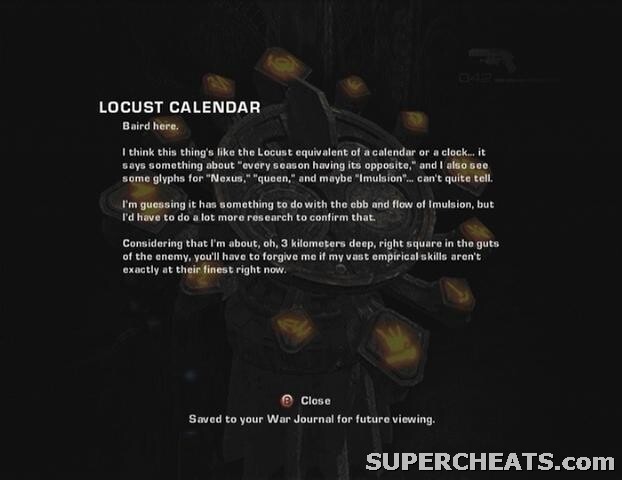 Locust Calendar |
Collectible (2/2): You'll eventually find yourself on a walkway overlooking a large room that contains some Drones, Boomers, and a Kantus. When the room is clear, go down the stairs to the left and flip the lever to extend a bridge over at the far right end of the walkway you were on. After crossing this bridge, turn left and walk towards the ammo container. The collectible (Locust Defense Plans) is on the ground here by the ammo box.
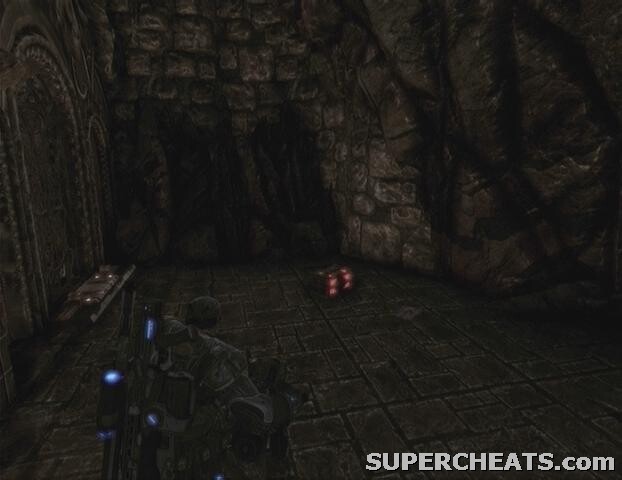 Collectible 2/2 | 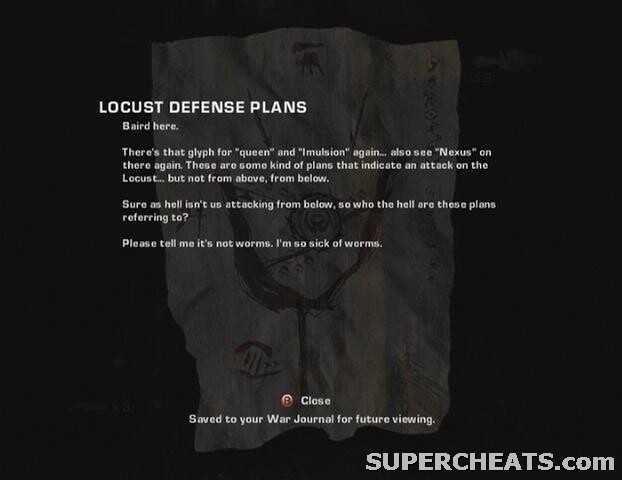 Locust Defense Plans |
Chapter 5: The Best-Laid Plans
Collectible (1/2): On the side path along the palace you'll eventually come to a Locust Lift. Before getting on the lift, continue down the path and look at the foot of the steps in front of the second gated door that you pass by for the collectible (Locust Invasion Map).
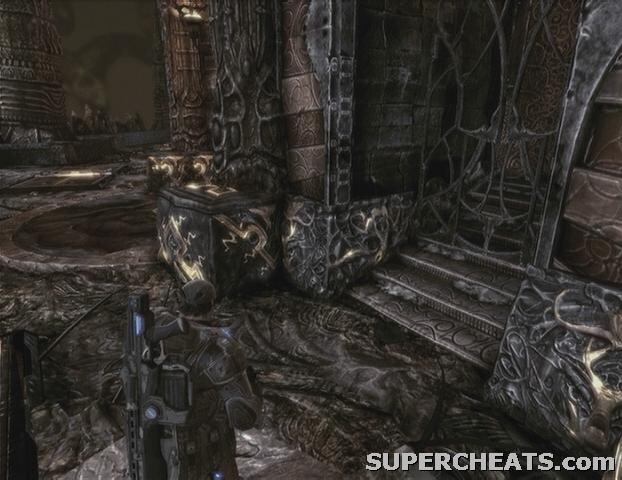 Collectible 1/2 | 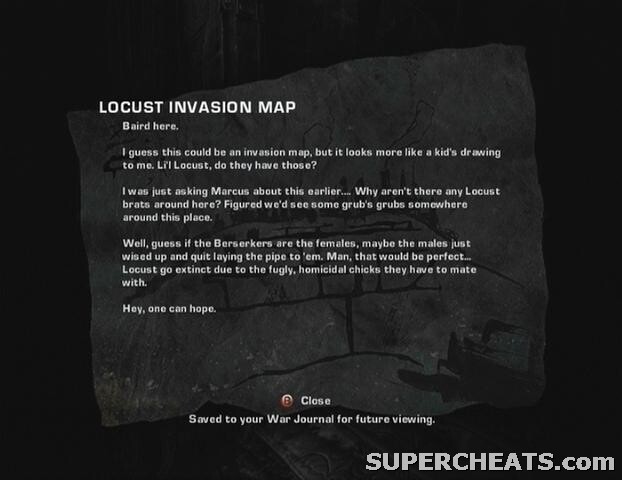 Locust Invasion Map |
Collectible (2/2): When the squad reunites after splitting up, you'll come to a spiral staircase leading outside. Go up the stairs across from the spiral staircase, then move through the corridor that you come to and down the stairs at its end. The collectible (Trinity of Worms Artifact) is on the floor at the bottom of these stairs.
 Collectible 2/2 | 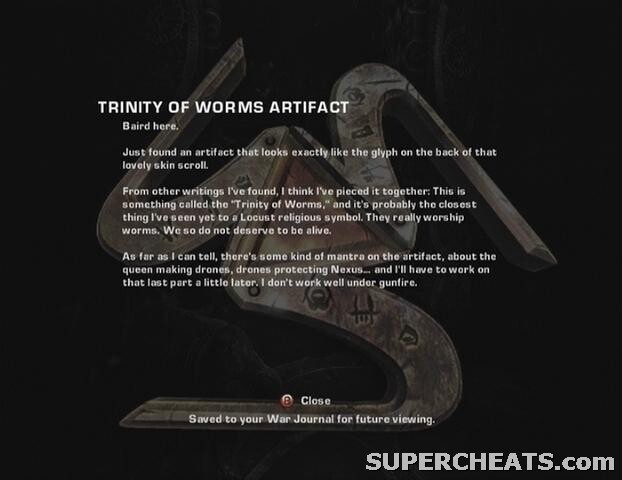 Trinity of Worms Artifact |
Chapter 6: Royal Inquisition
Collectible (1/1): When you enter the second room of the chapter, turn left and walk all the way to the last column in the row. The collectible (Locust Tablets) is on the ground by the base of this column.
 Collectible 1/1 | 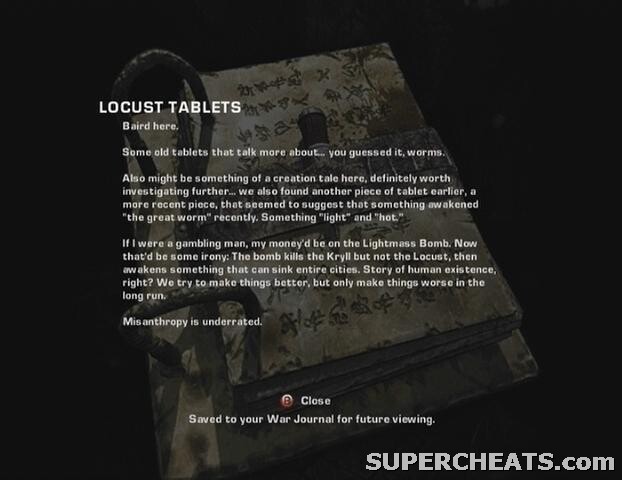 Locust Tablets |
GoW 2 Cheats, Hints and Walkthroughs
That finger necklace is impossible, even when I now what to do. any tips?