Captivity
Gears of War 2 Walkthrough and Guide
Gears of War 2 Guide - Act 2: Denizens
Chapter 5: Captivity
Follow your squad until you reach the prisoner containers. Grab the ammo box in the upper-right corner of the first platform before moving on to the upper platform to trigger a cutscene. With Baird in your party, move on to the next area.
Collectible (1/1): Upon entering the next area, make a hard right and follow the path there to its end. The collectible (Stranded's Journal) is in the corner here.
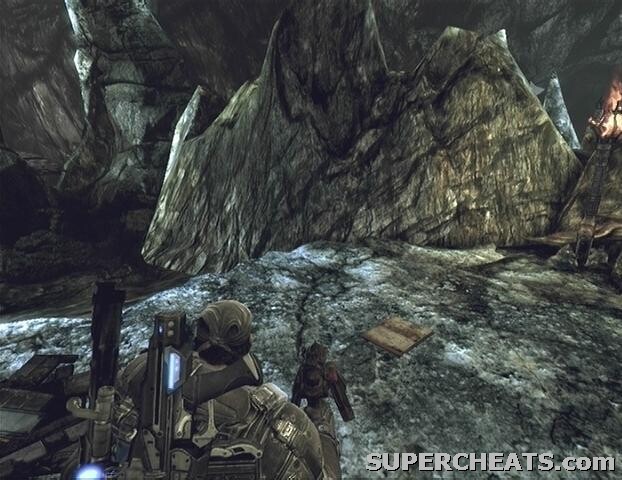 Collectible 1/1 | 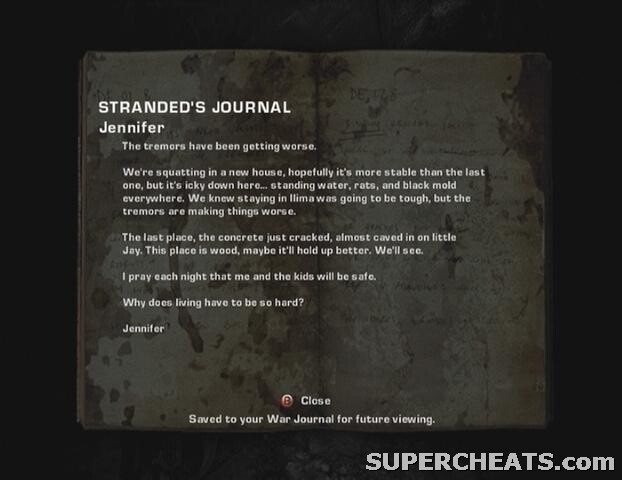 Stranded's Journal |
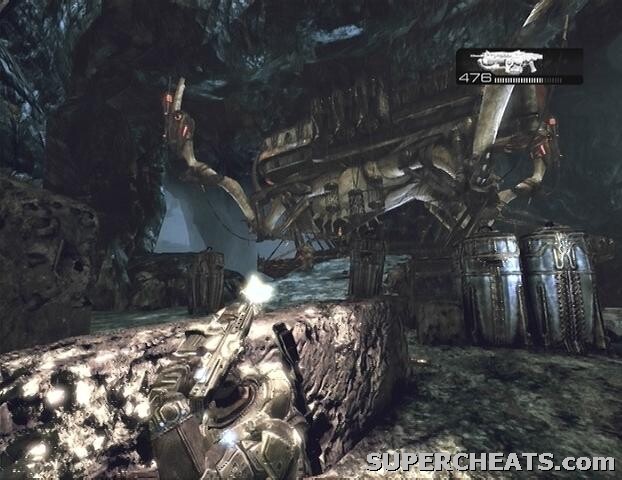
As you move deeper into the next area, you'll spot a Torture Barge in the distance. Roadie run around the corner and take cover behind the stone slab. A couple of Drones and a Boomer will come down from the docked Torture Barge. Eliminate them, grab the ammo box in the far left corner, and then move towards the barge to trigger a brief cutscene.
 |
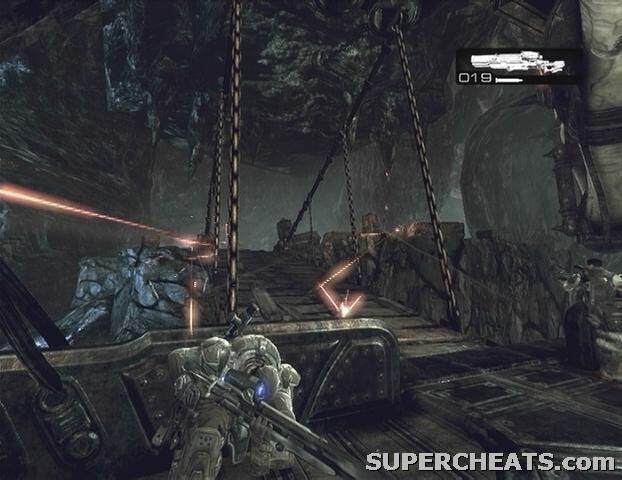
Once you're aboard the barge, immediately take cover behind one of the crates on the deck, because a Grinder is coming up on the lift at the far right end of the deck. The Grinder wields mini-guns that can tear you up in a matter of seconds if you aren't careful. With the Grinder out of the way, step onto the lift and hit the switch to ride it up to the next level. Pull the lever on the pillar at the other end of the room to open the chambers, revealing no captives. Head up one of the ramps on either side of the pillar and take cover behind the crate at the top.
After killing the two Drones on the upper deck, pull the lever on the contraption in the center, and then quickly take cover behind the crate at the opposite end. The barge pulls up behind another one which you must then board. There's a Troika gunner on this barge, so take him out quickly before he can do any damage. Cross over to the adjacent barge when they clash together. Kill the Drones onboard and take the ramp to the lower level. Pull the lever on the pillar here to trigger a cutscene.
When you regain control over Marcus, take cover behind the railing along the deck and start picking off the enemies on the dock. When the way is relatively clear, cross the bridge and take out the remaining enemies in the area. Start down the sloping pathway and you'll soon encounter a pair of Bloodmounts and some Drones. Roadie run down to some closer cover and gun them down from afar. They'll more than likely be too preoccupied with your allies to notice you. There's a Kantus hanging at the back of the group, so move up when the Bloodmounts are dead and take him down.
 |
Continue moving ahead, past the raised bridge, and you'll encounter yet another Bloodmount and Kantus. Take cover and bring them down, and then follow towards the ruined remains of a city. Don't move too far ahead, because there is another Kantus, some Drones, and a Reaver to contend with. Luckily with four allies you have some considerable firepower on your side, so dealing with these guys shouldn't be too much of a problem.
Once the Reaver falls, move up, but keep an eye on the right side of the road for an ammo box. Continue following your squad down the street and gun down any enemies in your path. After spotting the extraction point, enter the ruined building through the door at the end of the street and make your way to the top floor. Immediately roadie run to the other end of the floor, pick up the ammo boxes there, and take cover behind one of the concrete slabs. Two Drones will enter the area using the nearby stairs, so take them out and then duck back down against the concrete slab. A couple more will enter the area this way during the course of the skirmish, so keep an eye on those stairs. Survive until the counter reaches zero to complete the chapter.
GoW 2 Cheats, Hints and Walkthroughs
No comments yet. Tell us what you think to be the first.