Road to Ruin Walkthrough - Stealth
Gears of War 2 Walkthrough and Guide
Gears of War 2 Guide - Road to Ruin Walkthrough
Stealth
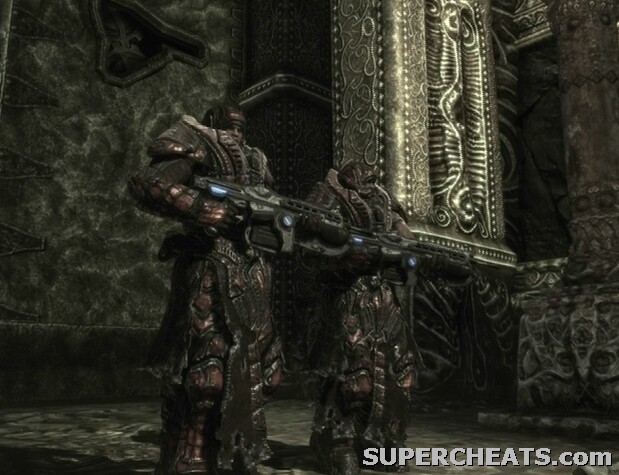
Select the “Use Stealth” option following the opening scene to sneak your way through this chapter. Marcus and Dom will don Theron Guard armour, allowing them to pass through the Locust ranks undetected. Drones have a strong sense of smell, however, and are able to distinguish human from Locust by scent, so you’ll have to keep your distance throughout.
 Choose the “Use Stealth” option to sneak through the proceeding areas. |
Important Note: To unlock the “My Way or the Highway” achievement, you must remain undetected until a certain point. If you are detected and wish to unlock this achievement, you’ll have to pause the game and revert to the last checkpoint. Eventually, you’ll be forced to go in with guns blazing; as long as you have made it undetected up until this point, the achievement should be yours upon completion of the chapter.
Objective: Proceed through the next set of gatehouse doors.
Sneaking through this first area is simple. Just follow Dom, take cover when he takes cover, move up when he moves up, until you’re at the gatehouse door. Once you’ve made it to the door, pull one of the levers, and Dom will automatically pull the other to open the door.
Through the first gatehouse door, climb up one of the ladders on either side of the room, and pull the lever at the top. Dom will automatically climb up the ladder and pull the lever on the opposite side, opening the second gatehouse door.
Objective: Cross the river to the next set of gatehouse doors.
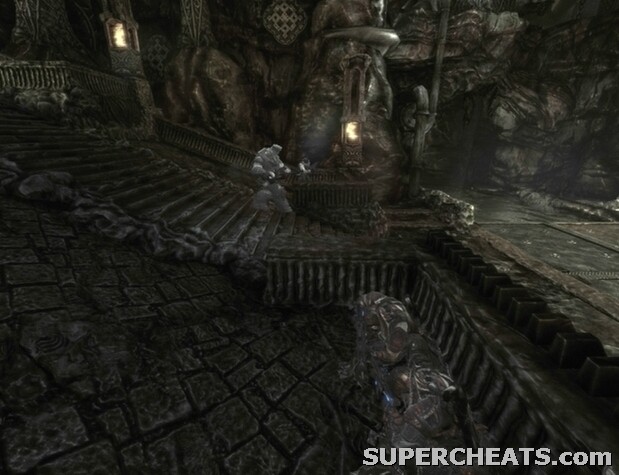
There are too many Drones patrolling this next section to sneak through, so you’ll have to find some way to cause a distraction. Once through the door, turn right to spot a Turn Wheel. Grab hold of the Turn Wheel and use it to drop the ornate stone that’s hanging from a chain nearby. When the stone hits the floor and breaks, the Drones patrolling the area will run over to investigate, allowing you to slip by.
A Grinder sits at the bottom of the steps beyond the first batch of guards. As the Grinder climbs up the steps, hug the side opposite and duck behind one the railings partway down to allow him to walk by. He may get a scent, but if you passed by quick enough, he should lose interest and continue up. Once past the Grinder, grab hold of the Turn Wheel by the river and use it to raise the bridge.
 Wait for the Grinder to pass by before heading up the steps across the bridge. |
Cross the bridge, and approach the steps on the other side. A Grinder is on the way down, so take cover behind the railing next to the steps and wait for him to pass. Then, move back onto the steps and make your way to the top. While heading up, hug the left side to avoid alerting the patrolling Drones.
At the top of the steps, take cover behind the stack of bricks. A patrol group will come through the first gatehouse door. Stay behind cover until they pass by, and then Roadie Run through the open door. Climb up one of the ladders on either side of the room, and pull the lever at the top. Dom will climb up the opposite ladder and pull the lever there, opening the second gatehouse door.
Objective: Proceed through the Locust torture area to the next set of gatehouse doors.
When the second door opens, move up and take cover by the end of the railing on the left. Wait for the Drone patrolling this section of the walkway to pass by, and then follow Dom to the next piece of cover. After witnessing the man being struck, turn left and Roadie Run to the Turn Wheel at the other end of the walkway. Grab hold of the Turn Wheel and use it to drop the stone slab that’s hanging from a chain nearby. The slab will hit the table below it with a loud bang, effectively distracting the patrolling Drones in the area.
Slip past the Drones and take cover behind the stacks of bricks further up. Wait until the Butcher moves further down the walkway, and then move out and take cover behind one of the low walls further up. When you’re just short of the door, wait until the Butcher moves off to the side, and then get out of cover and Roadie Run to one of the levers.
Pull the levers with Dom to open the door and proceed through. Head up the ladder on the left side of the room, and pull the lever at the top to open the second gatehouse door. There’s a Torque Bow up here as well; swap your Gnasher for it, as you’ll be needing it soon.
Objective: Get past the Brumak on the bridge.
The Brumak can be taken down using the Troika emplacement nearby, but it would be best to move past it. Continue down to the end of the walkway, past the bridge, and head down the curved steps there. Once you’re past the Brumak, make your way through this empty area and you will eventually encounter an ally.
 Once Frankie is in your party, discard any notion of being stealthy. |
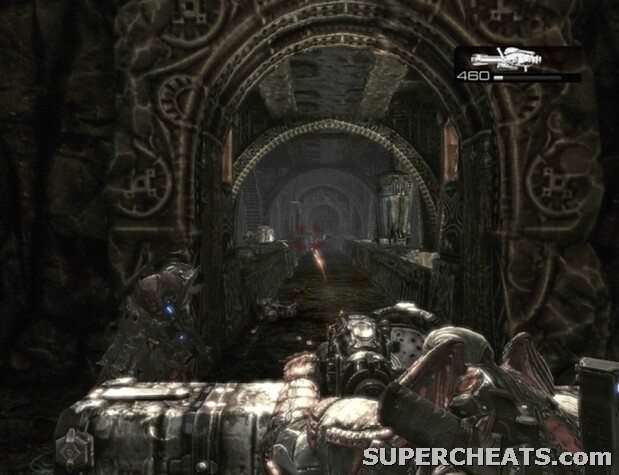
After the brief cutscene, stealth mode is off; it’s guns blazing from here on out. Pick up the Mulcher by the doorway. Proceed through the doorway, and take cover behind the barrier. Hold LT to mount the Mulcher, and fire at the Drones and Wretches coming down the walkway. Take the time to shred the Wretches crawling along the ceiling, as you’ll have to get out of cover to kill them if they manage to get behind the barrier. When all of the enemies on the walkway have been dealt with, turn back to the door your came through. Use what’s left of the Mulcher to kill the Butcher and Drones that appeared, and then follow your allies to a ladder.
Objective: Follow the Locust Highway.
Once up the ladder, move closer to the Drones in the distance and get behind cover. Use your Lancer or other weapon to clear away the Drones, and then look among the bodies for a Longshot. Swap your secondary weapon for the Longshot, and proceed into the next area. Take cover behind one of the columns along the corridor, and use your Lancer or Longshot to pick off the Drones at the other end.
When the corridor is clear, move to the other end, and pull the lever to lower the barrier blocking the way. Pick up the ammo container along the way, and continue into the next area. Pick up the ammo container and Frag Grenades, and then pull the lever to lower the tall pieces of mechanized cover.
Objective: Fight your way into Nexus.
Pull the lever up ahead to raise the cover nearby, and hang back here with your Longshot. Pick off the Drones as they pop out from the cover at the other end of the area. Soon, a Kantus will appear. At this point, you’ll have to watch out for the Tickers he summons, as they’ll most likely make a beeline for you. When a Ticker is nearing, switch to your pistol and bat the creature away with a melee attack. Then, shoot the overturned Ticker to set it off.
Once the first batch of enemies has been cleared, another Kantus and a couple of Drones will appear from the doorway on the far right. The Gnasher-wielding Drones may take cover along the railing across from your cover giving them a clear shot, albeit with a weapon that’s inaccurate at long-range.
 Target the Bloodmounts with your Lancer to kill them before they get too close. |
When there is only one or two enemies left, move up to some cover closer to the gate. A sizeable group of enemies will appear when the large, adjacent door opens. You’ll need to pull the lever to bring the cover back up, as all of it will lower once that door opens. There are two Bloodmounts among the enemies; if you’ve taken cover far enough from the gate, you should be able to take them out with your Lancer. As soon as they appear, concentrate your fire on one of them and don’t let up, as they will likely be distracted by your allies. If you’re low on Lancer ammo, an ammo container can be found in the area to the left of the gatehouse.
As the reinforcements dwindle, a Reaver will appear and land in the middle of the area. Get behind one of the low, mechanized pieces of cover and blindfire at the Reaver with your Lancer equipped. With your allies’ gunfire combined with yours, the Reaver should fall in no time.
GoW 2 Cheats, Hints and Walkthroughs
No comments yet. Tell us what you think to be the first.