Semper Fi
Call of Duty: World at War Walkthrough and Guide
Call of Duty: World at War Guide
Semper Fi
USA
Makin Atoll, South Pacific
August 17th, 1942
Co-op: Yes
You, Private Miller, were on a small reconnaissance mission on this small island with a minor Japanese military base when you and your team were captured. A rescue mission is now taking place, and begins with that dramatic rescue.
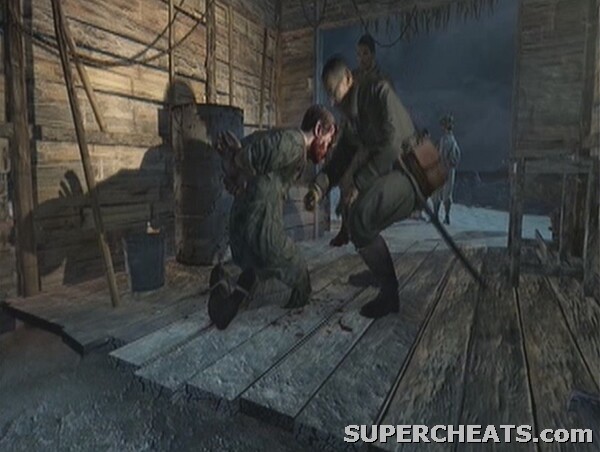 Never has the motto 'leave no man behind' been more welcome! |
Once you are liberated by Roebuck, follow him outside. It has to be recommended that you pick up another gun as soon as possible. There is a Type 100 machine gun (a great little weapon in the single-player) as well as an M1 Garand (an always-useful rifle with a quick rate of fire). Both are stacked up against the crate that Roebuck fiddles with after gutting the Japanese soldier.
Collect the weapons and follow the team across the beach to the right.
DEATH CARD: 8 of Hearts (Thunder)
- Find the 8 of Hearts in the first shack you come to on your right. See the appropriate section of this guide for more info on the location.
Take cover by the two barrels as the beach closes up. Move up to the crates and debris on the left, next to the burning building, to edge forwards.
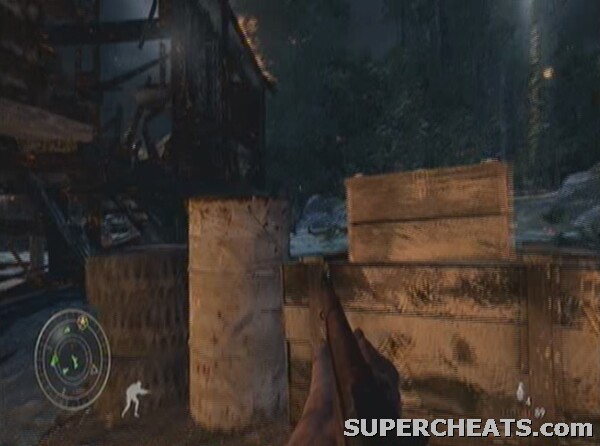 Use this cover and the alternative on the right to hold off the enemy |
The enemy will attack both from the left towards the water and also from the jungle down the path to the right. Round the corner to the left when the area is clear and duck inside the burning shed. Use this while crouched or prone to pick off the enemies in the area.
Move to the bottom of the ramp leading up to the wooden island buildings when clear. Shoot the enemy who bursts out of the door and attacks your ally, and then move on. From the barricade blocking the path forwards you can take out a good number of enemies from range.
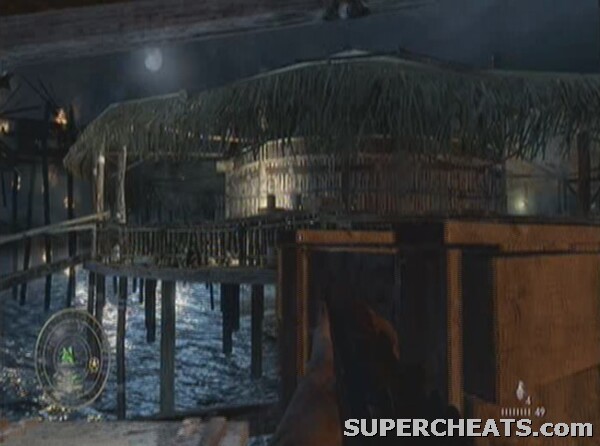 Use the barricade as cover for some long range shooting |
Take the path to the left, shooting the solitary soldier who should be facing the wrong way. Stay up on the decking of the buildings and use your Garand to take out as many enemies as possible from this position.
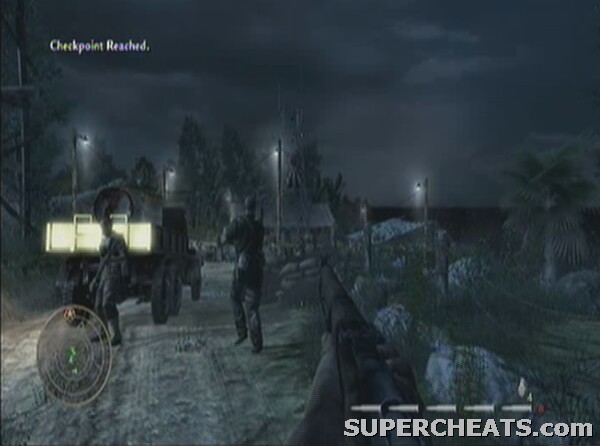
Move down to the beach once the enemies have thinned out a little and follow the team up the jungle-path once the checkpoint is reached. When your team-mate carelessly goes to investigate the ritual statue half-way up the path, ready your weapon as you will be attacked by Banzai soldiers intent merely at running at you and trying land a lethal blow with no regard to their own life. Should you get attacked by a Banzai unit, mash the B/Circle button as soon as possible to throw them off. Your team should deal admirably with them on this occasion however, while blocking a clear shot on most of the enemy for yourself.
Continue on until the path slopes downwards and curves left, opening up into a canyon crawling with Japanese soldiers. We need to rescue an allied squad which has been pinned down in the canyon. This is an easy opportunity for accidental friendly fire, so be aware that there is both a team attacking down low on the right from a boat, and one over the other side of the canyon past the tower and river. Start by helping both these squads by laying down fire on the Japanese that they are attacking. Take out the enemies and spotlight in the tower as a priority. Sprint and get in the bunker once the area is relatively clear. There is enough cover to keep you alive even if there are enemies nearby. This should also force your team forwards and hit a checkpoint. Link up with the squad across the river to proceed.
Head up the jungle-path with your squad. Once you reach the wooden shack, get ready for a conflict. When the Japanese soldiers spring up from their camouflaged hiding places, take out any in the immediate area and then retreat to the shack and use its windows for cover.
TIP: You can attack the hidden units before they get up. You can spot them by their leaf-covered suits; they will look like piles of leaves on the floor. A grenade in the middle will make your life much easier here.
As you move forwards more waves will be triggered, so feel free to fall back as necessary to keep yourself alive. Follow the path on the left-hand side of the clearing through a few more enemies on all sides, before reaching the truck we need to activate to proceed. Press X/Square while next to it to send it hurtling towards the base below.
 Pierce the barrel on the truck and turn it into a giant explosive |
Once inside the base perimeter head left and fight your way down into the bunker. Once you get inside there is ample cover, so make that a priority rather than clearing the outside. Hold X/Square to plant the charges where indicated and then make your escape. Wait for Roebuck to lead the way, head up the ramp out of the bunker and directly ahead and to the right of the building towards the water. You'll be knocked down by a grenade, but fortunately help is at hand.
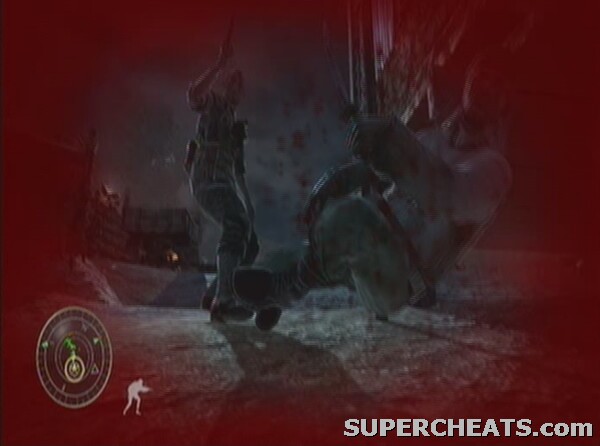 Roebuck to the rescue |
Is this game motion plus compatible?
a Japanese soldier will try to kill you with a knife but Sullivan wil kill him and then then your dragged into the boat
I can make it down to the beach, but cannot find the escape route. Found 2 boats, but cannot get aboard?
How do you reload? New at this game.
No Death Cards... No Zombies... Stupid Wii's
y does it say x to pick up deathcard i thought this is 4 wii cuz im using the wii zapper and went in the shack as it showed but no deathcard