Seelow
Call of Duty: World at War Walkthrough and Guide
Call of Duty: World at War - Multiplayer Guide
Seelow
The final vehicle-supporting map in our list, Seelow is different from any other, though is perhaps most associated with Outskirts, due to the colours and environment but also the vehicular action. Like Roundhouse, the tanks don't play a major role here, with the main focus on sniping. There is a large hill in the centre of the map which has wooden tunnels and train cars stationary on it. This gives views over the two halves of the map. Each half has a number of buildings ideal for sniping, but clearly the hill in the centre makes a clear view across the entire map, or indeed merely into the other half, impossible.
In Team Deathmatch, if a team can control the central hill and set up effective snipers watching over both halves of the map, then they will succeed. This is a very risky manoeuvre however, as any enemy snipers, as soon as they spawn in, will know exactly where to look and fire. It is thus important to have at least some medium range infantry in your squad, running around and keeping the enemy snipers on their toes.
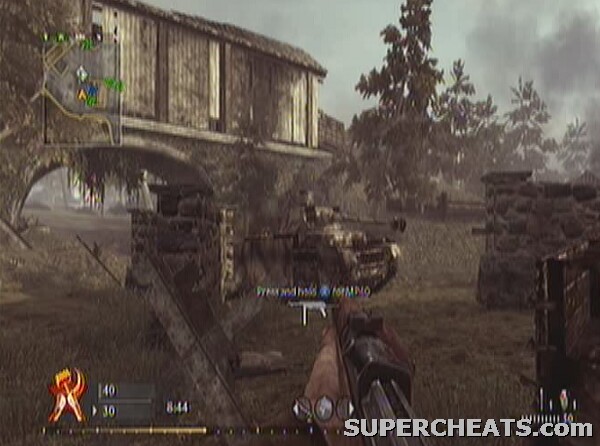 The tunnel and tanks of Seelow |
There are two tunnels that bisect the central hill. These allow the tanks to pass under the hill and onto the other half of the map. Surprisingly, these rarely turn into bottlenecks, and are just used for transport. The hill is where all the action occurs, though most of this is at long range. There is an underground tunnel network too, which goes through the middle of the hill and both sides of this network culminate in a central room. This is prime camping territory, but most players use the hill itself to cross the map, if it is necessary. Watch out for the crop fields on both sides of the hill. It is a favourite tactic of some players to hide in the plants and snipe out, wait for players to walk near them, or to plant invisible Bouncing Betties beneath them.
Gun Selection: While machine-guns are never to be dismissed completely, this is one of the few maps where they are less useful. Rifles and Sniper Rifles are the way to go here. There is room for some Thompson and MP40 players to thrive, mainly in holding the central hill. As soon as you stick your head out of the safety of the wooden structures however, you won't last long. Smoke Grenades are a worthy Special Grenade to pick, due to their ability to shroud both the tanks and enemy snipers on the map. The clear division into halves means that you can chuck a smoke grenade on one side and be relatively assured of safety. It is also a good tactic to throw them and use the smoke to help capture the central hill.
Perk Selection: The tanks don't cause too much of a problem, so the anti-tank perks are only if you fancy playing that sort of game. The stealth perks work well here, as well as Extreme Conditioning – crucial for getting between the scant cover on each side of the hill – and Iron Lungs – snipers will need all the accuracy and time they can get for each shot to avoid revealing their position unnecessarily.
No comments yet. Tell us what you think to be the first.