Blowtorch and Corkscrew
Call of Duty: World at War Walkthrough and Guide
Call of Duty: World at War Guide
Blowtorch and Corkscrew
USA
Wana Ridge, Okinawa
May 14th, 1945
Co-op: Yes
This is a tricky level through long grass with plenty of hidden enemies.
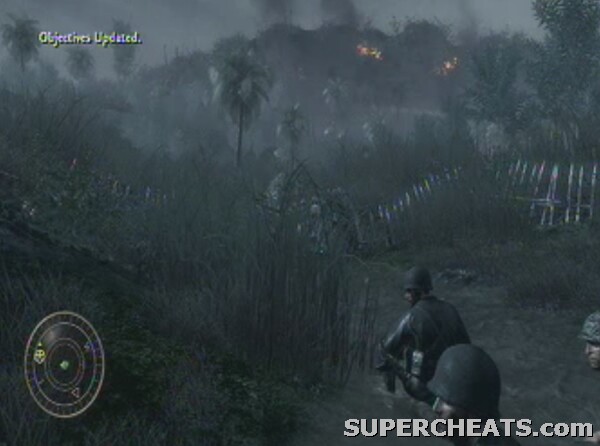 A dusk-assault on Okinawa |
Follow your squad through the grass and rocks until the Banzai soldiers jump up and lob a grenade at you. Make sure the blast misses you, then use the flamethrower to burn all the attackers and the grass around.
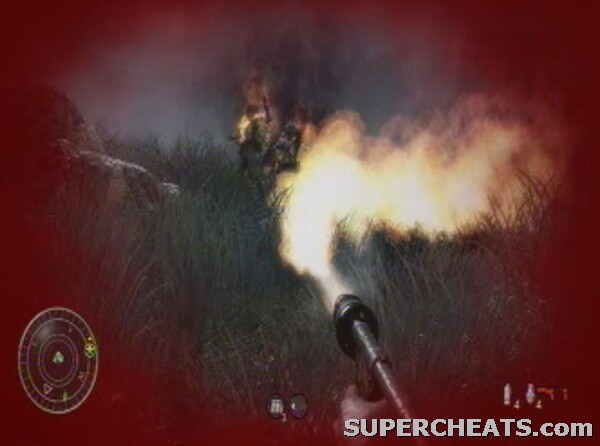 Use the flamethrower as your main weapon |
TIP: A good tactic is to use the flamethrower to burn the grass so enemies cannot hide in it, and to allow you to stay crouched without hindering visibility.
If you stay on the right hand side of the area you won't get lost and it will also give you protection from that side. Use your machine-gun to take out the enemies firing at you from the rocks once you near the side.
Watch out for the hatches in the ground which house hidden enemies, and stick to the right as you begin to head up the hill towards the top. About halfway up you will have to defend against a deluge of enemies, which is made very difficult by the sheer weight of grass around about, but burn as much of it down as you can and stay put until the Japanese stop coming. Once in range of the machine guns in the caves above, throw a smoke grenade to provide you with cover while moving up the rest of the way.
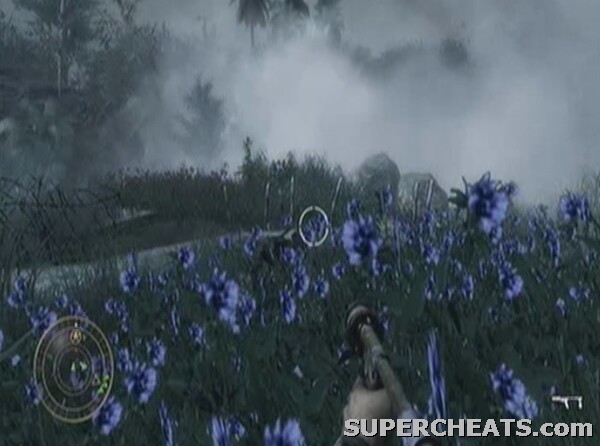 Smoke allows you to move up unscathed. |
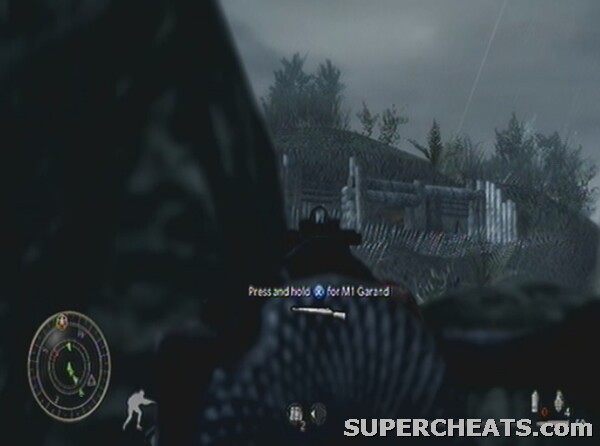
You should then be able to get to the top and into the tight cylindrical cave without too much trouble. At the top of this tunnel are enemies, so equip the flamethrower and take them out. It leads back outside into a grassy area with a couple of Banzai soldiers in, so watch out. Collect more satchel charges if needed, before heading past the parachute into the next open area. This houses the bunker we need to get at and destroy. Again, smoke is the way to do it, so pop some in front of the bunker windows (while moving up on the right) and fire the flamethrower through the slots and around the outside (there will likely be enemies milling around here). Once you push up to the bunker wall as you set off the flames your team should move up and make the rest easier.
With the insides clear, throw some satchel charges in (using left trigger) then detonate them (right trigger). That leaves us with two more to destroy. Cross over the area and head down the path to meet up with some more allies fighting the Japanese downhill.
DEATH CARD: Ten of Clubs (Painkiller)
- As you follow the path away from the first bunker and see the other friendly squad, there is a sort of shrine with a dead soldier on it, directly opposite as you emerge into the open. This is where the card is.
Push up to the sandbag barricades as quickly as possible after this. Shoot up at the enemies in the undergrowth on the right hand bank of the level, using the flamethrower to torch the grass if you are struggling to see them. Head up the second path on the right to flank the enemy and come up on the next bunker from an advantageous angle.
Set off a smoke grenade just like last time, push up to the bunker, and flame them out. Finish the job with satchel charges to leave just one bunker remaining. (You can find more satchel charges at the corner of the bunker wall from the direction we are attacking from if you need them).
Take out the second bunker.
Move back down the hill with the bunker destroyed. Watch for Japanese riflemen in a hill opposite, and begin to climb up the steep slope yourself. Smoke isn't essential this time as you are climbing up with a steep angle and the guns won't be able to get you until you are level. Regardless, use the flame and satchel tactics.
Rendezvous with Roebuck by the entrance to the building up on the hill to the left of the bunker we just took out. Follow him as you join up with some friendly tanks. Stay with it but at a safe (i.e. explosion-resistant) distance until it gets destroyed. Drop back and flame the grass around you, using the radar to locate Banzai and normal enemies.
Take cover behind the rock and use your rifle to try and pick off some of the enemies in the large bunker on the hill.
 Fire up at the massive bunker |
Follow the track to the left, through the various rocky outcrops and objects. There are plenty of Banzai and long range enemies in the area, so move slowly, heading to the right. You should pass under a bridge at which point you will need to slow even more and take out the Japanese in the tree line. Head up to the ridge following this and between the vehicles into the objective bunker.
 Move between the vehicles and into the bunker |
Watch out for an enemy as you turn the first corner, then move deep inside. Flame your way through the tunnels until you get to a ladder. There are enemies in the room at the top, though you should be able to climb up and ready yourself before they see you. Torch your way through this floor and up the ladder to the next. Shoot through the narrow window into the next area to get a good angle on the enemy and then move round yourself to clear the rest. In the final area stay in the bottom left corner and pick off the enemies by the waterfall and in the rest of the room.
TIP: Rather than take the dangerous but direct ladder route to surprise the enemy, you can take the path by the waterfall up to the top instead.
The final ladder at the back of this room which leads to the very top of the bunker is surrounded by enemy soldiers. You need to have your flamethrower equipped ready and spin in a circle while firing as soon as you reach the top to keep them away from you.
TIP: On harder difficulties there are more enemies at the top, but nothing the flamethrower can't deal with.
Once they drop, the level is complete.
The fight through the final bunker
On the Wii, there s a fortress with 4 machineguns poking out, I'm really stuck on that
I dont know how to destory the bunkers please can someone help me with this part so i can move on?
do not get stuck on part how do u distory the stuff
on the wii u can use the flamethrower while in cover by hugging the wall and shooting the flame thrower it goes through cover while u dont... and there is one rock on hardened near the 2nd bunker (those big buildings u have to destroy with the satchel charges) and u can go thru it.
How can I knock out the bunkers
Thank you for putting this up! I didn't know what it meant by bunkers, so I thought it was those sandbags with the glowing on them.
[color=red][size=12][size=12][size=12][size=12][size=12][size=12][size=12][size=12][size=12][size=12][/size] [/size] [/size] [/size] [/size] [/size] [/size] [/size] [/size] [/size] [/color] loool
lol