Airfield Map
Call of Duty: World at War Walkthrough and Guide
Call of Duty: World at War - Multiplayer Guide
Airfield Map
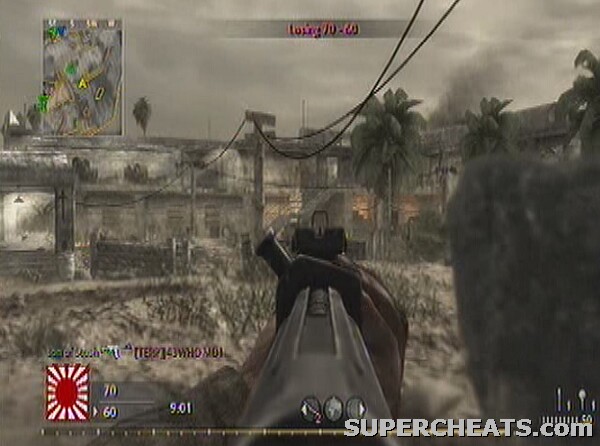
A Pacific map, Airfield is a large, primarily open encounter with a scattering of main buildings which promote sniping. There are a few routes through the map where you are almost guaranteed to find the enemy, such as the large military building or the corridor of structures down the opposite side of the map.
The trench that runs underneath the map is a good place to hide for close-quarters players, as is the run of buildings on the eastern side of the map. Mainly however, this map is only suitable for medium or long range weapons. You at least need to have some sort of capability for distant attacks if you want to rack up the kills.
 Assaulting the main building |
The main building is a great location to place Bouncing Betties, as you can be sure that the enemy will occupy it at some point. Place them near the stairs and doorways for the best effect. On alternative game modes, Search and Destroy teams should make use of the tunnels to attack and the great defensive nature of the main building to protect the target. In Domination the flags are spread out, with two being reachable by traveling through the trenches too, and the third to the southeast. The best tactic in deathmatch is either to find a decent location to set up and snipe, or to actively flank the enemy with a slightly closer-range weapon. You can get round behind the enemy as they siege the main building quite easily, for example, using the buildings at the side of the map to move up.
Gun Selection: As touched upon earlier, medium range guns are the best bet here, especially on Deathmatch. Despite this, sniping is very much a decent tactic, particularly on objective based game modes where placing snipers on the balcony of the main building will keep it well defended. For those of you who desire close-quarters fighting, stick to the buildings and tunnels, and don't go into the large open expanse in front of the main building. The building to the east which you can get into the upstairs via the back window is a good place to camp out if you're a close quarters player as the building is frequently occupied from both ends (Boucing Betties are good if you are looking to hold out here).
 The view from the main building over the airfield itself. |
Perk Selection: Stopping Power and Juggernaut are very important here, as there is plenty of open space but also lots of cover, meaning enemies have time to sprint out of your line of sight and similarly you could do with extra time to do the same. Stopping Power beefs up those rifles to encourage one and two-hit kills, and Juggernaut will keep you alive long enough to get some streaks going (artillery strikes are particularly deadly on this map due to the open nature). You just have to pick between these two. Snipers will want to use their usual perks such as Iron Lungs, all the more important with the abundance of small cover. On objective modes, use Camouflage to get the most out of the trenches and tunnels, though this perk doesn't help much in Deathmatch unless you're actively flanking the enemy.
No comments yet. Tell us what you think to be the first.