The Resistance
This is basically a set of small tasks meant to liberate Dutch’s Island. You’ll be doing these tasks on a bigger scale as you attempt to fan the flames of resistance and liberate the regions from the clutches of the Seed family. Also, you cannot leave the island until you completely liberate it so use this chance to familiarize yourself with the game and its mechanics.
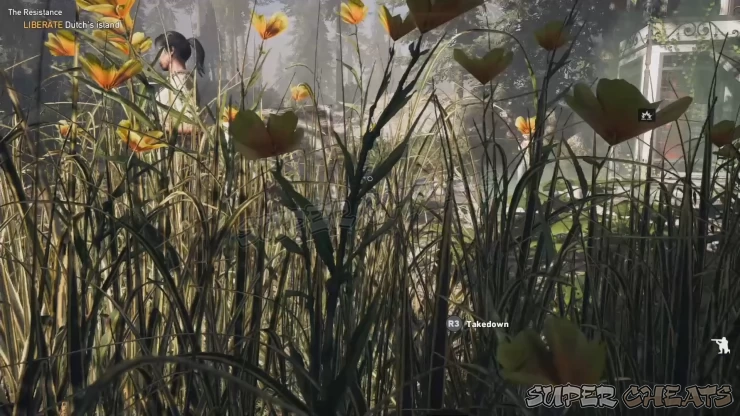
First, approach the shrine. Cult properties like this are scattered and vary per region. Approach the shrine from the grass and wait until the two cultists go their separate ways. Quickly perform a silent takedown then take out the other one. To destroy the shrine, you can shoot the volatile gas tank until it explodes or use a well-placed dynamite.
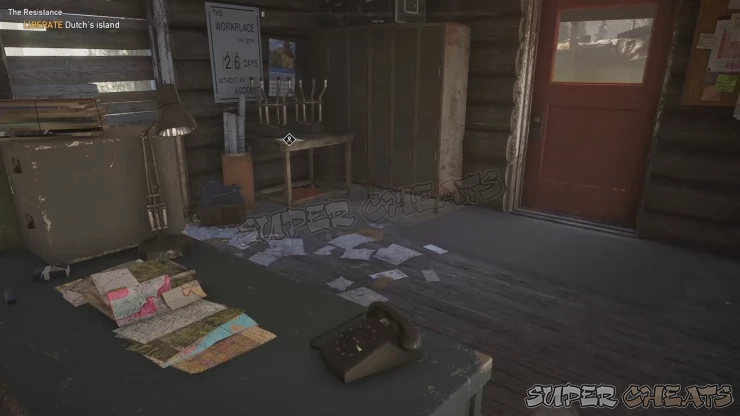
Next, head to the Forest Research Station and loot the money, materials, and containers inside. Don’t forget to examine the note on the table to reveal the next shrine location. Locations like these will have lootable containers usually with ammo and materials inside. Some locations may also contain notes or letters that will reveal various cult properties such outposts, shrines, silos, beacons, etc. Some may even have maps and magazines. Maps permanently reveal the points of interests in the immediate area while depending on the type of magazine, new Hunting, fishing, and foraging spots will be marked in the map. You only need to read these once to permanently mark the spots and then you can sell them for cash at any shop afterward.
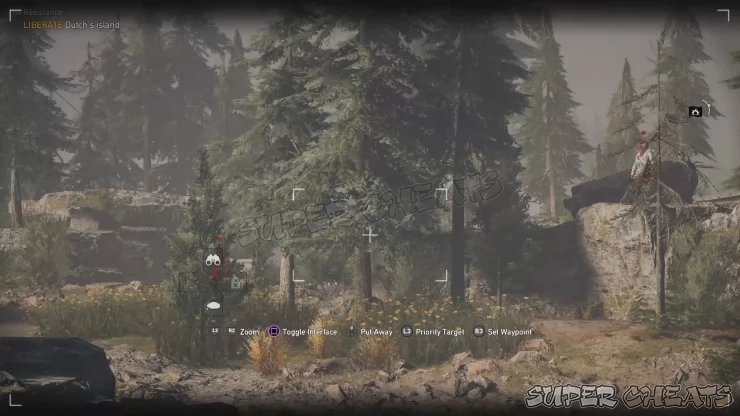
Follow the trail to the next shrine. Before approaching it though, find a good spot to scout it using your binoculars. This is a staple Far Cry method of effectively tagging enemies, allies, hostages, and even animals, allowing you to track their movements real time. Always use this method before attacking an outpost or enemy stronghold to gain an upper hand and valuable intel.
At this point, you can swim towards the shrine to destroy it or you can get yourself a compound bow first which is a powerful Stealth weapon perfect from assassinating unarmored targets in short to medium distances. If you follow the trail near the river, you’ll come across the Silver Lake Boathouse. Head there to get a prompt that a new Prepper Stash (Sunken Funds) has been revealed. Prepper Stashes are optional missions that you’ll encounter throughout the game that leads to abandoned stashes containing a ton of money, ammo, materials, and even Perk Magazines that give free perk points. Since you can only earn perk points by completing unrepeatable challenges, getting access to additional perk points is invaluable in unlocking more skills that you won’t have access to otherwise. However, Prepper Stash in this location doesn’t have perk magazines but will lead you to a free compound bow, money, ammo and materials.
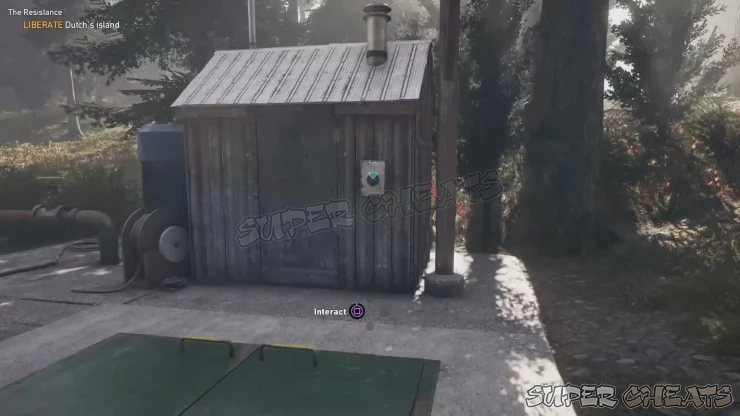
Prepper stash missions have two parts: getting the clue and finding the actual stash itself. Clues can be obtained from various NPCs you encounter in the region or from liberated outposts. Next, you have to head to the location and find a note left behind by the prepper usually posted on a wall or inside an open chest. Follow the prepper stash marker to find the bunker door on the ground. Read the noted pasted on the wall of the shed first to “activate” the prepper stash mission. The bunker where the stash is located is flooded. While you can still dive and get the goodies in the first area, the real goods are stashed behind the boarded doorway. First, you have to drain the water by activating the pumps. The pumps have no power so you have to activate the breaker inside the boathouse first. The boathouse door is locked so you have to swim around and enter from the dock.
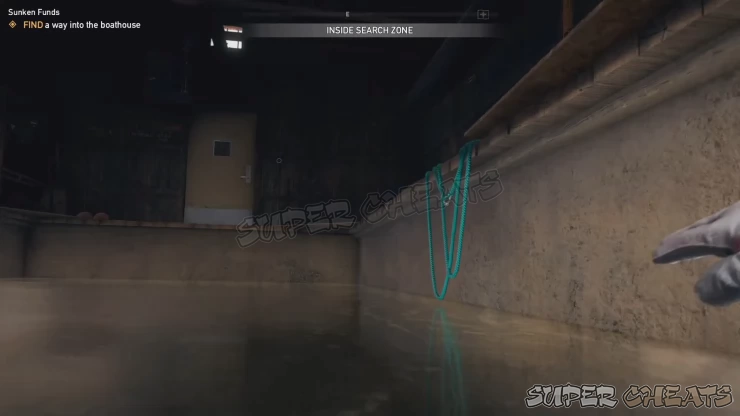
As soon as you enter, you should hear the crackling sound of electricity to the right. Climb up the dock and activate the breaker to turn on the pumps. Next, grab the key hanging by the doorway and unlock the door with it. Collect the medkit and loot the container nearby then head out of the boathouse. Go back to the bunker and wait for the water to be drained. Kick and punch the boarded doorway to reach the next room to complete the Prepper stash mission. Loot the materials, money, and get the compound bow on the wall. You should also have enough materials at this point to craft explosives.
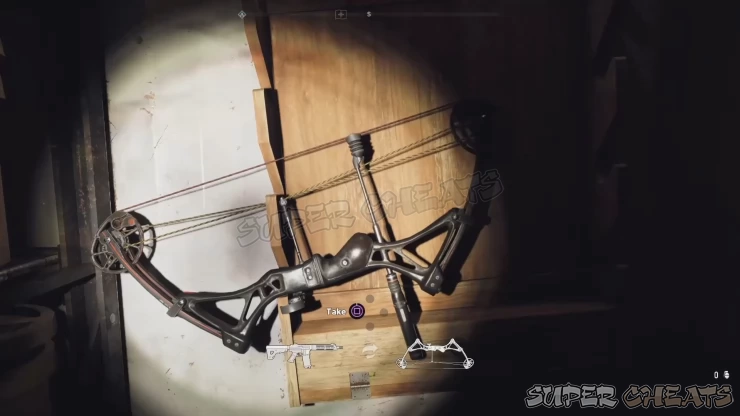
Leave the bunker and head to the cult shrine. With your bow, you should be able to silently kill enemies. You still need to be careful since the enemies will start actively looking for you if they happen to spot their comrade’s corpse or if you kill their ally within their vicinity. Always pick off lone targets and hide the bodies if you want to take out the enemies without alerting them. Also, don’t forget that arrows and thrown knives can be picked up again, saving you ammo in the long run. Eliminate all cultists in the area then destroy the shrine.
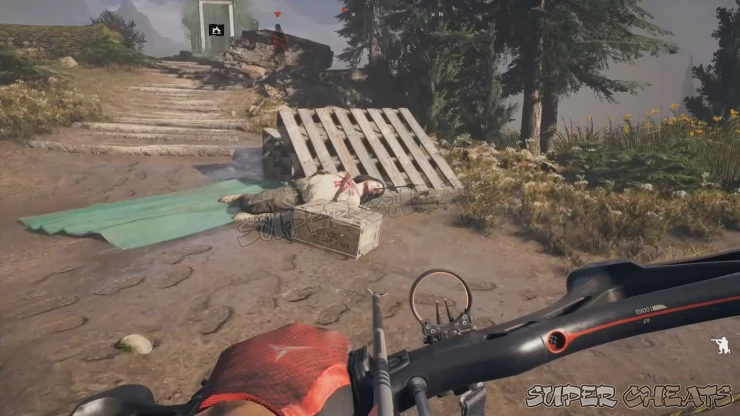
After doing that, Dutch will inform you about the next (story) mission. Head to the marked fishing dock to find a hostage. There are only two cultists in the area, one is a lookout while the other does the beating. Take out the lookout then carefully kill the other one. Approach the hostage and free him. He’ll pick up the nearby rifle and become your first ally. From hereon, you can hire up to three Guns for Hire. (See this gun’s Gun For Hire page for more details)
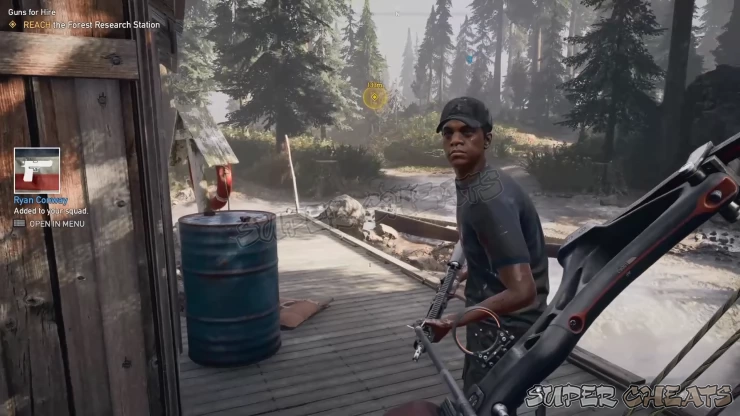
With your ally, in tow, your next step is to backtrack to the Forest Research Station that’s now occupied by cultists. There’s a hostage inside and a lot of cultists. It’s recommended to practice using Stealth here to whittle down their numbers before going loud and engaging them. Like before, go to the rock ledge south of the station so you can scout the area using your binoculars. Tag all possible enemies then make your way around, preferably taking out the lone patrols in the northern side of the station. Eliminate all enemies to complete the story mission “Guns for Hire”. After clearing the station, free the hostage and talk to him to reveal the only cult outpost in the island. Make your preparations then follow the mission marker to the ranger station outpost.
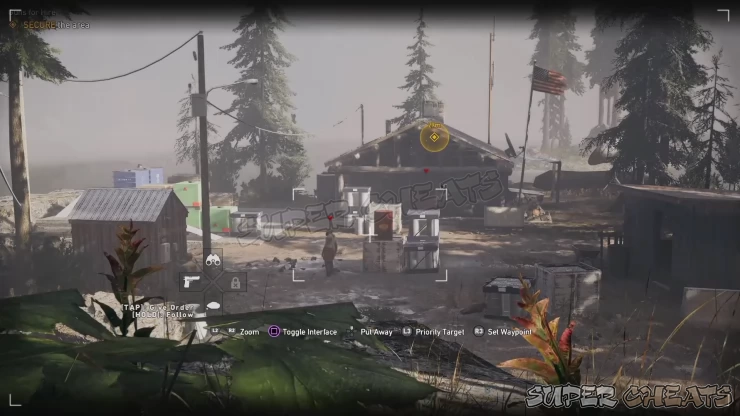
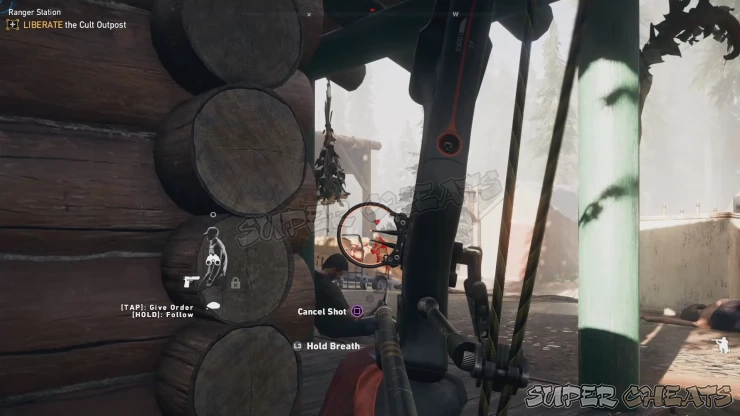
The Ranger Station outpost has only a few cultists that you can easily overcome with guns blazing. However, as practice andt to get bonus cash rewards, try clearing this outpost without getting detected. You can try approaching the station from the side of the cabin and perform a takedown on the nearest cultist. Next, take out the other cultist in front of the hostage, preferably while the lone patrol is looking away. (Remember that you can reload the last checkpoint if you mess up and want to try again). Finally, finish off the remaining cultists with takedowns or arrow shots.

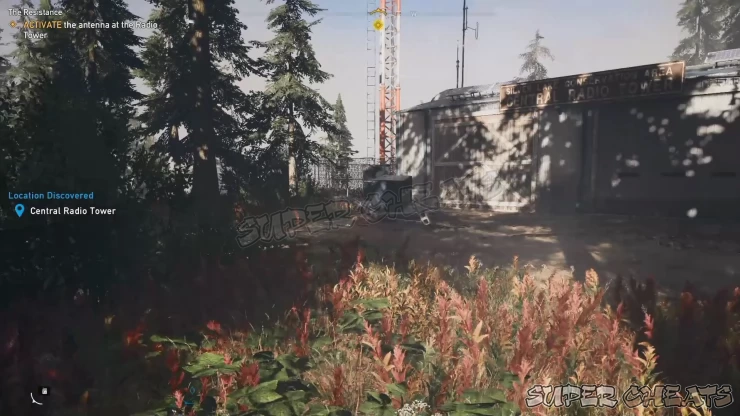
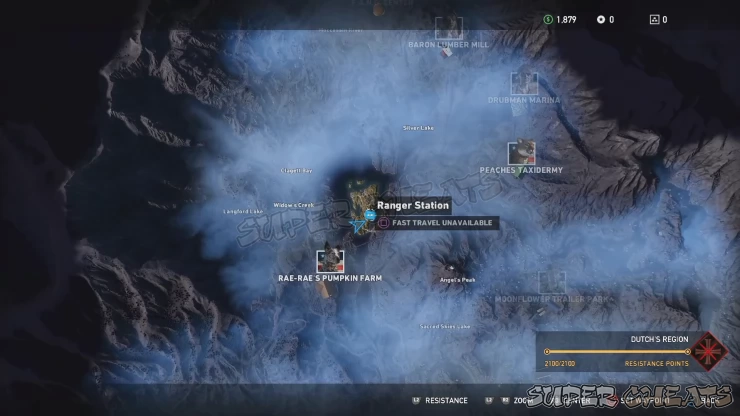
Pick up the map from the table inside the station then head to the central radio tower next. Go through the gate and use the ladder to climb it until you reach the controls on the top of the tower. Pull the switch down to activate the antenna and get a good view of the region and the regions controlled by each of the Seed siblings. Key story missions will be marked in the map and you’re free to tackle any of them in any order you want. However, it’s recommended to start with John Seed’s region, Holland Valley to the west, since it’s easier to establish your resistance forces there early and for you to gain the necessary funds, perks, vehicles, etc to improve your character.

Anything missing from this guide?
ASK A QUESTION for Far Cry 5
Comments for The Resistance
Add a comment
Please log in above or sign up for free to post comments- Basics
- Specialists
- Prologue
- Holland Valley Story Missions
- Holland Valley Side Missions
- Holland Valley Outposts
- Holland Valley Prepper Stashes
- Henbane River Story Missions
- Henbane River Outposts
- Clutch Nixon Stunts
- Perks
- Challenges
- Weapons
- Vehicles
 Join us on Discord
