The Quality of Mercy
Reward: $3000
This mission becomes available after completing The Atonement and Wrath. This time, you’ll be storming the heavily fortified bunker of John Seed. Make your preparations, preferably by equipping a modified LMG and shotgun. Once ready, get a chopper, fly to the compound and clear the enemies outside.
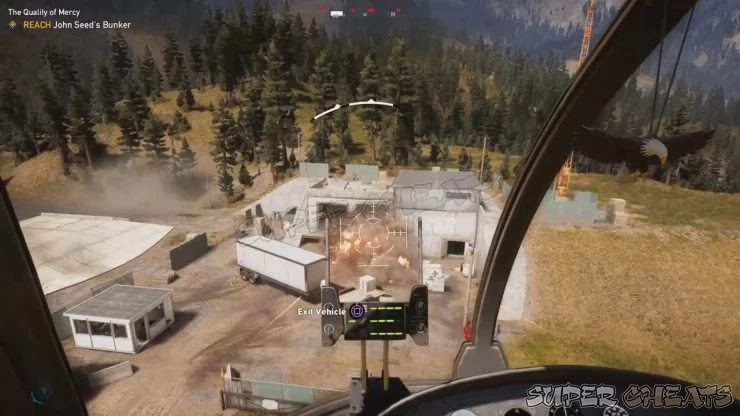
You’ll be storming the place alone since your allies can’t follow you inside. Head inside the bunker’s entrance and interact with the panel to unlock the blast door. Interact with the blast door next to get inside. Once you reached the bottom of the stairs, take cover behind the metal plate and take out the enemies in the room. Placing some proximity mines along the stairs in front of you will be a good deterrent against peggies trying to rush you. Just don’t forget to recover undetonated explosives you deployed so you can re-use them again.
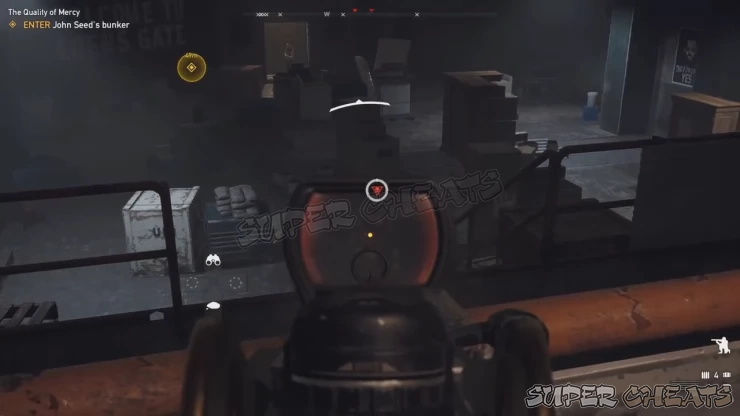
Continue downstairs then open the marked blast door. Equip your shotgun here since you’ll be dealing with the enemies in close-quarters combat. Continue following the mission marker. Don’t hesitate to use your explosives, grenades, and dynamites to take out enemies behind cover. Continue to the next corridor where more enemies await. If you hear enemies but can’t see them, use the Ultimate Hunter homeopathic to automatically detect and tag them. This will give you immense advantage.
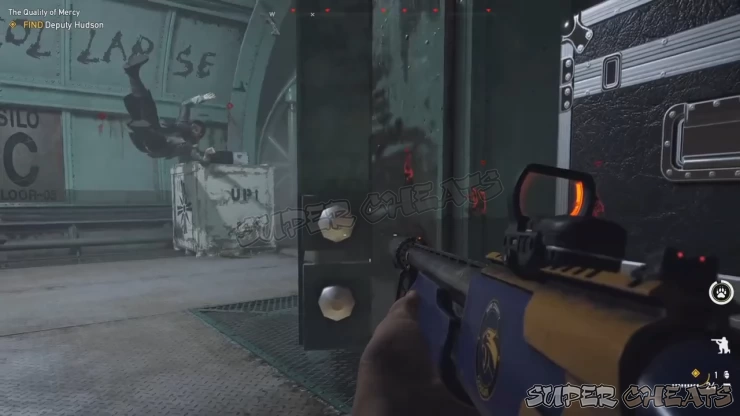
There are prisoners here but you have to ignore them for the meantime then continue to the security room. Go downstairs to the torture chamber for a cutscene. Follow Hudson back to the security room. She’ll be able to open the prison cells except for the two you encountered earlier. They’ll be marked as mission objectives so leave the control room and prepare to fight your way through the peggies trying to stop you.

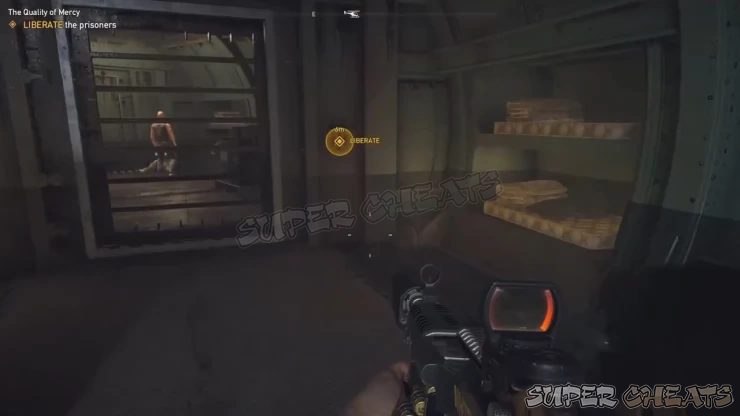
After opening the second prison cell, Hudson will ask you to reach the control room. Follow the mission marker and wait for her to open the grate of the missile silo ahead. Drop down to the ledge below and enter the next corridor. Turn left and follow the path until you reach the computer room. There will be enemies in the other exit, including an armored LMG cultist so leaving explosives there will be a good idea. Destroy the consoles with whatever method you want. Just take out the peggies that will be alerted once you start messing around with their hardware.
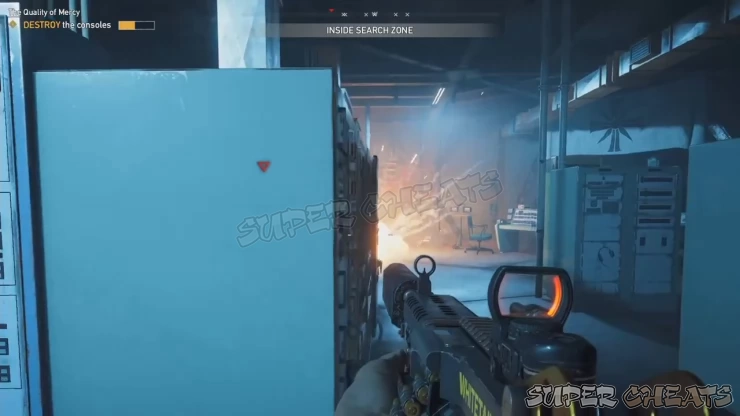
Make your way back to the silo and climb up to the ledge where you jumped off earlier. Look around for a yellow hinge to release the grate that you can use as a platform. Continue climbing up until you reach the doorway on the upper floor. Be careful since there are peggies already waiting there and will shoot you once you’re in their sights. Throw a grenade inside or wait for them to peek then shoot them. Shoot the last hinge to your left then hug the wall and use the very small platforms around to the doorway.
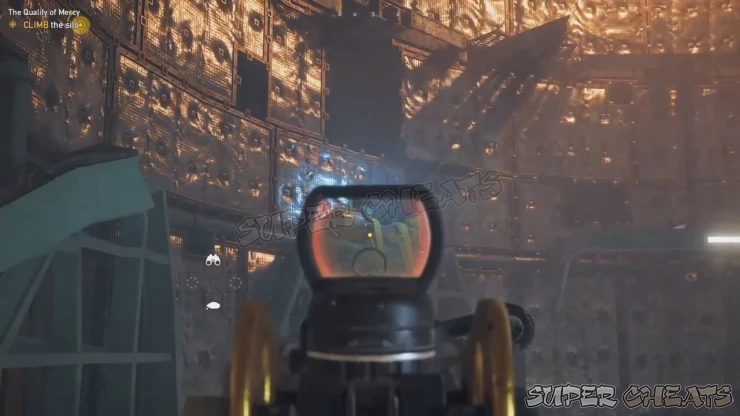
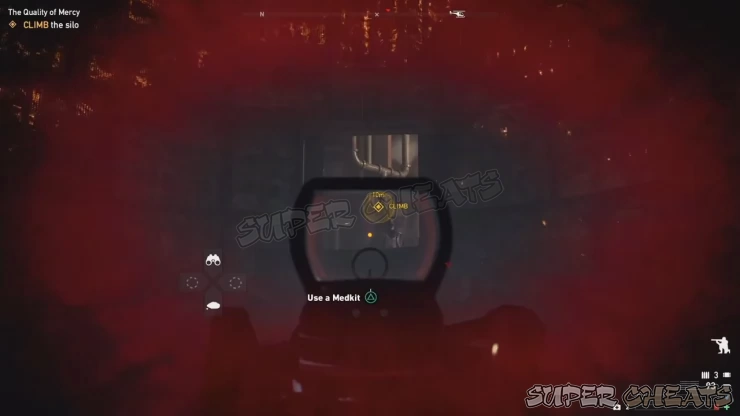
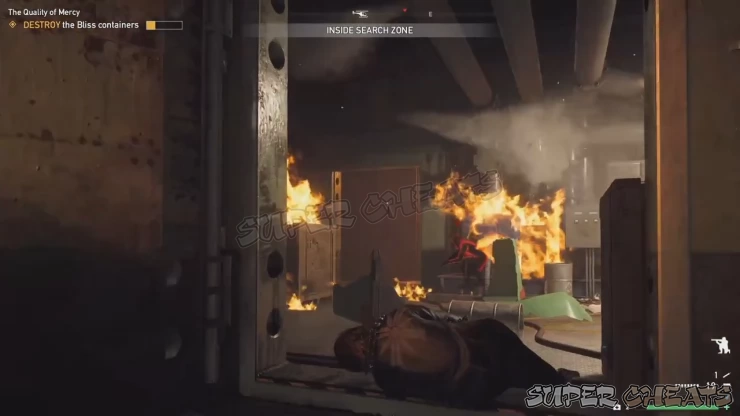
Once inside, you have to destroy all bright green Bliss containers. Don’t get too close when destroying them since these are extremely volatile. Sweep the floor of enemies and bliss containers until the gauge in the top left is filled. Leave the room and follow the stairs to the silo hatch.
There are launch panels around the circular platform but before interacting with them, make sure to leave some proximity mines around since peggies will start flooding the area as well. Use the Ultimate Survivor homeopathic to get the much needed damage boost and kill any nearby peggies that will interrupt your attempt to escape. After pulling down the override levers, you have to keep low and survive the cultist Assault until extraction.
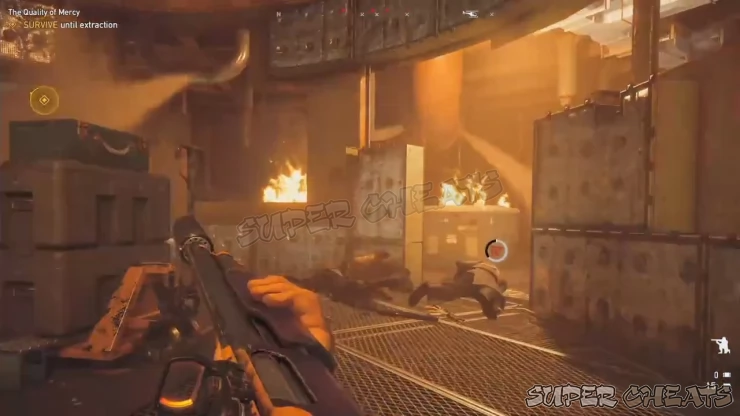
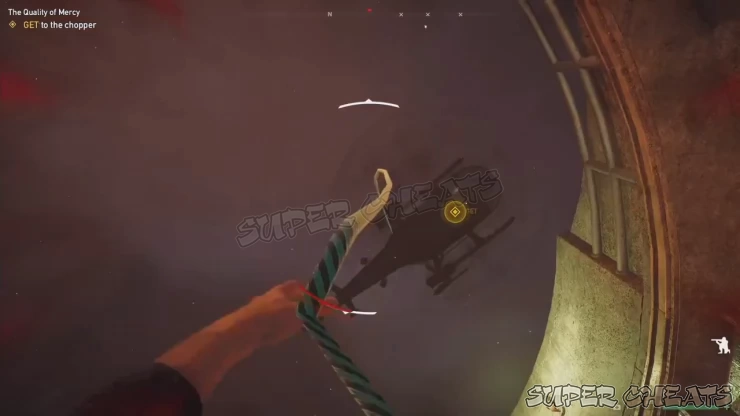
Use Ultimate Hunter to keep track of nearby enemies and use up all your proximity mines by placing them in and around the platform. Keep fending off the enemies until you get the message that the chopper is above you. Look up then use your grappling hook to the chopper and pull yourself up for the cutscene. Mission complete and Holland Valley is now fully liberated!

Anything missing from this guide?
ASK A QUESTION for Far Cry 5
Comments for The Quality of Mercy
Add a comment
Please log in above or sign up for free to post comments- Basics
- Specialists
- Prologue
- Holland Valley Story Missions
- Holland Valley Side Missions
- Holland Valley Outposts
- Holland Valley Prepper Stashes
- Henbane River Story Missions
- Henbane River Outposts
- Clutch Nixon Stunts
- Perks
- Challenges
- Weapons
- Vehicles
 Join us on Discord
