Chapter 8: Fragile Things
Mission: Capture Imperial Weapons Factory
Recommended Level: 35
Victory: Seize Glotsen
Optional:
- Rout all aces (Hard) 0/1
- Retrieve supply caches (Hard) 0/3
This map has a lot of snipers from various vantage positions so make sure at least one of your squad mates have sniper rifle equipped to counter them easily.
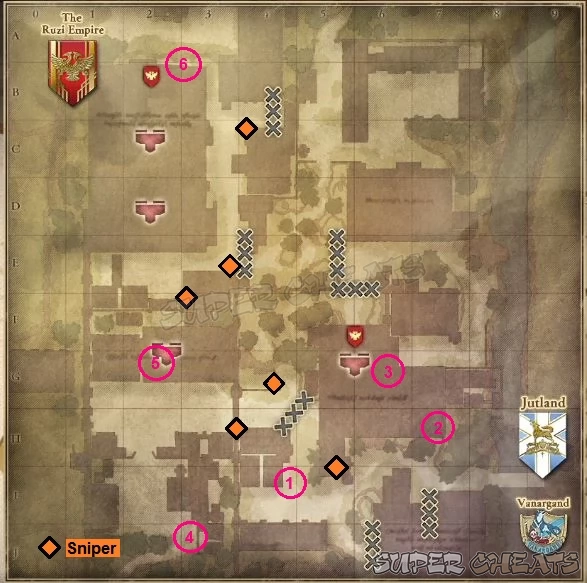
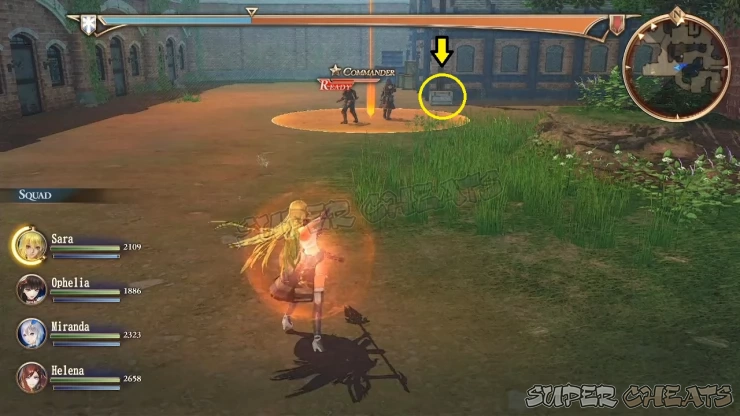
From your starting position, head west first and take out the patrols along the way. You’ll find the first of the three optional supply caches beside the building ahead past the grass fields. (1) Loot its contents before moving forth. If you can’t loot it because you’re detected, look up and scan the platforms and ledges near the roof to check for snipers.
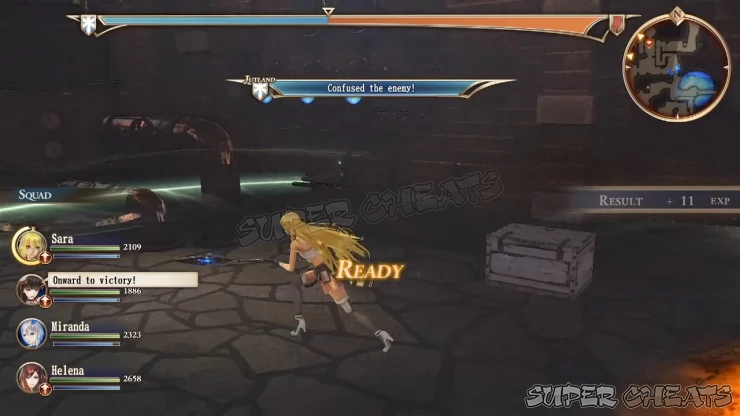
Once done, head inside the warehouse from the west to surprise the enemies guarding the eastern entrance. This also gives you access to the first enemy base to the north, where one of the first Tanks you have to destroy is located. The second supply cache is located in the eastern wall of the warehouse, near the entrance (2). However, you won’t be able to loot it without clearing all the immediate enemies nearby.
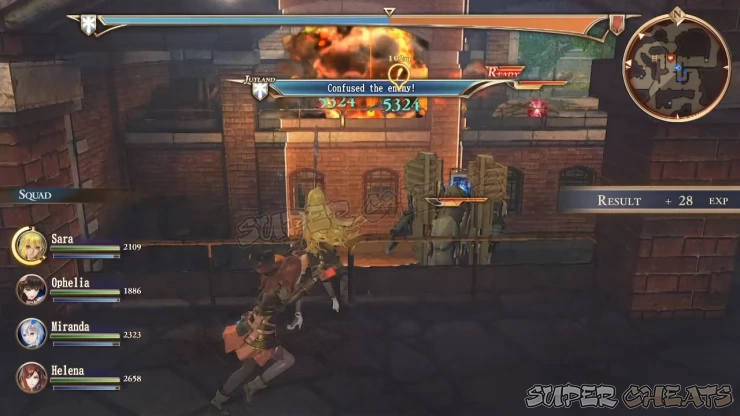
There’s an enemy sniper nest in the ledge overlooking the base so it will be a bad idea to simply rush the tank. Instead, you can access the ramp in the eastern side of this warehouse (3) so you can easily target the snipers from the other side. After taking out the snipers, you can backtrack to the lone tank and focus on engaging it. Destroy it to capture the base, then loot the supply cache (2) before pressing forward.
The gate north of the first base should be opened now. Continue past it and take out the enemies behind the sandbags. Also, before jumping off the ledge to go west, take out the two snipers indicated in the map above to clear your path.
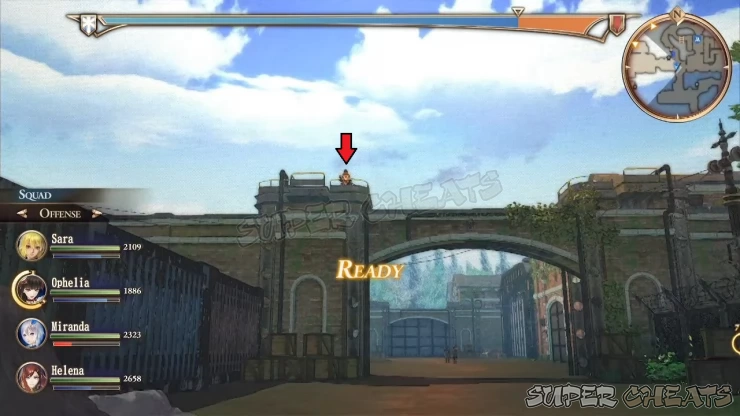
Before going to the next warehouse, continue to the southwest corner of the map to find the enemy ace there with some foot soldiers (4). He’s piloting a heavy gunner tank so make sure to get close immediately so he can’t rain you with bullets.
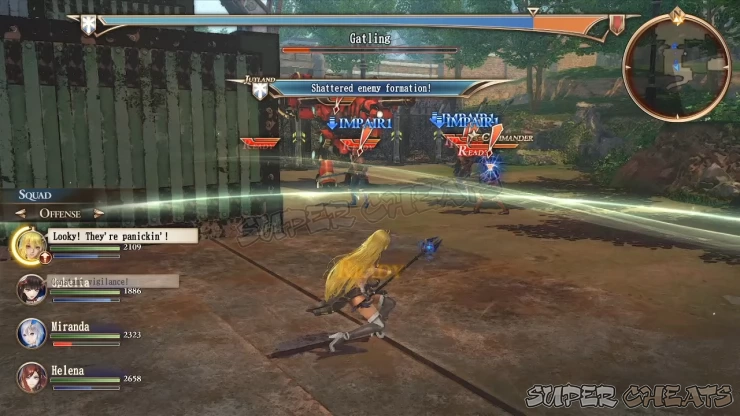
After defeating the ace, continue to the next warehouse to the north. A tank and more enemies will be waiting inside. Destroy them then loot the last supply cache (5) beside some container vans to complete your optional objectives in this mission.
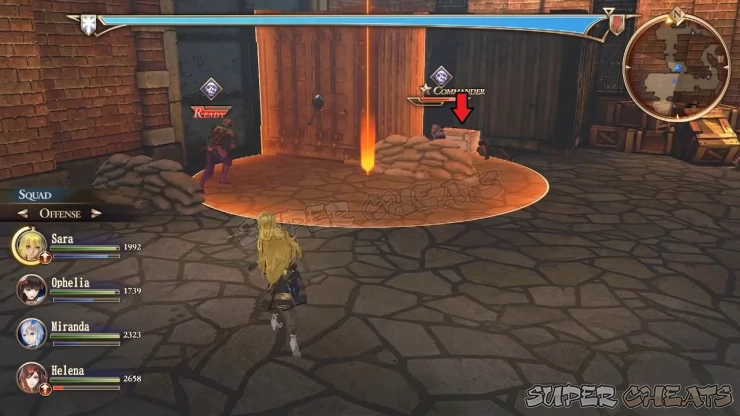
Leave the warehouse and continue north. Another sniper is waiting on the ledge right outside that warehouse so make sure to take him out quickly. Don’t enter the last warehouse yet; instead, go around to the east and take out more snipers as marked above. This path will lead you to the rear flank of the second enemy base to the north (6) where you can take advantage of the elevation and eliminate the other enemy forces along the ledges.
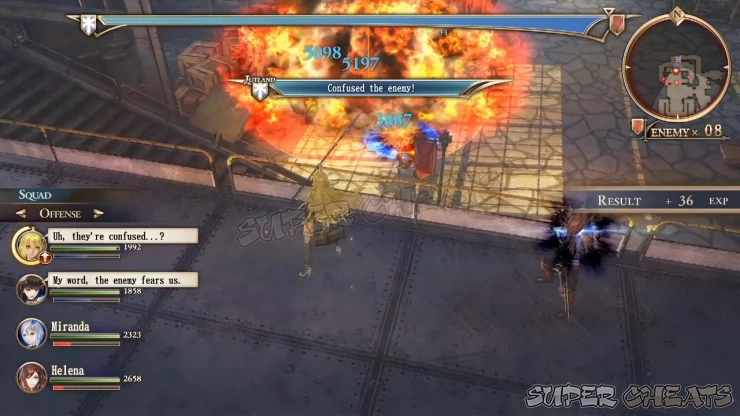
After taking out the remaining foot soldiers, you can now concentrate in engaging the two remaining Tanks. They’re the melee type of armored light tanks so make sure to steer clear of their charge attacks. If ever your allies get hit by their charge or jump attacks, heal them up quickly. Use AoE attacks when they stand close each other but concentrate on one tank at a time. Defeat the two tanks to complete the mission.

Operation: Southern Wind II
Recommended Level: 37
Victory: Aid Jutland Army
Optional: Rout all aces 0/1
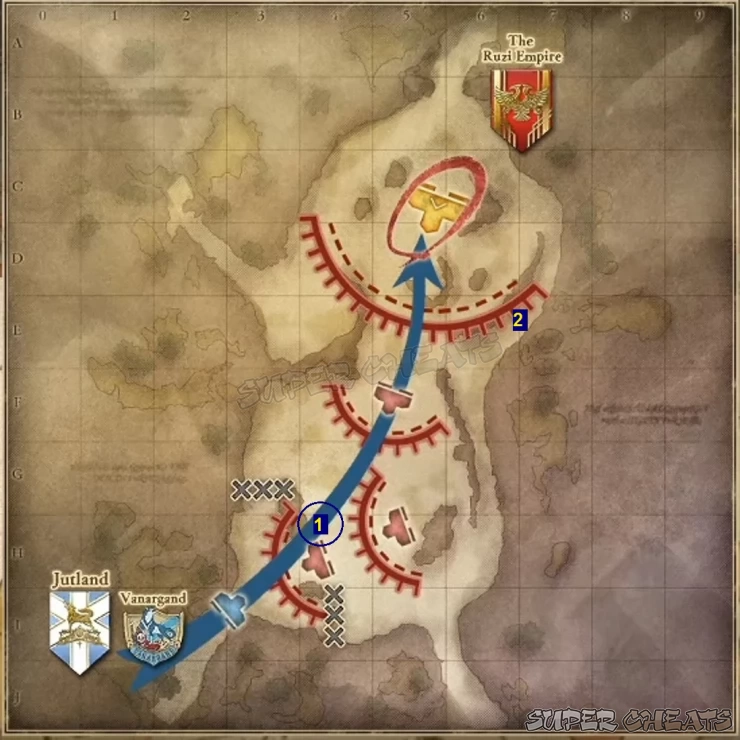
This is a major operation so make sure to bring your best squad members. Once the battle starts, charge straight to the middle and use a grenade or AoE attack to take out multiple targets at once. Next, engage the medium tank ahead and destroy it.
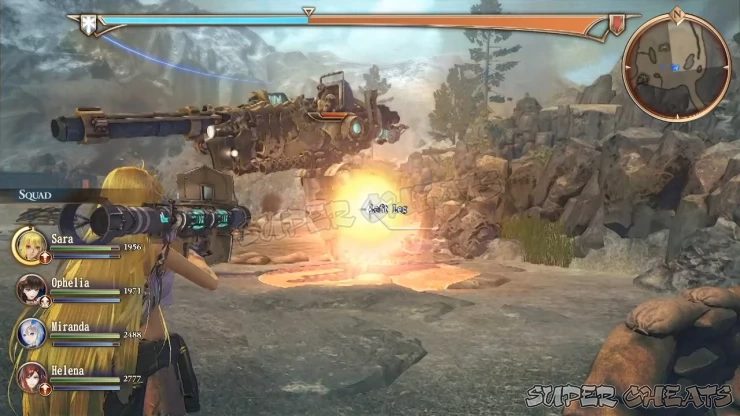
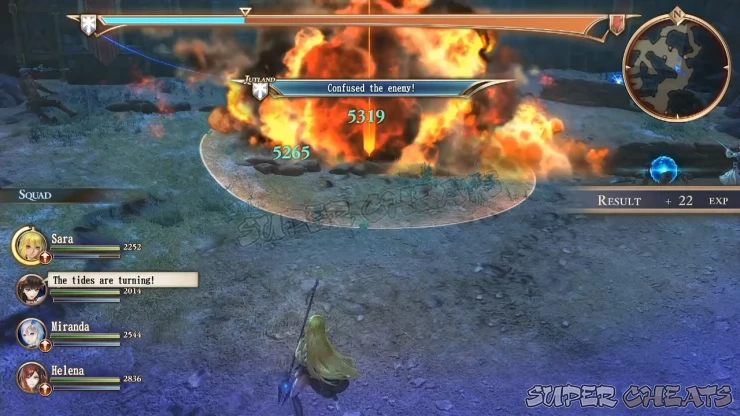
After destroying the first squad, the backup tank squadron will arrive. Use AoE attacks as soon as they arrive to throw them in confusion to your advantage. After eliminating this squad, another wave of enemies will arrive from the north. There are several sandbags and mines scattered here so use AoE attacks and grenades to damage the enemies and destroy the mines and their cover. Destroy this squad to trigger a cutscene.
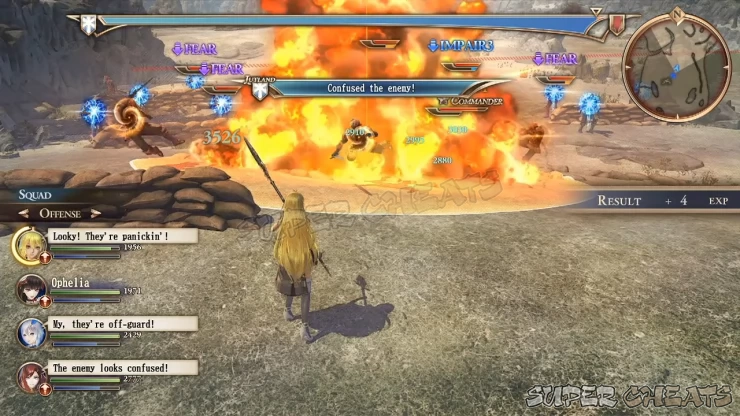
After the scene, don’t proceed north yet; backtrack a bit and loot the supply cache to the southwest. The heavy tank will be visible in the far north but don’t charge in the middle. Instead, take the trench to the northeast to circle around the waiting enemies and flank them instead.
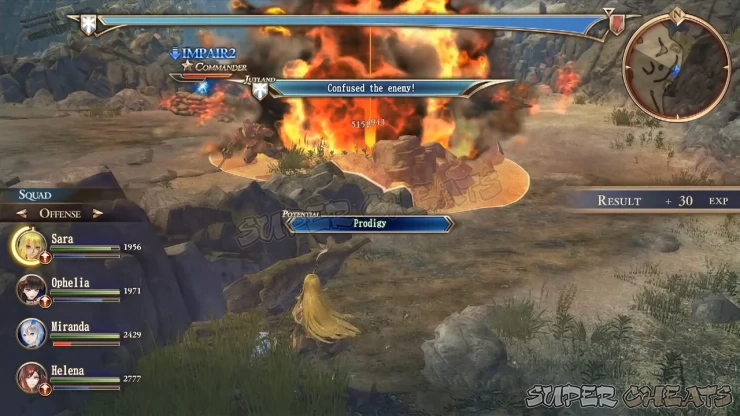
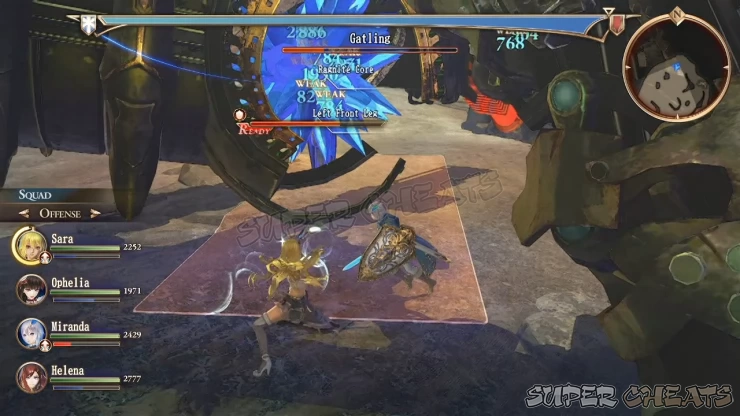
Once the foot soldiers have been dealt with, you may now engage the heavy tank. This is a pretty generic heavy tank so use the same tactics as with the previous heavy Tanks you’ve taken down before; destroy a tank part to weaken it temporarily then hit the core with AoE attacks or grenades. If you focused heavily on increasing a sapper’s MATK stat (in my case, Sara) you can spam alchemic spells instead to target the core directly and inflict tremendous damage, making quick work of the otherwise sturdy heavy tank. With the defeat of this metal beast, the first portion of this operation will be complete.


For the second part of the mission, you’ll start from the allied Camp in the evening. You can bring the same party members. When ready, talk to Miranda to deploy. Rush through the gate and fight your way uphill north. There are scattered mines here so disarm or avoid them altogether. Engage the first enemy position right outside the first gate.
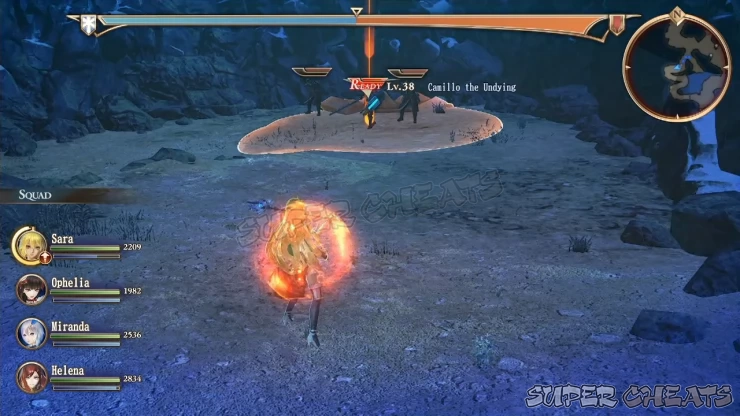
Go past the first gate and take out the machinegunners behind the sandbag ahead. Don’t head north yet; instead, go to the narrow winding path to the west to encounter the ace that you need to kill to complete the optional objective. (Take note of his position in the minimap in the upper right-hand corner of the screenshot below.
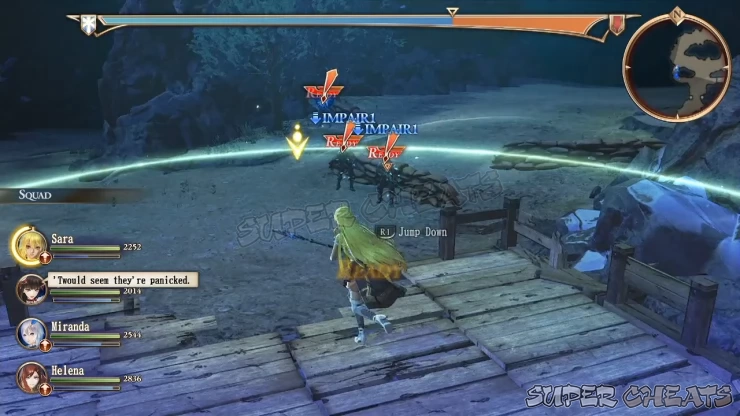
After taking him out, backtrack to the main path and continue north to the second gate. Take out the sniper from the watchtower and the two enemies behind the sandbags. Like before, you can take the alternate path to the west to get behind enemy lines instead of pushing forward through the middle. Continue along to the third gate where the enemy base is located. There are a lot of enemies waiting here especially armored shocktroopers and sniper sappers. You can take them by surprise if you attack the base from the western flank using the shortcut mentioned earlier. Take out all enemies to take over the base. Continue to further north to trigger a cutscene and to face the Valkyria once more.

Brunhilde’s attacks are the same as before, albeit a more powerful to scale with your own strength. She can still activate two element spheres at once, giving her access to even more devastating spell combinations while also allowing you to exploit her double weaknesses. (The damage doesn’t stack though). The same wide, open battlefield still gives her the freedom to teleport farther and allow her to snipe your teammates with her offensive spells and projectiles while they attempt to engage her in melee range.
Your sapper will still be the main lifeline of the group since you’ll be taking damage consistently throughout the fight. Ophelia is still a good addition to the team since her galdrs will good countermeasures against Brunhilde’s punishing spells and status ailments. Switch between your sapper and Ophelia and use healing spells and her Love galdr to completely heal up the team and keep the offensive.
It should be basic knowledge now to take note of the orbs floating around her and attack her with the element she’s currently weak against. Quickly take out the Azure Flames that she summons to avoid unnecessary damage. If you can’t seem to stop her from casting a powerful spell like Azure Light of Ruin, at least take control of your sapper and have her/him run out safely away from the blast area. This way, you can quickly heal any surviving members and revive fallen ones.
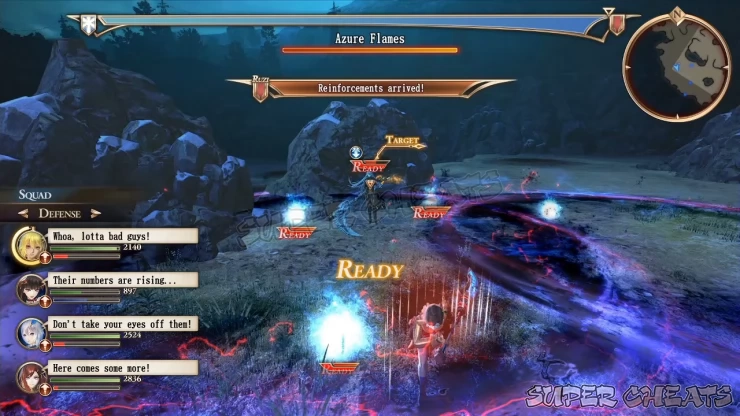
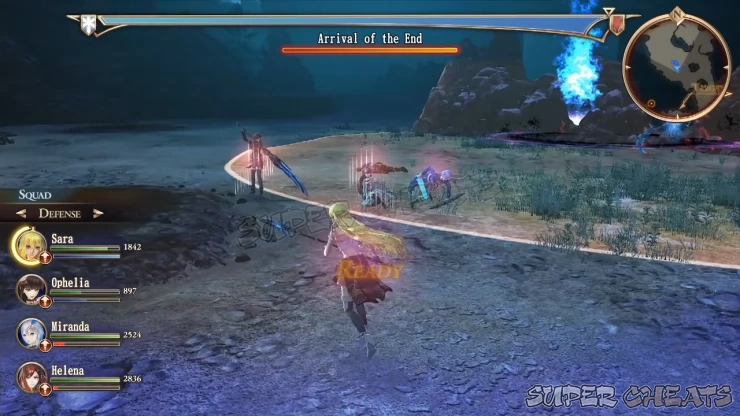
Also, watch out for her Arrival of the End spell. This will make her call in a rain of meteorites in the highlighted area. This can cause nasty damage since the meteorites will continue falling for a few seconds while she’s still casting new AoE spells. Staying out of the area while the meteorites are falling is a good way of avoiding taking in too much damage or worse, getting wiped out. Continue your offensive once this nasty spell stops. When she’s about to be defeated, it will be better to spam her with offensive spells as much as your RP gauge can accommodate to prevent her from effectively casting her spells.

Anything missing from this guide?
ASK A QUESTION for Valkyria Revolution
Comments for Chapter 8: Fragile Things
Add a comment
Please log in above or sign up for free to post comments- Basics - Combat
- Basics - Game Mechanics
- Walkthrough (Operations)
- Circles
- Archives of the Revolution
- Extras
 Join us on Discord
