Chapter 2: The Reaper's Song
Like before, you’ll get the chance to make preparations and partake in free Missions before pushing forth with the story missions. When ready, head to HQ and start the main operation.
Operation: Imperial Reconnaissance
- Recommended Level: 5
- Victory: Capture enemy base
- Optional: Capture all bases 0/2 (Hard)
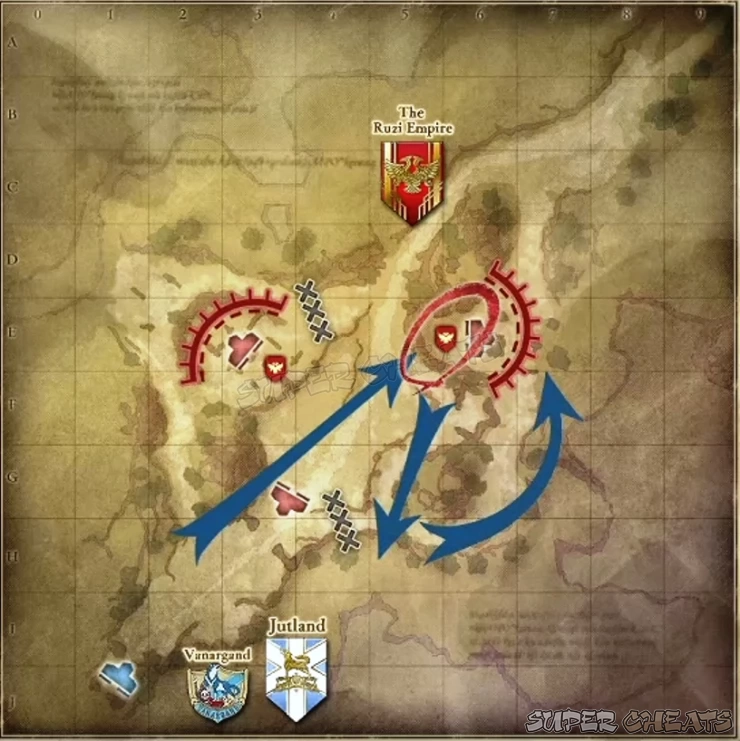
At the start of the battle, head to the right first and clear the small enemy Camp there. There’s only a handful of soldiers manning it you’ll just breeze through it. Don’t forget to loot the supply cache between the tent and the palisades. After clearing the enemies, you have two paths; the heavily guarded main road or through the lightly guarded grassy path to the left. I suggest heading to the left first since there’s an enemy base there that you can capture.
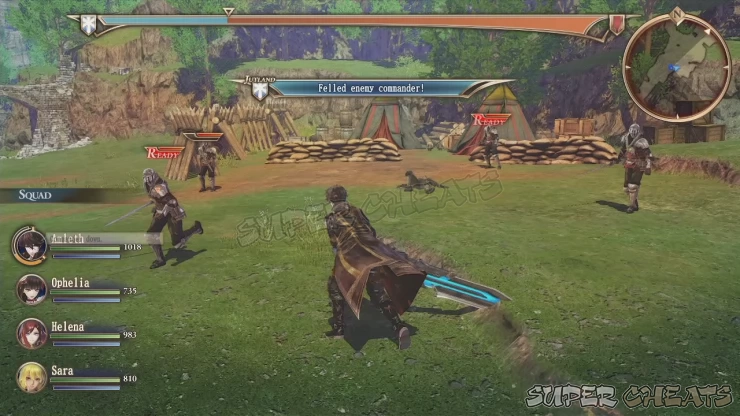
Continue to the ruins where there’s light resistance and scattered soldiers. The base commander is a shieldbearer and located near the ledge of the ruins. Defeat him and his guards to take over the base. Before leaving, take the ramp uphill leading west and clear yet another small Camp there. Loot the supply crate there and return to the base you just captured earlier. From there, you can jump off the ledge and reach the open field.
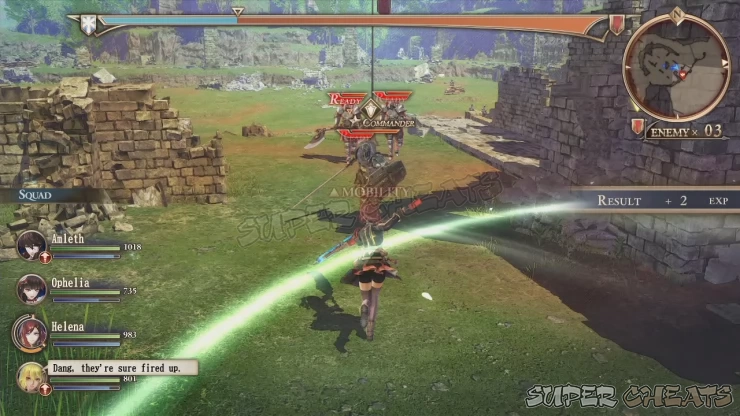
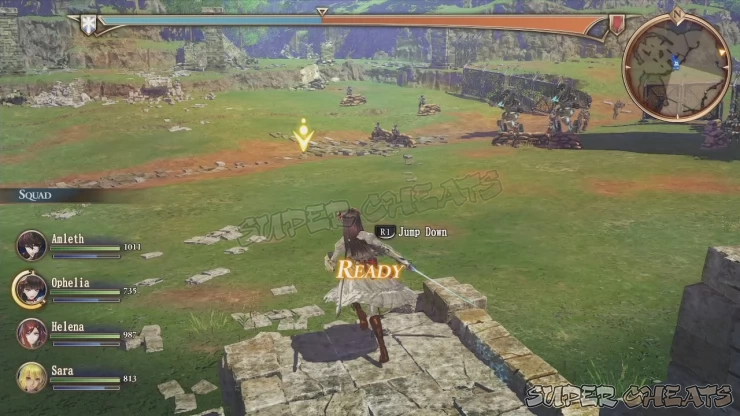
If you’re confident enough, you can engage the large enemy group guarding the main road. There is a couple of light Tanks there along with entrenched soldiers so a well-placed smoke grenade in the middle of the pack will give you the protection and advantage to engage the enemies. Like before, prioritize picking off the foot soldiers then concentrate on one tank at a time. Once done eliminating the group, you can now proceed to the main objective.
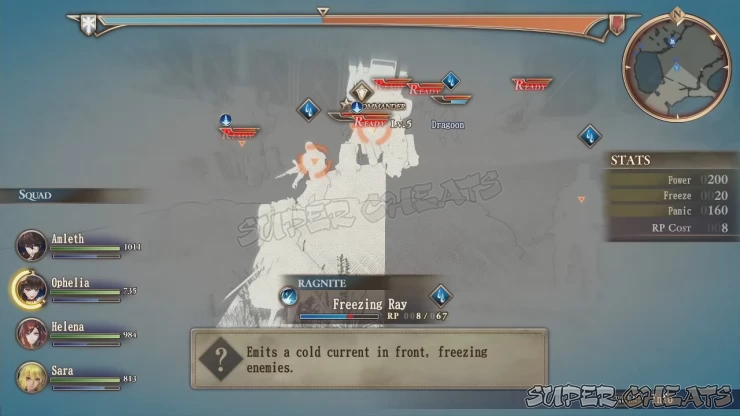
Follow the road to the north then turn to the right to take the narrow path winding to the eastern side of the map to the main enemy base. You’ll encounter light resistance along the way so dispatch them as needed. Upon reaching the main base, use AoE spells and grenades since the enemies are packed tightly together. Take note that there are snipers near the base flag so make sure to take them out quickly before they become annoyances. Continue wiping out the enemy soldiers until you completely take over the base and end the mission.
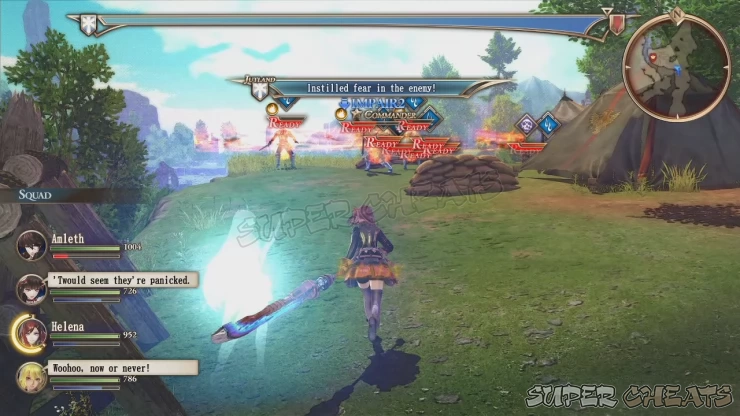

Operation: Avalune Liberation (Enemy Base Destruction)
- Recommended Level: 7
- Victory: Destroy 3 targets
- Optional: Capture all bases 0/1 (Medium)
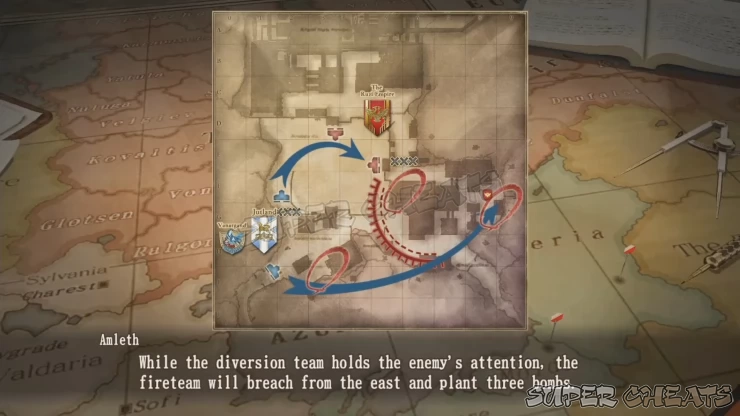
Before starting this operation, you can take your time completing free Missions if you want to level up your squad, complete tasks, earn more funds, and get more ragnite crystals.
Before deploying, you’ll have to select the members of your two groups. One will be the diversion team and the fire team. The diversion team will have fixed members composed by Amleth, Ophelia, and Godot. The last slot should be assigned to either Sarah or Blum. The fire team will do most of the work here and will have Daryl as the only fixed member. I suggest bringing Helena and Brigitte since you’ll have to move fast while also attacking aggressively. The last slot should be given to either Blum or Sara since Sappers are a must for every team.
Once the mission starts, approach the patrols and more reinforcements will arrive immediately. Don’t hesitate to use a grenade or two especially to those enemies grouped together tightly since your team will be an easy target in this open space with limited cover. After taking out the enemies, don’t forget to loot the supply chest to the southwest of the minimap, beside a platform. After looting it, head to the mission marker and interact with it to plant the bomb.
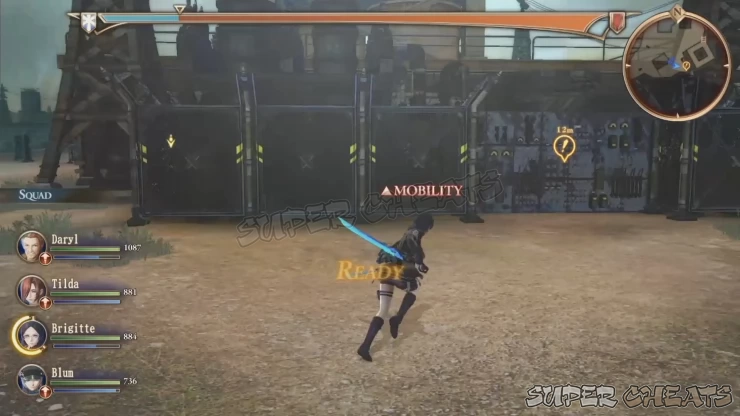
The control will now switch over to your diversion team. Head down the ramp to the large open field. Take out the lone patrol along the way and eliminate the next enemy group taking cover behind the sandbags. After clearing them, a small enemy reinforcement group of foot soldiers will arrive. Defeat them once again and you’ll need to face another wave of reinforcements with a medium tank alongside them. This should be the last wave for this sequence so defeat them all and the control will switch over to your fire team once again.
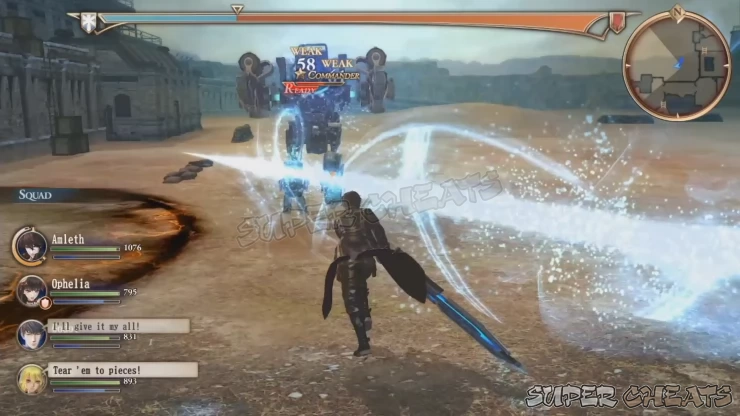
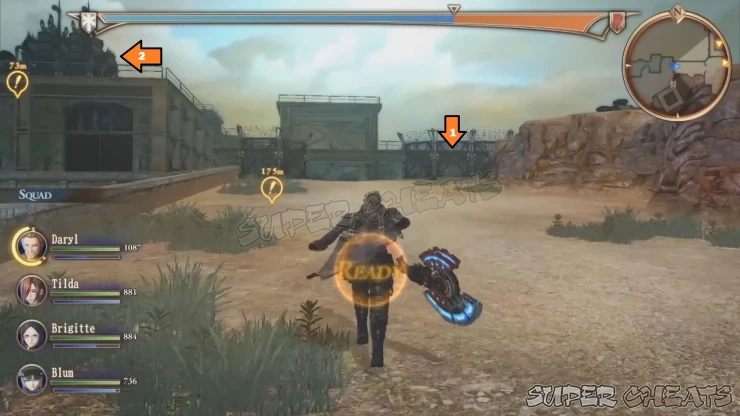
You have to place the second and third bombs with the fire team. (you can tackle them in the any order you want. )Head to the north and continue head to the next area with several buildings. You have to go up the ramp on the eastern side of the central building (1) then take the short ladder to reach the objective (2). There’s a stack of explosive barrels beside the group of soldiers guarding the objective. Shoot it from afar to deal heavy damage to all enemies within the immediate area. Get rid of the enemy soldiers as well as the reinforcements to successfully plant the bomb. You won’t be able to do this otherwise.
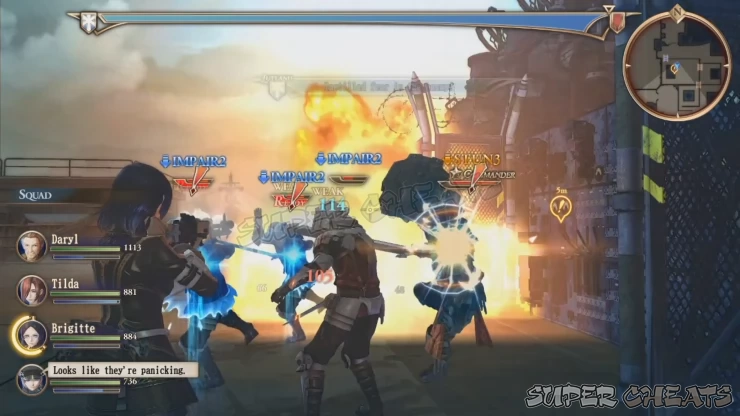
The other objective is located behind an enemy base further east of the central building. Take out the enemy vanguard in the alley between the buildings then proceed to the enemy base. As you approach it, more reinforcements will arrive. Clear the base to capture it and finally, plant the last bomb in the objective to complete the task. The control switches back to the diversion team again.
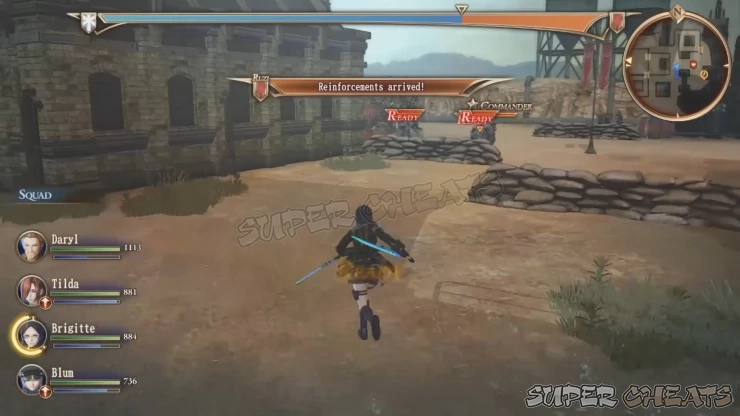
After the cutscene, you’ll have to fight Maxim once again but this time, he won’t be fighting alone. Take out his minions first using AoE or ranged attacks. He can call in reinforcements so you have to eliminate them as quickly as you can to maintain the gauge to your advantage. Make sure to avoid standing in the way of his charge attack; you’ll see a similar area of effect when using your spells when he’s about to pull off this attack. Take note that you always interrupt his attempts to “cast” spells by using grenades and powerful spells/attacks of your own.
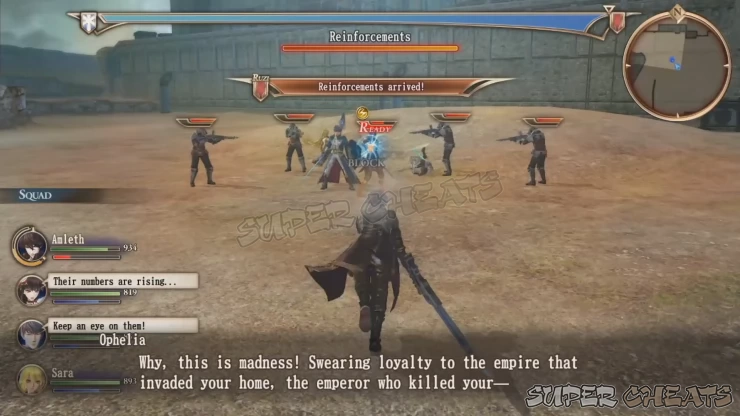
He will also become more aggressive with his attacks when his HP is critical so make sure to prioritize reviving your fallen characters and heal up as needed. Avoid staying together closely to avoid getting damaged at the same time. If possible, take control of Ophelia or Sara to heal up or cast support or ranged spells. Amleth and Godot will pretty much be able to withstand Maxim’s attacks so you don’t need to worry about them taking the brunt of his damage. You can issue them orders if you want, just ensure that you keep your fragile team members away from his range. Keep attacking him at every opportunity you get until he’s finally defeated.

Operation: Avalune Liberation (Enemy Base Suppression)
The first part of this operation is done. You can stop for now and return to the city by selecting “Suspend Mission” or if you think you don’t need further preparations, you can resume the second part of the mission which takes place at night. As the game will explain, nighttime battles will be a bit different because of limited visibility that applies to both allies and enemies. Furthermore, nighttime combat also increases the chances of encountering a very powerful godlike being that you’ll face during this operation.
For the first part of the mission, Amleth will proceed solo. You’re not required to engage all enemies; in fact, it will be beneficial for you to proceed with caution and avoid enticing large group of enemies, especially the initial group of guards with two light Tanks among them. Also, save your healing items. Don’t use them unless you’re in an emergency. Remember that you can recover HP automatically by taking cover.
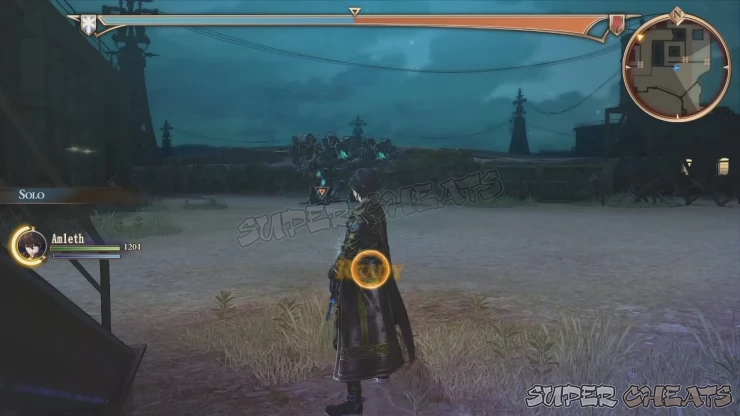
Your objective is found in the rooftop so take the stairs right beside you from the starting point. You’ll encounter light resistance along the way. Don’t hesitate to you use your guns to take out targets from a distance. The path is pretty straightforward; simply take the ladders and continue fighting your way through different enemies until you reach the mission marker. Don’t worry about seeing the group of medium Tanks in that platform; approach them to trigger a cutscene where Amleth takes them all out with ease.
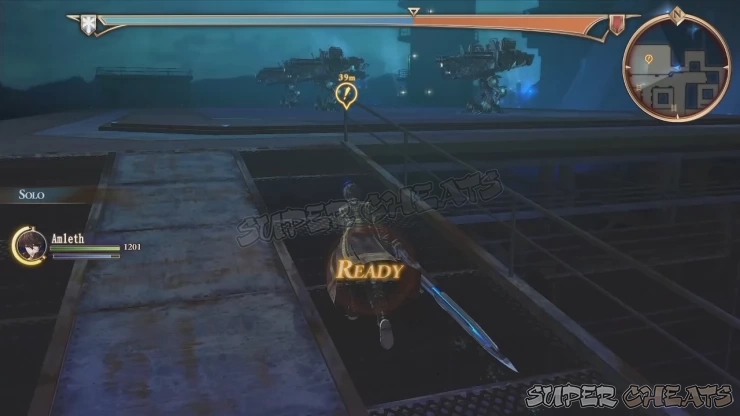

Boss: Valkyria (Brunhilde)
This is your first encounter with the Valkyria and she’s not something that shouldn’t be underestimated. First, in this battle, you should be able to identify the what element the Valkyria is using. Hitting it with an attack it’s current element is weak against will interrupt its actions. The Valkyria’s spells take a while to charge up but can cause heavy damage and negative status effects if she successfully unleashes it. That’s why interrupting her actions is very important in this battle. If you can’t interrupt her casting, make sure that you’re away from her spell’s area of effect. Even this may prove difficult considering the large area her spells cover and the limited floor space of your combat zone.
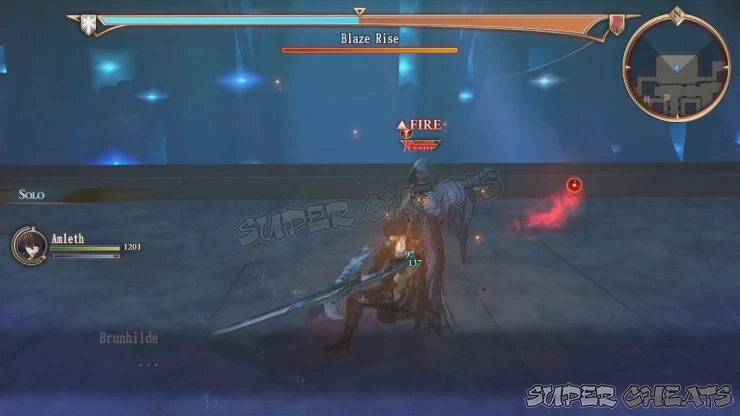
The elemental rule in the game doesn’t follow the usual rock-paper-scissors mechanic. It may start off as confusing since we generally know that water is usually strong against fire for example.
- Fire weak against Water
- Water weak against Fire
- Earth weak against Wind
- Wind weak against Earth.
For the first part of the battle, you’ll be fighting her one-on-one. Her HP, attacks, and other stats will be fairly scaled down to an one-on-one fight. Simply avoid her area-of-effect attacks and quickly do some counterattacks without using any spells to save your RP. Continue this simple pattern until you whittle down her HP and trigger a cutscene.
After the scene, you’ll get to choose which teammates you’ll need to bring. Amleth will be a fixed member of course. Bring Ophelia because of her good balance of quick attacks and range, a sapper, and another shock(trooper). Don’t bring shieldbearers here because you need speed and mobility to get out of the boss’ spell area and to quickly close the distance to counterattack. Sappers are essential for boss fights without question. It also depends on the alchemic spells you equipped them. Make sure Ophelia and Sara/Blum has Heal Field equipped. Ophelia should have Freezing Ray and Spinning Squall as well, to ensure that she can heal her teammates, heal herself, and attack at the same time.
Brunhilde will increase the frequency of her attacks and even teleport across the battlefield. Be careful not to hit her while she’s in the middle of her spell or attack animation; this will render her invulnerable while she’s in a middle of an action. Also, take note of her “Rise” spells. This will indicate the element she currently equipped. The names are pretty obvious so if you see her cast “Blaze Rise” that means she has fire equipped, “Ocean Rise” for water, etc. Some of her prominent spells are the following:
Magnet, a vortex that damages and pulls characters in the middle, slowing down their movement at the same time. Your only chance to avoid this is by staying out of its area of effect before she casts it.
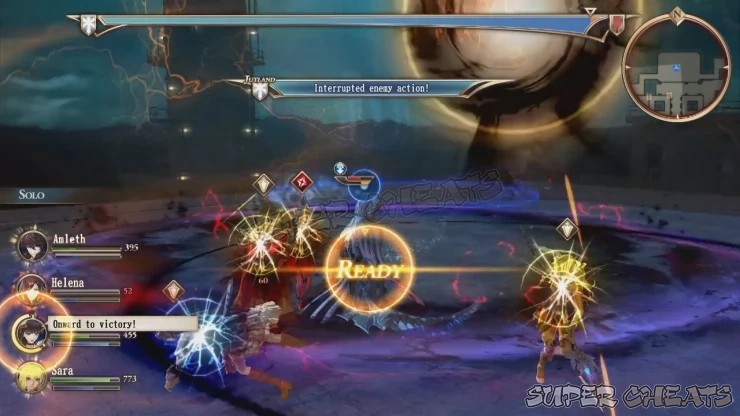
Nightmare is a similar AoE spell that restricts your characters' movements but it doesn't have a core that will pull them towards the middle. However, the characters within the Nightmare field will suffer negative emotions as well.
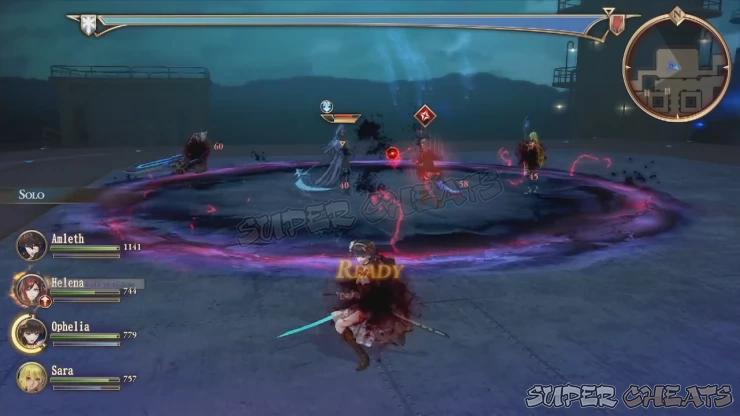
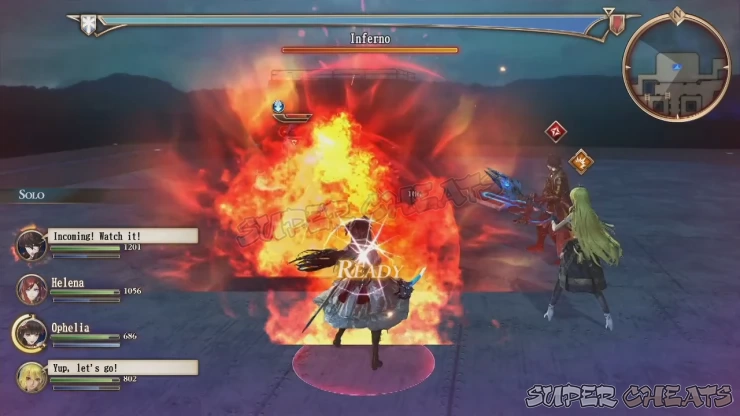
Inferno is a multi-hit, homing fire projectile that can’t easily seen. Your only choice is to evade as much as you can, hoping that it doesn’t connect. Icicle Blast is also one of her ranged spells, producing razor-sharp icicles and shooting them in a straight line towards the target. The closer the target is, the more hits he/she'll take.
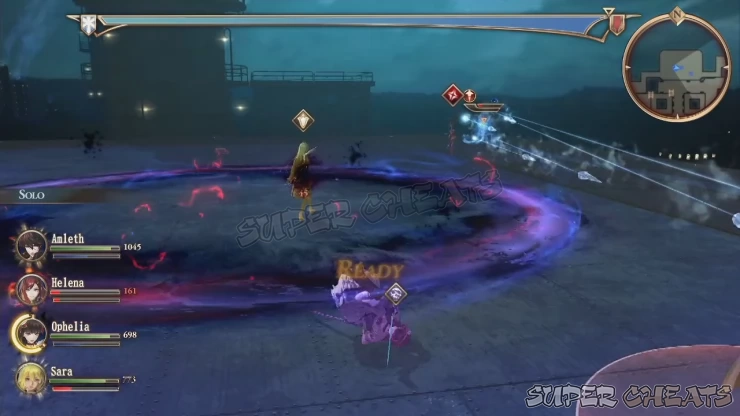
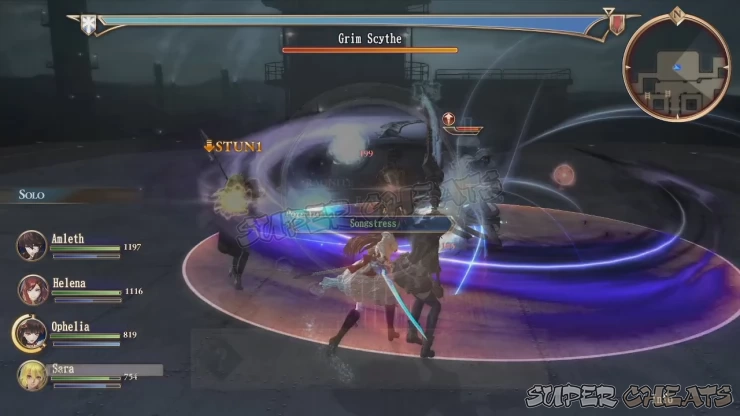
Grim Scythe is her main physical attack, where she swings her massive scythe around her, damaging anyone nearby. Her other physical attack is Soul Harvest, which covers a large square area in front of her. This attack is slow and will give you enough time to evade but this also means the animation is longer so your attacks won’t hit her. You can start hitting her the moment she finishes swinging her scythe.
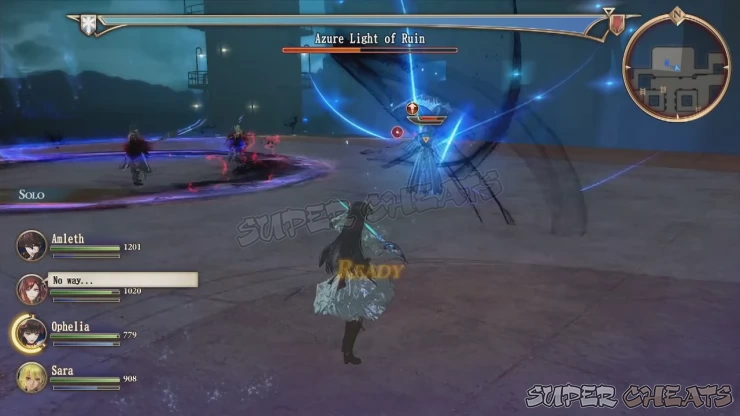
Azure: Light of Ruin is a very powerful all-area attack that spans the entire floor. This deals heavy damage so do your best to interrupt her before she casts it. Otherwise, if your team’s HP and defense is high enough to withstand the attack, heal them up quickly with items and spells like Heal Field.
Later on, she’ll summon Azure Flames. These balls of flame have small area of effect on their own and they explode upon destruction, dealing damage and negative status effects to your teammates (like fear) so avoid hitting it with melee attacks. They should be prioritized since they’re technically traps on their own and their damage can stack with Brunhilde’s own AoE attacks.
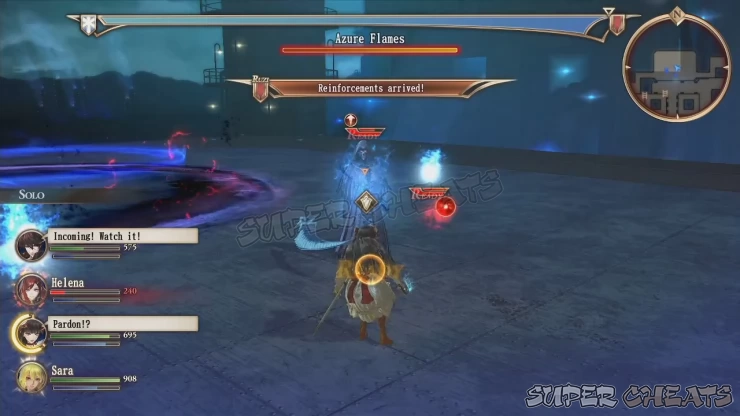
When her HP is critical, Brunhilde will call in her Azure Flames more frequently while also spamming the battlefield with consecutive AoE attacks such as Magnet, Nightmare, and even Light of Ruin. This is the critical part of battle and can easily wipe out your team if you’re not careful. If you can’t reach her or your RP is low, your only hope to interrupt her and deal heavy damage is by using grenades and rocket launchers. After depleting her HP, a cutscene will take place. This is where Ophelia learns two special spells exclusive to her, making her a more vital member of the team.


Anything missing from this guide?
ASK A QUESTION for Valkyria Revolution
Comments for Chapter 2: The Reaper's Song
Add a comment
Please log in above or sign up for free to post comments- Basics - Combat
- Basics - Game Mechanics
- Walkthrough (Operations)
- Circles
- Archives of the Revolution
- Extras
 Join us on Discord
