Chapter 7: Dark Cloud Rising
Operation: Caged Bird
Recommended Level: 29
Victory: Rout assault team
Optional: Rout all aces (Medium) 0/1
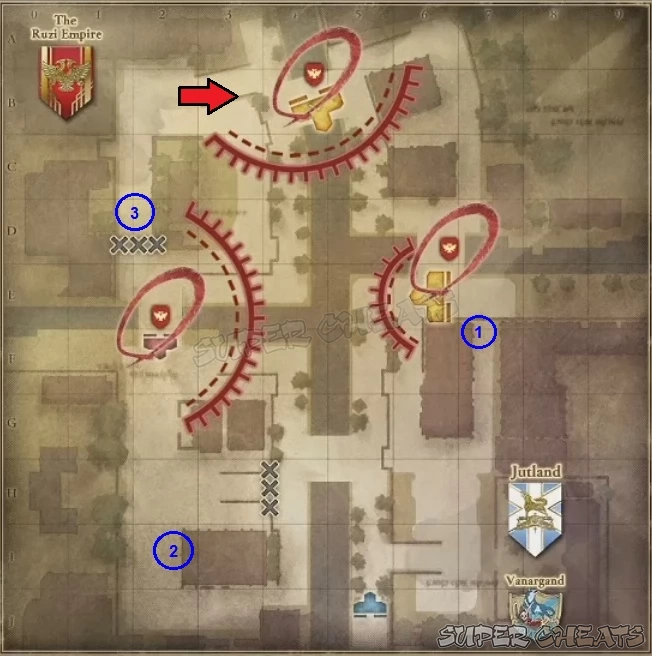
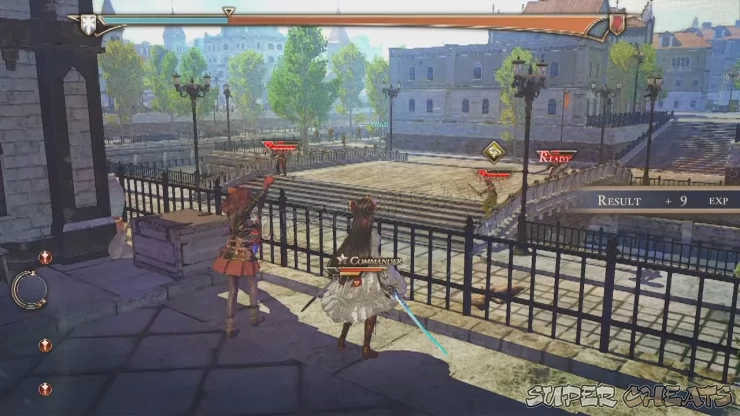
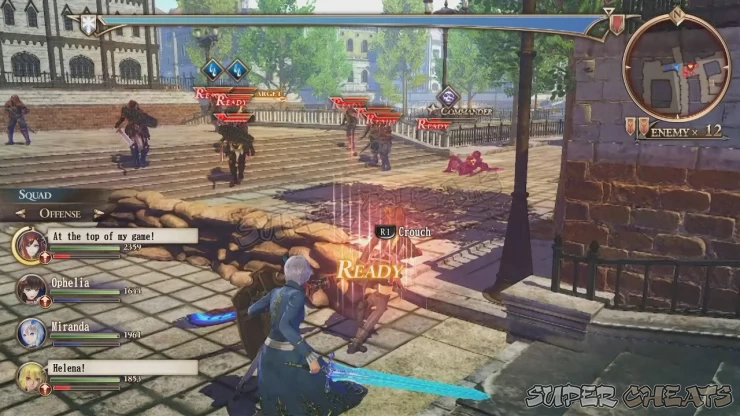
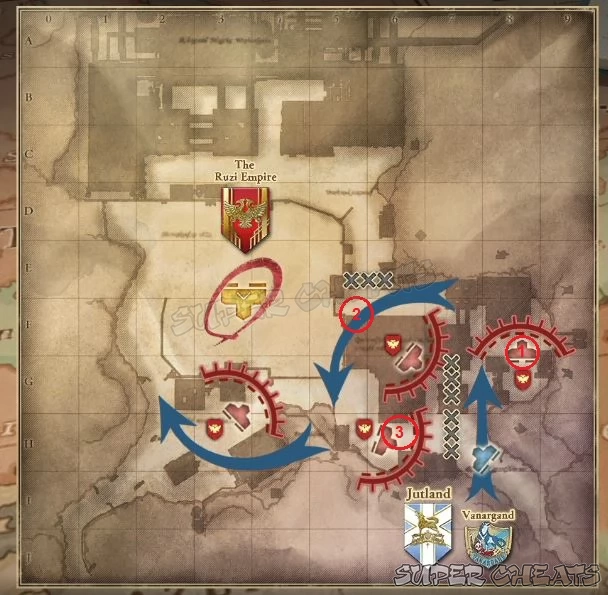
First, head to the first base to the middle-east and capture it. You can attack them from the ledge where the supply cache is located (1) but you won’t be able to loot it until you clear all enemies in the area. So it’s better to actually head to the base itself and capture it first before backtracking to loot the supply crate. The base is guarded by a squad of heavy shieldbearers so flank them and avoid their charge attacks. After taking over the base, a handful of reinforcement troops will arrive so take them out with ease.
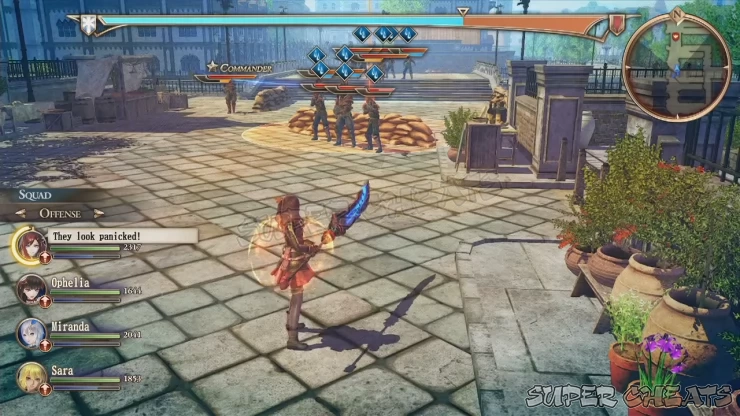
Before going to the northern base, make a detour and head to the second base to the west first. Eliminate the patrols along the way and take the southwest alley and get rid of the shieldbearer squad. Head north and loot the supply crate beside the pile of crates and other supplies (2). Continue heading north and you should be able to flank the enemy position guarding the entry point of the base ahead. This should give you the advantage by sending the enemies in panic and confusion. Take out all immediate enemies to take over the base completely. Shortly after, a handful of reinforcement troops will arrive so take them easily.
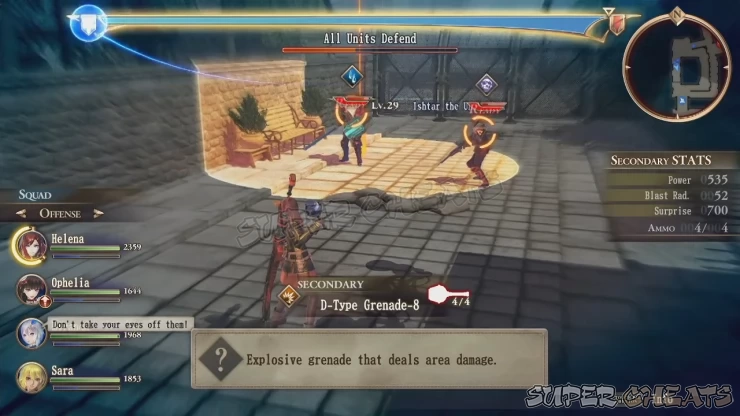
The ace is located behind the fenced off area north of the western base. (3) Circle around to the northwest path then quickly use an AoE attack to take the ace and his squad by surprise and take them out before he can issue a command. Eliminate the ace to complete the only optional objective in this mission.
Finally, make your way to the last base from the western side to flank them. Eliminate the remaining enemies around the immediate area to complete the mission.

Mission: Eliminate Imperial Infiltration Squad
Recommended Level: 31
Victory: Rout saboteurs
Defeat: Exceed Time Limit
Optional: Rout all aces (Hard) 0/1
For this mission, Sara and Blum are both required members. Make sure to equip them both with a good mix of healing, support, and attack skills. You can two shocktroopers if you want to balance out the offensive capability of your team.
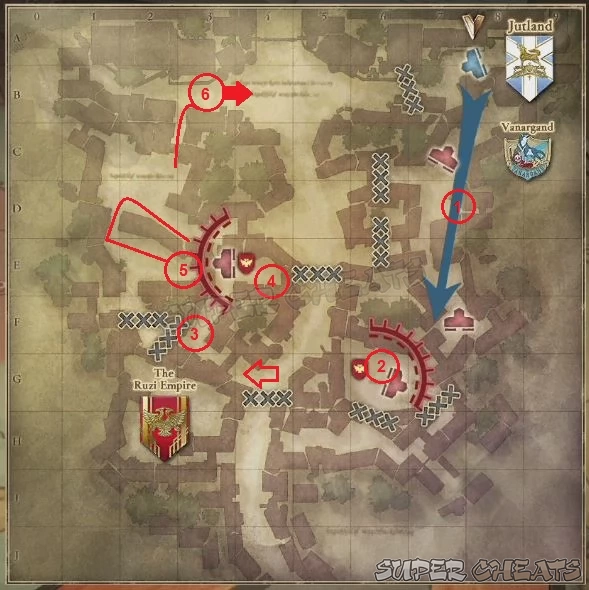
There will fenced off areas here which will force you to take a fixed path going south. Take out the first wave of patrols you’ll encounter along the way then loot the semi-hidden supply cache near the narrow dead-end alley. Continue heading south and engage the second enemy squad behind the sandbags.
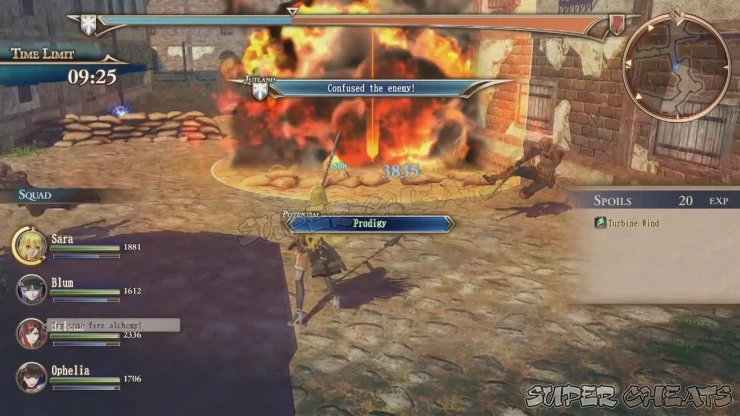
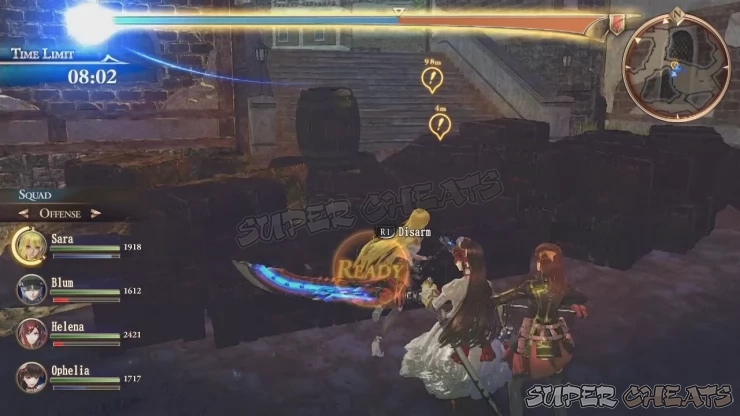
Continue to the first enemy base to the south. Work around the barricades to avoid getting pinned by enemy fire. The enemies are sparsely positioned so you have to lure some of them to groups of three or four then use AoE attacks. Eliminate all enemies to secure the base. After taking the base, have Sara or Blum disarm the pile of explosives blocking the path then continue moving west to the main street.
Instead of heading north, go down the street to the south. Enter the alley to the west and take out a couple of patrolling enemies. Loot the supply cache near their location (3) then push north to the second enemy base. Your approach from the southwest will allow you to attack from their flank, throwing the enemies in panic. Eliminate all enemies to capture the base. Don’t forget to loot another supply cache within the vicinity of this base. (4)
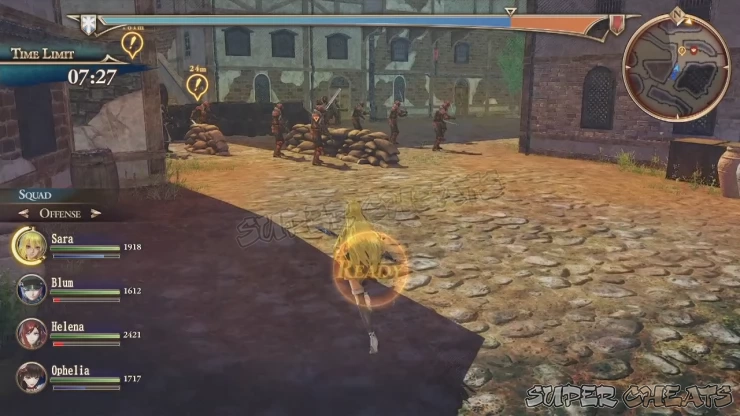
After capping the base, disarm the pile of explosives again and continue north. From that split path, head west first then south to find the enemy ace in the corner of this open lot. (5) Take out the shieldbearers with him with an AoE blast then focus on taking out the ace. After taking out the ace, you won’t be able to leave immediately since enemy reinforcements will arrive to intercept you. Get rid of them then head straight towards north.
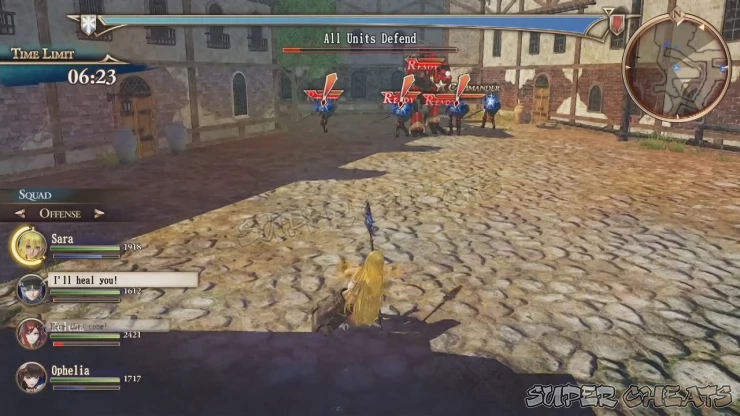
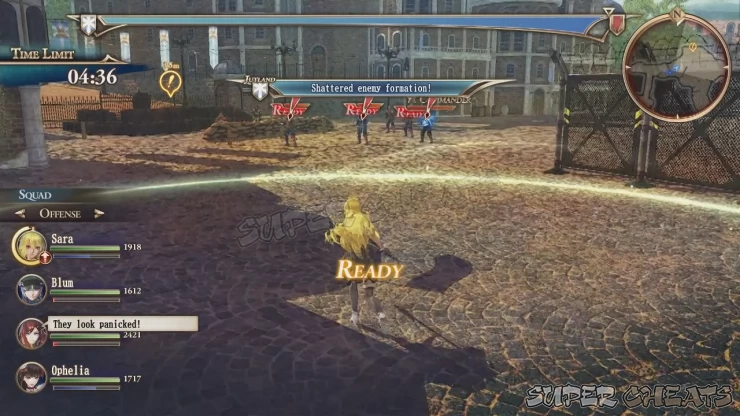
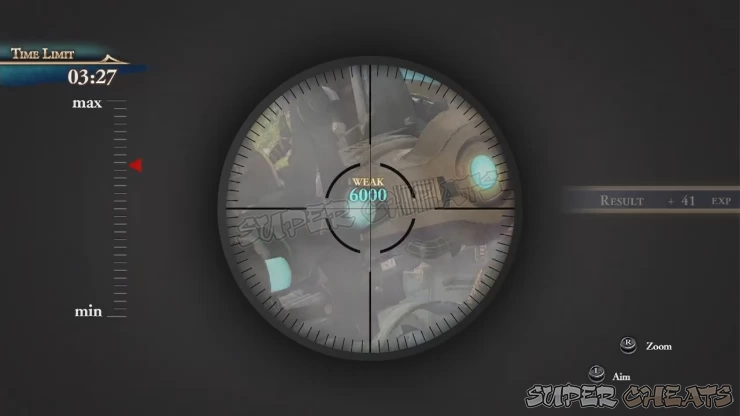
Heading straight north then attacking the enemy position from their western flank (6) will bypass the heavy enemy defensive position facing southward and take them by surprise. Work on defeating the enemy foot soldiers around the area until more reinforcements in the form of two light Tanks arrive. You can actually snipe the tank pilots and aim for their head using a sniper rifle to deal extensive damage. You can do the same to open-cockpit tanks you’ll encounter. After the tanks are destroyed, proceed to disarming the last batch of explosives to complete the mission.

Mission: Reclaim Avalune
Recommended Level: 33
Victory: Reclaim Avalune
Optional: Rout all aces (Medium) 0/1
Once the mission starts, head to the first enemy base (1) near your starting position and defeat all enemies to capture the base. Capturing the base will also free the hostages. Loot the supply crate near the base flag then continue heading west this time then take the ladder (2) leading to the rooftop where the second base is located. Proceed in engaging and clearing the enemy forces here to capture the base and free the next batch of hostages as well.
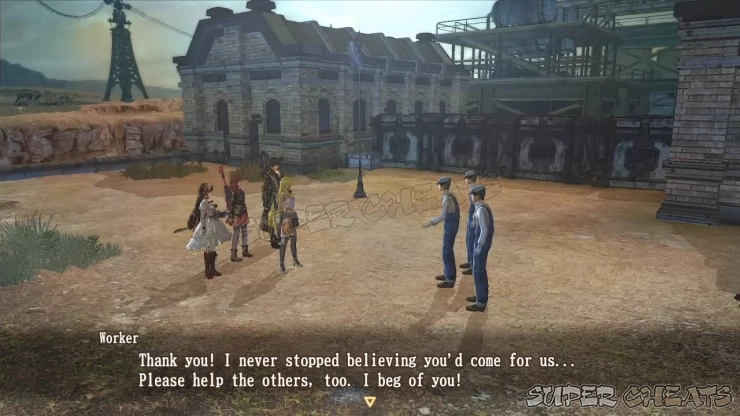
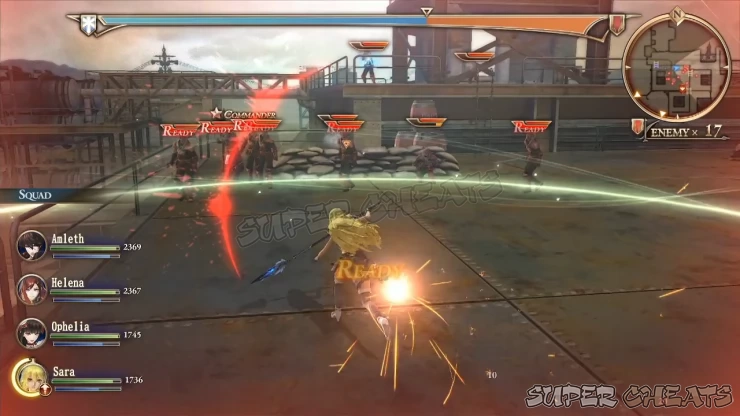
Climb down the ladder to the south to reach the lower platform and the ramp leading to the third enemy base. Clear all enemies there to capture the base and free the hostages. (3)
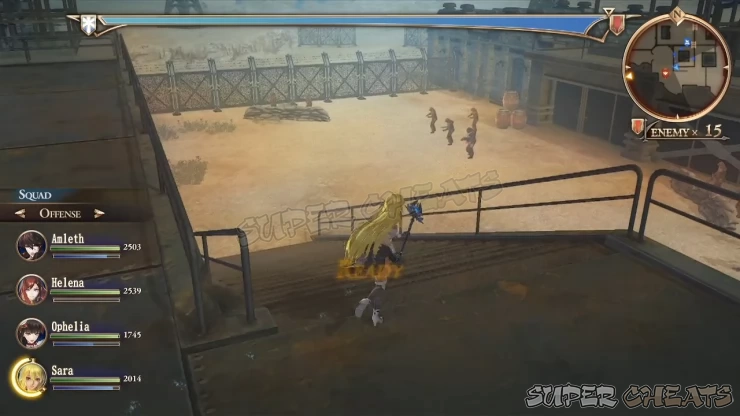
Finally, continue down to the west to find the last base with a tank backup. Take out the handful of enemy forces by the platform to prevent them from taking potshots from that elevated position then concentrate in taking out the other foot soldiers so you can concentrate on the tank. Defeat the tank to finally cap the base and free the last set of hostages.
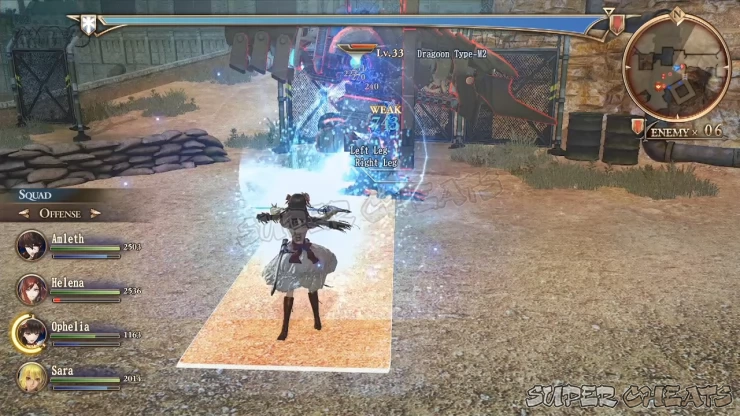

You’ll be fighting against the flying tank boss. This is nothing you’ve ever faced before and the battle may take longer than intended. The boss has several powerful attacks and most of time, you won’t be able to attack it directly. You must concentrate on running around and avoiding its attacks when it bombards you from the air. It fires up its hard-hitting machine guns while having the ability to summon shock sentries that can cast small AoE electric fields that can heavily damage and shock anyone caught in it.
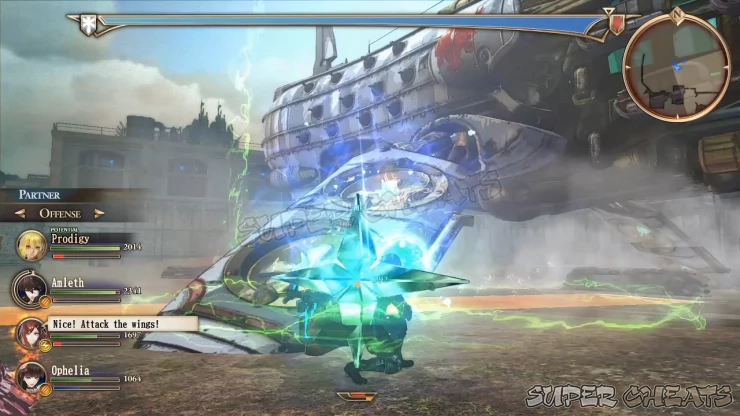
The weak points you can attack to deal high damage to are the cores on its wings. If possible, control your sapper or Ophelia so you can immediately heal up fallen or damaged comrades. The only time you can effectively damage this boss is when it starts to fly low and drop off foot soldiers to deal with you. This is actually a nice thing since you can use attack these soldiers with normal attacks to replenish your RP. When the boss starts to fly low, stand in front of it instead of behind it. The wind it generates will slowly push you outward, making it hard to chase after it. AoE attacks are perfect in attacking its wings.
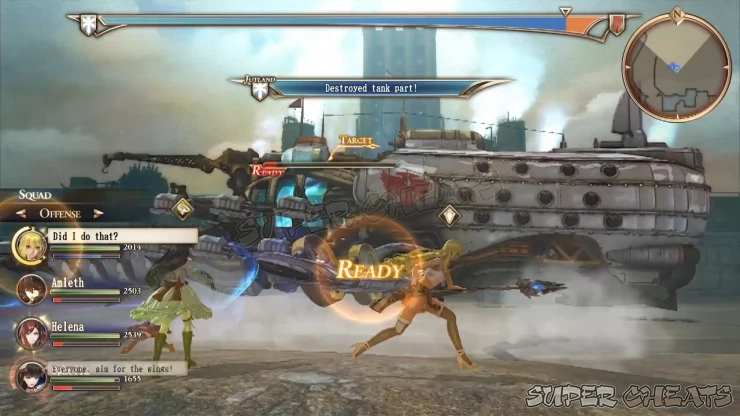
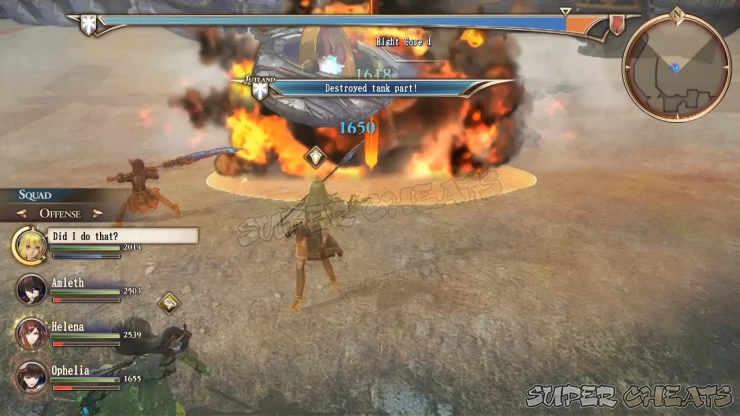
Spam your most powerful and spells when it flies low and don’t hesitate to replenish your RP with recovery items. A properly-leveled sapper will be your star player since since she/he can completely replenish her/his RP while also having the advantage of casting support and healing spells. After destroying the cores, you don’t be able to deal heavy damage on it anymore until it gets repaired automatically. Repeat the sequences mentioned to finally take down this mechanical whale.

Anything missing from this guide?
ASK A QUESTION for Valkyria Revolution
Comments for Chapter 7: Dark Cloud Rising
Add a comment
Please log in above or sign up for free to post comments- Basics - Combat
- Basics - Game Mechanics
- Walkthrough (Operations)
- Circles
- Archives of the Revolution
- Extras
 Join us on Discord
