Chapter 3: A Past Erased
Operation: Alchemic Weapon Development
Recommended Level: 8
Victory: Complete Basil’s Request
Optional: None
For the first part of the battle, you’ll be fighting solo against a light tank as a test run using Amleth’s newly upgraded weapon. The first round should be a breeze; like before, target the legs first and use alchemic spells to deal more damage.
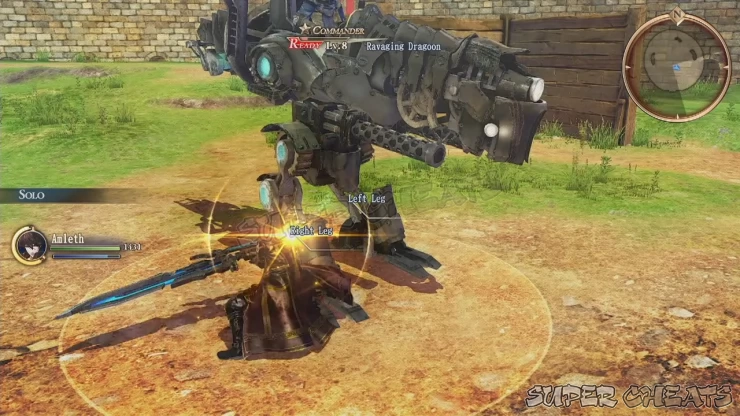
After taking out the first light tank, the second testing round will begin. This time, you’ll be facing two light Tanks at the same time. Their gatling guns are not something to be underestimated so make sure to block and move behind cover to avoid taking too much damage. Focus on one tank at a time and don’t hesitate to use your grenades and spells to inflict more damage, especially to the legs of the tanks.
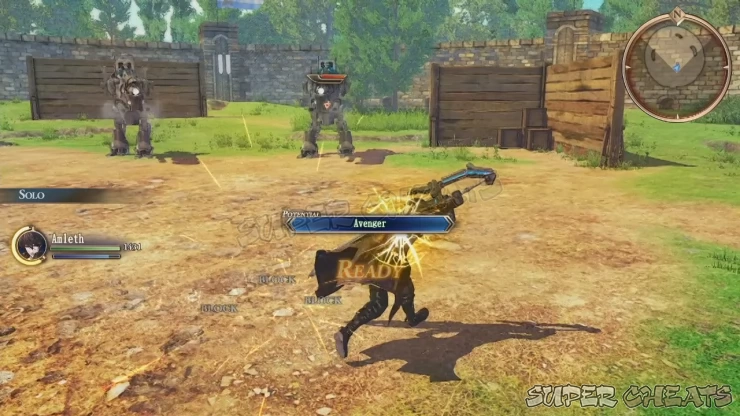
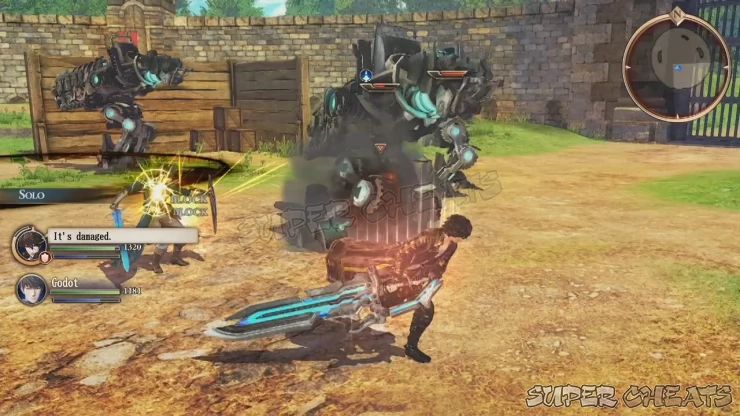
Finally, Godot will join you in facing three light Tanks. Set your squad to Offense and partner up with Godot so you can focus attacking one tank at a time. Depending on the Priorities you’ve set beforehand on Godot, he should be able to keep the attention of the enemies on him, giving you the much needed freedom to keep on the offensive. Keep focusing on single targets until you finally defeat all three tanks.

Operation: Highway Base Ambush
Recommended Level: 10
Victory: Capture both bases
Optional: Rout All Aces (Medium) 0/1
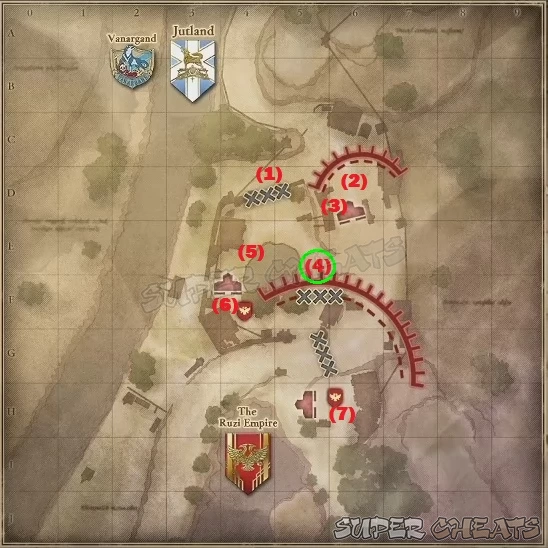
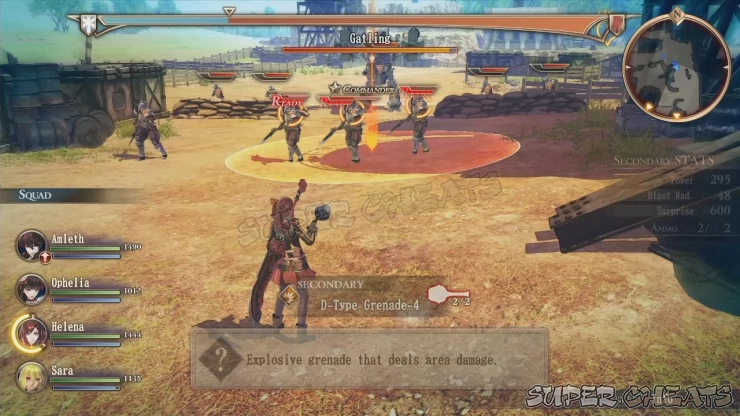
As soon as the mission starts, head to the open field ahead. There are two paths you can take; you can sneak using the off-road path leading west (1) or break through the enemy blockade directly to the south. (2) The off-road path has some snipers in the watchtowers but generally lighter resistance while the blockade has a medium tank and enemies behind sandbags. You can either use a smoke grenade to avoid taking incoming damage or if you’re confident about your team’s defense, charge and break through with your own heavy attacks and spells. After clearing out the blockade, don’t forget to loot the supply cache beside the water tower. (3)
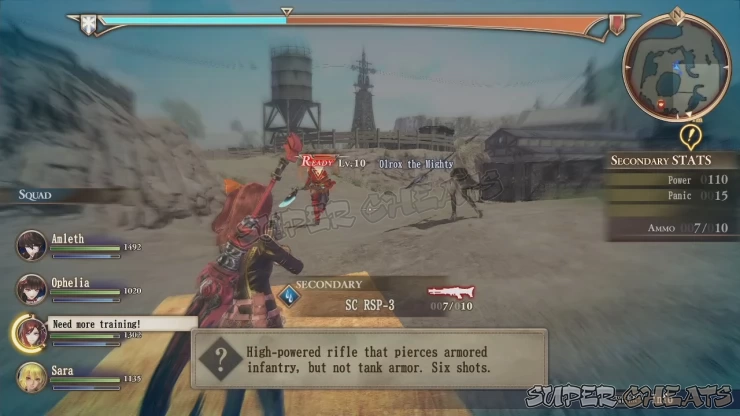
The optional ace that you need to take down is called Olrox the Mighty, which is found hanging around by the fence beside the ramp leading from where the first blockade is. (4) He doesn’t have any minions with him, making killing him quite easy and quickly. Before moving forward, make sure to loot another supply cache northwest side of the pond. (5)
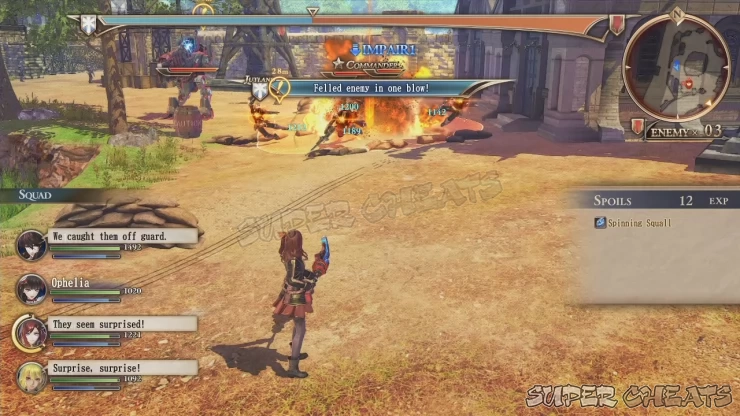
Whether you took the safe path or broke through the blockade, you’ll eventually reach the bottleneck of the map where the first base is located (6). There’s a light tank and several foot soldiers behind cover waiting for you there. Use grenades and AoE spells to flush them out of their cover and take out the light tank.
After capturing the base, continue forth past the walls. You can head west to take out a handful of enemy patrols there or head directly to the second enemy base (7) where more enemy forces are waiting. Don’t just charge in blindly here since there are three medium Tanks waiting, backed up by snipers, shielders, and sappers. It will be a good idea to set a smokescreen ahead before charging in. Prioritize taking out the snipers and other foot soldiers. Like before, grenades, launchers, and AoE spells will work well in whittling their numbers quickly. There are also explosive barrels conveniently located behind them so shooting them deliberately or including them within range of your grenade or AoE spell will further increase the devastation you can cause to the enemy forces.
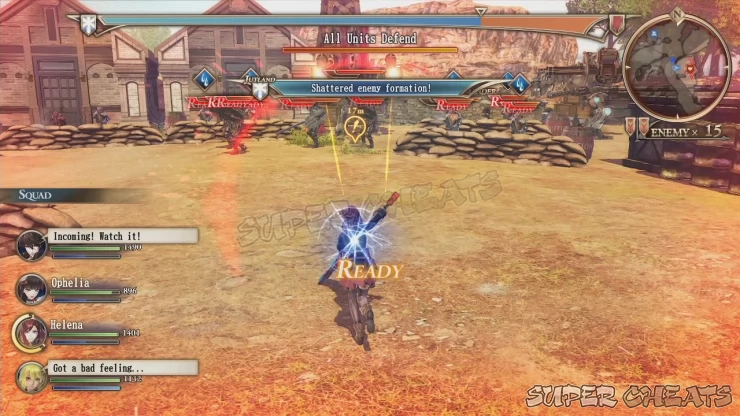
After destroying the second medium tank, another medium tank will appear from the west as reinforcements. Make sure to take it out before felling the last medium tank commander to increase your exp and possible drop. Once done, take out the remaining medium tank to complete the mission.

Operation: Sever Imperial Supply Lines
Recommended Level: 12
Victory: Destroy bridge
Defeat: Amleth or Ophelia is defeated
Optional: Rout All Aces (Medium) 0/1
This is a fairly long mission with no Camp or intermission so make sure you have enough healing items and the best equipment and ragnite equipped. It will be better to farm for EXP, funds, and more ragnite crystals to upgrade your main squad members’ skills and elemental compatibility. Don’t forget to diversify the weapons of your squad members. Equip launchers to your sappers and sniper rifles to your scouts for example. This will give you more options in different combat situations. Make sure that you equip Ophelia with a Spinning Squall ragnite; this will help ensuring her survival while maintaining the offensive in the later part of the mission.
For this mission, you’ll have two teams: the diversion team and fireteam. The diversion team will be lead by Amleth, which will lock him as an essential member while the fireteam will have Ophelia and Godot as fixed members. Both teams should have sappers. It will be better to have another shocktrooper and a Scout in the diversion team while the fireteam should have at least another shocktrooper. There’s no need for additional shieldbearer or scout in the fireteam since Godot and Ophelia will fulfill those roles respectively.
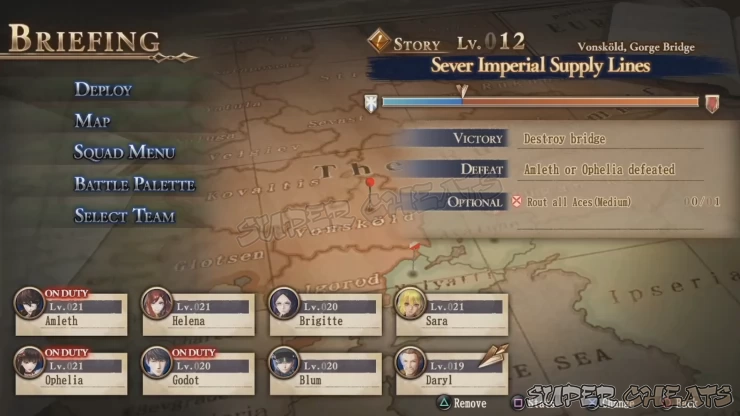
(Diversion Team)
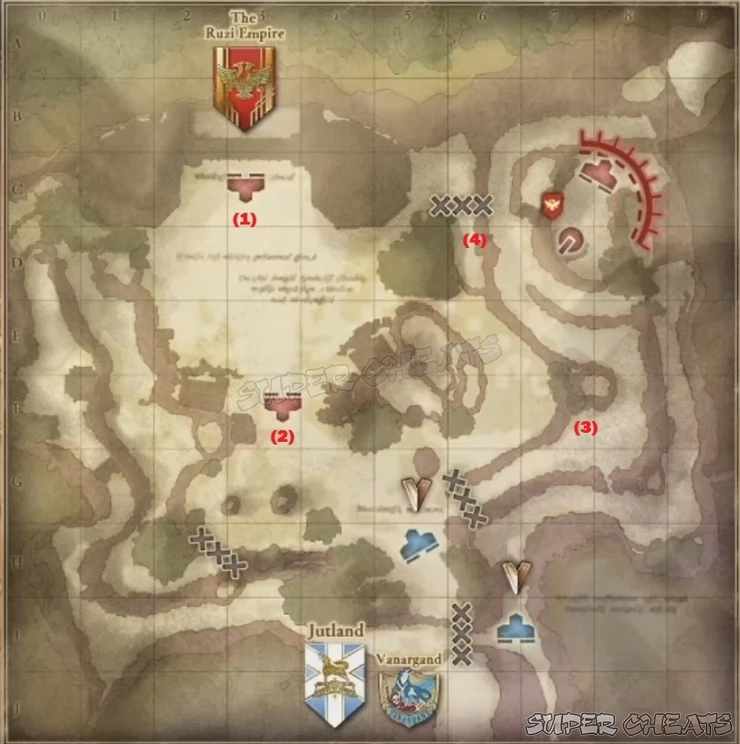
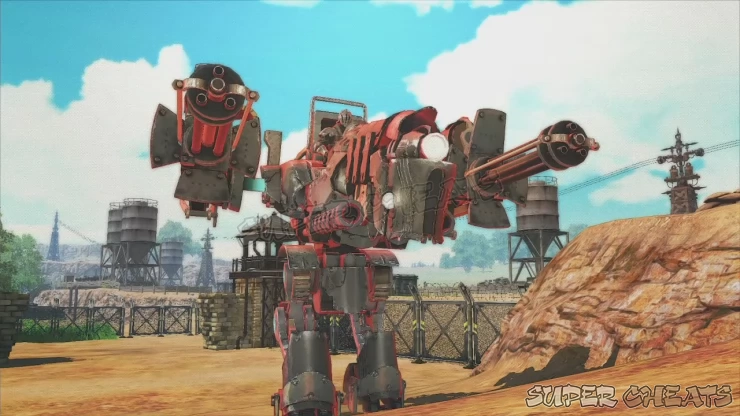
At the start of the mission, you’ll start off with the diversion team with the main objective of dispatching the heavy tank waiting at the bridgehead (2). Be careful of the occasional cannonfire coming from the heavy tank since it can stun and break the morale of your squad on top of the area damage they’ll sustain. You have no choice but to break through the front gate (1) so before heading there take out the guards in the watchtowers first then engage the light tank and small number of enemy troops behind the sandbags. Make sure to take out the foot soldiers and light tank first before approaching the heavy tank.
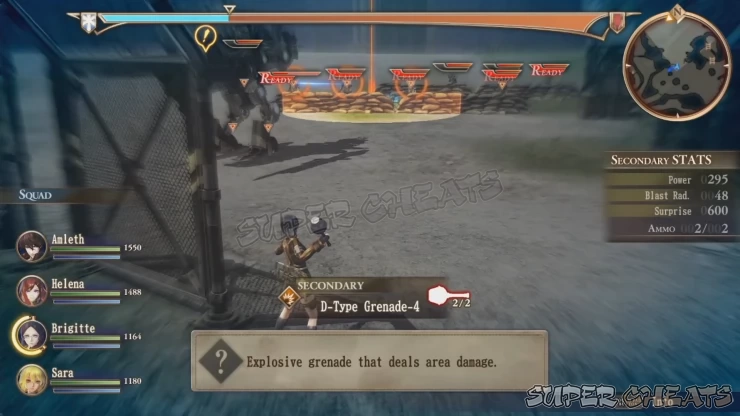
Once done, heal up then engage the heavy tank. Set your team for offense then focus your attacks to one of its legs. Make sure to get out of the impact range if it starts to use multi-stomp or when it jumps. Grenades and launchers are excellent damage dealers against single targets such as the heavy tank’s legs, as well as interrupting its actions so use them when you can. After one of its legs gets disabled, you’ll have to attack its central core. AoE spells and multi-hit attacks are excellent against the core. Repeat the process until you finally defeat the heavy tank. The control will switch over the fireteam this time.
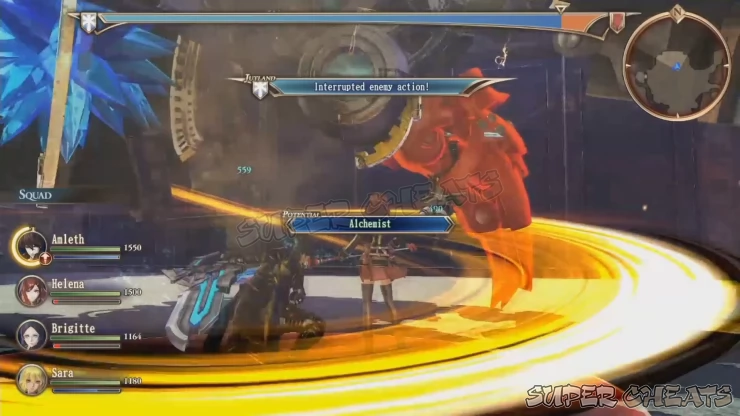

(Fireteam)
Go down the ladder ahead and take out the lone soldier ahead. Next, go down the next ladder and engage the light tank and enemy foot soldiers below. After defeating this group, loot the supply cache nearby before moving forward. (3)
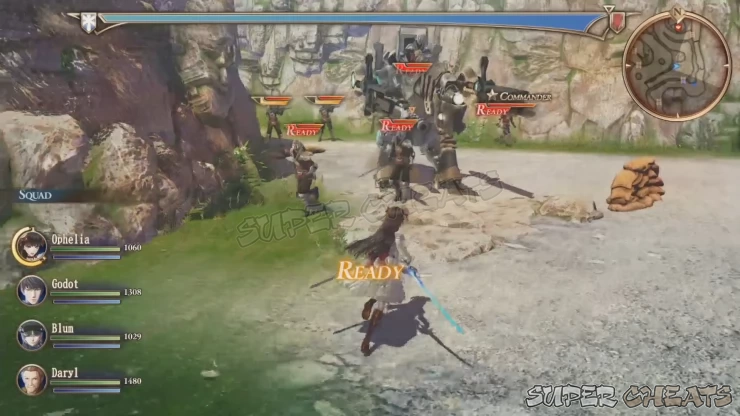
Continue forth and before continuing along the main path, go down the ladder due west of the objective to find the enemy ace unit below. (4)
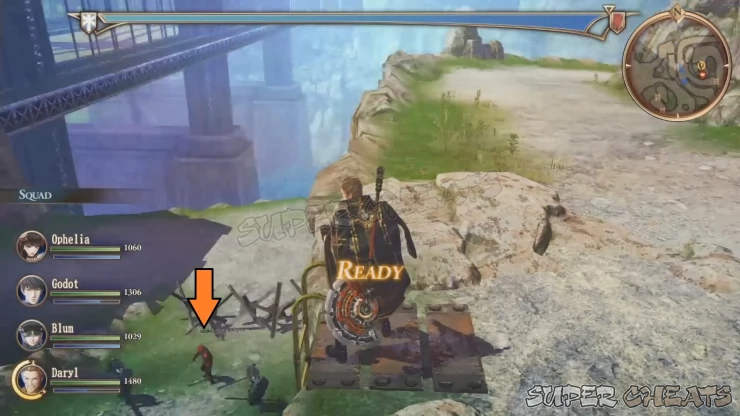
After completing the optional objective, follow the path south of the objective and defeat enemies along the way. Climb the ladder then push towards the objective. Take down all enemies to capture the base and take control of the cannon. A cutscene will play shortly afterward.
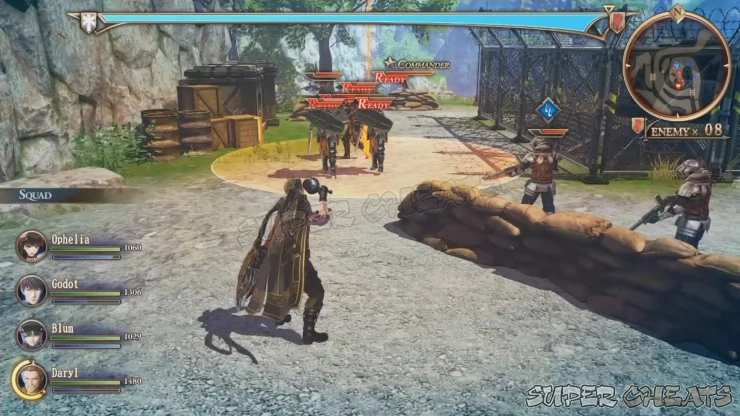
After the cutscene, you’ll have to backtrack and fight through several enemies waiting along the way on the way to the new rendezvous point. Continue heading to the rendezvous point to get into another fight. You’ll be surrounded so make sure to use a smoke grenade if you have one then take out the foot soldiers quickly before dealing with the medium tank. After eliminating all enemies, another cutscene will take place.
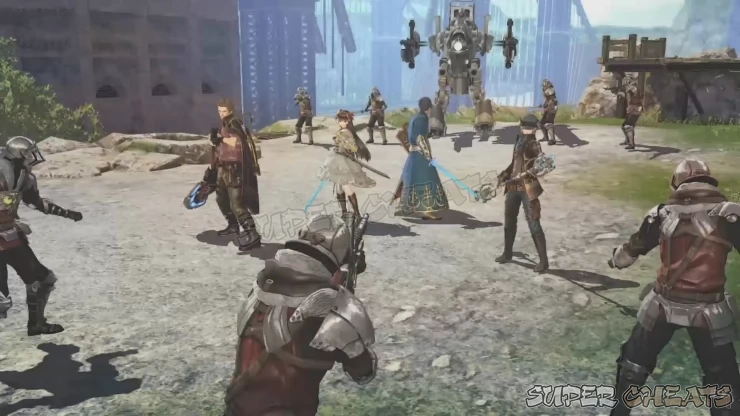

You’ll be controlling Ophelia alone in this part of the mission. If you have Spinning Squall equipped, you can use it alternatively with Freezing Ray to attack and heal at the same time. Head to the light tank and dispatch the foot soldiers accompanying it quickly. After destroying it, Amleth and the others will arrive.
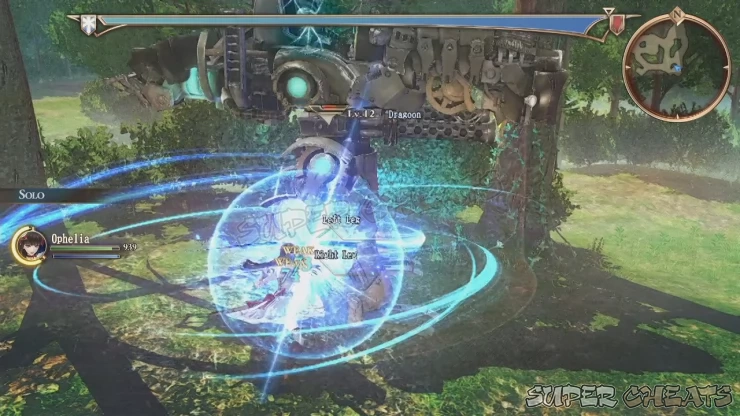
With the squad complete, engage the remaining enemies in the forest and take out the light Tanks. It should be a walk in the park now since the area’s relatively small and the enemies are not clumped together. Defeat the last light tank to finally complete the mission.

Anything missing from this guide?
ASK A QUESTION for Valkyria Revolution
Comments for Chapter 3: A Past Erased
Add a comment
Please log in above or sign up for free to post comments- Basics - Combat
- Basics - Game Mechanics
- Walkthrough (Operations)
- Circles
- Archives of the Revolution
- Extras
 Join us on Discord
