Chapter 5: Journey North
Operation Ralgorod Liberation
Recommended Level: 18
Victory: Rout assault team
Optional: Rout all aces (Medium) 0/1
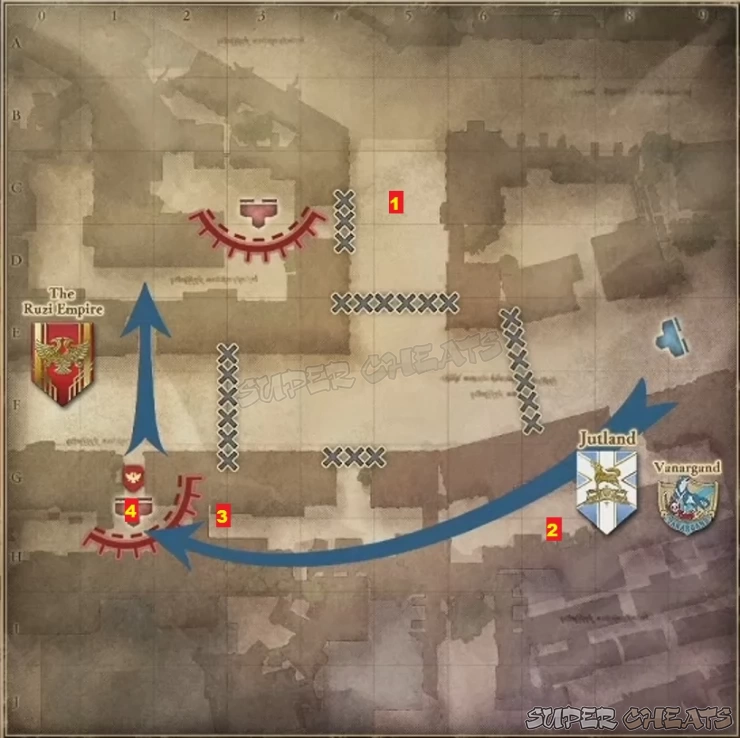
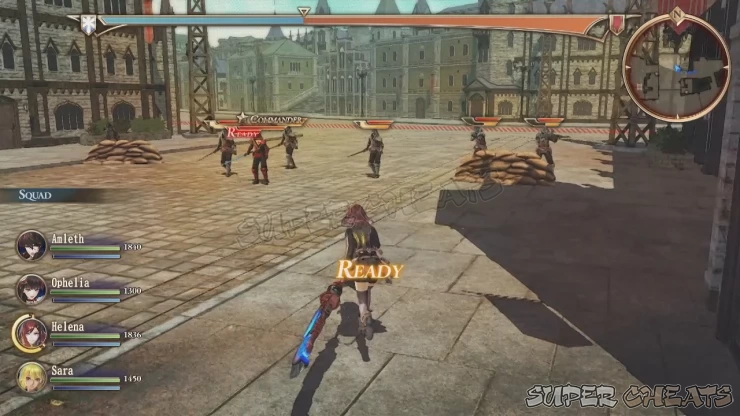
As soon as the mission starts, go to the backlot north then exit to the main street to the west, past the barricade to find the only enemy ace in the mission (1). Defeat him to complete your optional objective. Backtrack to your starting point and continue to the south.
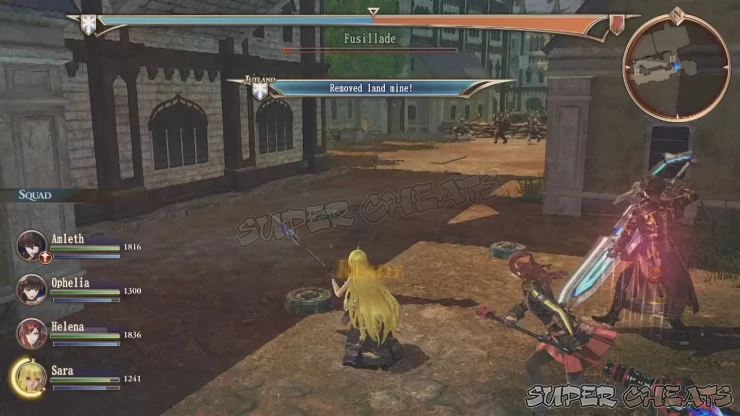
You can climb the ladder as you enter the alley to get rid of the enemies on the rooftop. You can also disarm the mines laid around the corner. You can bypass them as well if you move through the rooftop. Clear the enemy position along the alley then loot the lone supply cache in the middle of the alley. (2) Continue heading west this time.
Fight through pockets of enemy presence until you reach the small base in the middle of the alley leading to the main street (4). There are also at least four enemies on the nearby rooftop which can be accessed by climbing the nearby ladders. Don’t forget to loot another supply cache located along the alley leading to this base. (3)
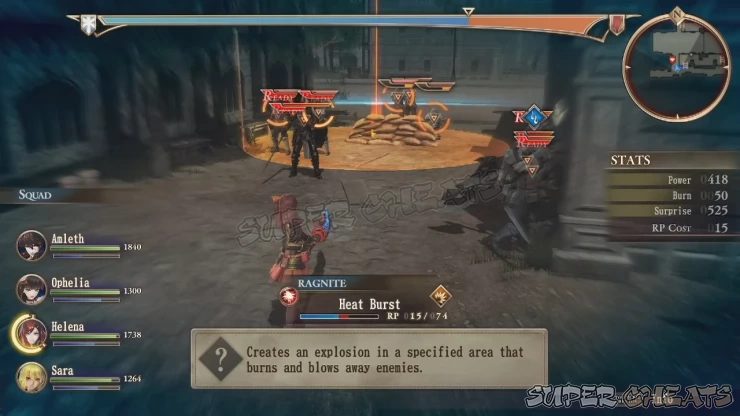
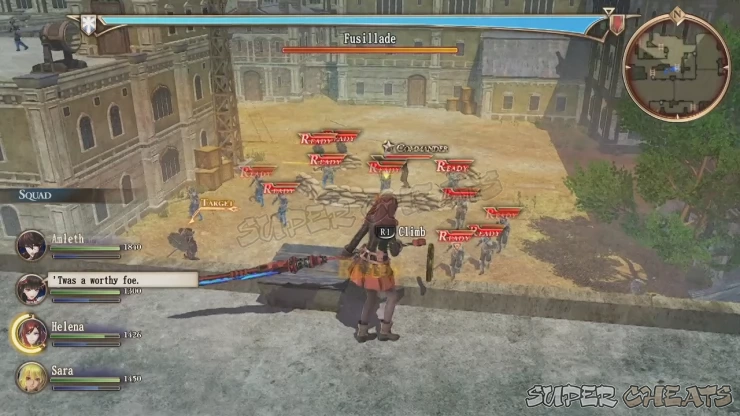
Head north to the main enemy base. You can climb up the rooftop with the nearby ladder to take out the sniper there while giving you a good vantage point against the enemies below. There are no Tanks among the fray but rather tough shieldbearers and shocktroopers. If one of your team members have a sniper rifle equipped, have him/her snipe off the other enemies across the other roofs. The ground leading to the enemy base is also laden with mines. Use grenades or AoE attacks to set them off, preferably when there are enemies near their immediate blast area to deal additional damage. Eliminate all enemies to complete the mission.

Operation Southern Wind: Attack on Kovaltis
Recommended Level: 19
Victory: Seize Kovaltis
Optional: Rout all aces (Medium) 0/1
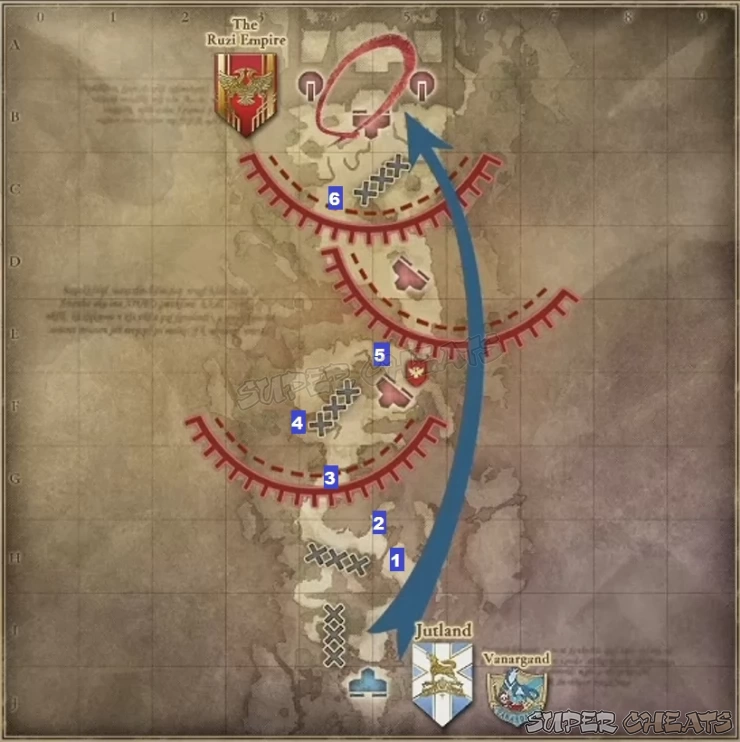
The map is very straightforward since you just need to push through the enemy forces along the mountain pass. Enter the first gate and take out the first enemy patrol. You can’t take the off-road path to the west since it is barricaded so you have no choice but to push forward to the second gate (1). There are several mines ahead as well. You can detonate them safely using an AoE spell or you can risk your sapper being shot by the watchtower guards and enemies hiding behind the sandbags ahead. Take out the watchtower guards by shooting them from a distance preferably with a sniper rifle or casting an aoe spell while nearby (like Flame Burst).
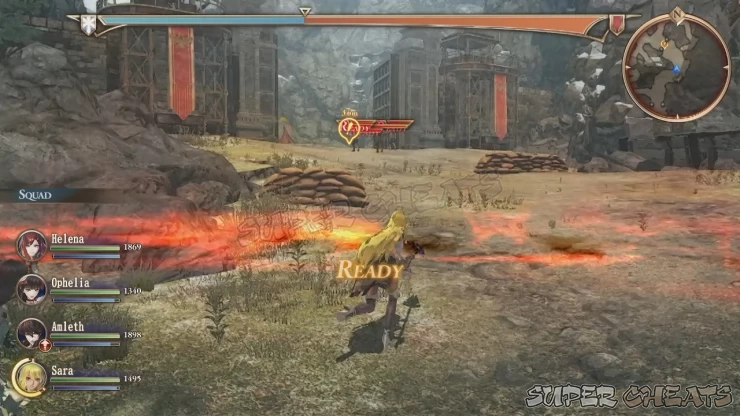
Go through the gate, loot the supply cache beside a tent to the north, then take the off-road path to the northeast (2). This will lead you to the enemy ace’s position. There’s a hidden enemy by the grass so cast an AoE spell or grenade on it to kill the sniper and get a ragnite drop. Defeat the ace to complete your optional objective for this mission. Mop up the remaining enemy forces then backtrack to the main path.
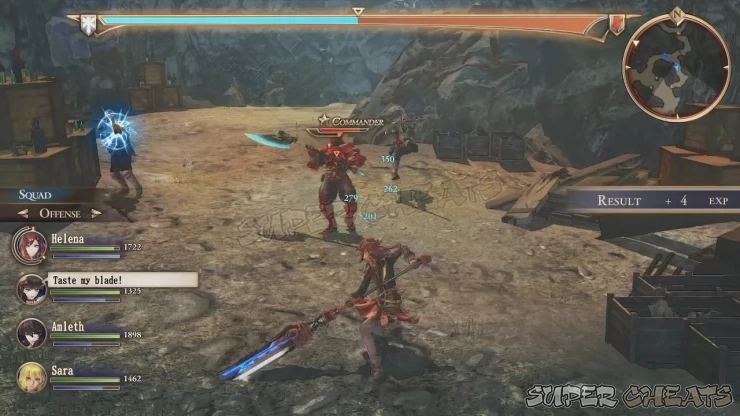
Continue along the path until you reach the third gate (3). Do the same thing; raise your guard as you rush towards the waiting enemies’ position then pummel them with AoE. You have to take out the two watchtower guards as well so that you can loot the supply cache beside some tents right outside the gate.
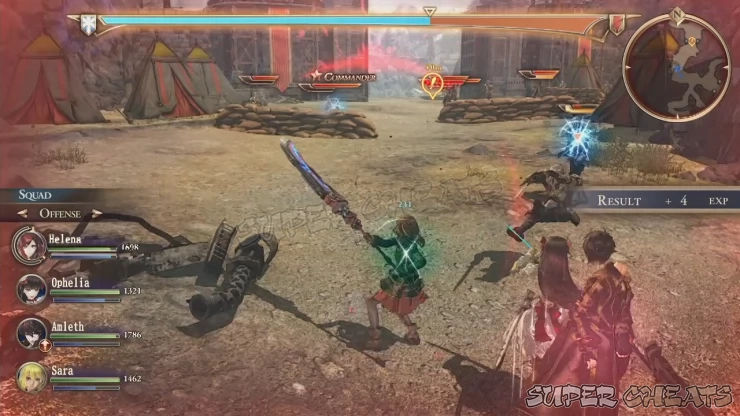
Go past the gate and head towards the main gate. There’s a large enemy force waiting for you but there’s no need to attack head-on. After passing the third gate (3), there’s an small off-road path to the west (4) which will allow you to bypass the main enemy force and attack them from the flank (5). This will give you a slight advantage since the enemies will panic and get confused. Use your advantage to wreck havoc behind enemy lines and clear the remaining enemies to capture the base and loot the chest beside the western watchtower.
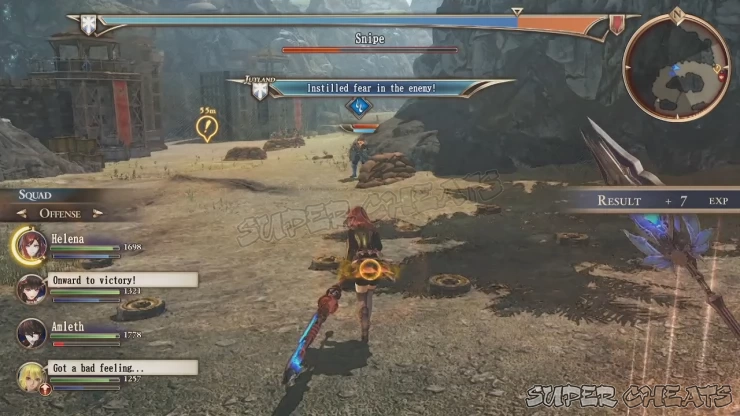
Now go past the main gate and clear the scattered enemy patrols along the way. Continue forth, fighting your way through the western flank (6). Use the terrain to avoid the incoming cannonfire from the mounted cannons of the fortress ahead. Destroy the medium tank and the small enemy platoon accompanying it, then push forward to the main enemy defense position with all you’ve got. Use your remaining grenades, launchers, and AoE spells to quickly whittle away the enemy numbers. Defeat the remaining enemy forces to finally establish a foothold and complete the first phase of this large operation.
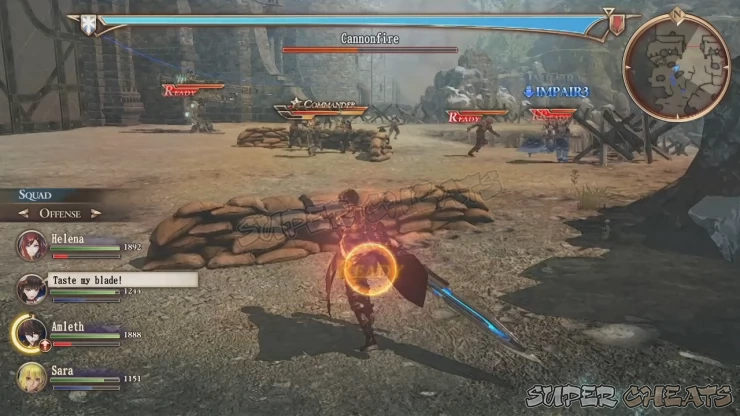

Operation Southern Wind: Battle of Kovaltis
Recommended Level: 21
Victory: Seize Kovaltis
Defeat: Amleth or Godot is defeated
Optional: Rout all aces (Hard) 0/1
Amleth and Godot are both required for this mission so bring Ophelia and Sara (because Blum is meh anyway) After the cutscenes, Amleth will be left behind so you’ll have to run all the way back due south to regroup with your main forces. You’ll have to take the narrow passages on the eastern side of the map. Fight your way through basic enemy foot soldiers and keep moving until you reach the closed gate. Don’t forget to loot the supply cache along the way as well.
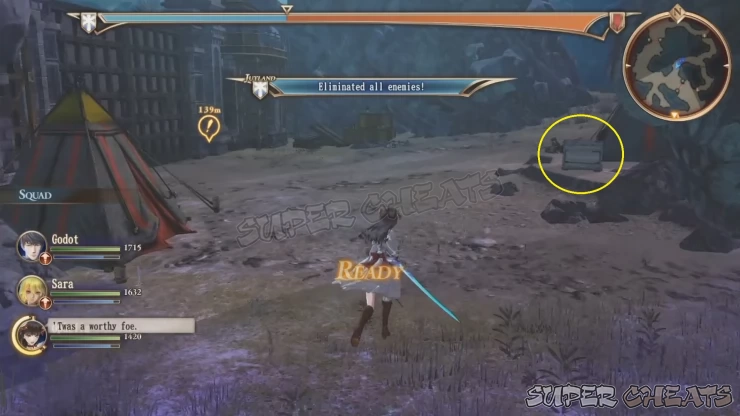
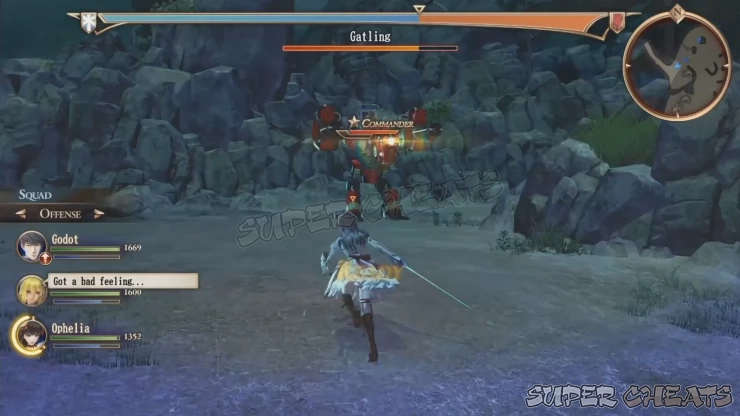
Continue towards the off-road passages to the western side of the map where more enemies await. Fight your way through them until you finally reach the last gate. Continue heading south to trigger a cutscene. After the cutscene, engage the enemy forces within your vicinity. However, before moving to defeat the two medium Tanks and other enemies, you can locate the ace tank in this area for the completion of the optional objective. Using your mini-map, go uphill to the west, past the barricade to find the red tank guarding the narrow passage. It’s alone but a bit more powerful than the ordinary tanks in the area yet you shouldn’t have problems taking it down with just three people. However, don’t underestimate its gatling attack since it can inflict massive damage especially when you’re not guarding. Take out this ace then backtrack a bit to engage the remaining enemies.
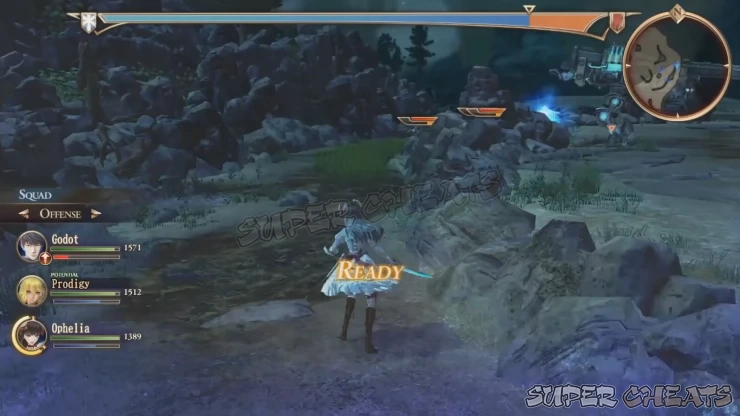
The remaining tank squads are scattered fortunately so you don’t have to deal with both groups at the same time. Like before, take out the foot soldiers first before engaging the Tanks. There are enemy troops taking cover in the grassfields in the eastern side of the map so take them out to prevent them from potshotting your team as well as for extra EXP and possible drops. After eliminating both tanks, another cutscene will take place. This time, you’ll have to face Brunhilde again.

Operation Southern Wind: Valkyria Boss Fight
Brunhilde’s attacks are the same as before, albeit even more punishing and damaging. She can also activate two element spheres at once, giving her access to even more devastating spell combinations while also allowing you to exploit her double weaknesses. (The damage doesn’t stack though). Unlike the first time you faced her, the battlefield is quite large, giving you more breathing space and chances to escape her widespread spells. However, this also gives her the freedom to teleport farther and cast her spell while your teammates attempt to close the distance.
Having a sapper in your squad will tremendously help since you’ll be taking damage here and there. Sappers also enjoy the boosted item effectiveness, allowing them to fully replenish the team’s RP gauge instead of the normal 50% when using a Ragnampule. Also, you should also have Ophelia’s galdrs equipped. Her Royal Galdr: Love not only heals everyone but also cures and prevents specific status effects - some are the ones Brunhilde can inflict. Since Galdrs are exclusive to Ophelia, there’s no reason not equipping it to her and bringing her to boss battles, especially against the Valkyria.
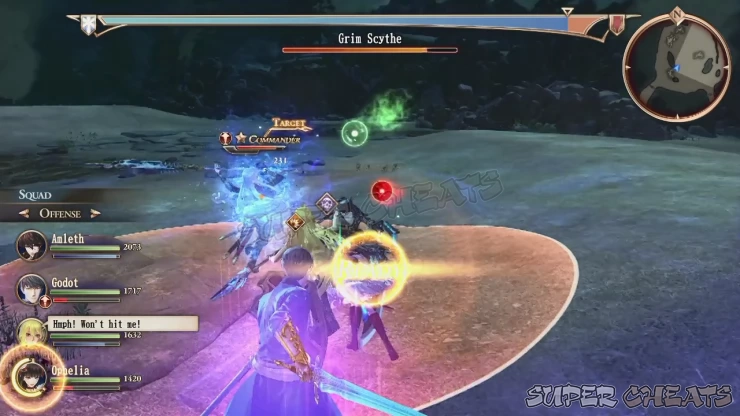
Like before, take note of the orbs floating around her and attack her with the element she’s currently weak against. Quickly take out the Azure Flames that she summons to avoid unnecessary damage. If you can’t seem to stop her from casting a powerful spell like Azure Light of Ruin, at least take control of your sapper and have her/him run out safely away from the blast area. This way, you can quickly heal any surviving members and revive fallen ones. Switch between your sapper and Ophelia and use healing spells and her Love galdr to completely heal up the team and keep the offensive.
A cutscene will take place once her HP drops to 50%. Keep doing this until you finally land the finishing blow. After the long cutscenes post-battle, Ophelia’s Galdrs will be enhanced.

Anything missing from this guide?
ASK A QUESTION for Valkyria Revolution
Comments for Chapter 5: Journey North
Add a comment
Please log in above or sign up for free to post comments- Basics - Combat
- Basics - Game Mechanics
- Walkthrough (Operations)
- Circles
- Archives of the Revolution
- Extras
 Join us on Discord
